

Cozy & Thriving: Jungle Floor Creative’s Guide to Winter Plant Care
(aka The Great Indoor Glow-Up Guide)
🌿 Your Houseplant Jungle: Thriving Through the Winter Months
Winter’s sneaking in — the sun’s a part-timer, the nights are long, and your plants are probably muttering things like, “Excuse me, why is it so dark and chilly all of a sudden?”
Don’t panic, plant friends. With a few Jungle Floor Creative tweaks, your indoor jungle can stay lush, lively, and lovely all through the frosty months.
We’re diving into the four essentials: Light, Warmth, Watering, and Feeding.
☀️ How Do You Increase Light in Winter?
Winter light is… shy. It peeks in low and soft, leaving your plants reaching dramatically like they’re auditioning to join S club 7
Here’s how to help them get the most light:
Rotate regularly so all sides get what little light there is.
Clean the glass and the leaves — dust blocks precious light. Grab your Jungle Floor Plant Cloth and give each leaf a spa moment so it can photosynthesise properly.
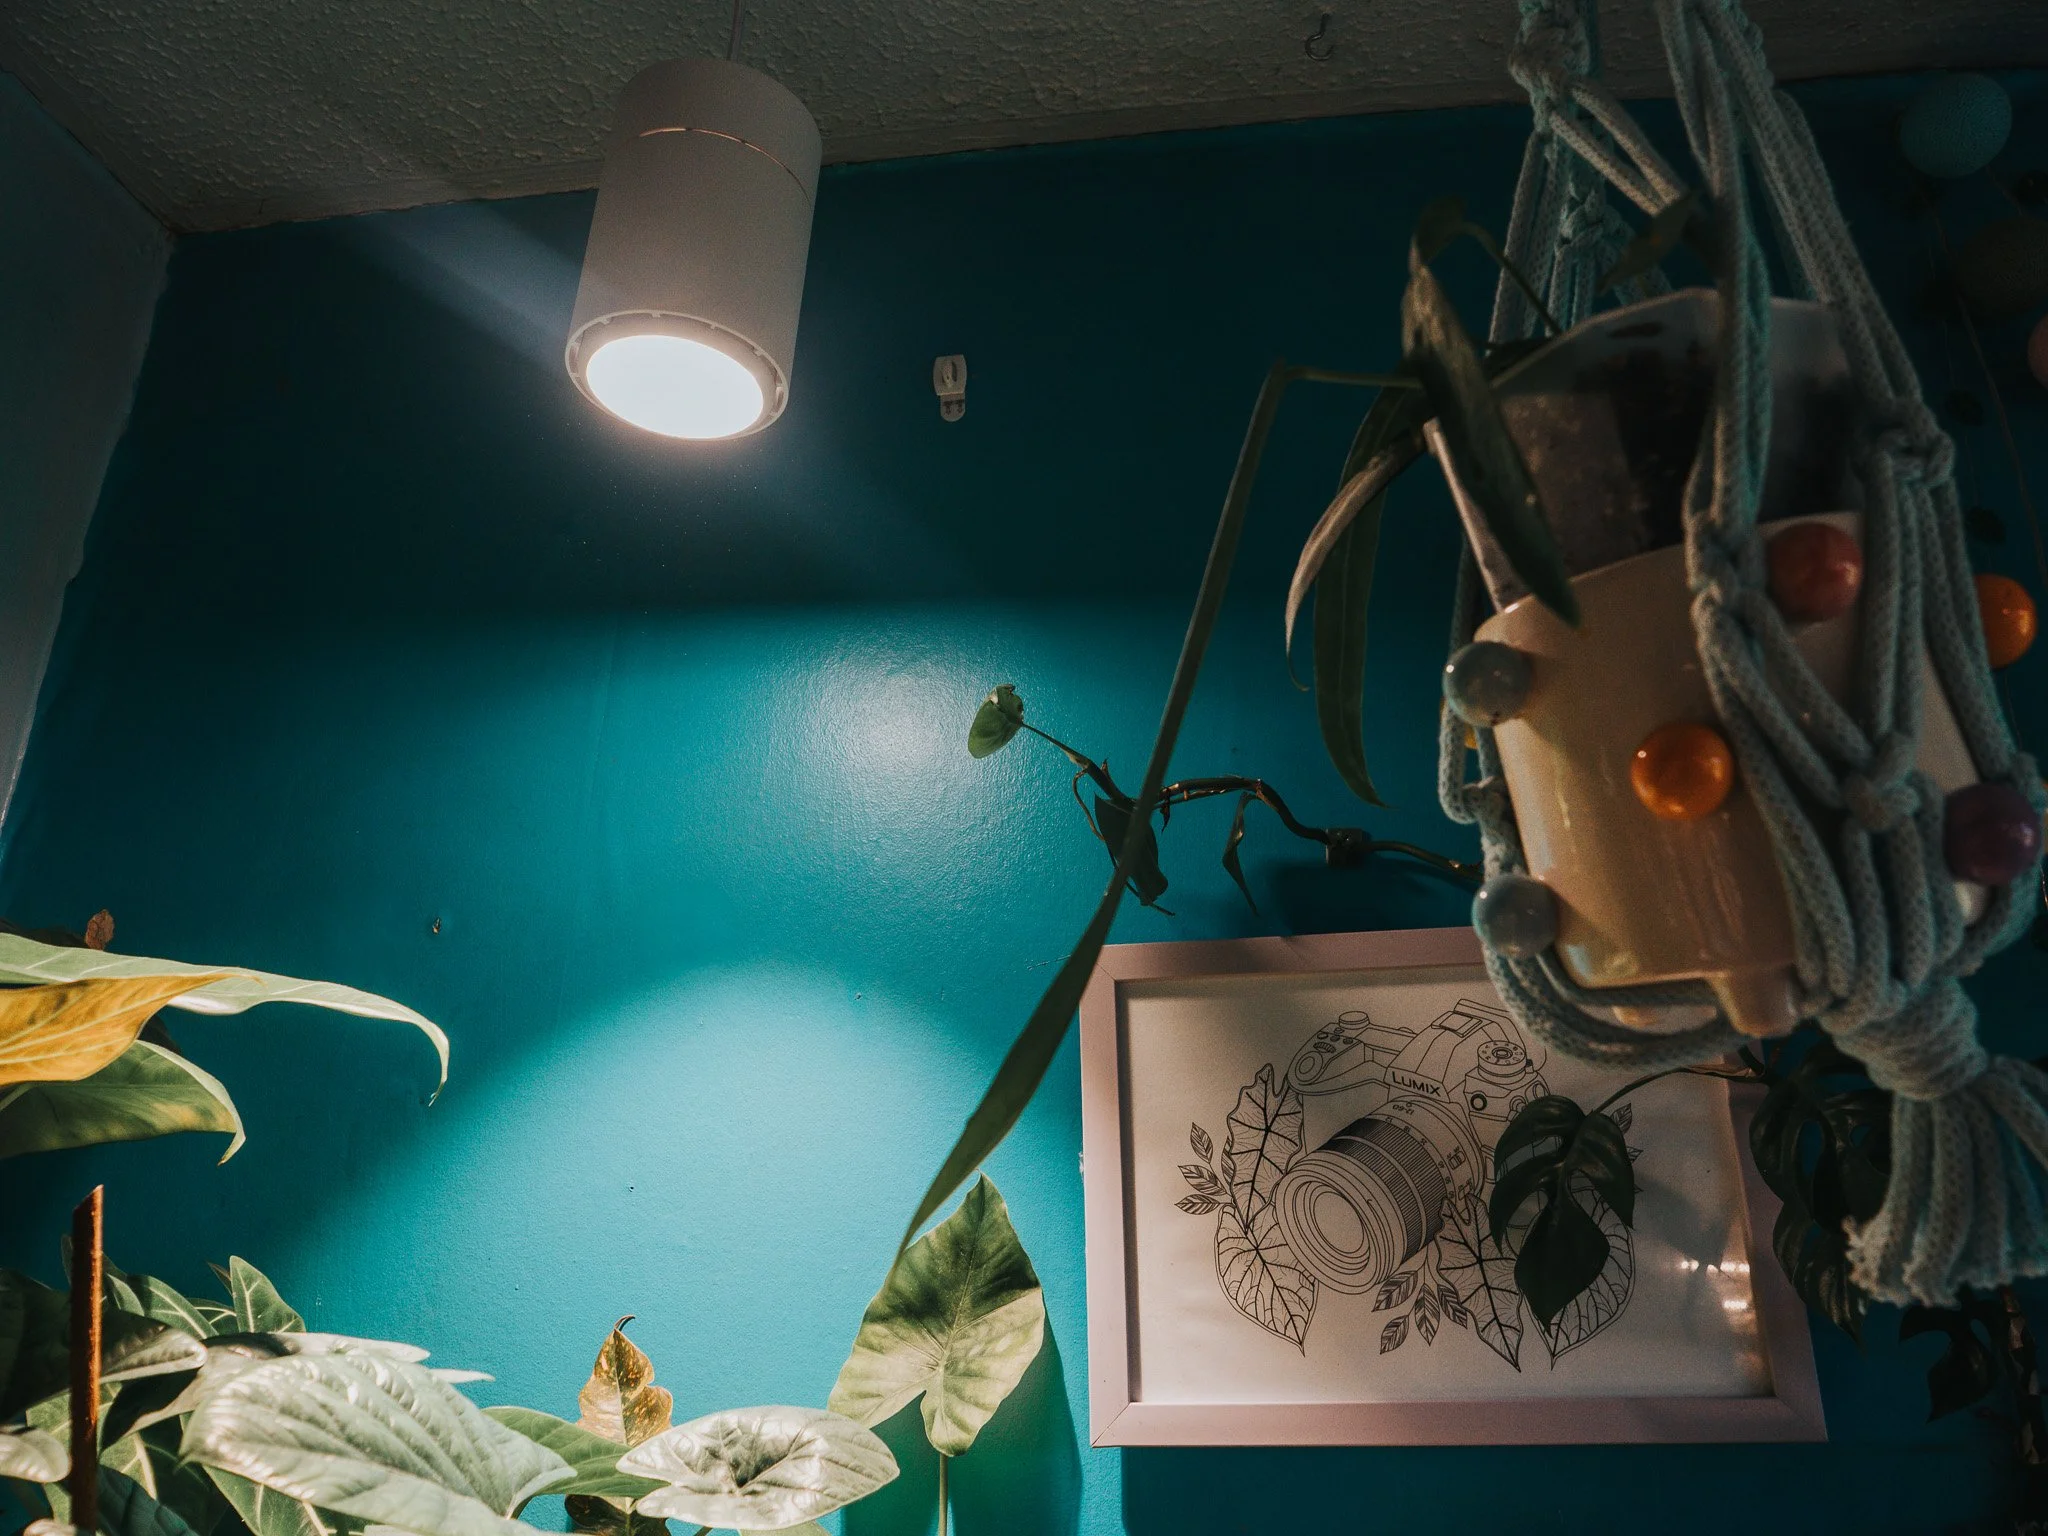
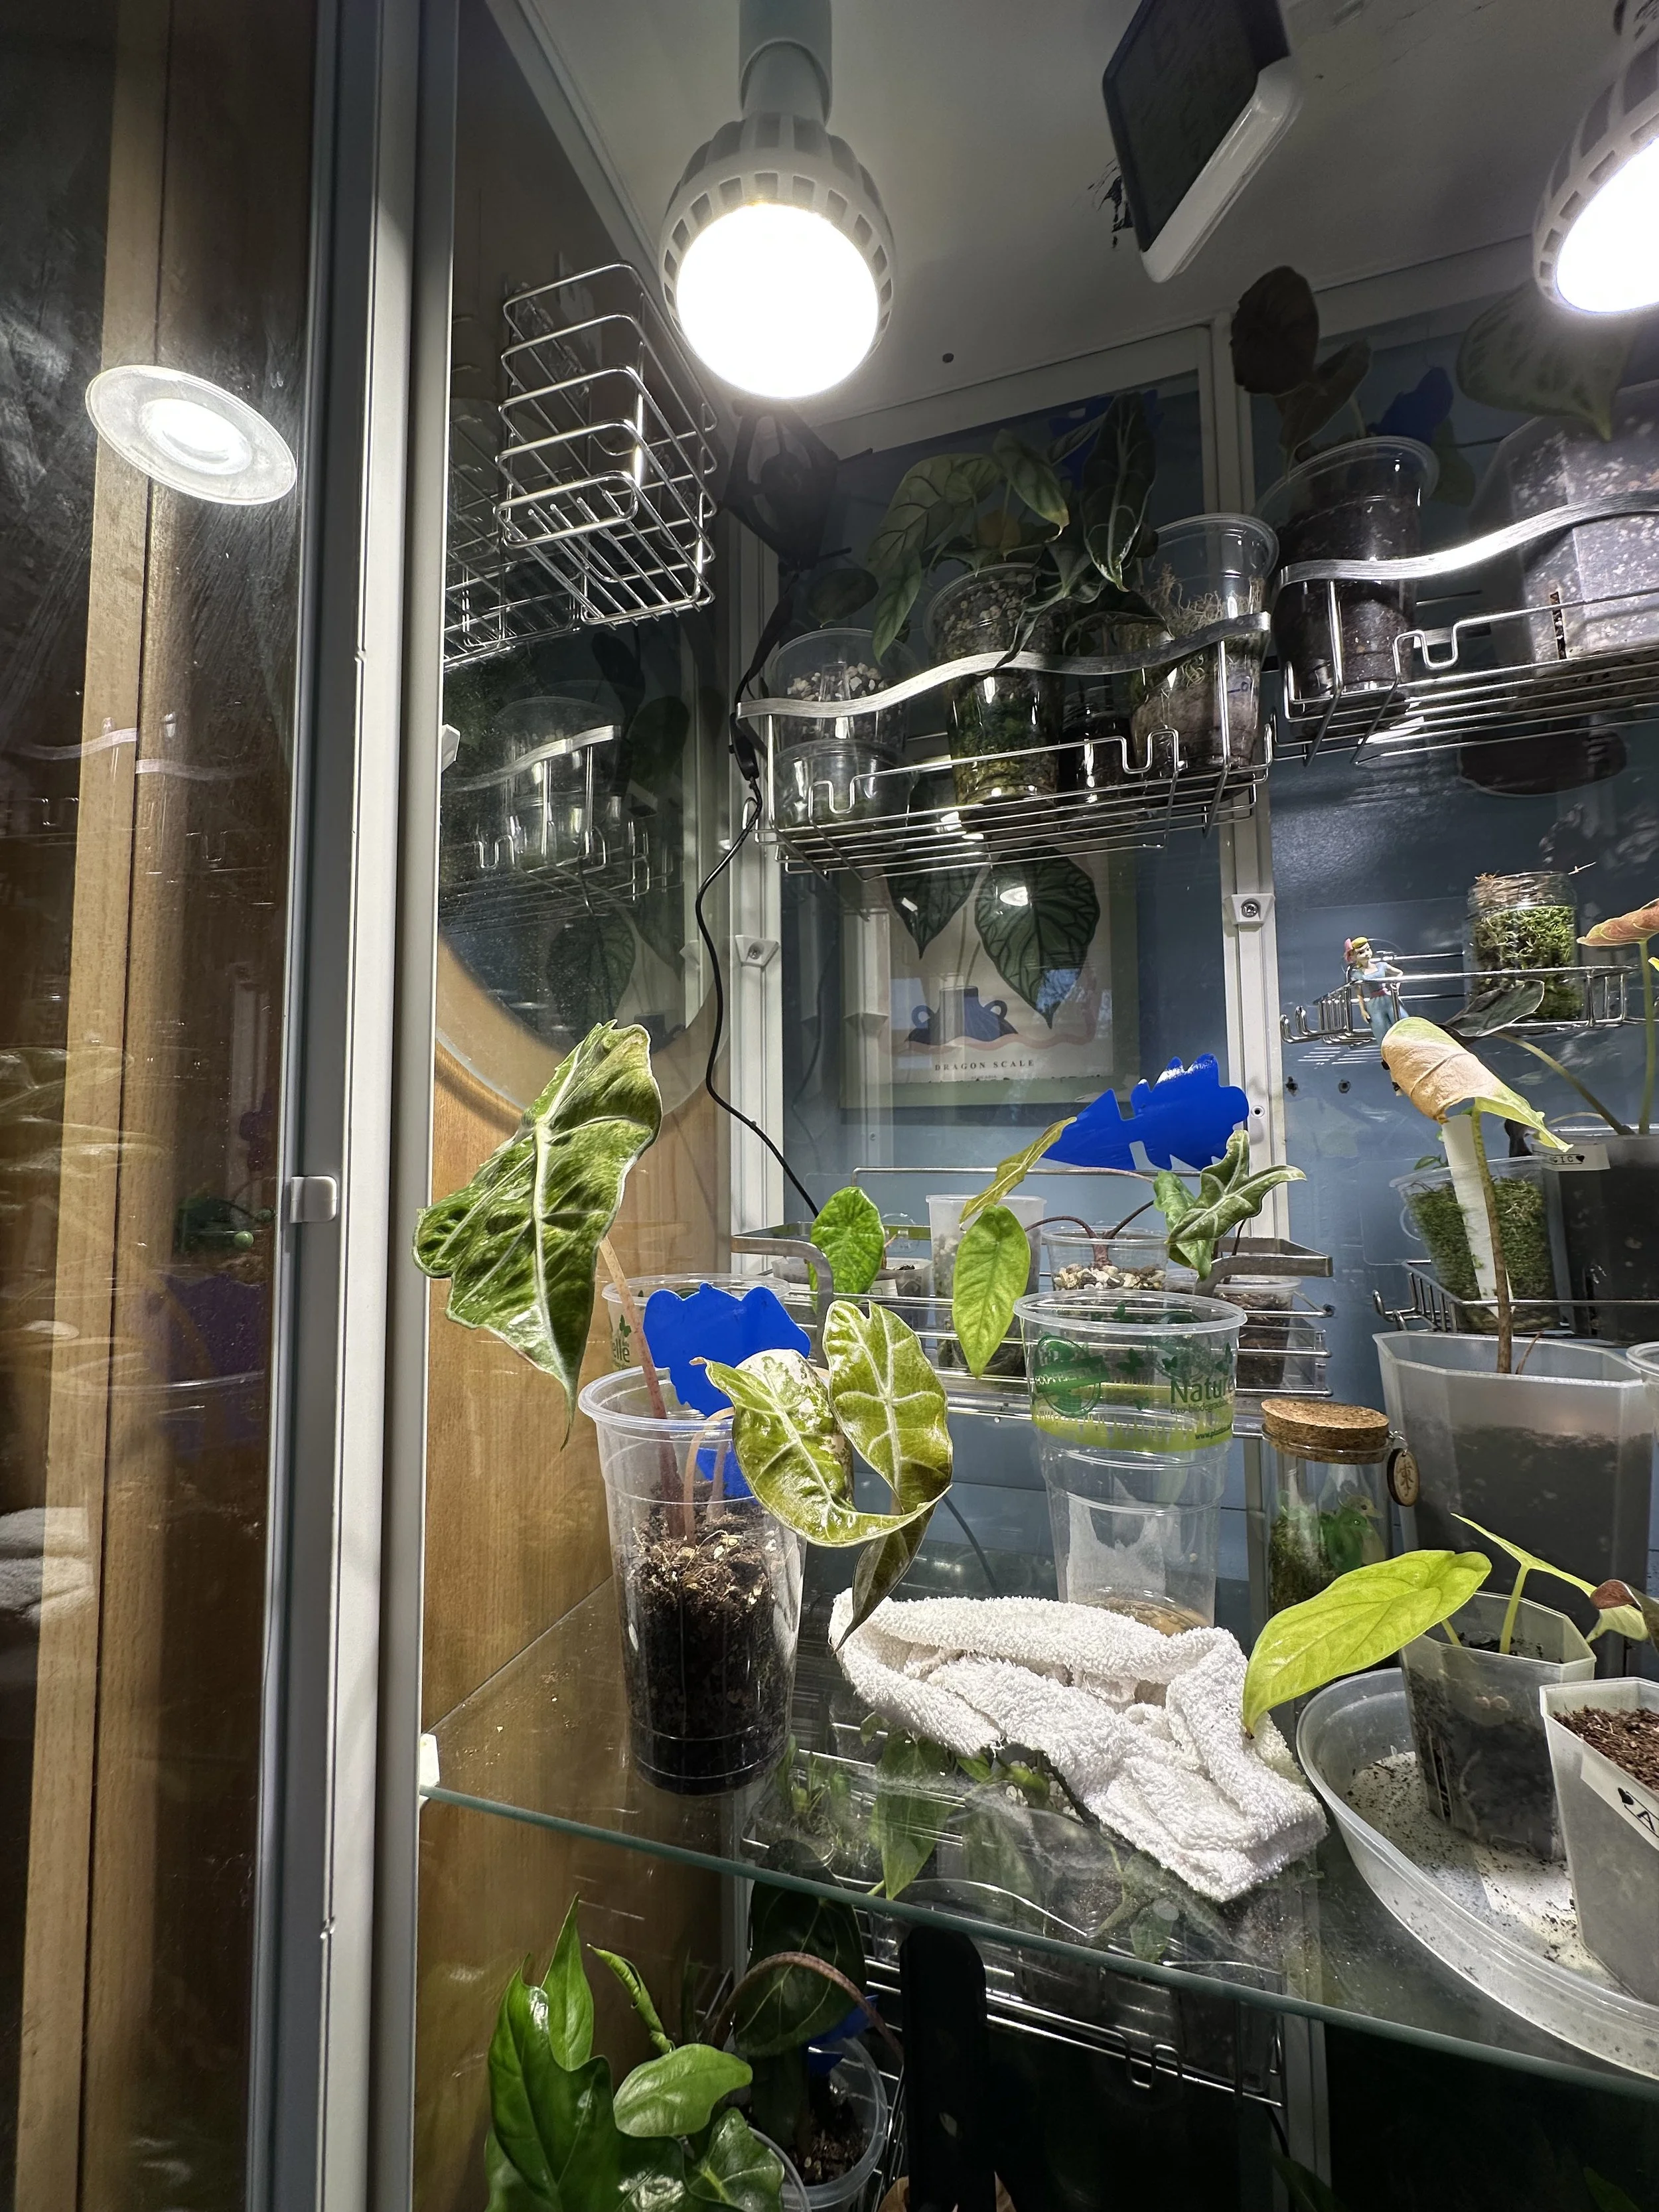
Add a grow light — I love the Claria Grow Light Pendant from Grow Gang. It looks gorgeous, gives full-spectrum LED light that mimics natural daylight, and lasts for ages. Perfect for dark corners or moody winter lighting.
Add a some mirrors - this will help to increase light and you can find some interesting shaped ones out there.
💡 Tip: Keep your light 30 cm–1.25 m above your plants (depending on their light needs) for a warm, gentle glow that won’t scorch or stretch your leafy friends.

🔥 How Do You Keep Plants Warm Without Drying Them Out?
Radiators and window ledges might feel warm, but they’re also chaos: dry air, wild temperature swings, and sad crispy leaves. Let’s go for steady warmth instead.
Your plants’ roots love consistency. The trick? Create a cosy heated setup that keeps warmth gentle and safe, while looking stylish on your shelf.
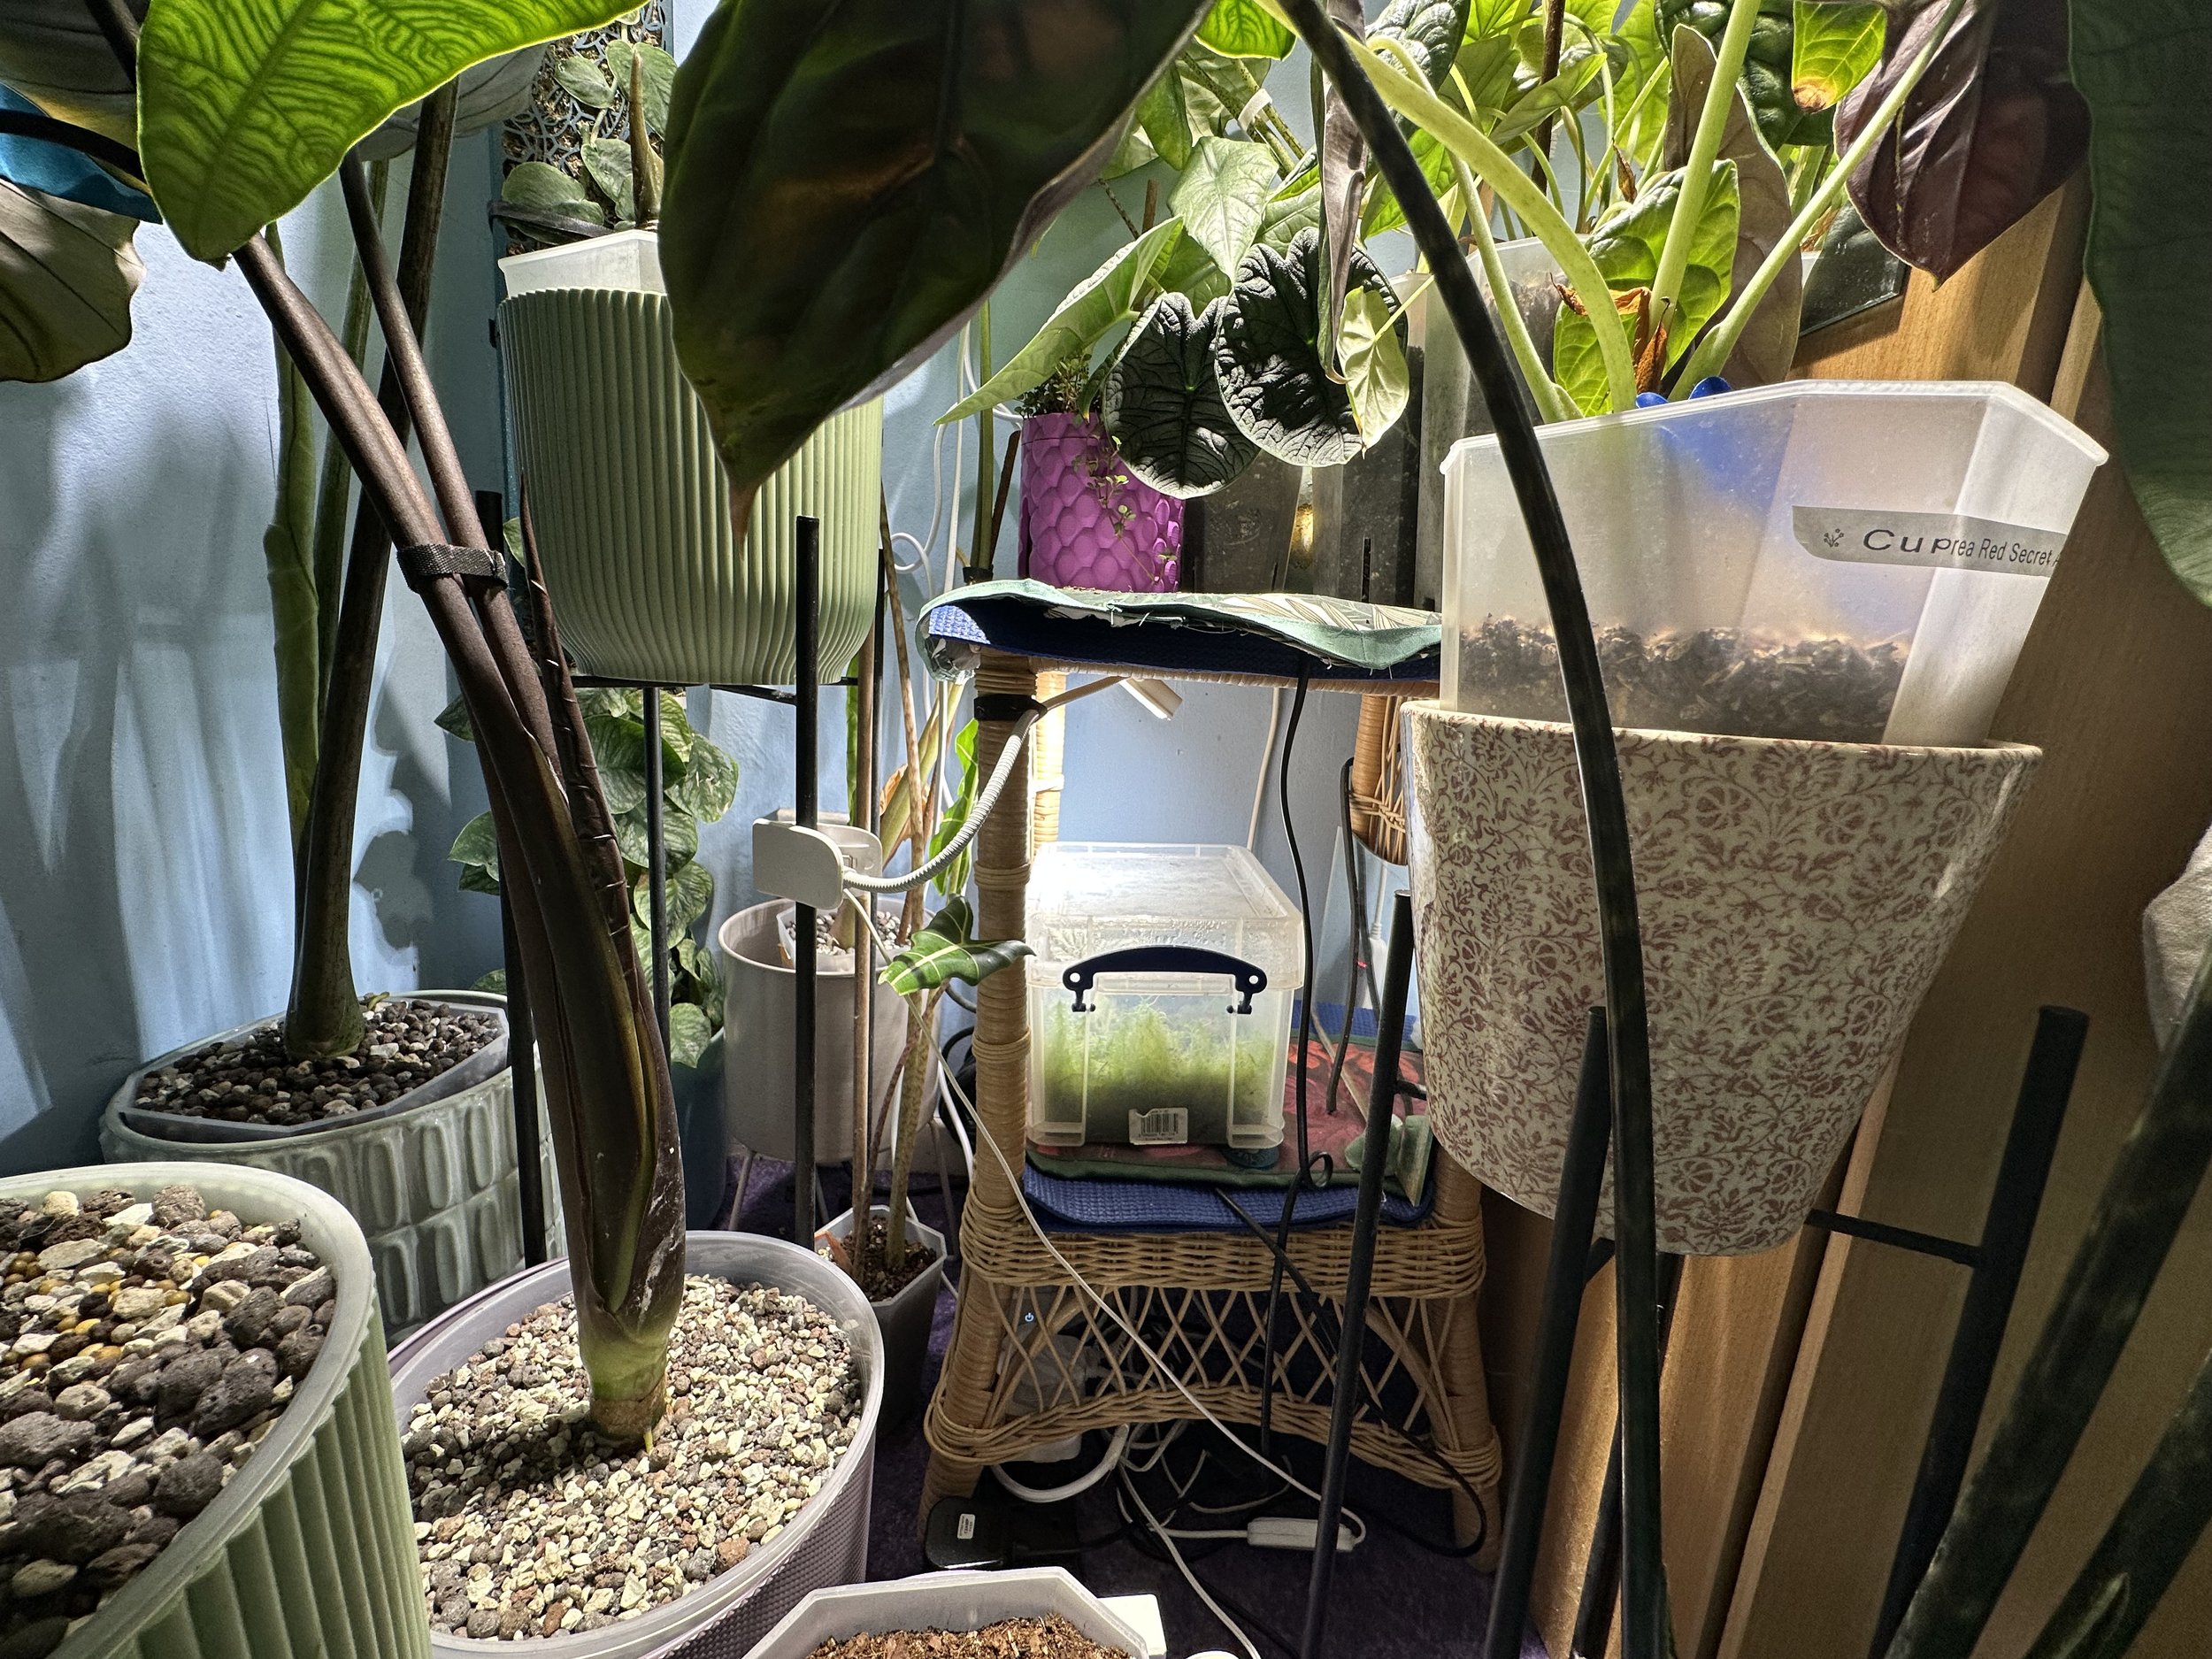
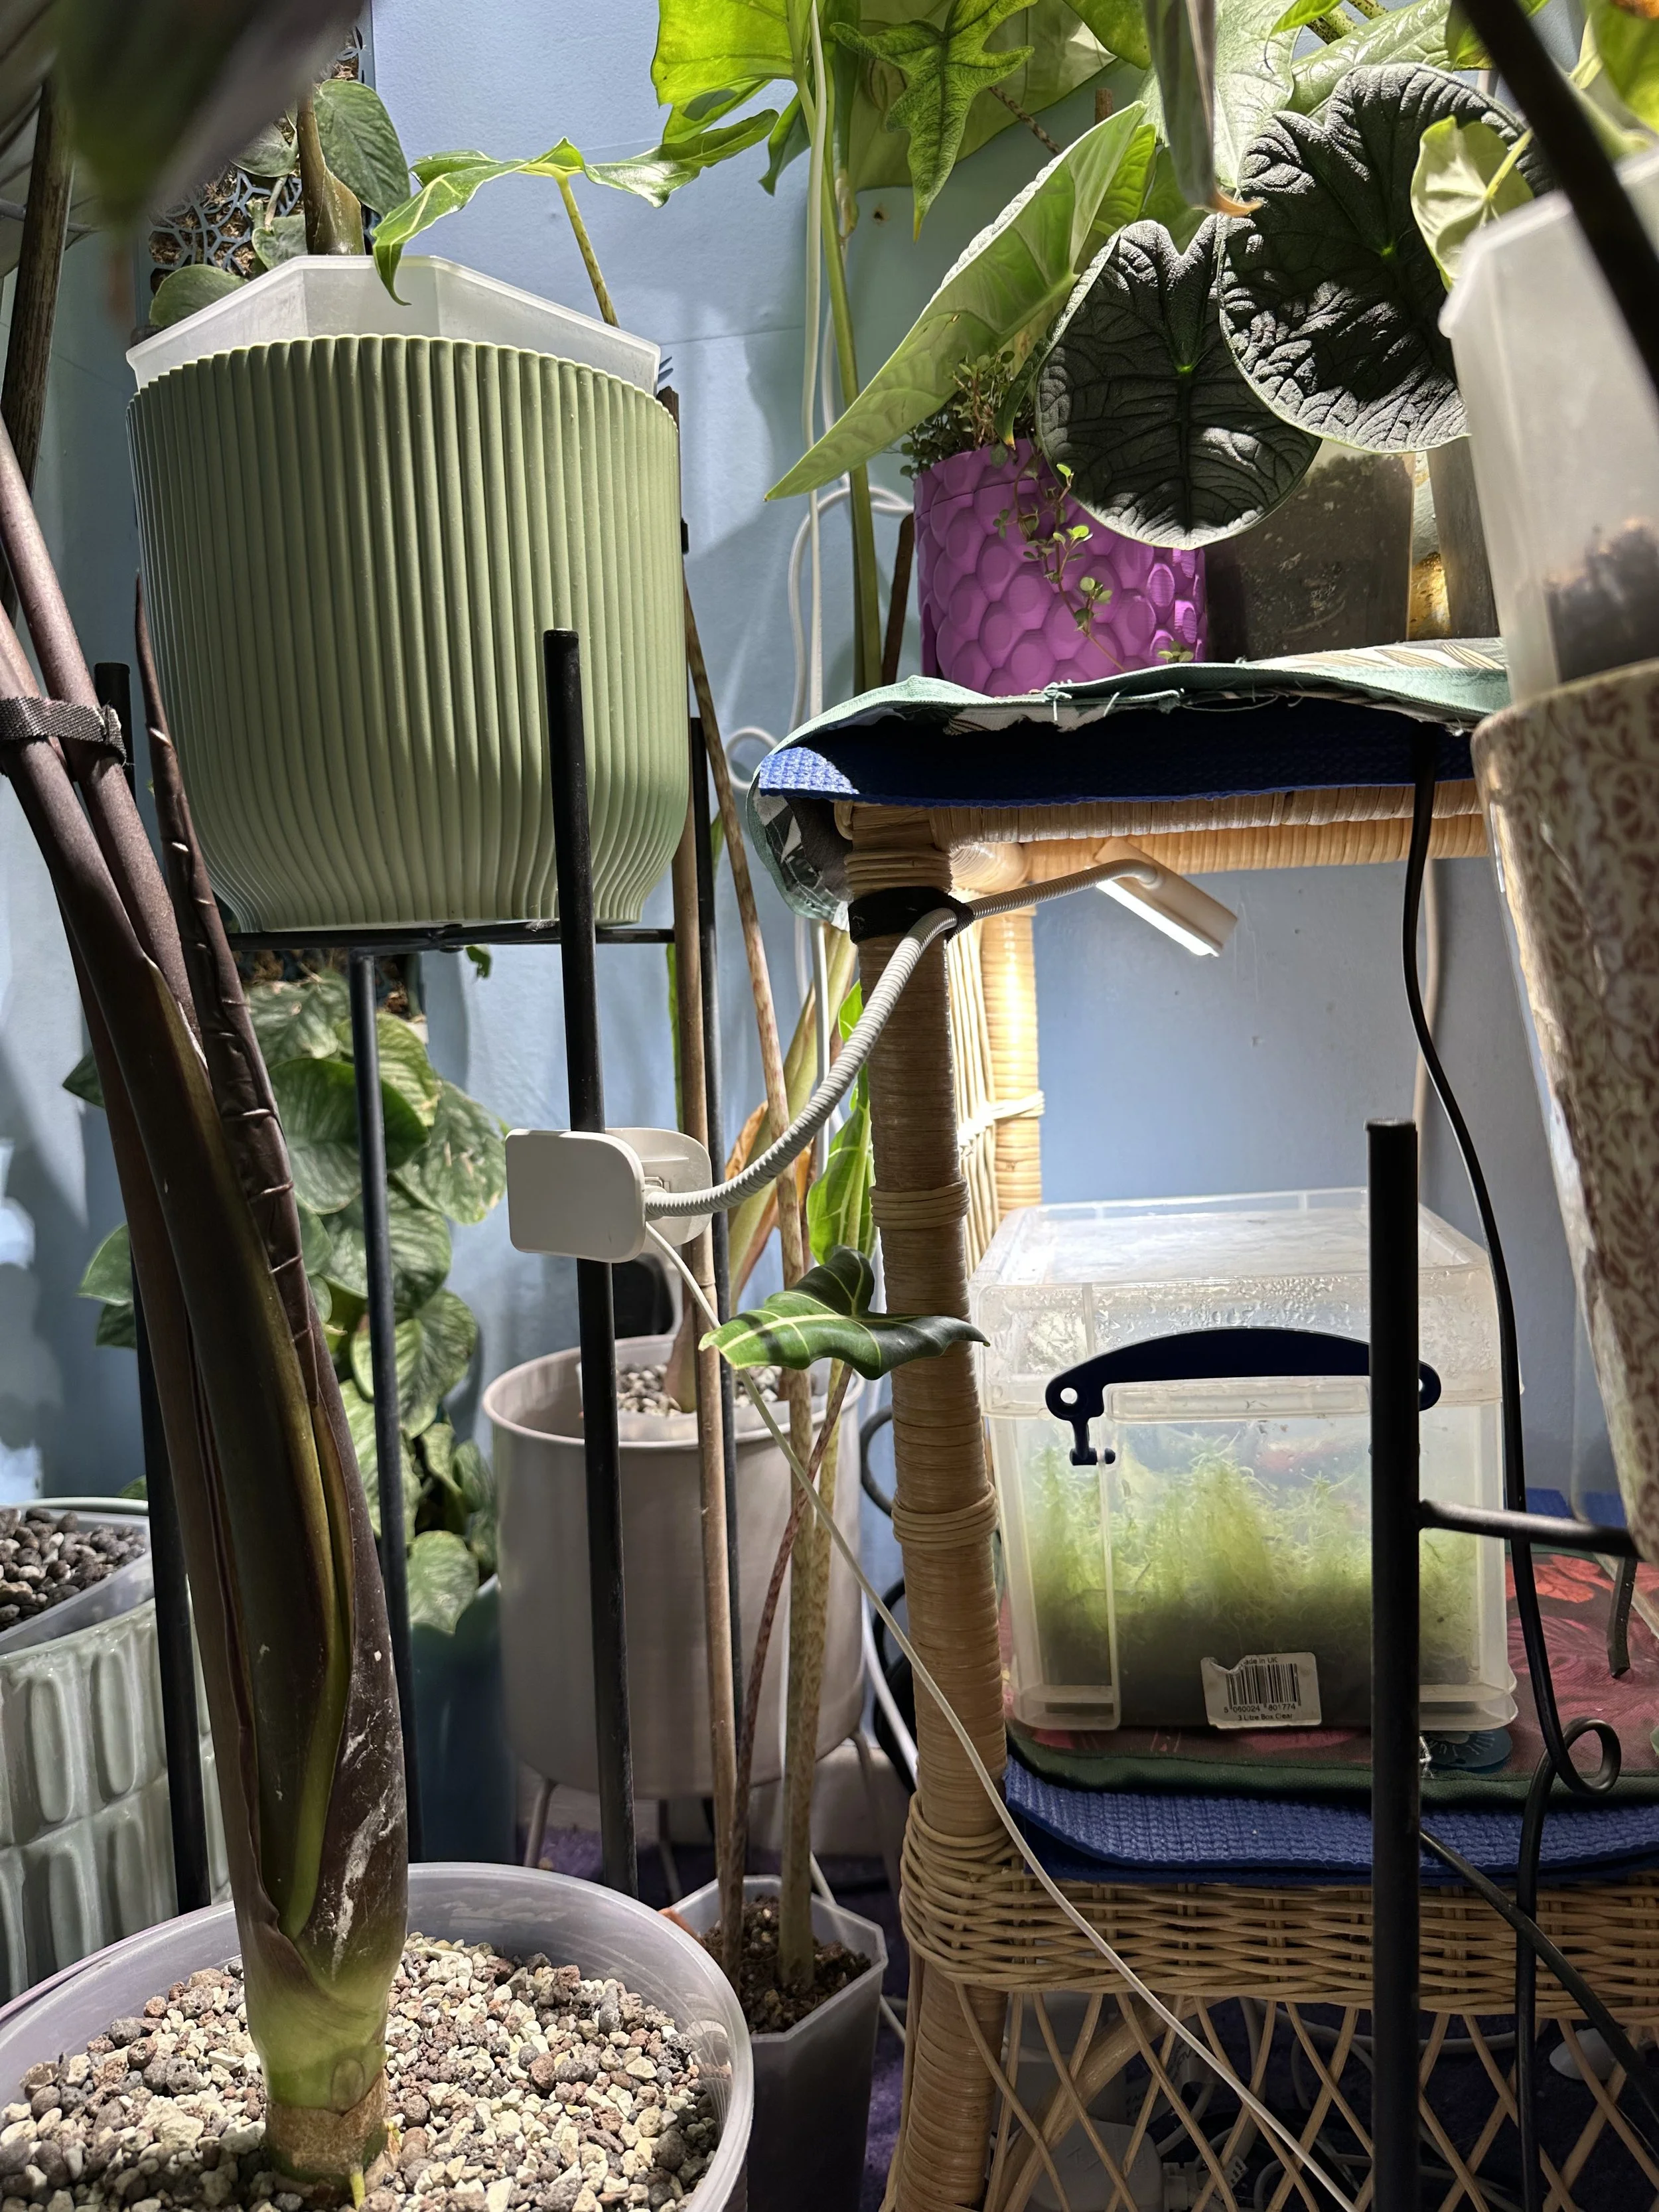
Here’s your Jungle Floor-approved setup:
Start with a foam layer — protects your shelf surface and helps retain gentle warmth.
Place your reptile heat mat on top — provides steady, low-level warmth that tropical roots adore.
Finish with your Plant Shelfie — this is where your plants actually sit. It protects the shelf, lets air circulate, and adds a gorgeous finishing touch to your winter jungle display.
💡 Why this setup? Heat mats shouldn’t touch wood directly. The foam insulates and protects your surface, and the Plant Shelfie acts as the stylish, functional “final layer” for your pots.
little ways you can keep your plants warm over winter:
Other than the method suggested above, heres some simple ways you can keep your plants warm.
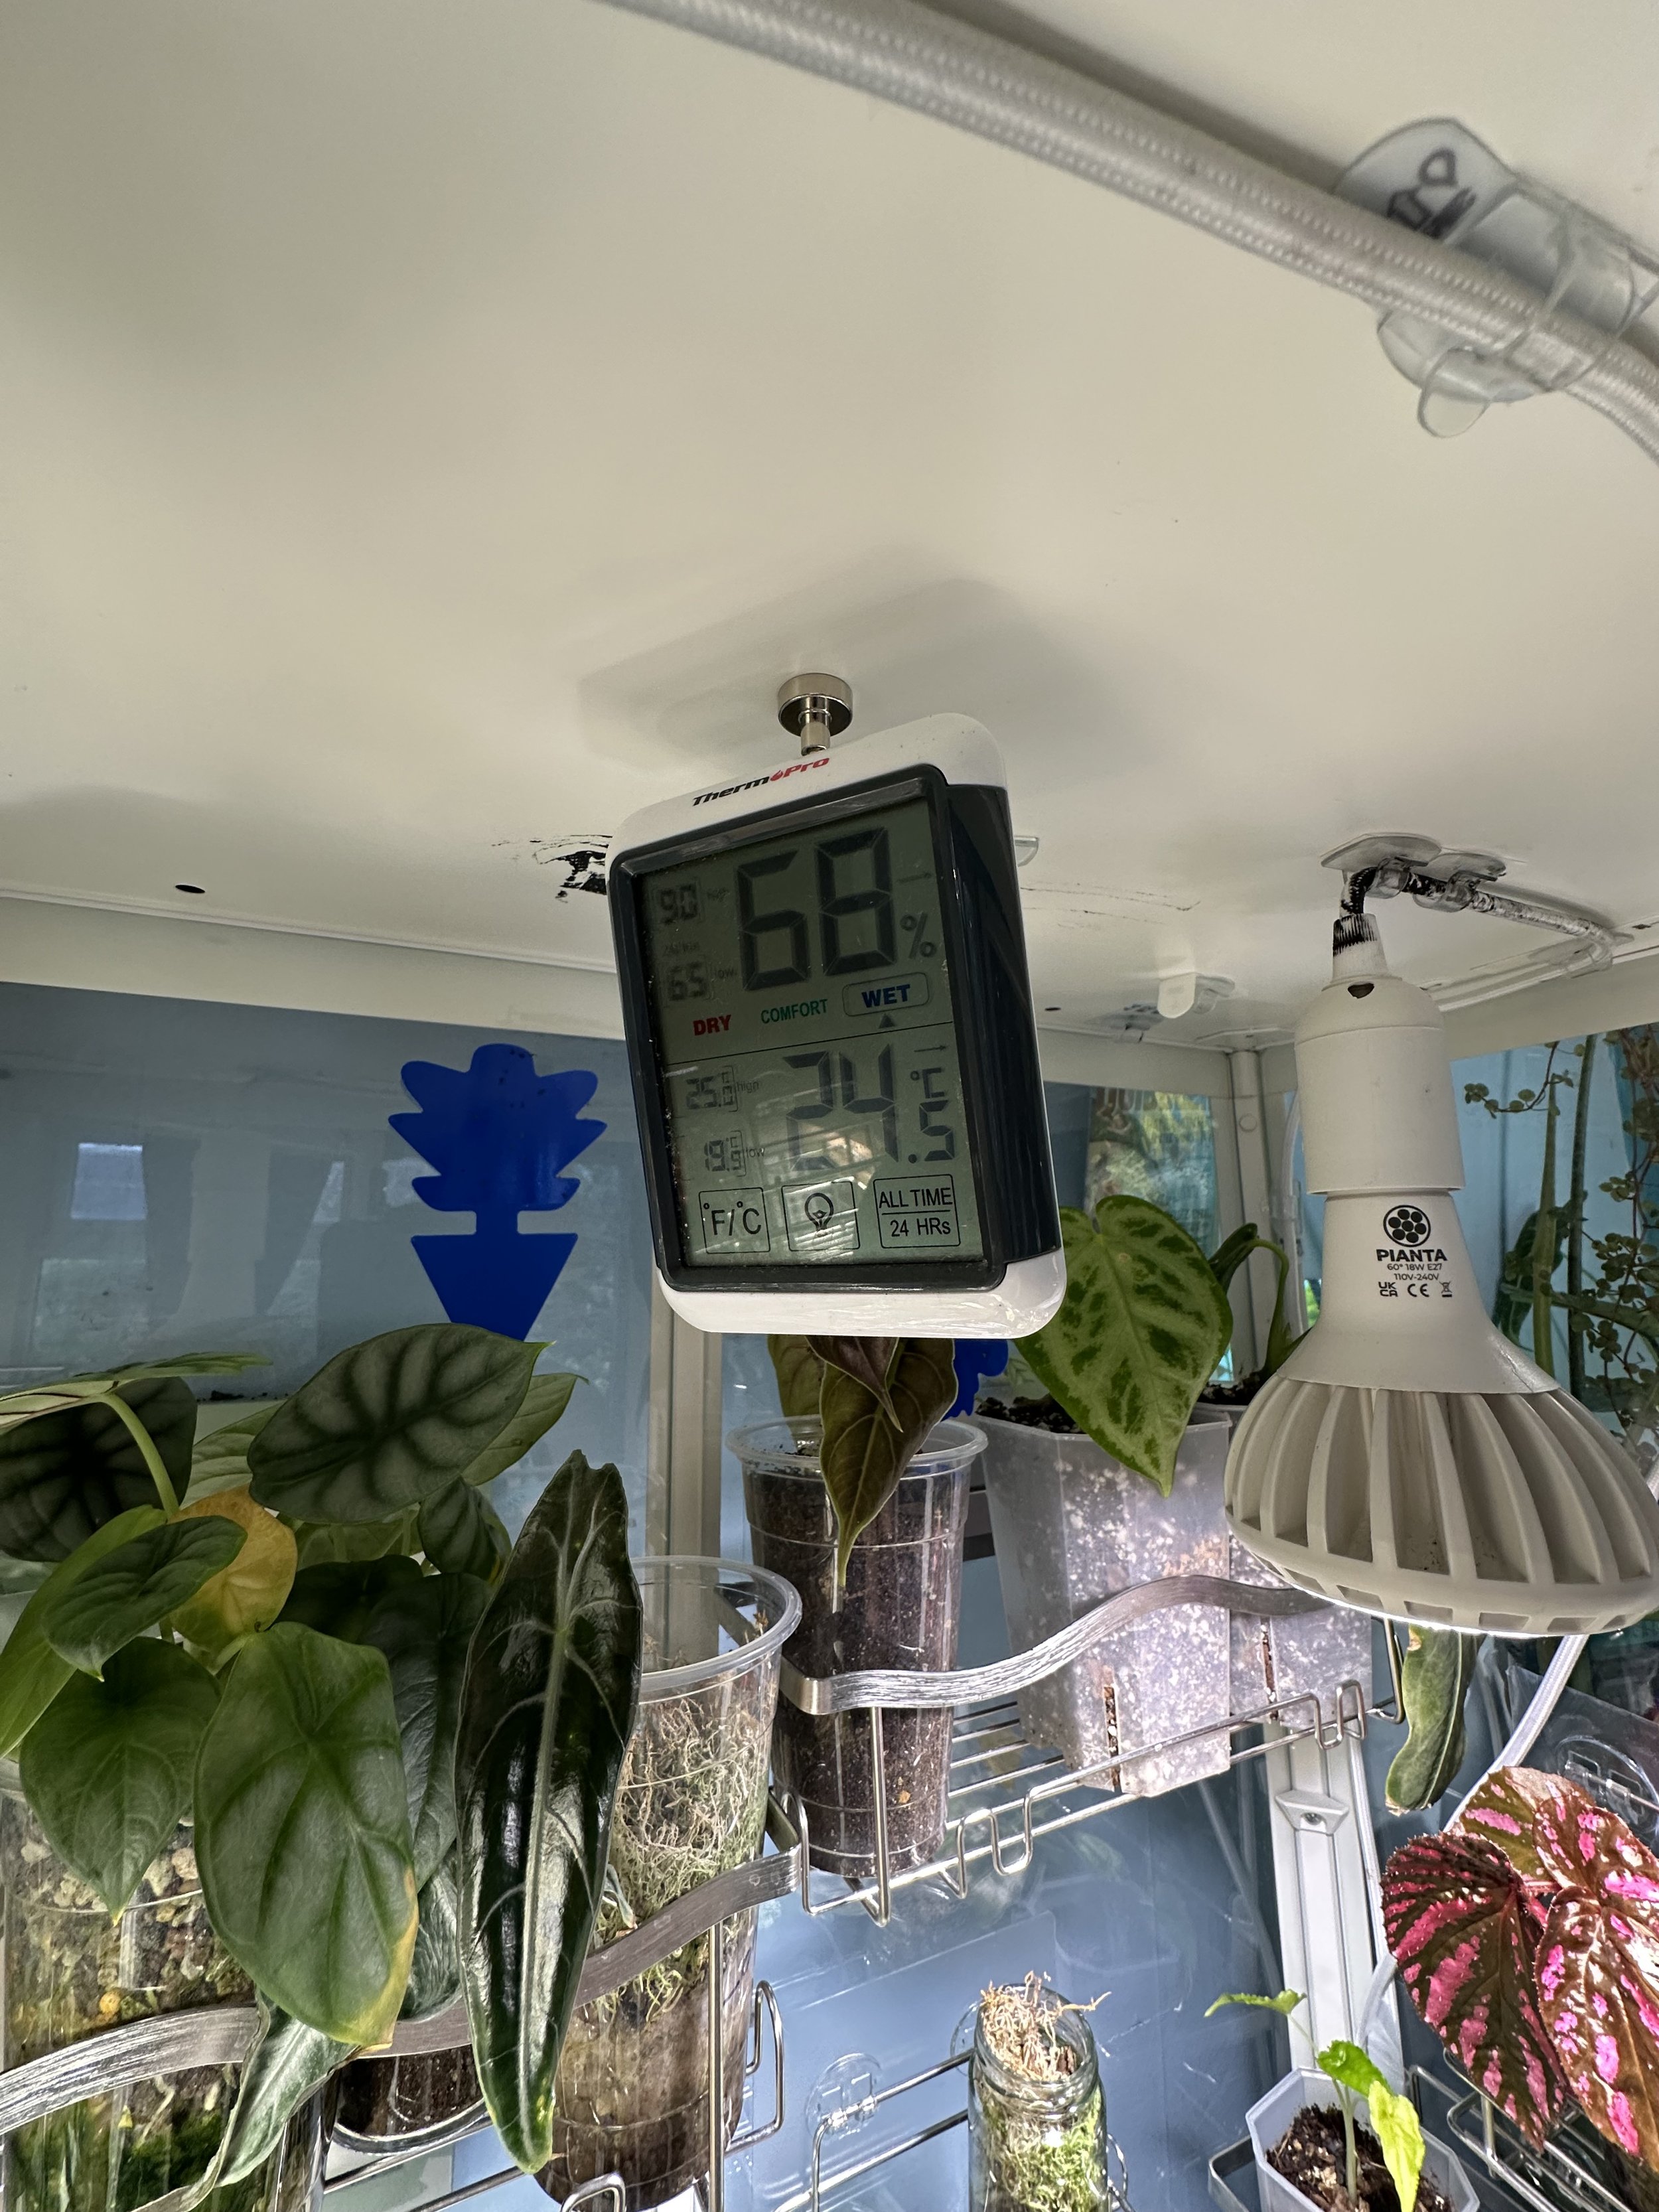
Having hydrometer will help you to know your plants growing environment
Put any plants on the floor up onto a surface were possible.
keeping them away from doors and windows to prevent drafts ( mental picture, a plant wearing a scarf shivering by the door).
Move plants off the window sill if the glass gets cold or draughty — being pressed against icy panes is no plant’s idea of fun.
Group plants together will not only help increase humidity but it will also help them to share there warmth.
Placing them onto a towel or a foam mat.
Increasing humidity, Using a warm humidifier or putting plants on to pebble trays with warm water in them.
Take plants into the warm shower with you.
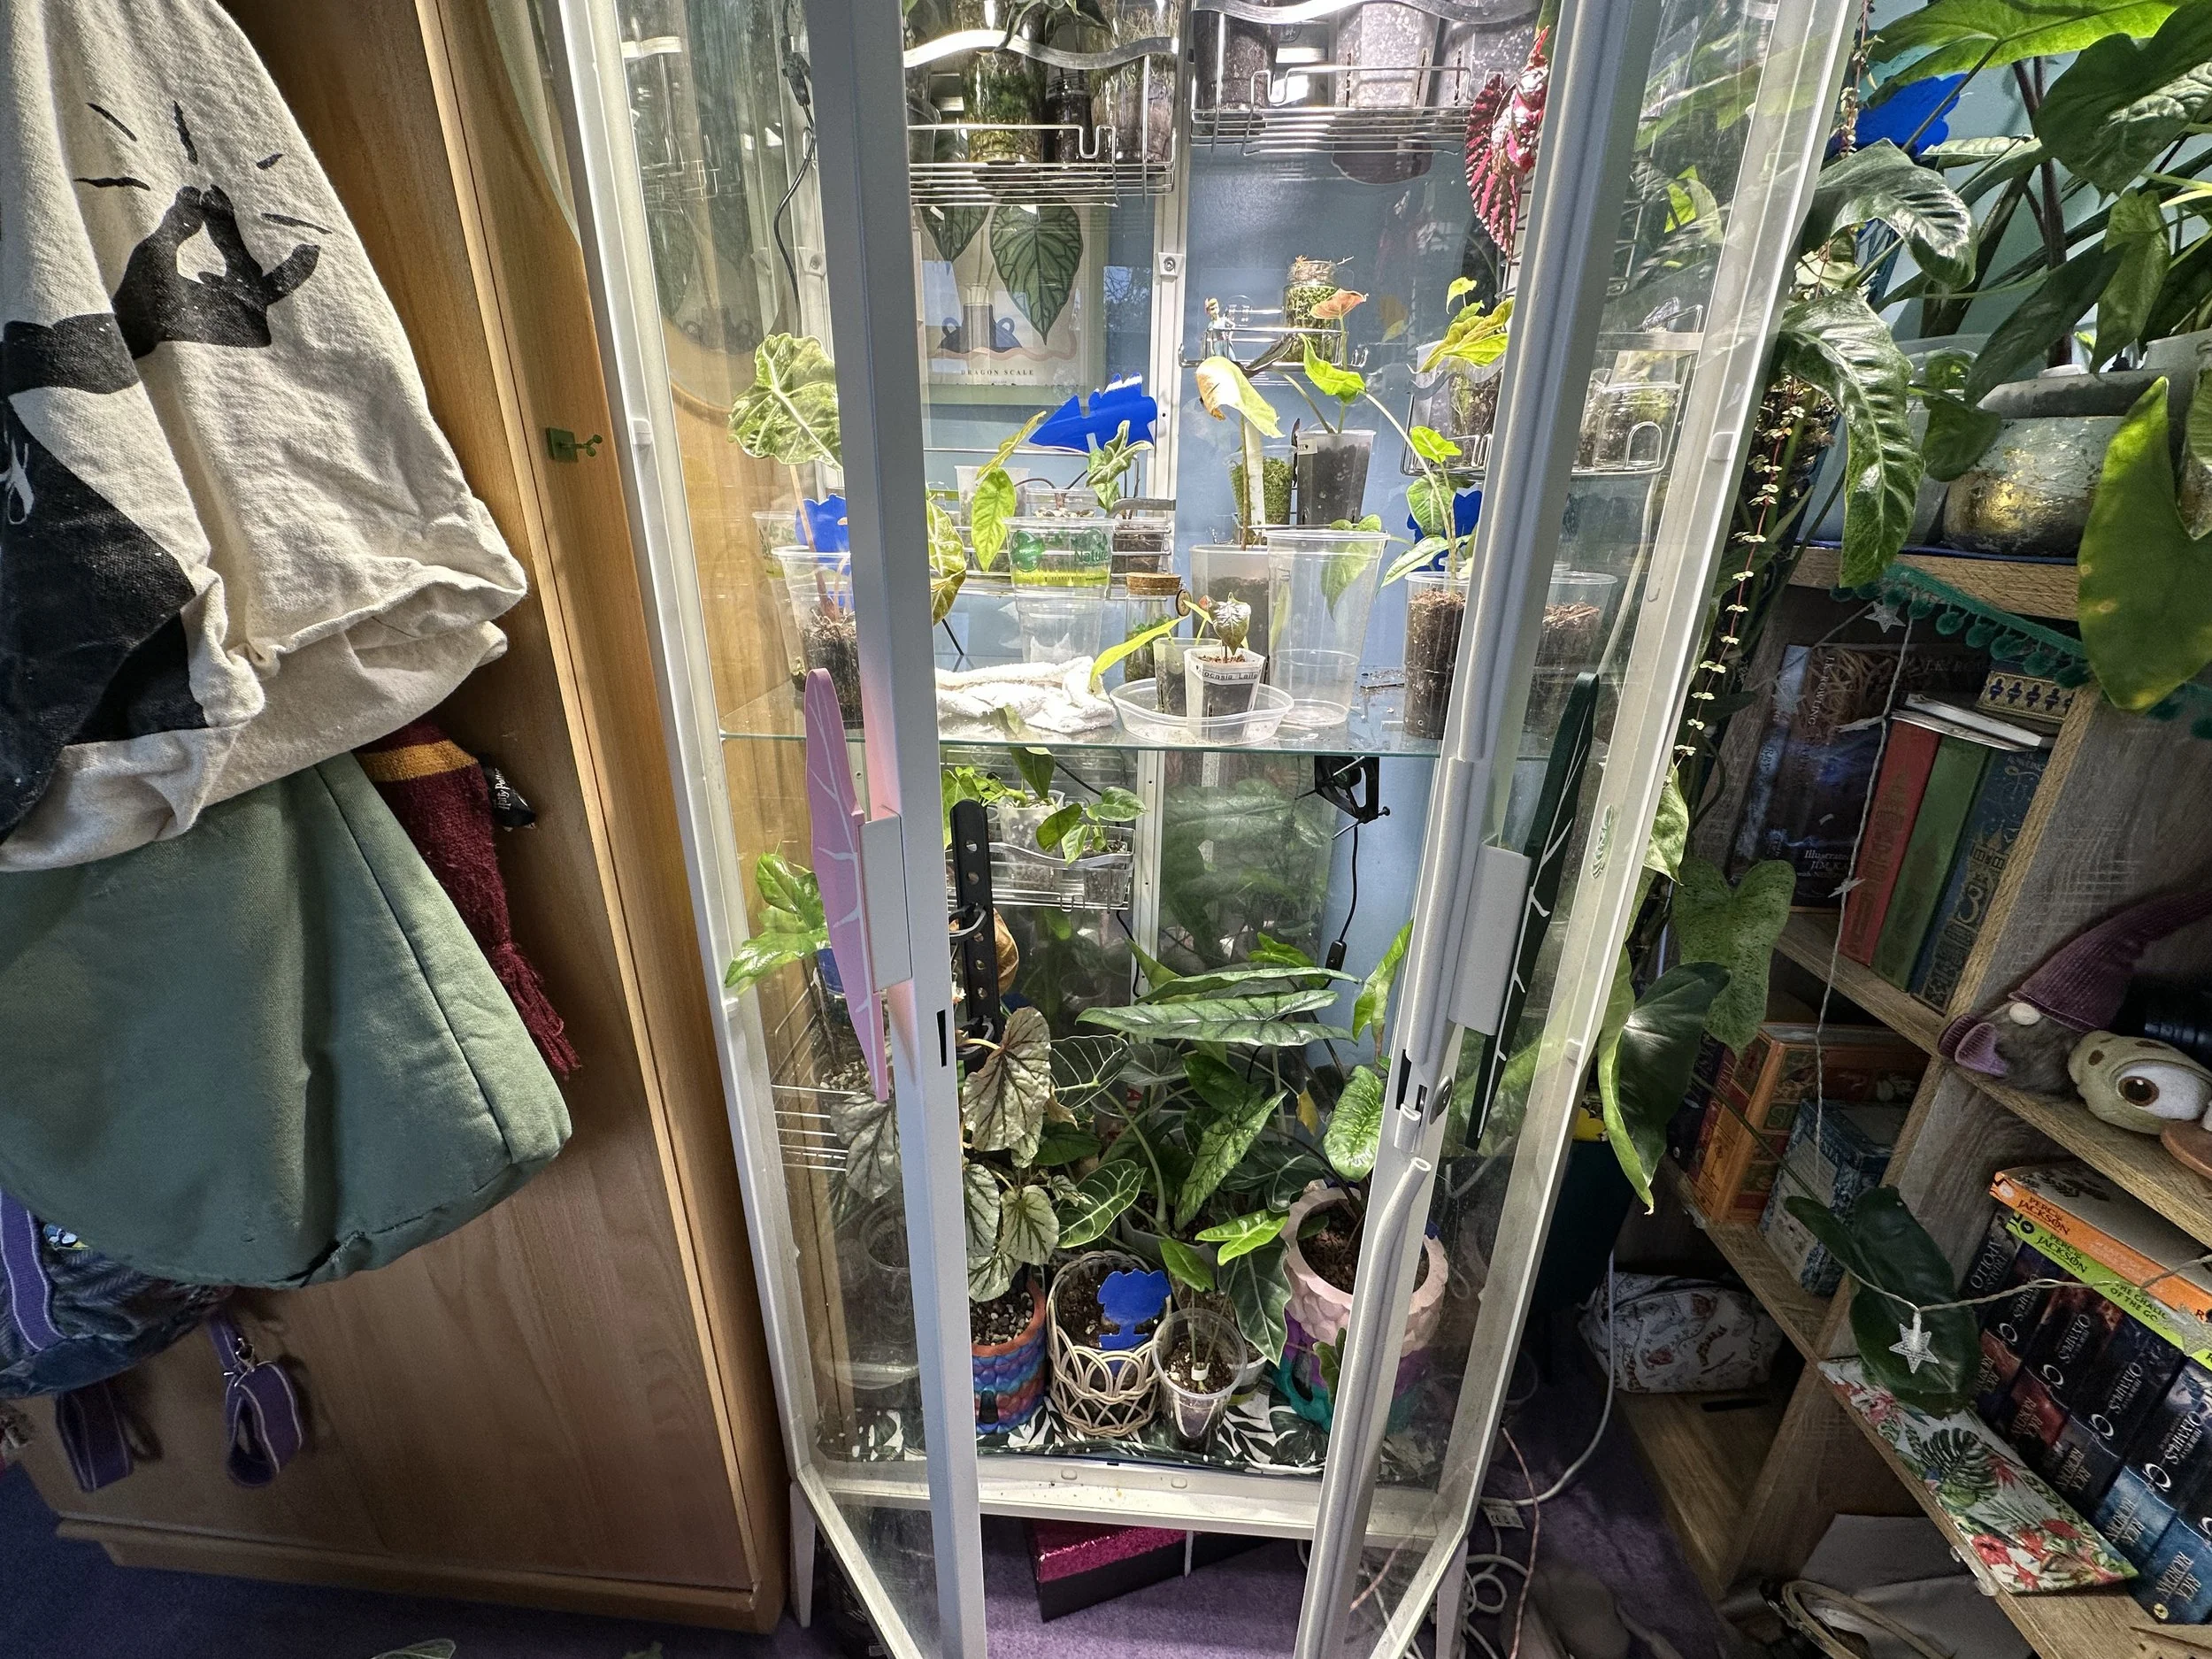
Putting you plants into a cabinet.
💧 How Do You Adjust Watering for Winter?
Plants sip, they don’t chug, in winter. Growth slows, so too much water can spell trouble.
Check the soil first — only water when it’s dry an inch down.
Use room-temperature water (cold water = root shock).
Cut back on misting unless your home is very dry; too much humidity can invite fungus gnats.
If you’re using heat mats, the soil may dry a bit faster, so keep an eye out and adjust your watering rhythm.
🫶 Pro move: Combine watering day with leaf-cleaning day. That way, your plants get hydration inside and out.
🌱 Do You Feed Plants in Winter?
Mostly… no. Think of winter as the plant world’s nap time. Growth slows; energy goes to maintenance, not new leaves.
Pause or halve feeding until spring, when new growth reappears.
If a plant is still growing (hello, overachievers), a tiny drop of diluted seaweed feed can be fine — gentle nourishment, not a full feast.
🌊 Psst: Check out our Benefits of Seaweed post to learn why it’s such a plant superhero!
✨ A Little Jungle Floor Winter Routine
Make winter care your cosy ritual:
Lay down your Jungle Floor Potting Mat before watering or repotting — saves your table and makes cleanup easy.
Keep your Plant Cloth nearby for quick dust-offs and shine sessions.
Use your foam + heat mat + Plant Shelfie combo to keep plants warm safely.
Pop your Claria Grow Light on a timer to give your plants a reliable “day” even when the sun’s being lazy. (look out for jungle discount on the bottom of the page when you open this link: Claria Grow Light
And most importantly — check in. Take five minutes once a week to rotate, wipe, water, and admire your leafy gang. That little bit of attention goes a long way.
🌿 Final Thought
Winter doesn’t have to mean a sleepy, sulky jungle. With the right mix of light, warmth, hydration, and love — plus your Jungle Floor setup (foam → heat mat → Plant Shelfie = perfection) — you’ll keep your green family thriving until spring struts back in.
So grab your cosy socks, make something warm to drink, and enjoy your plants basking in their gentle winter glow. They’re thriving — because of you. 💚
Taking Care of My Potting Mat


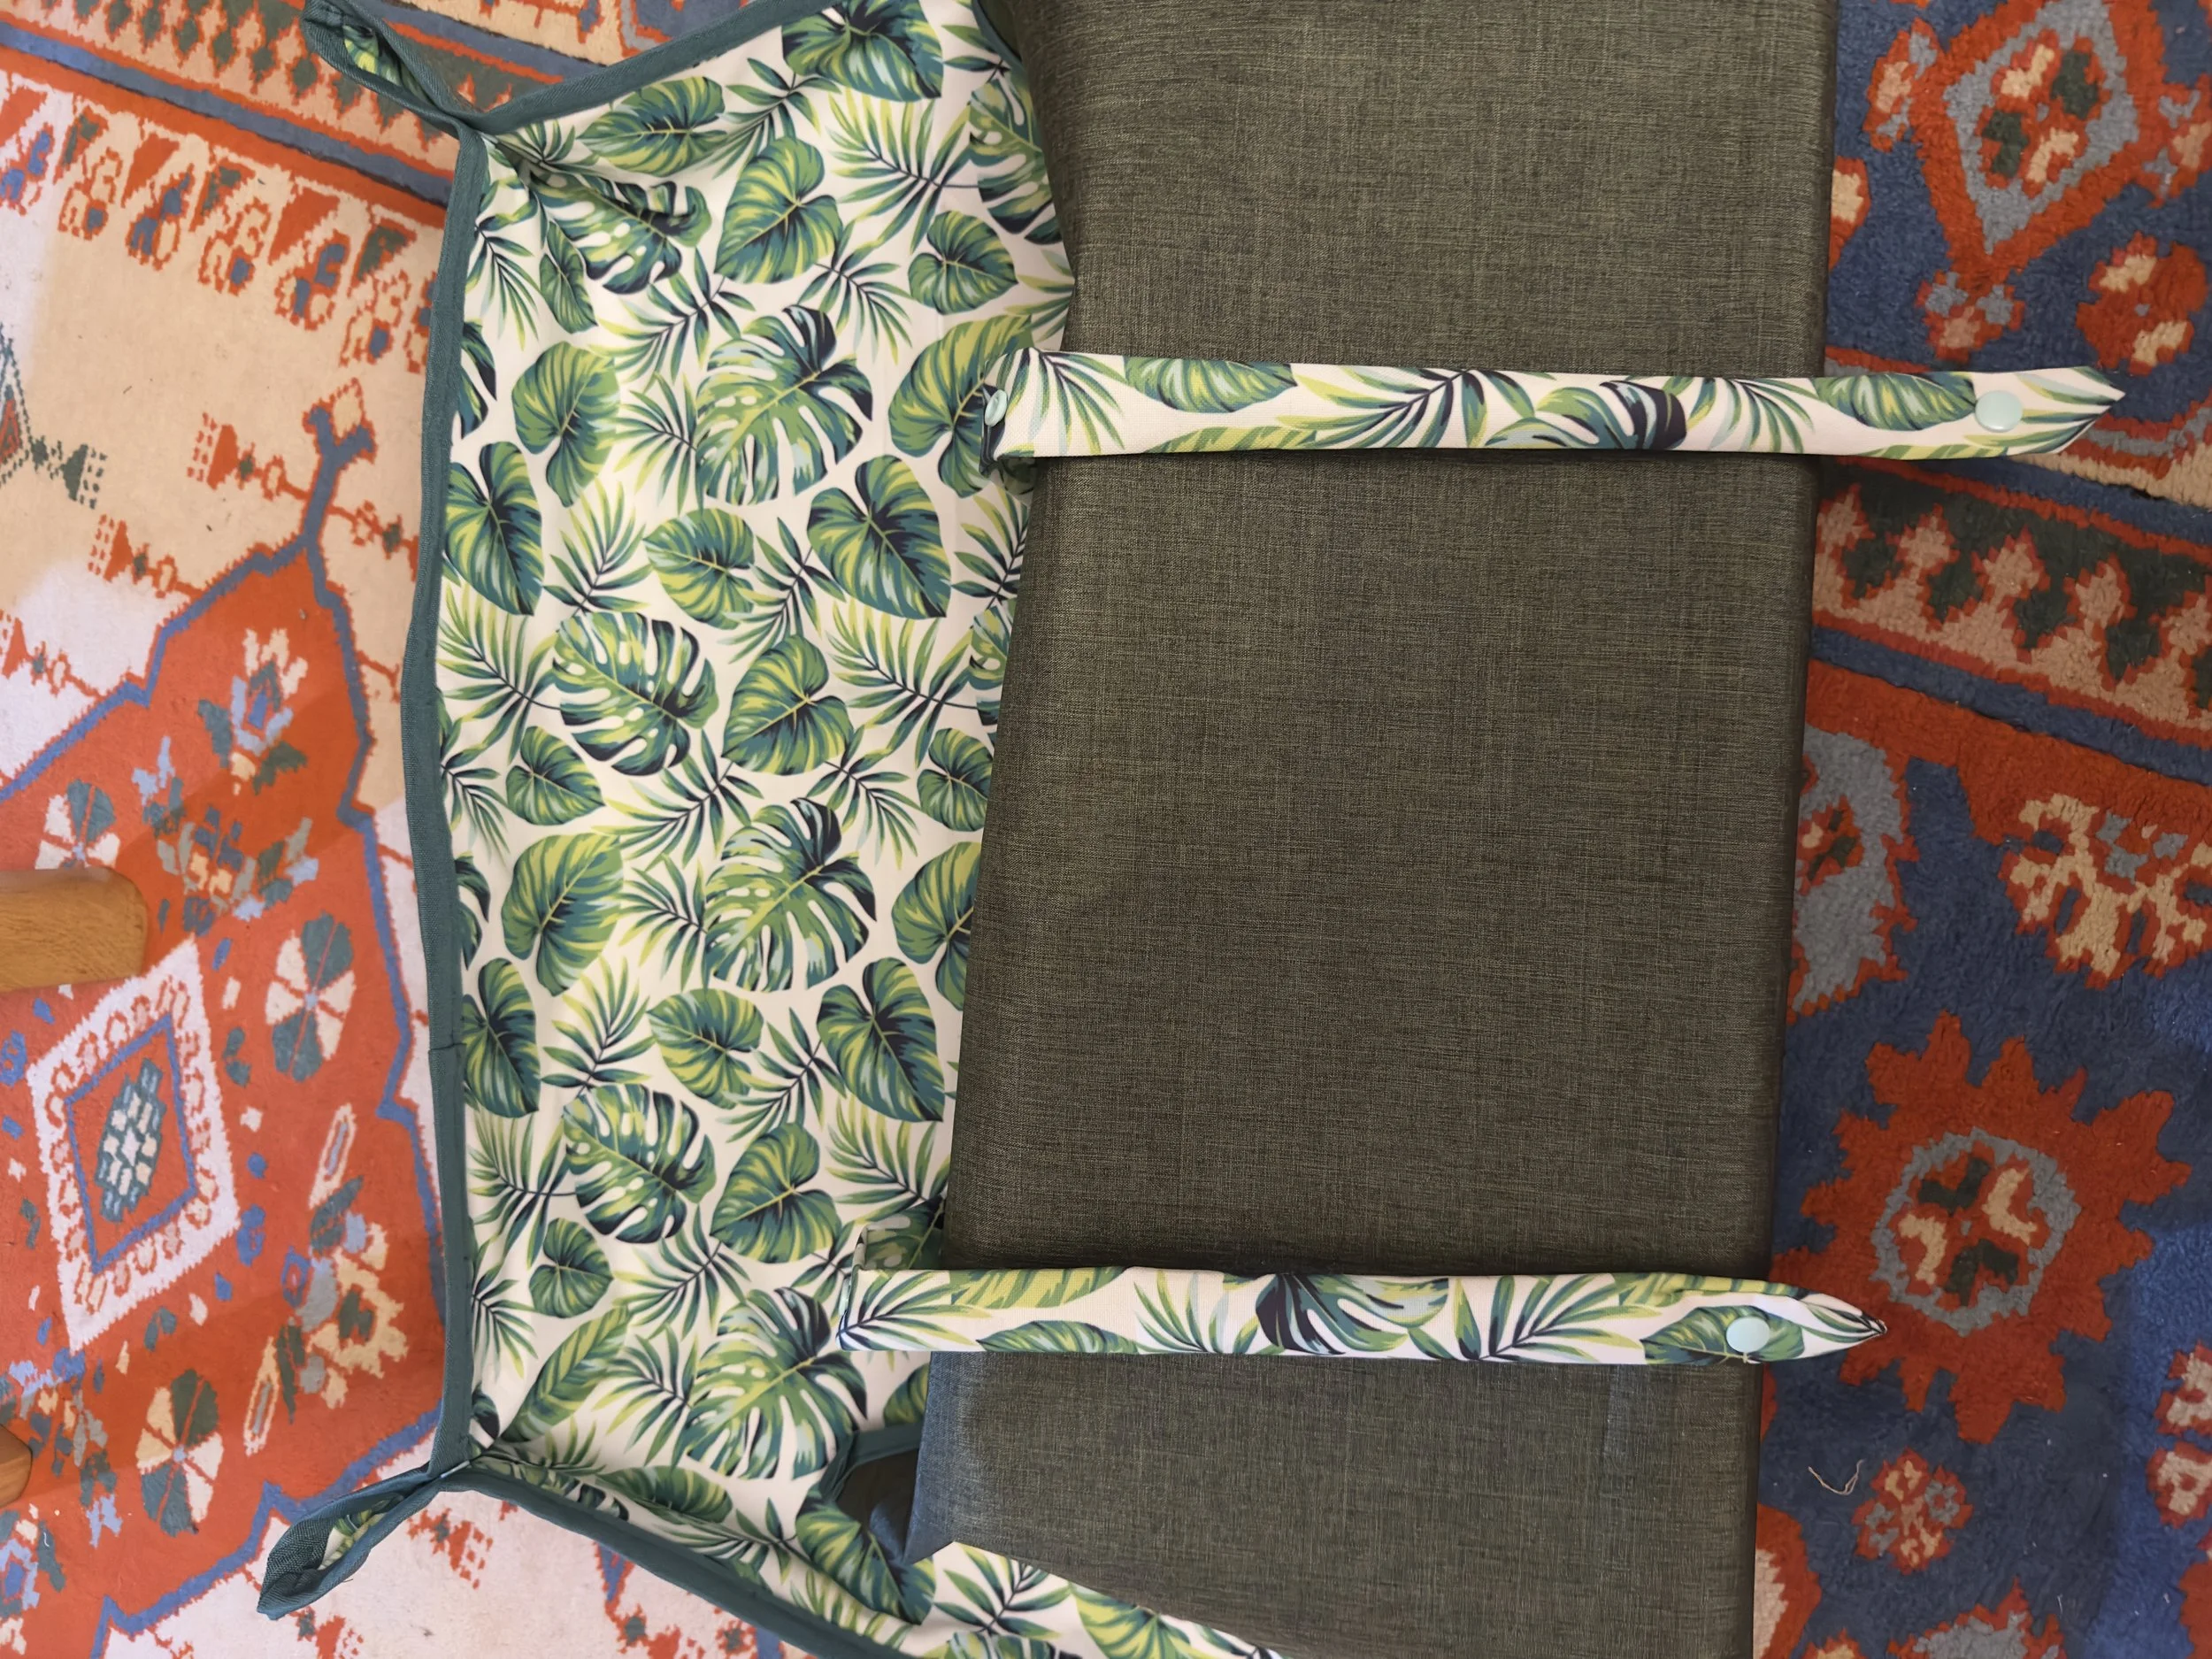
How to Take Care of Your Jungle Floor Repotting Mat
Every Jungle Floor Creative repotting mat is made to order — designed with care, crafted by hand, and printed with playful, plant-loving patterns to make your indoor gardening sessions a little more joyful. With a variety of unique designs, we hope each mat inspires you to repot with creativity, confidence, and (a little) less mess.
Our mats are water-resistant (very nearly waterproof!) — perfect for catching spilled soil, drips of water, or runaway LECA. But just like your plants, they need a bit of care now and then. Whether you’re someone who lets the dirt settle or likes to keep your tools spotless, a quick clean can help your mat look fresh and last longer.
Below are our easy, mess-free steps to help you care for your Jungle Floor Creative repotting mat — so it's always ready for your next planty project.
How to Take Care of Your Repotting Mat (The Fun, Mess-Free Way!)
Your Jungle Floor Creative repotting mat is made to handle all the messy magic of plant care — but giving it a little love after each use will keep it in top shape for years to come. Here's how to clean, dry, and store your mat like a pro:
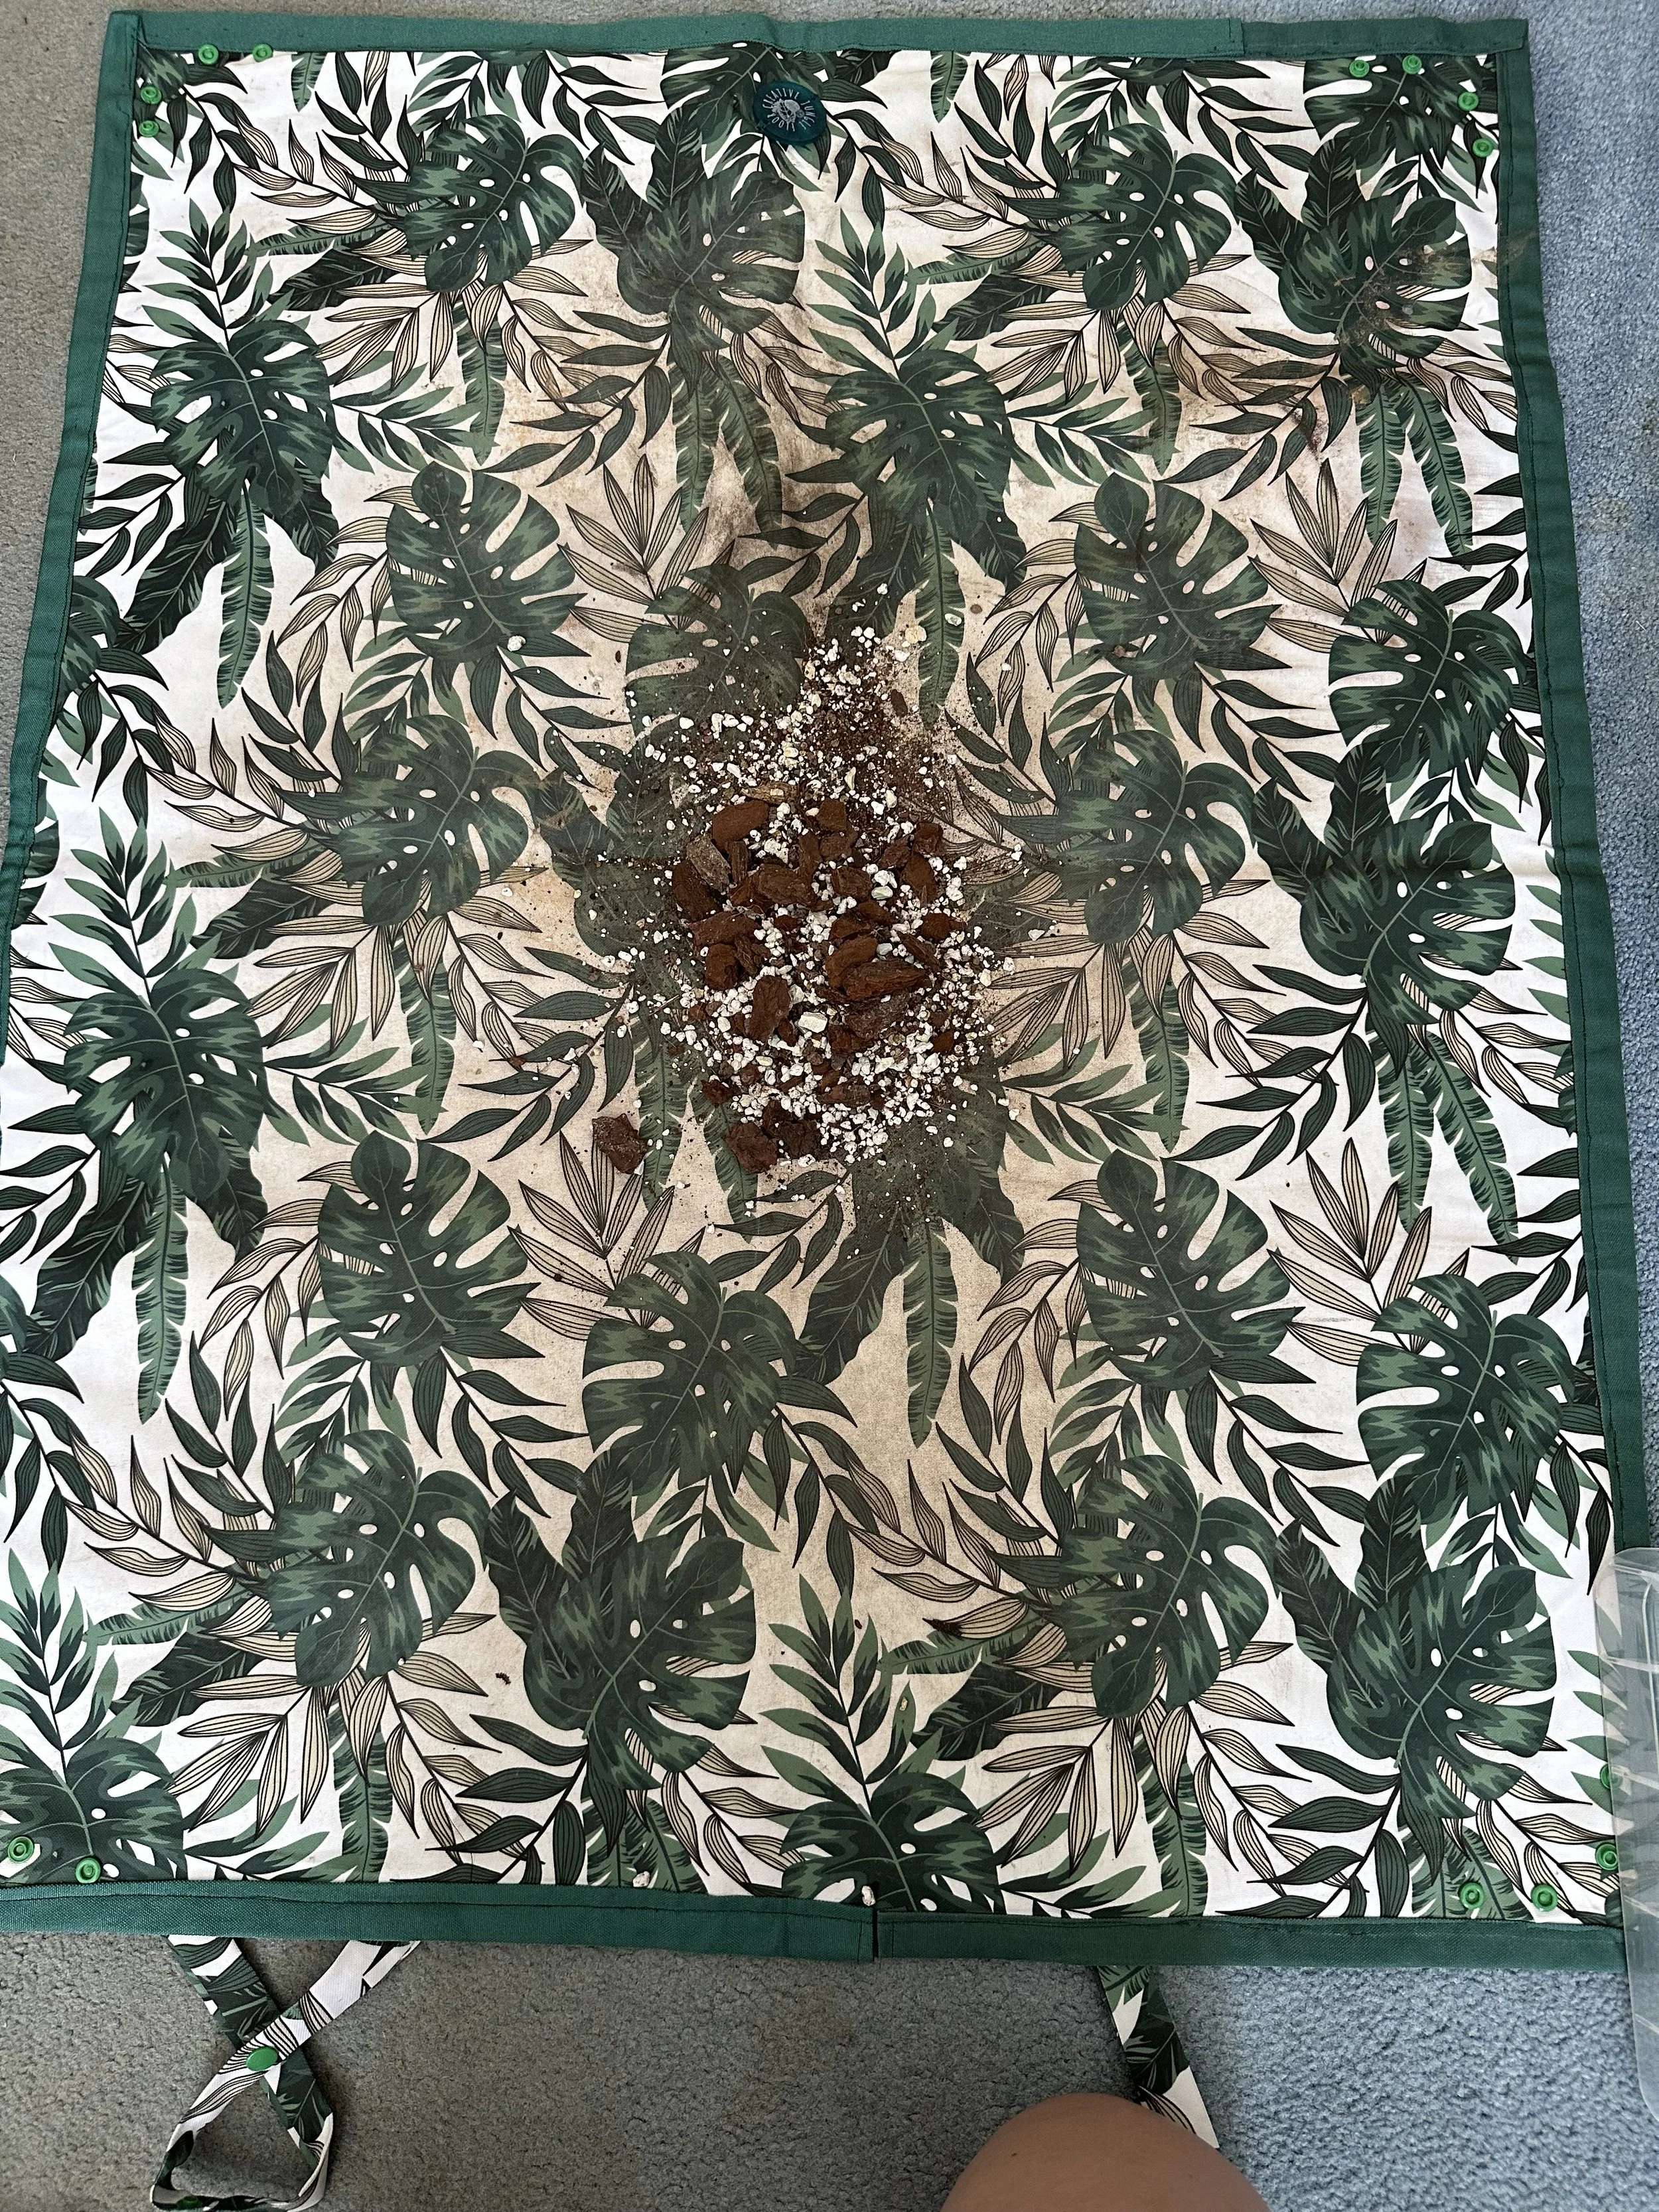
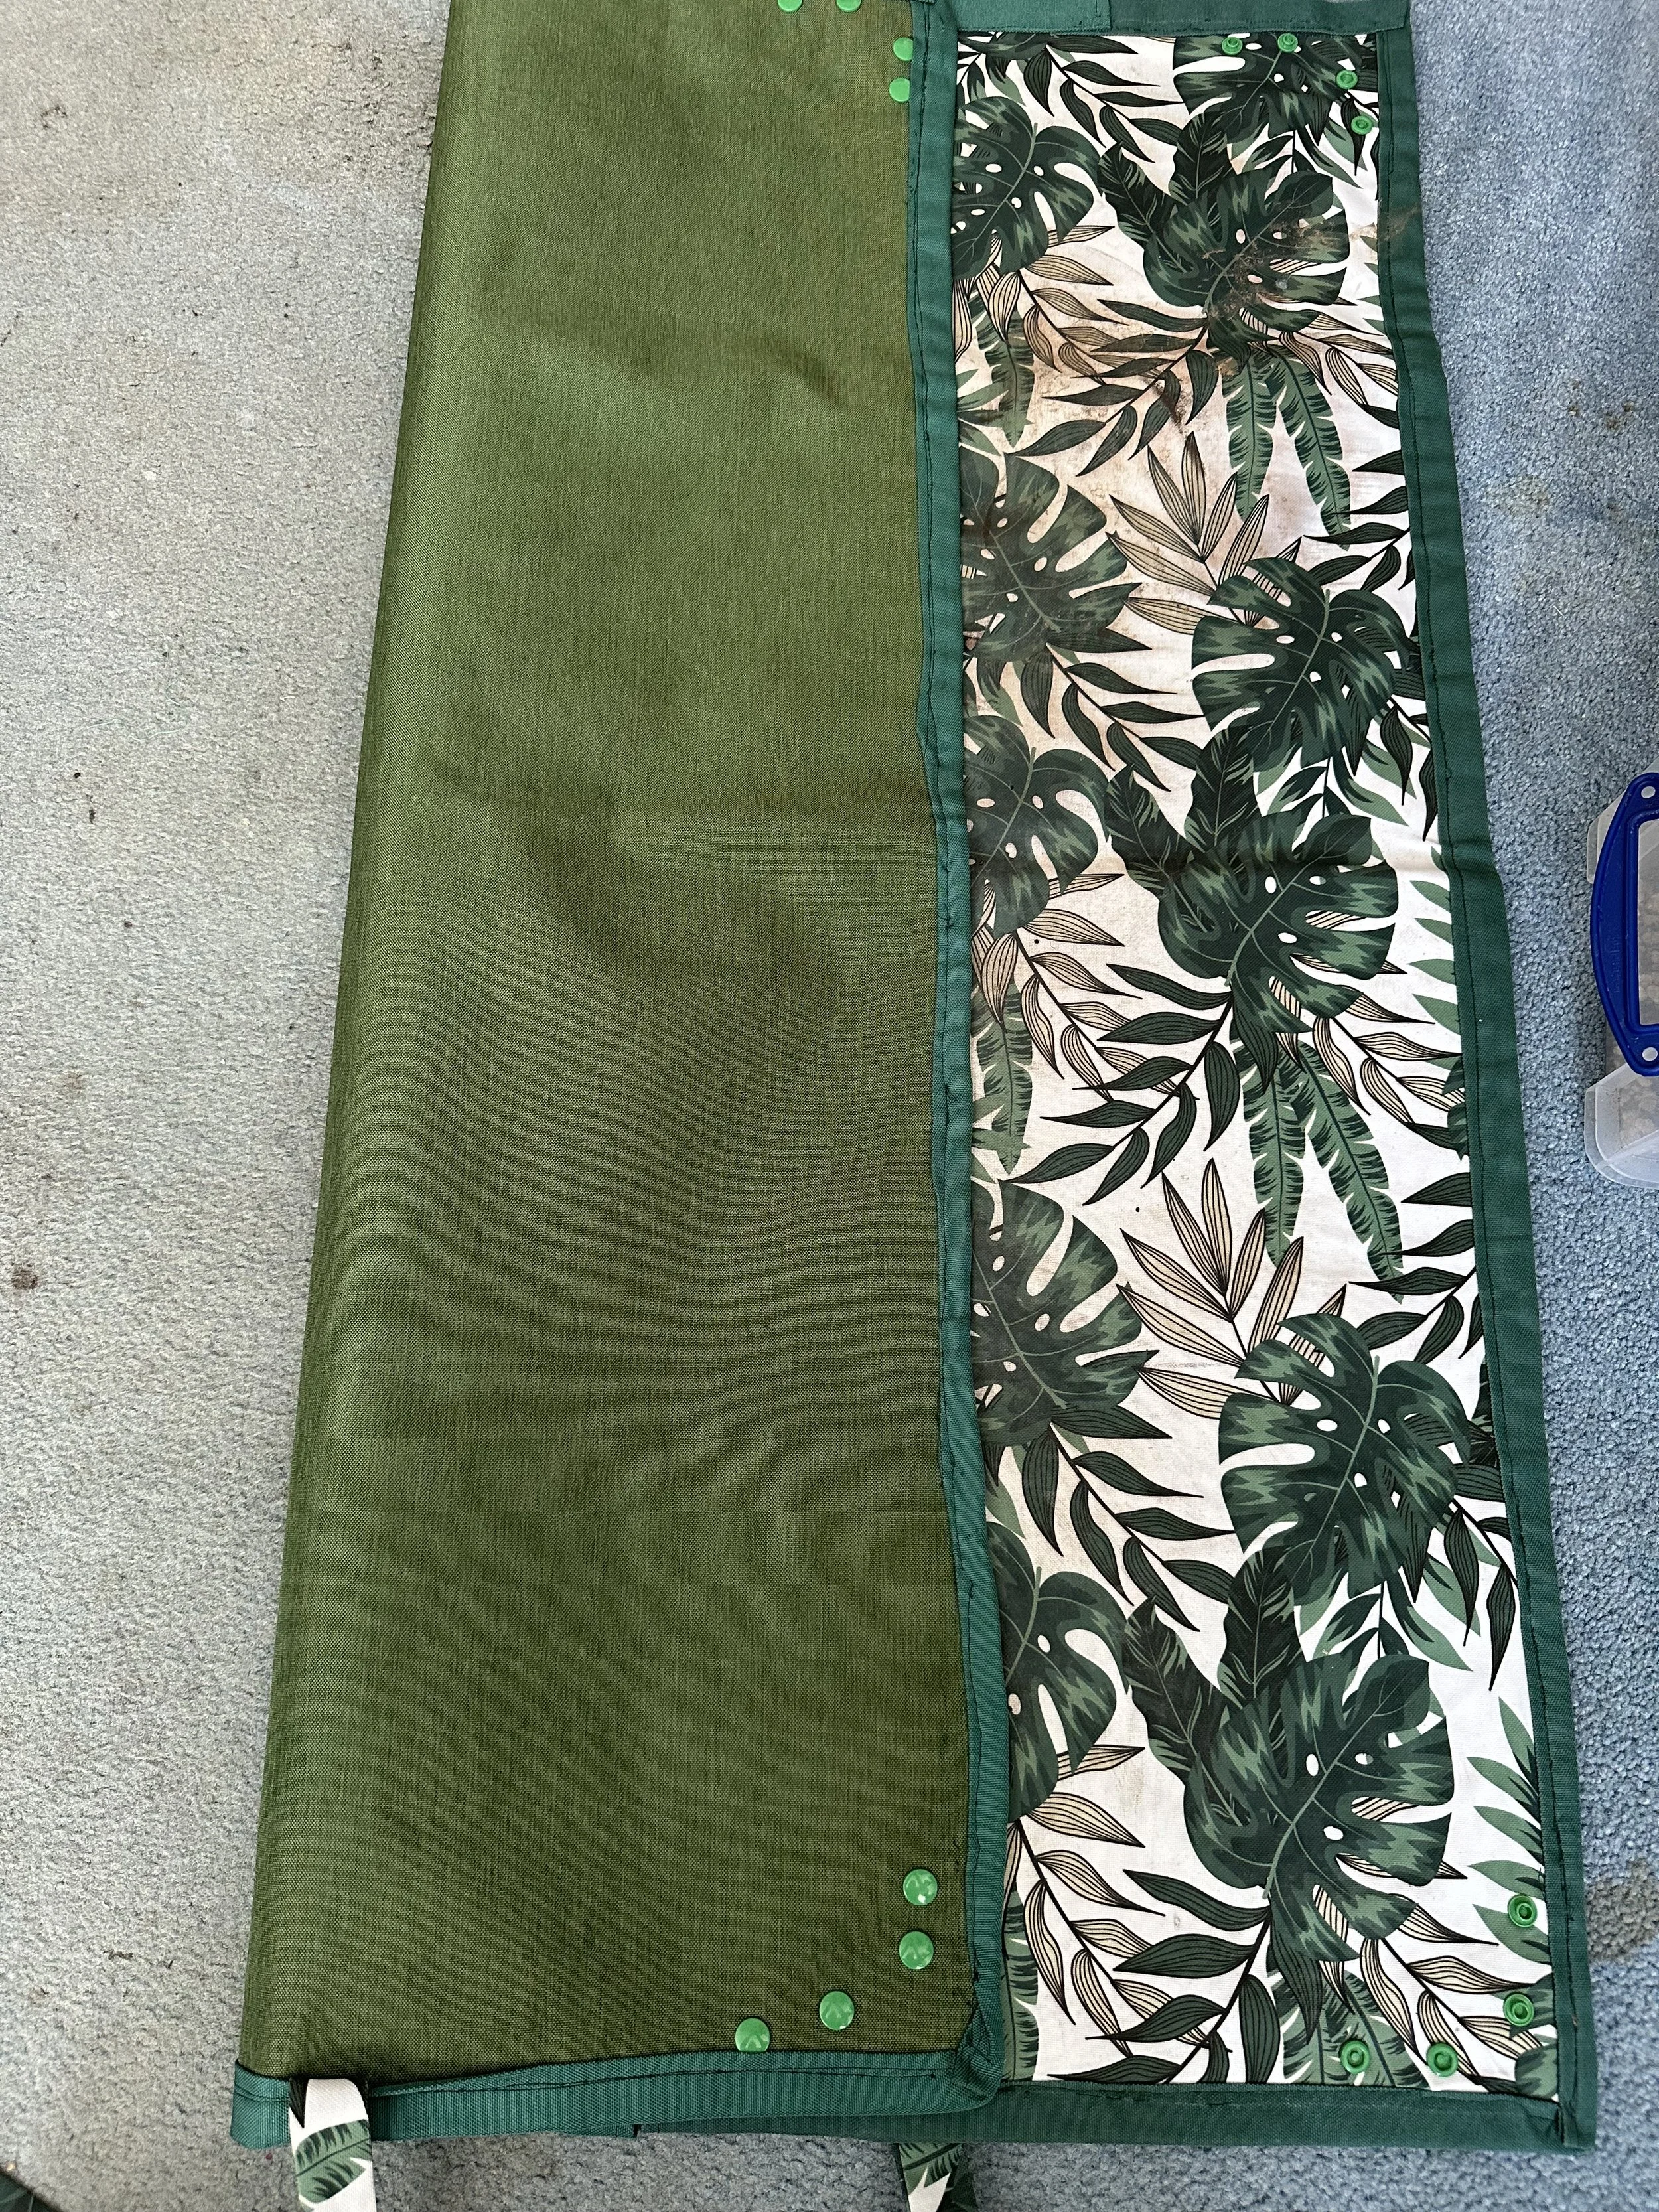
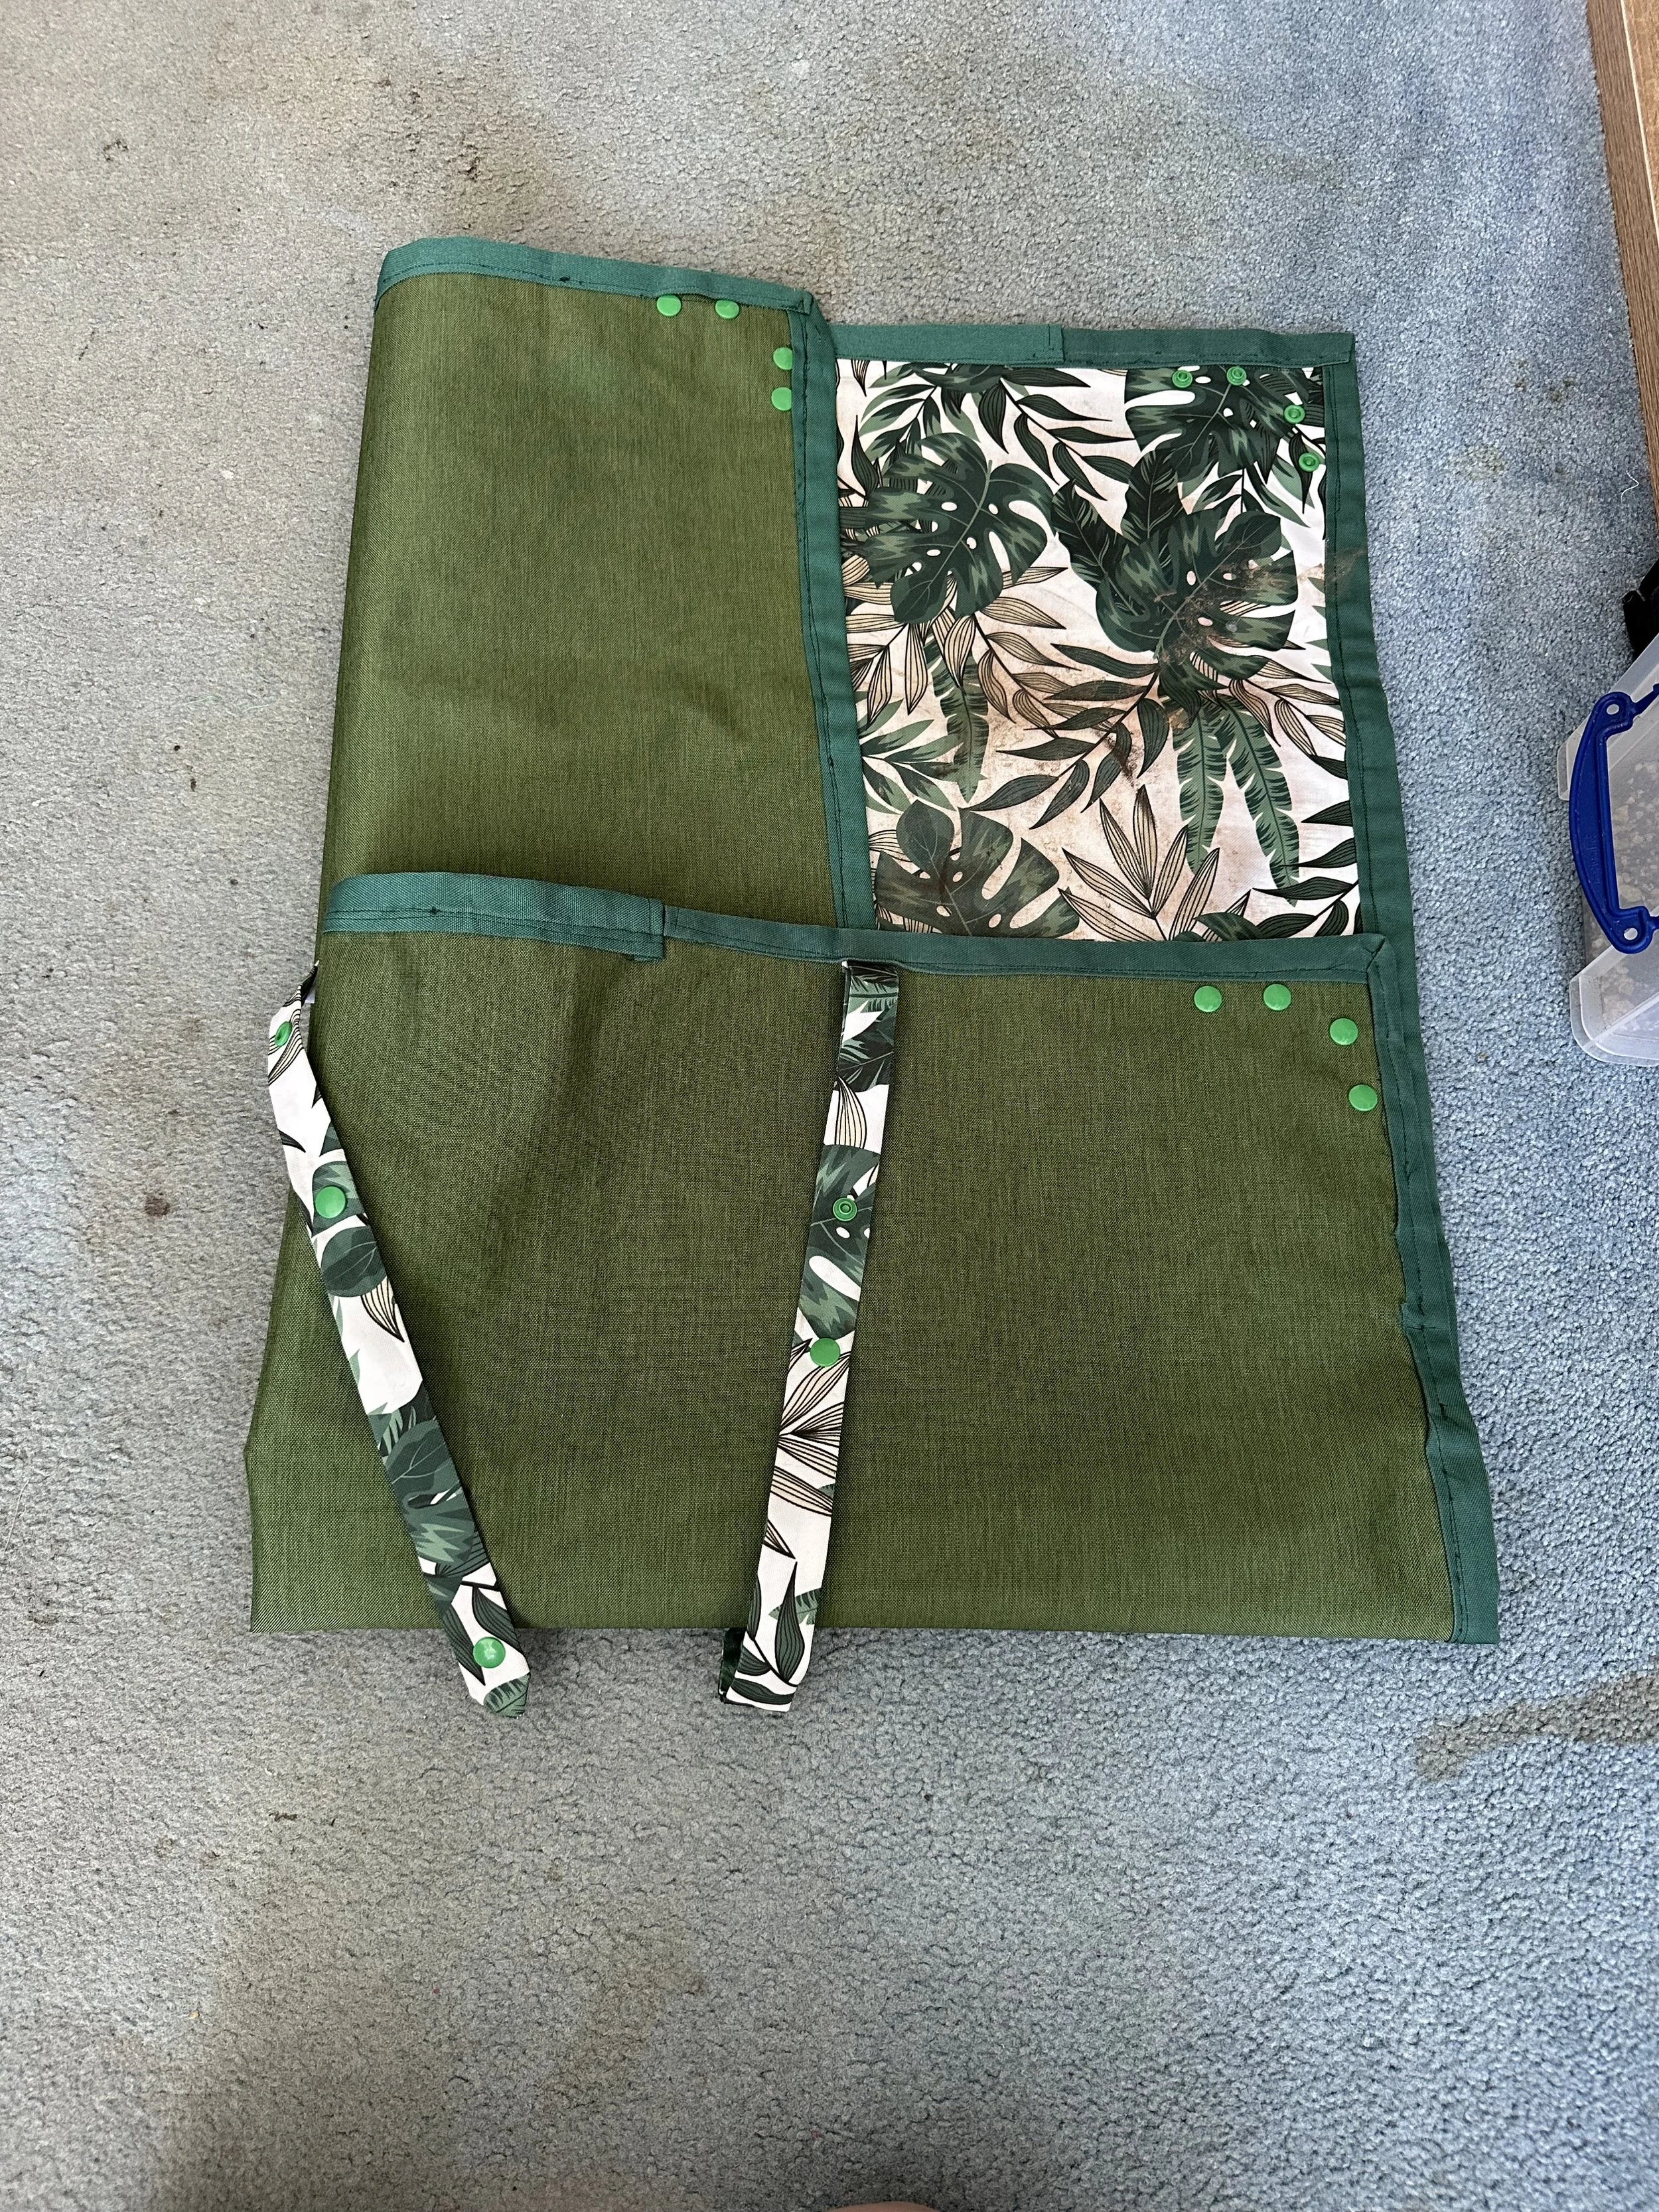
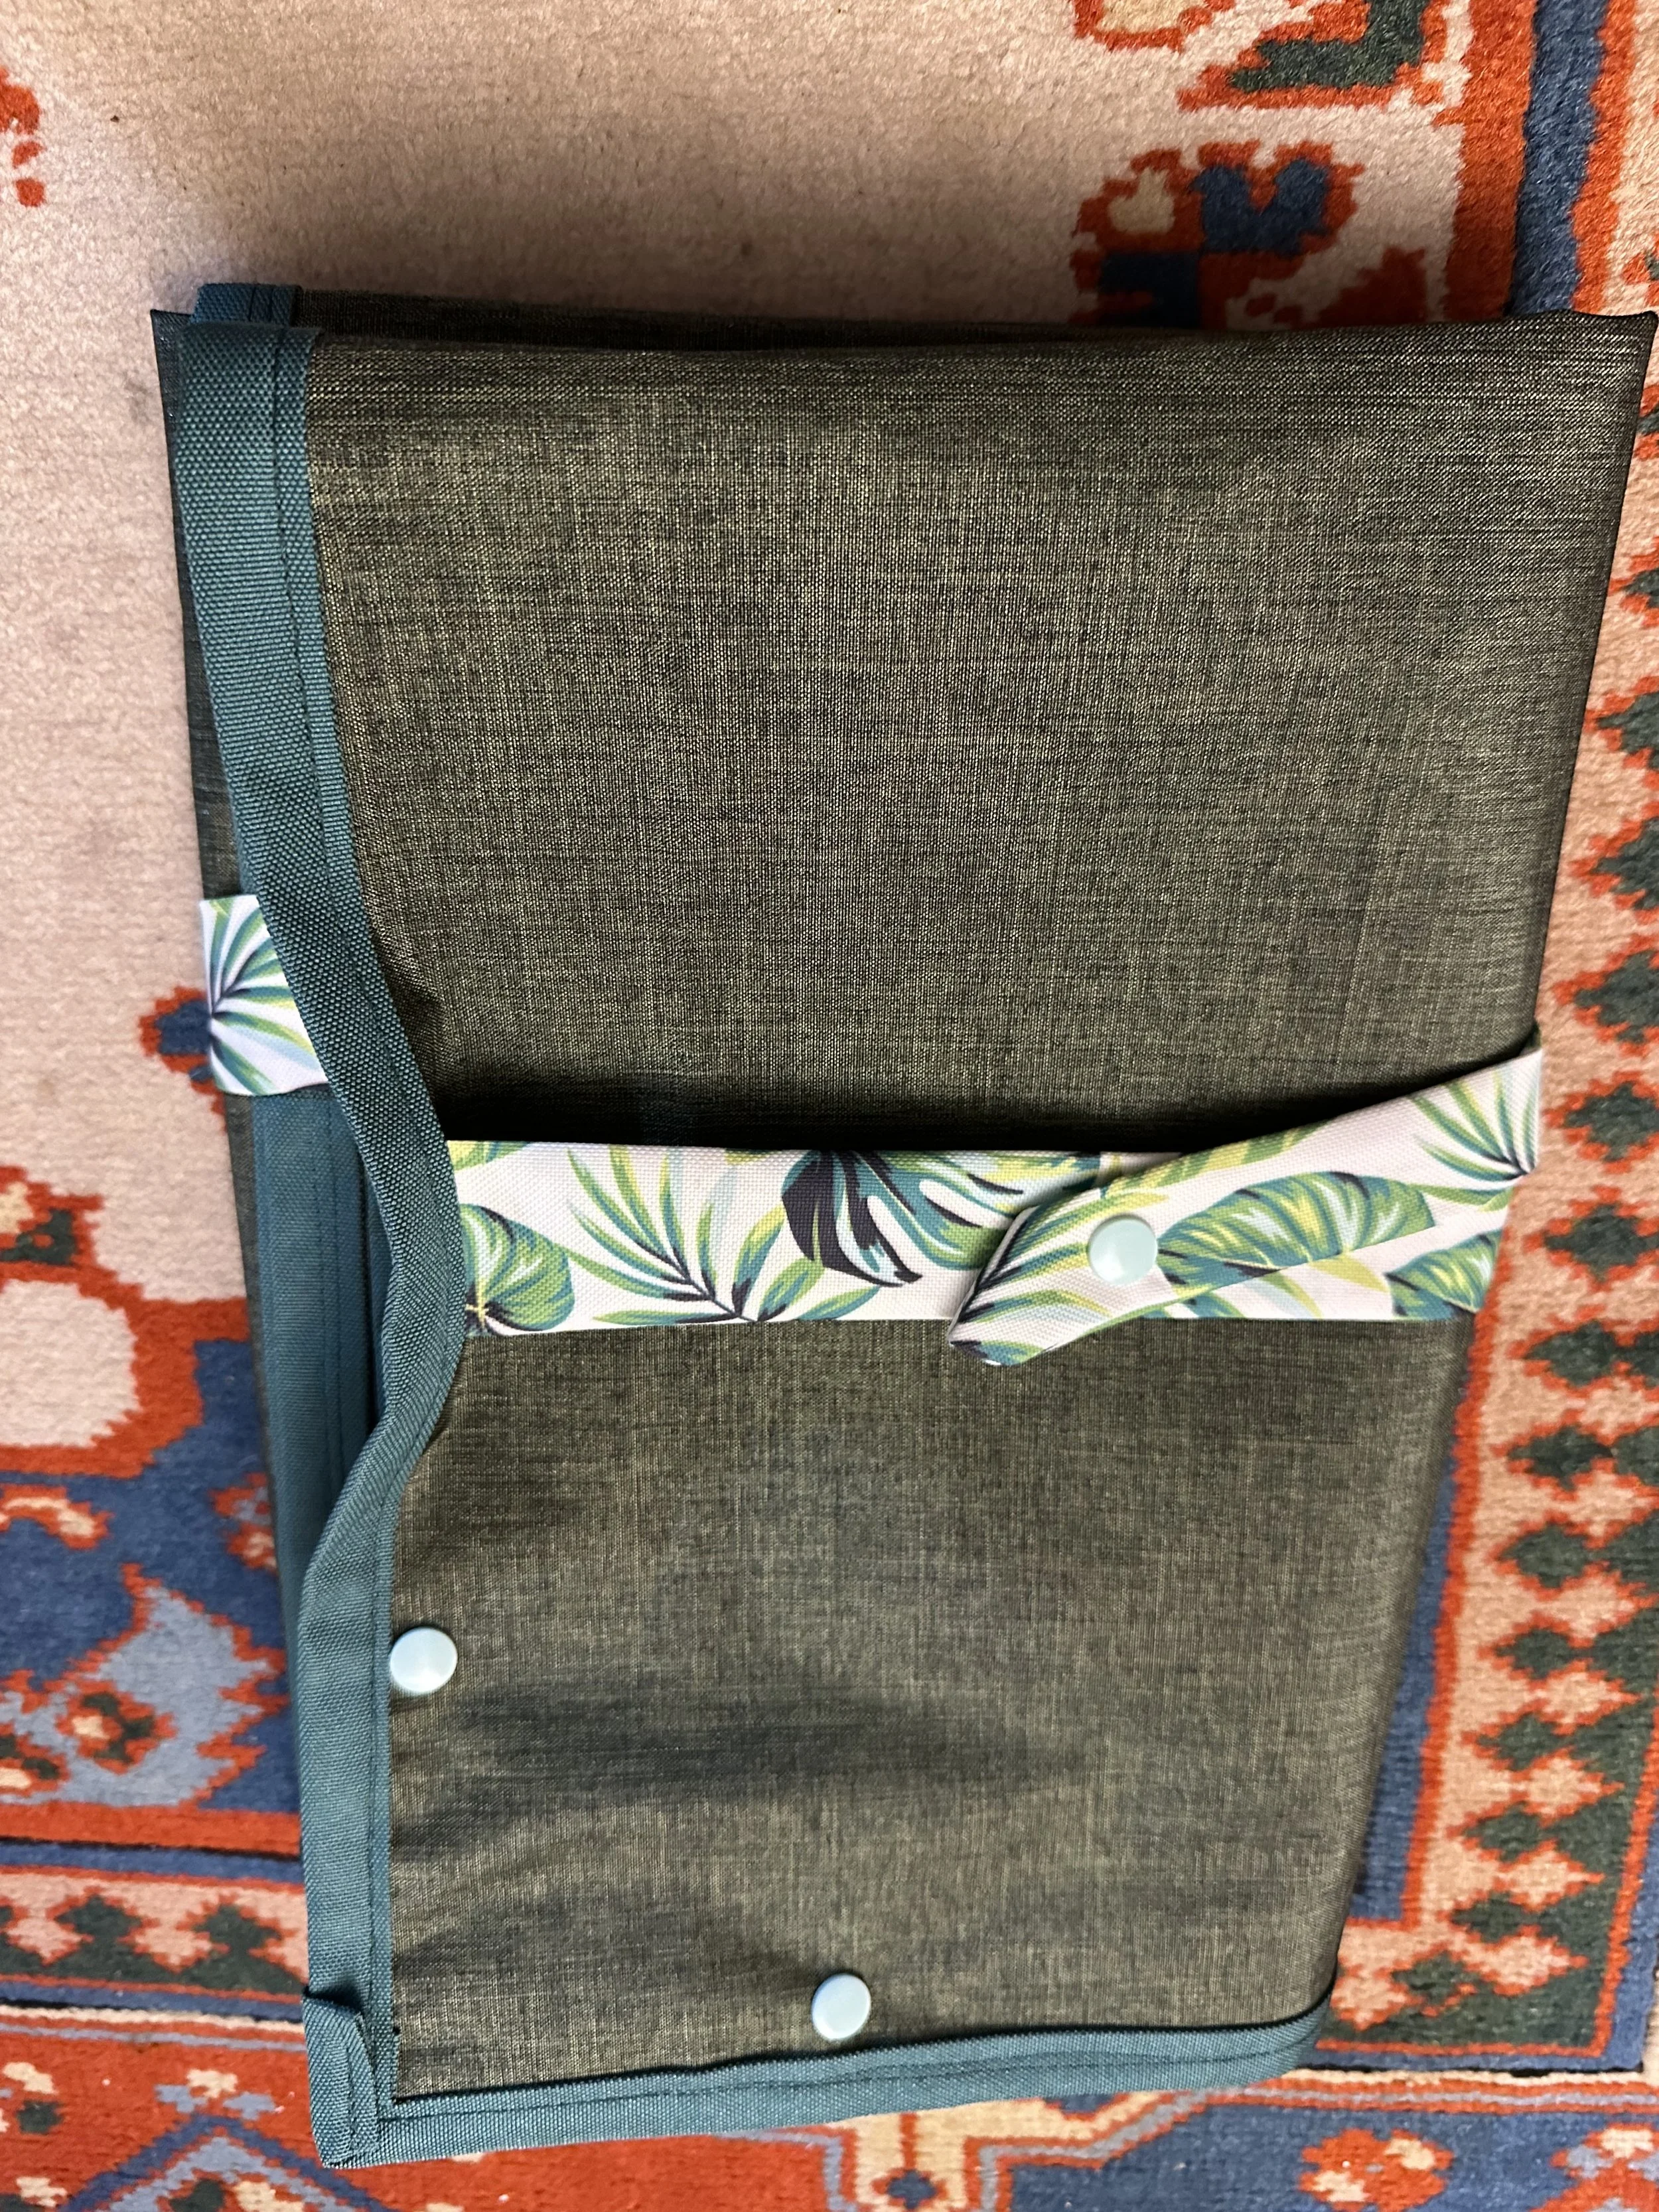
1. Shake Off the Mess
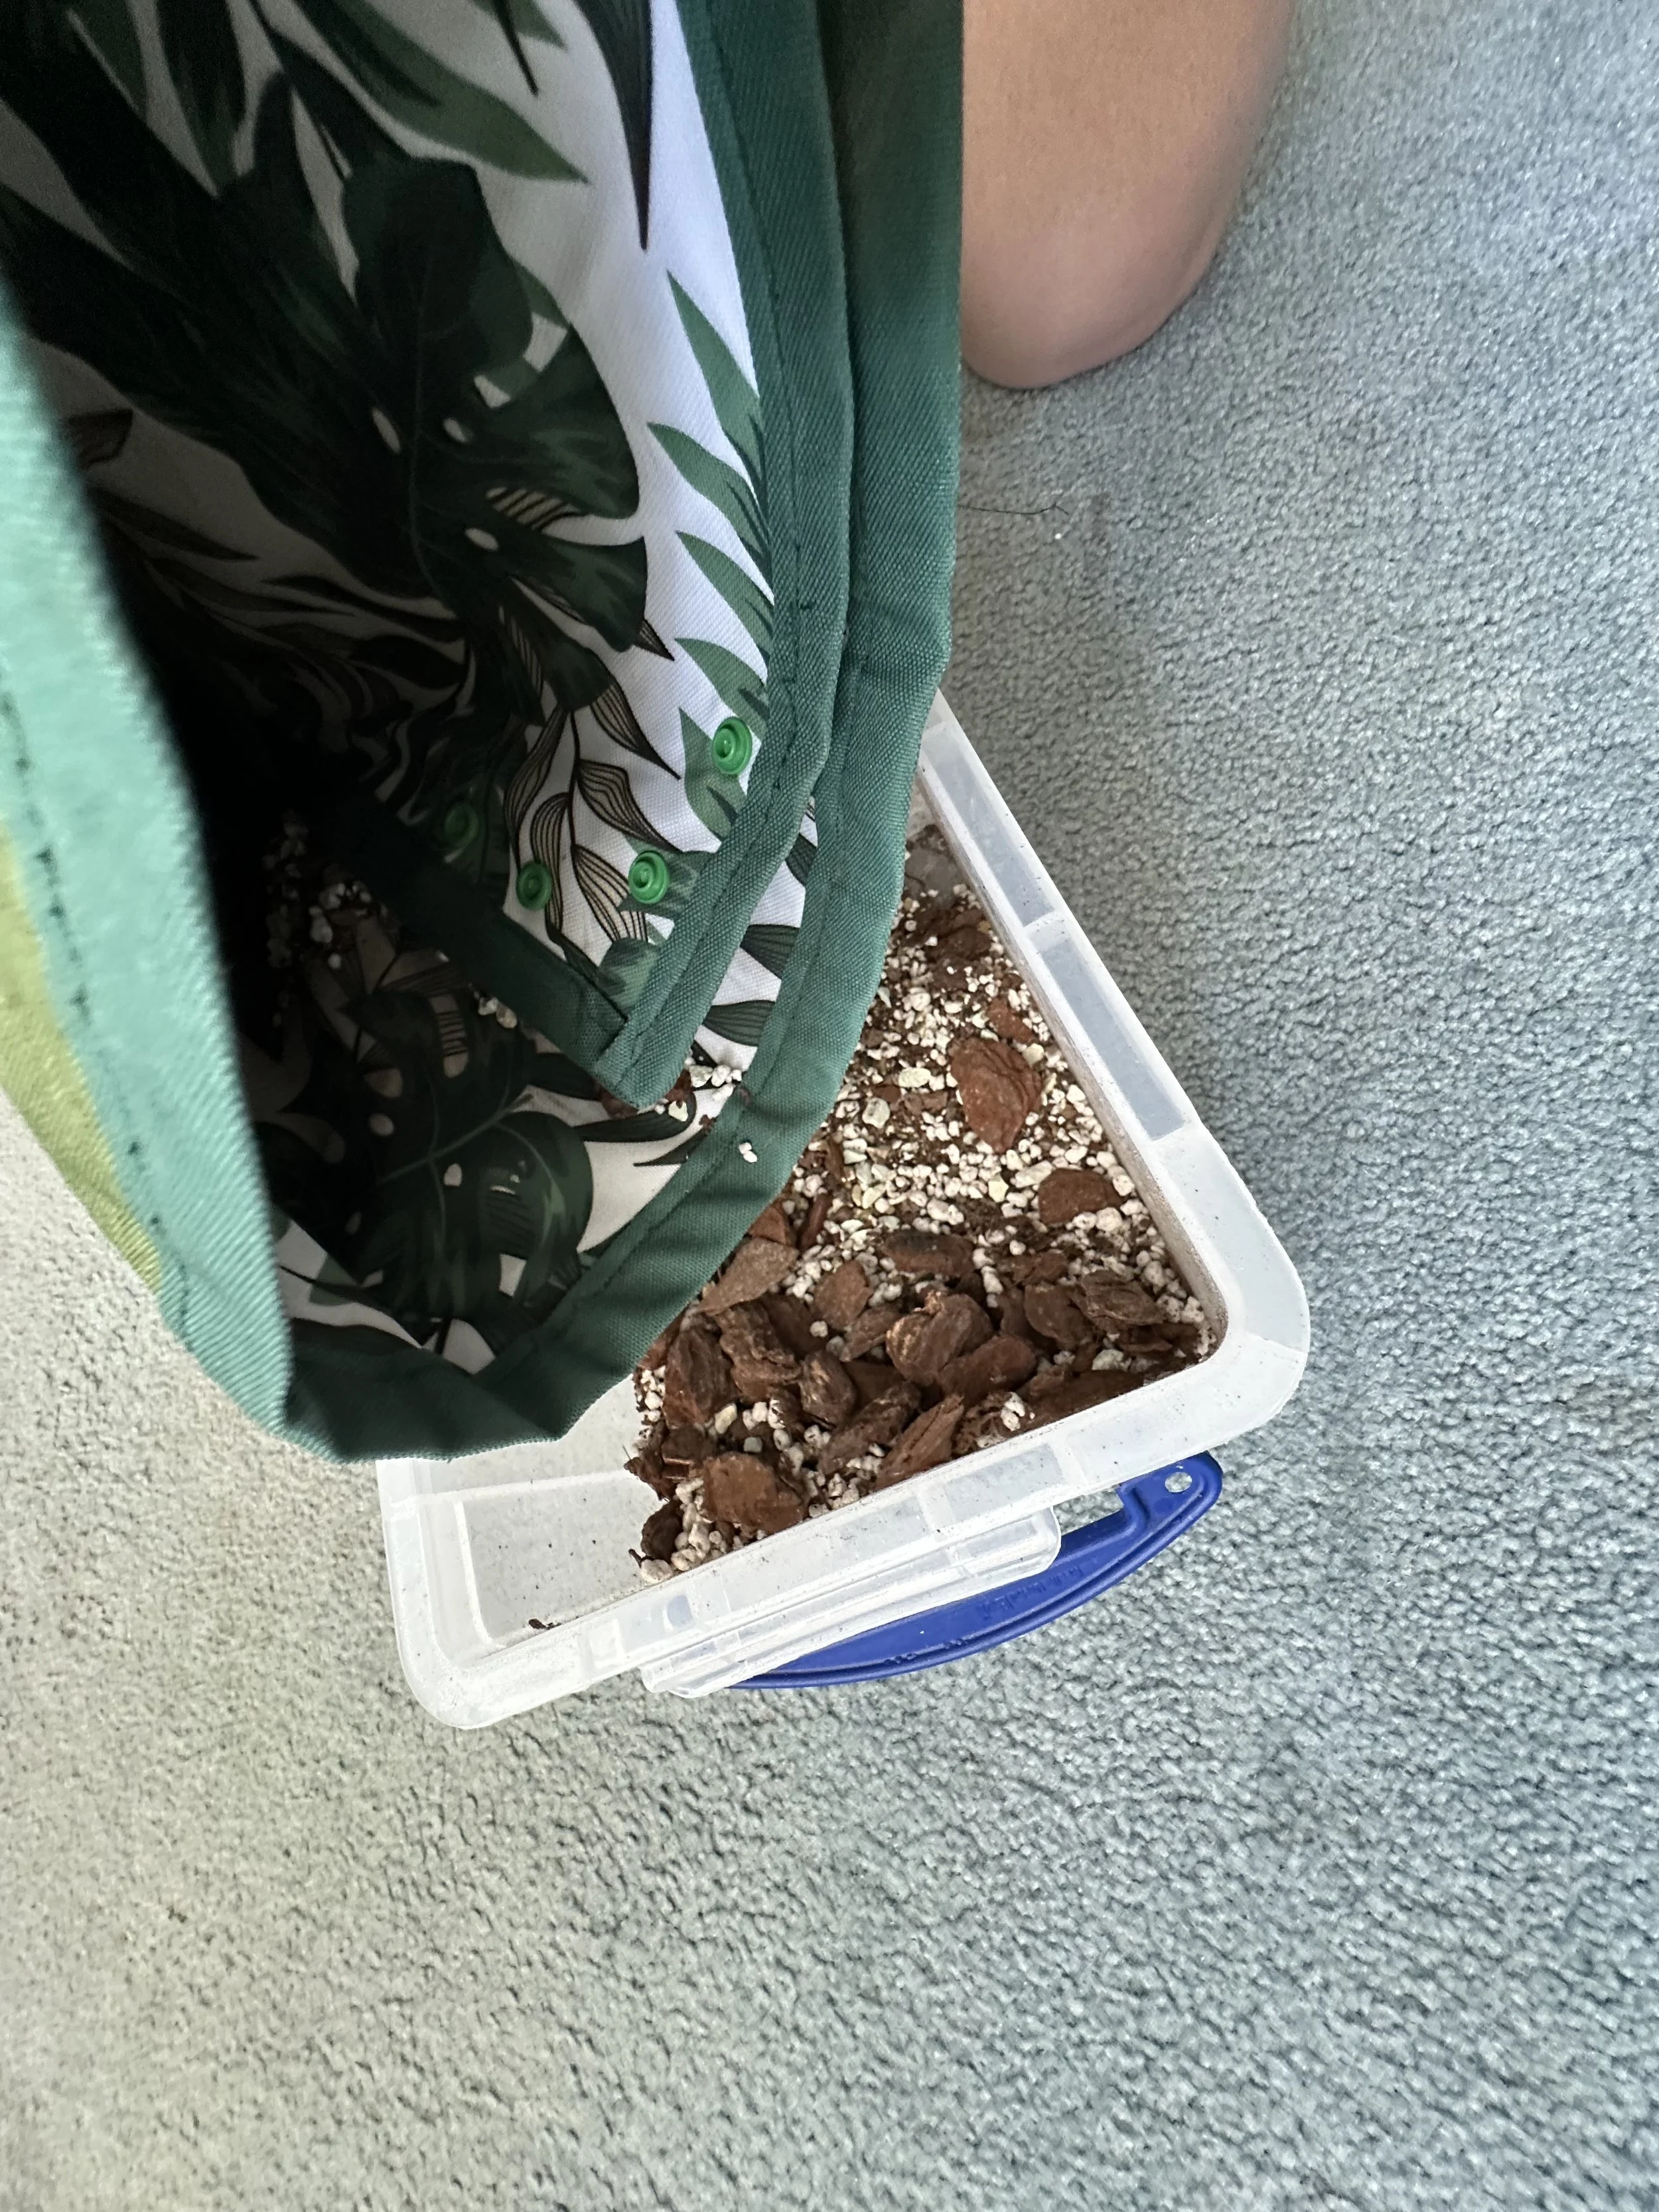
When you're done repotting, lift the edges of the mat so all the leftover soil, perlite, and water collect in the center. Then fold the bottom edge up, followed by the left and right sides — like you’re wrapping a leafy little burrito.
Take it outside or to a bin and empty it out (your garden will thank you).
2. Brush or Hose It Down
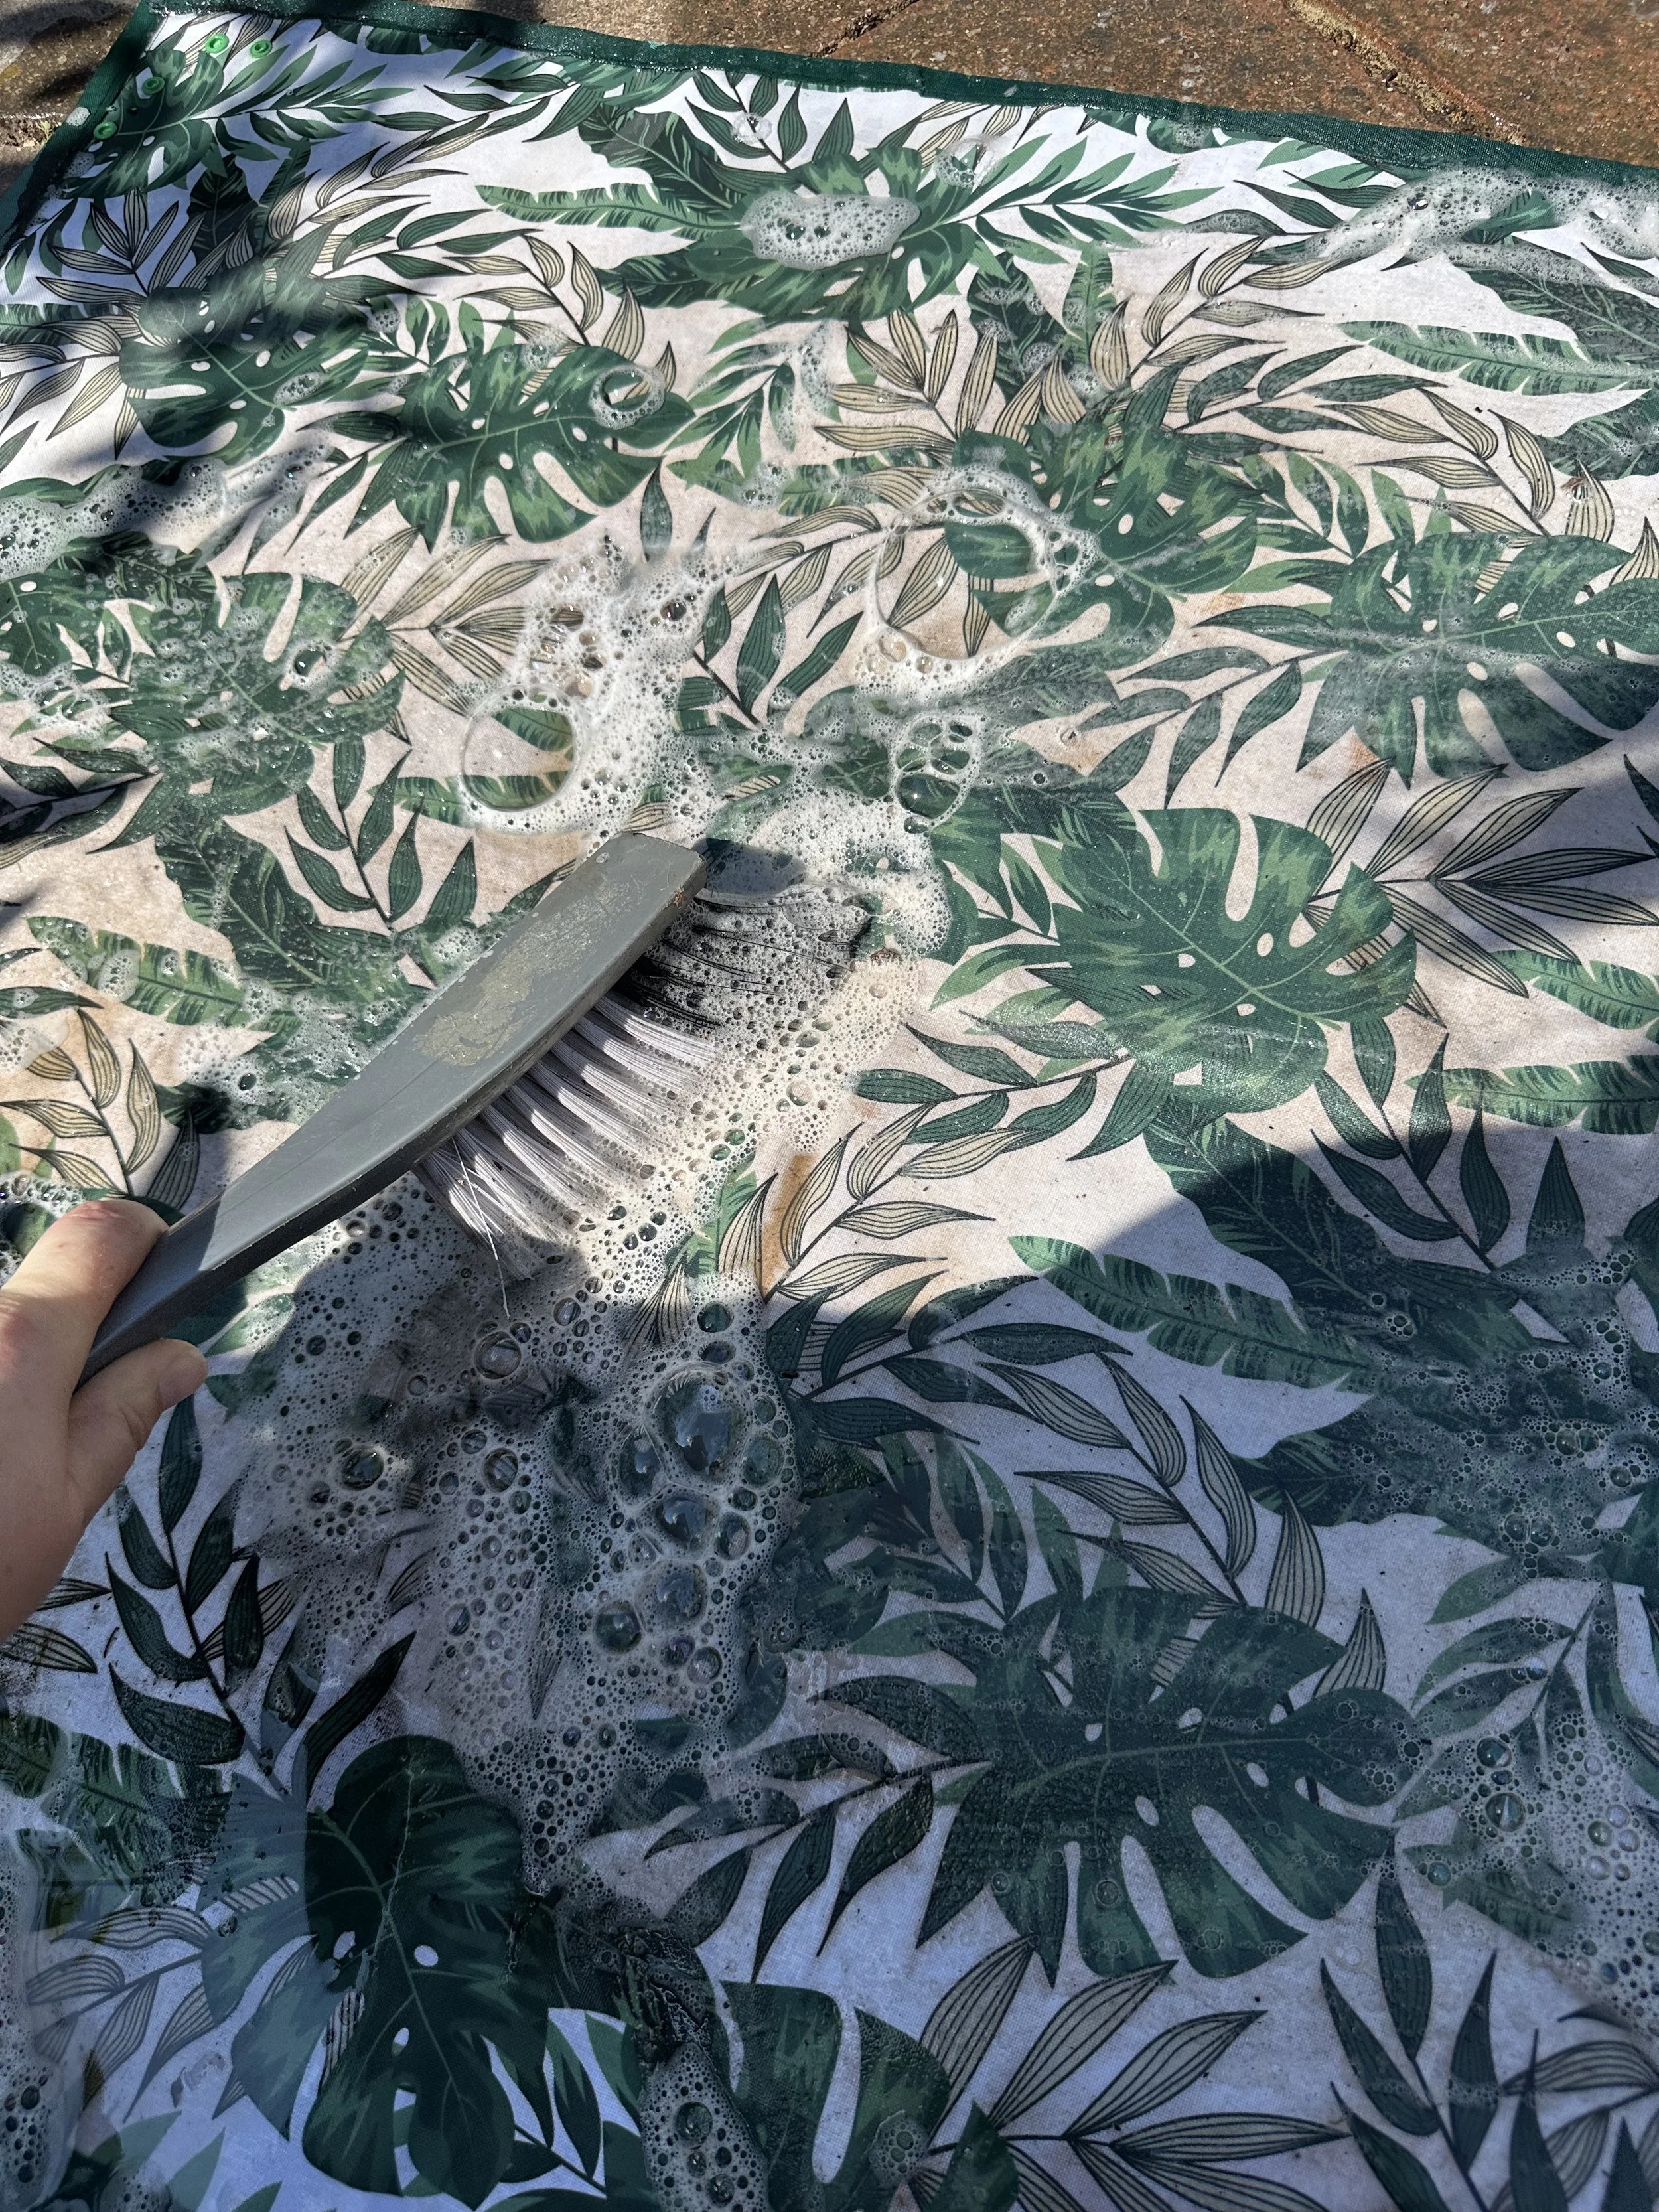
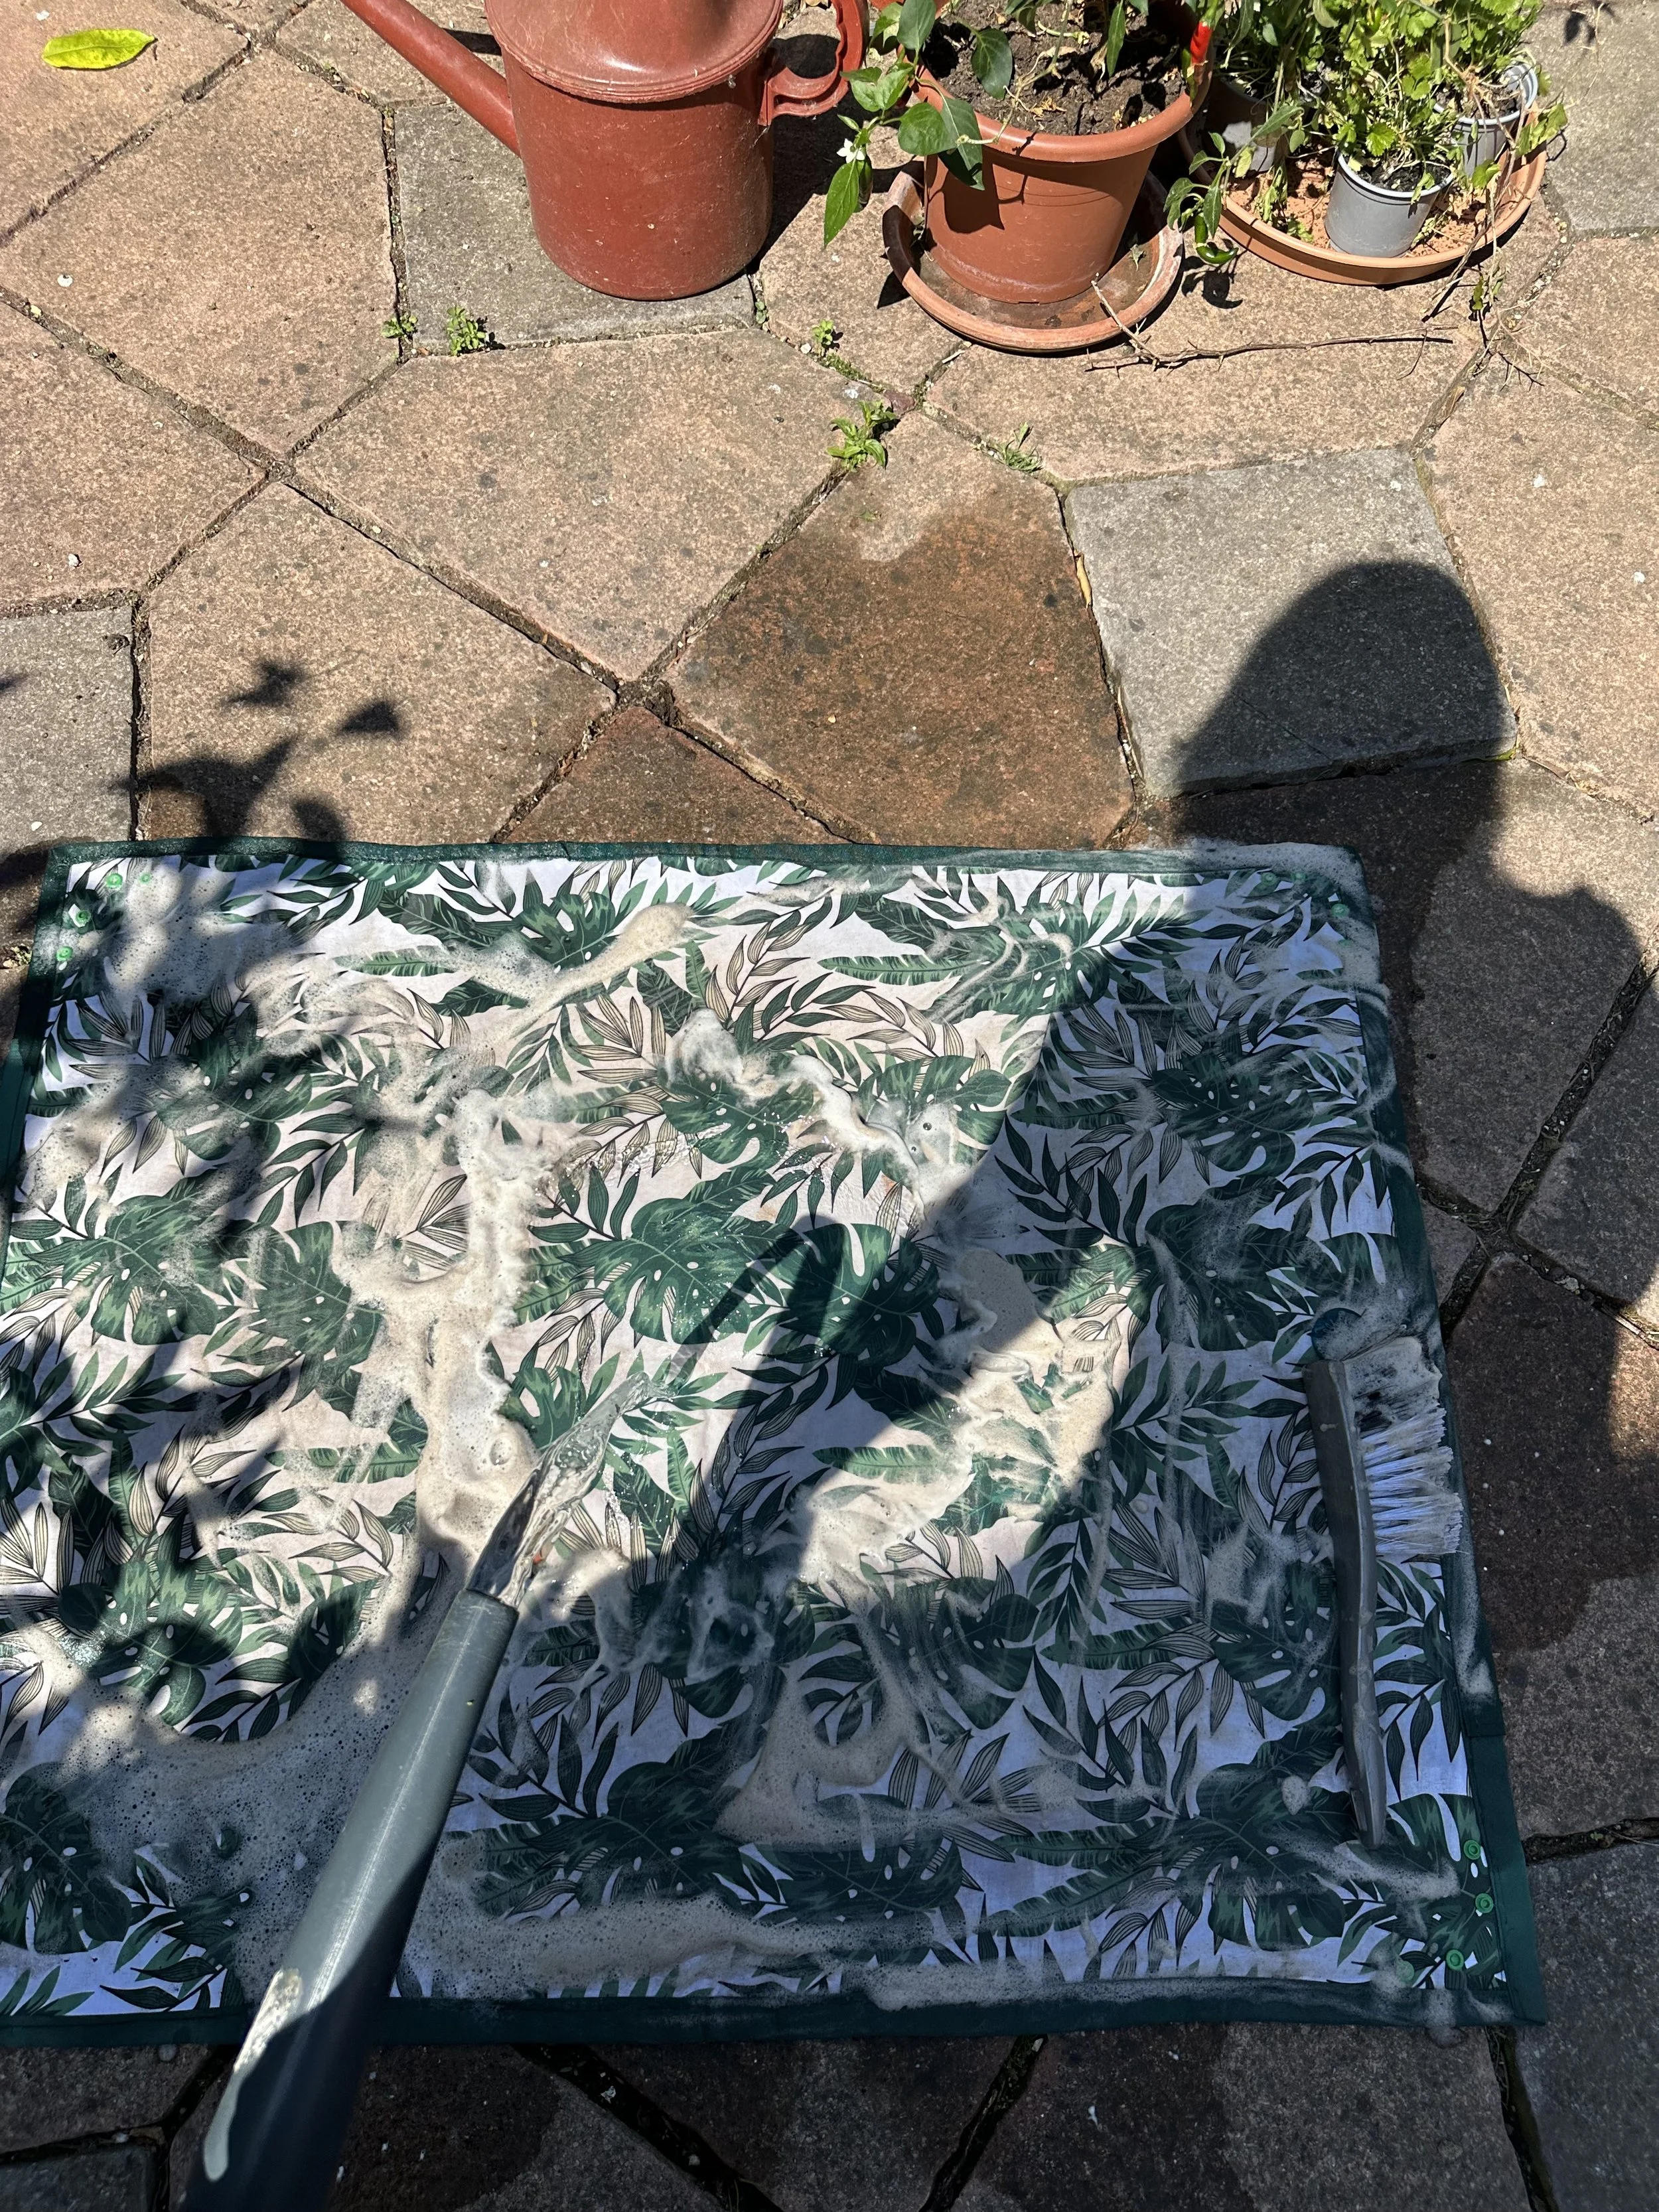
Lay the mat flat and give it a good scrub with a rough brush or a damp cloth. For extra dirty days, a quick blast with the hose works wonders! This helps remove any leftover soil or plant debris from your indoor gardening session.
3. Soapy Suds and a Wipe-Down
Spray the mat with water and add a little bit of washing-up liquid. Wipe it clean with a soft cloth — gentle but effective.
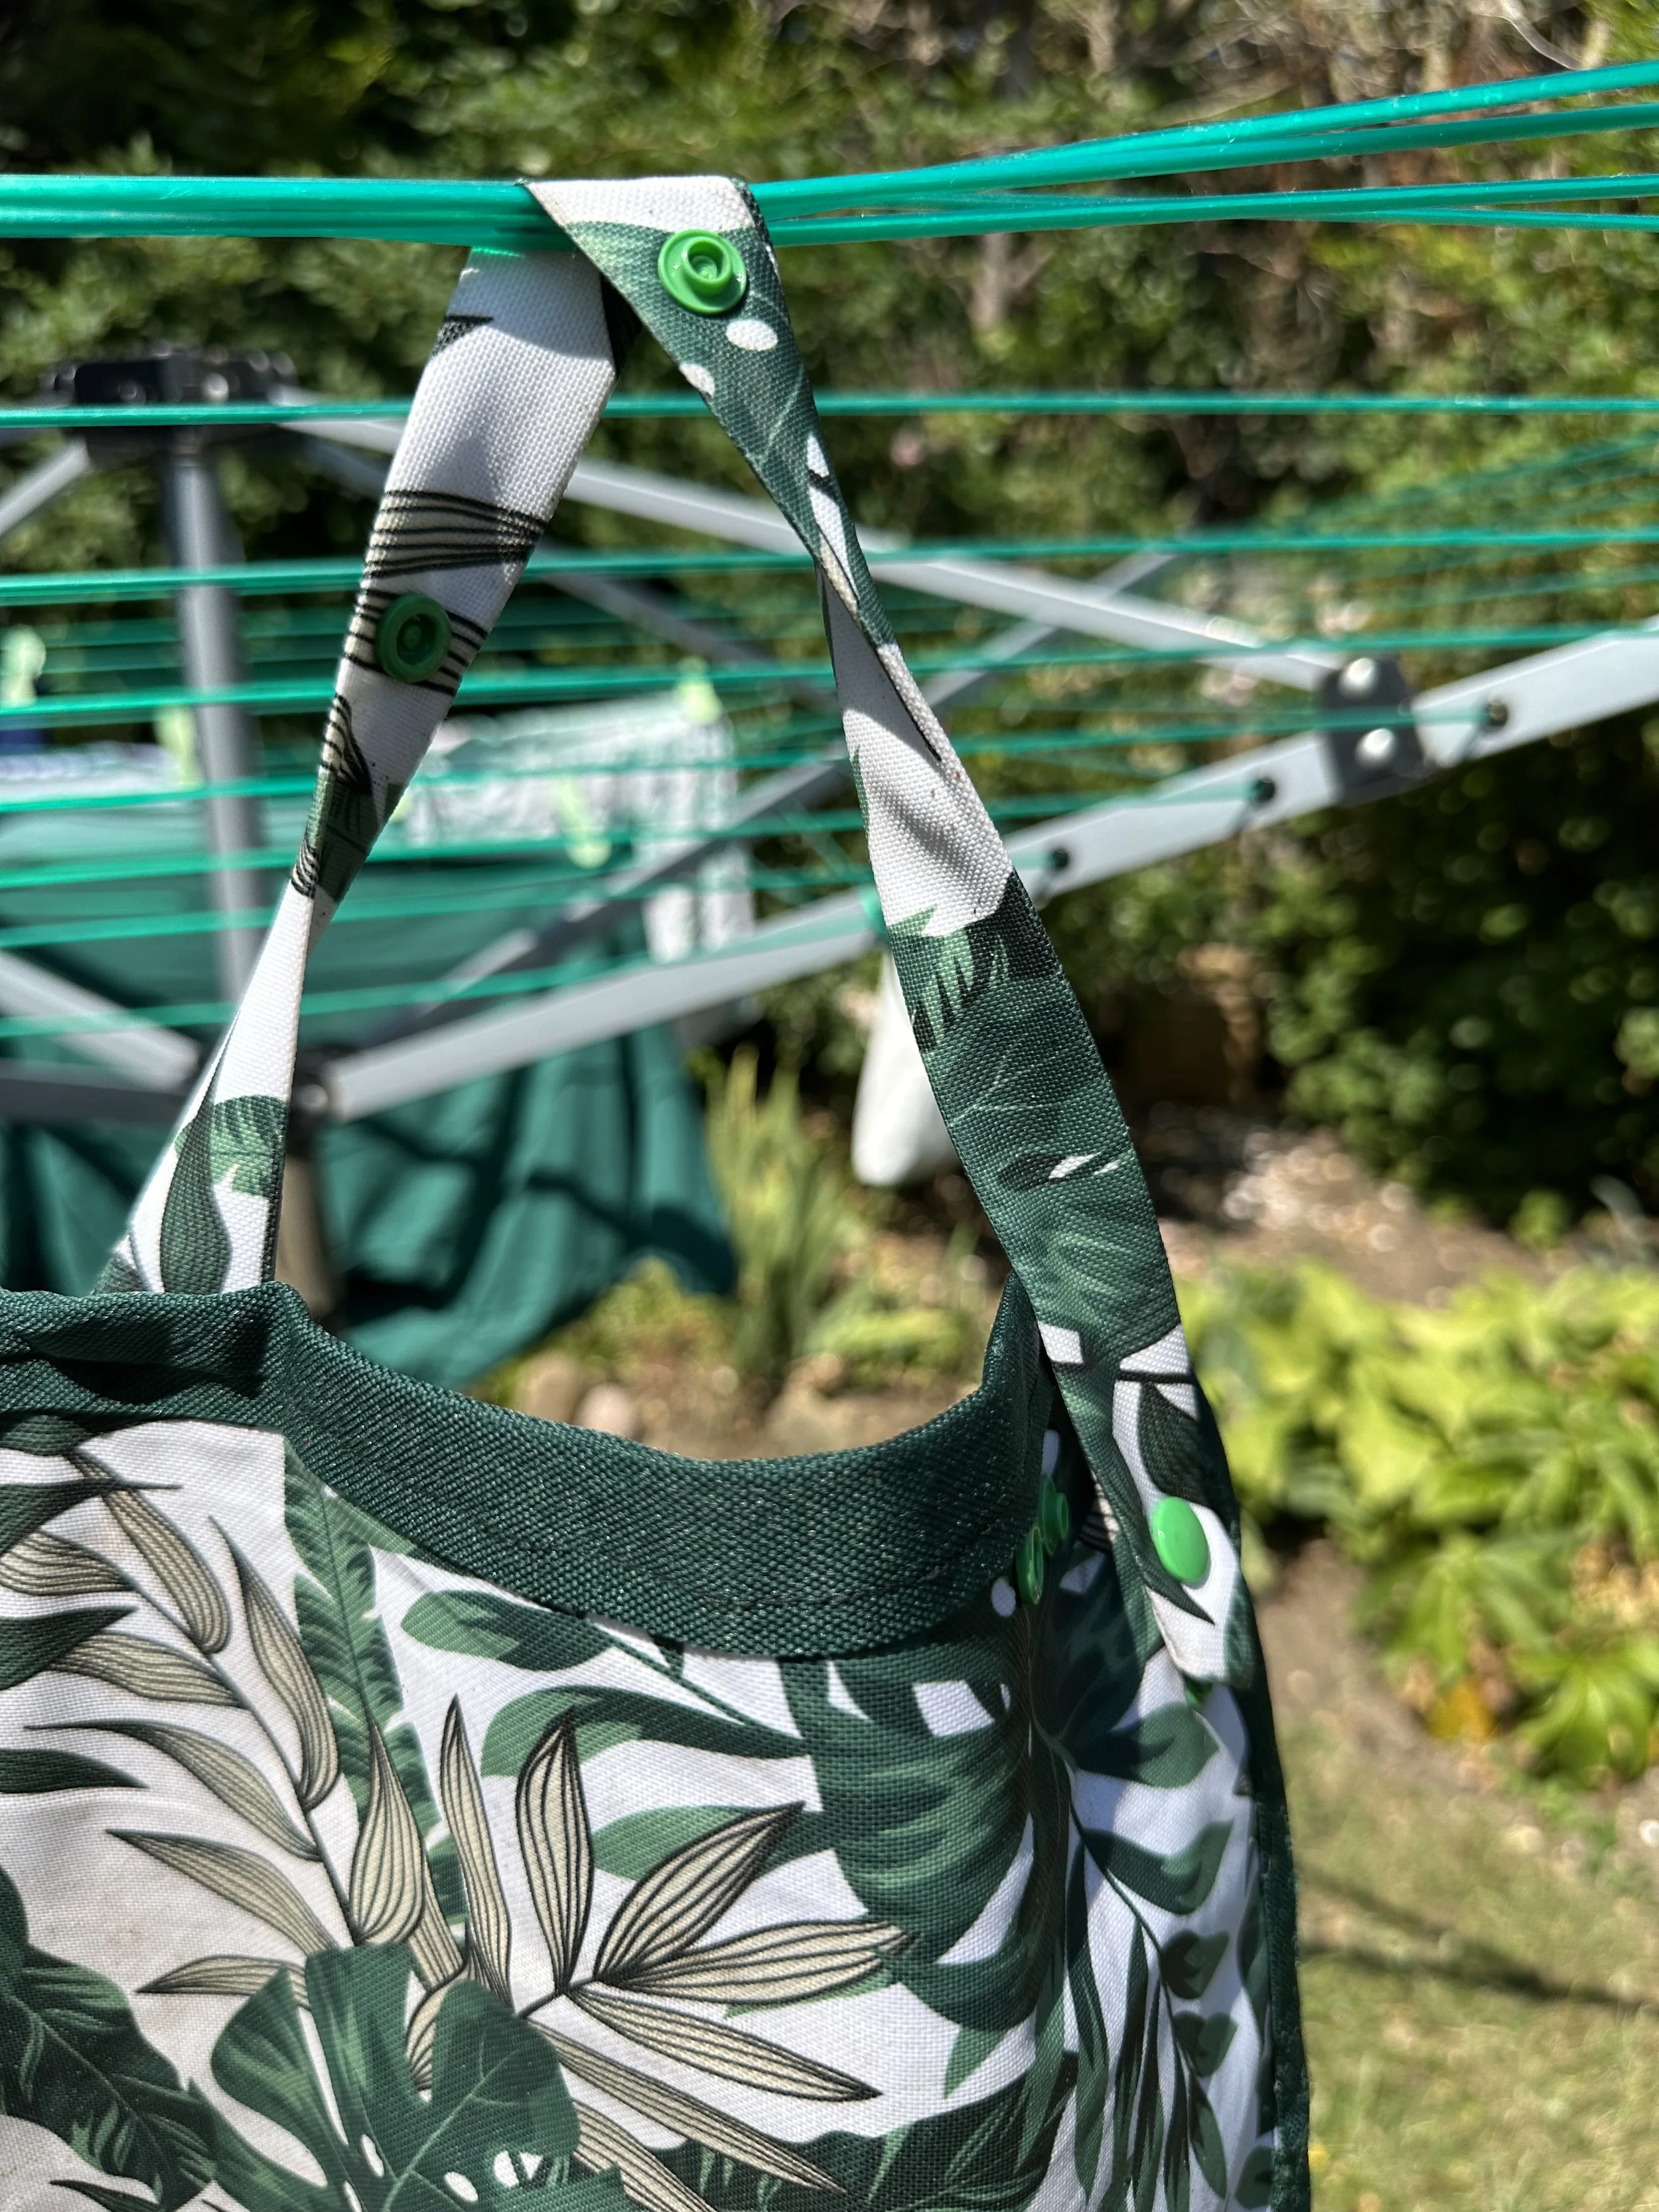
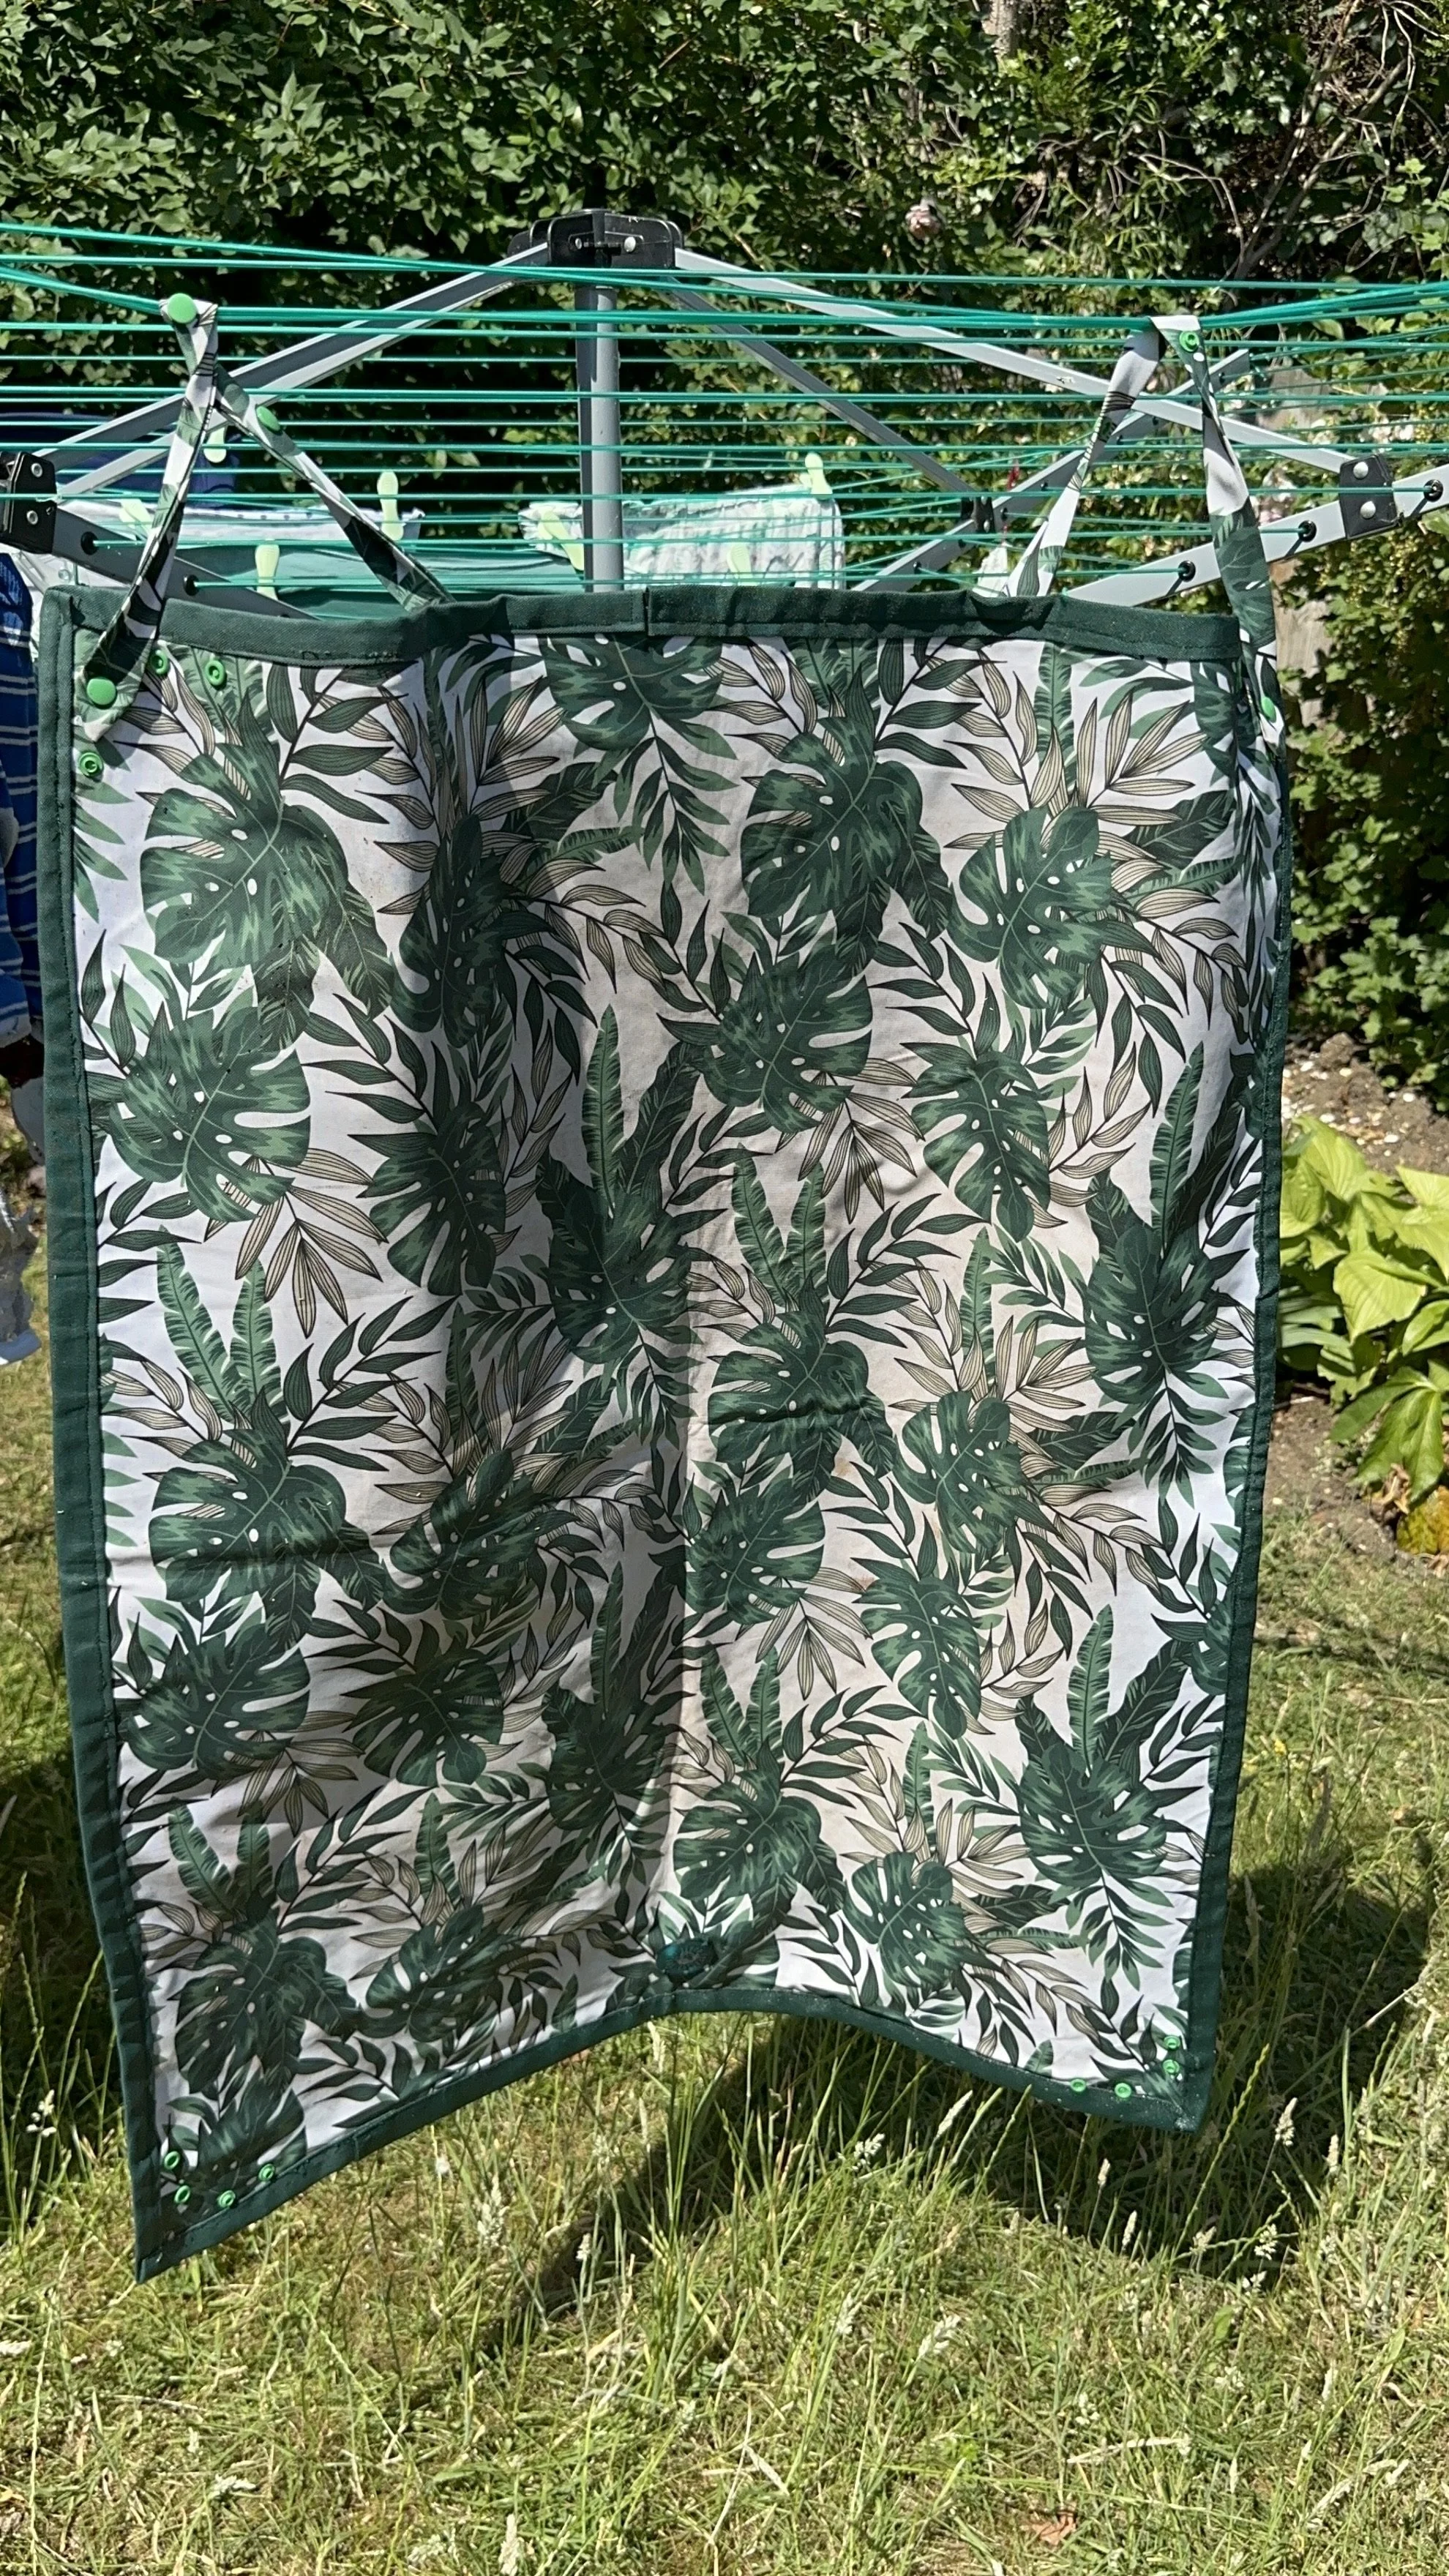
4. Hang It to Dry
Use the handy straps to hang your Jungle Floor Creative repotting mat somewhere shaded. It usually dries within an hour or so (faster on sunny days, just avoid too much direct sunlight).
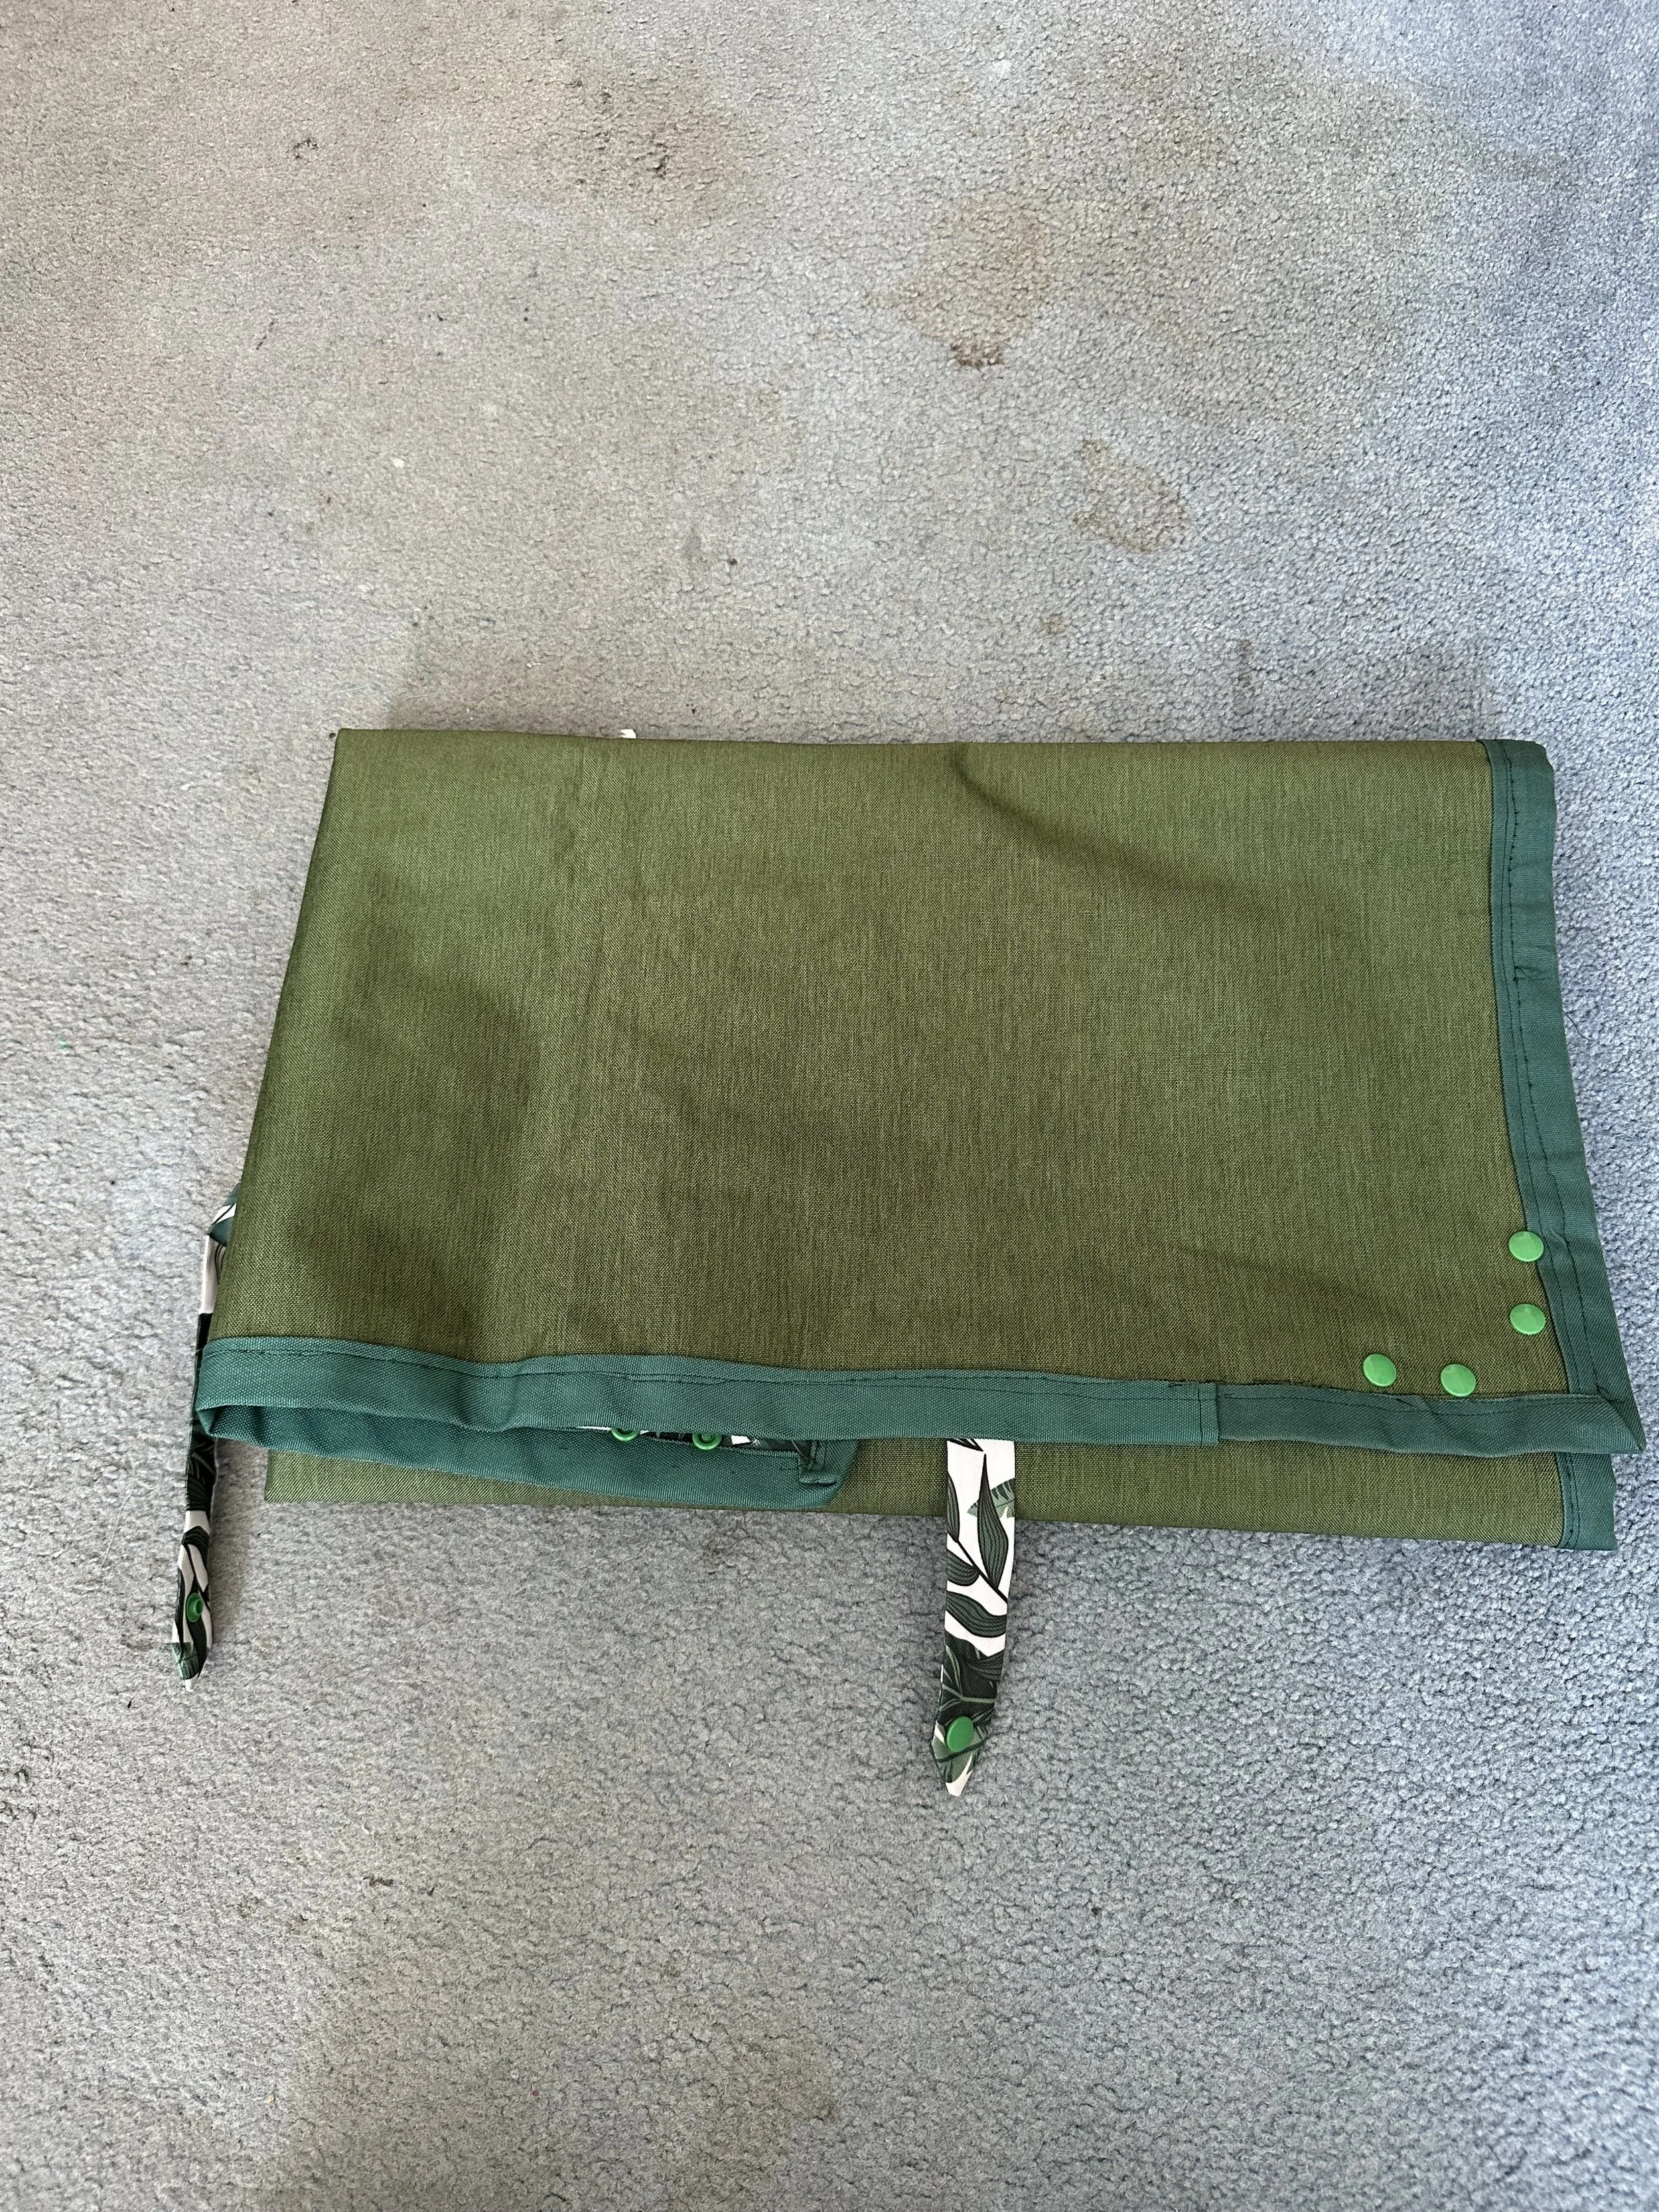
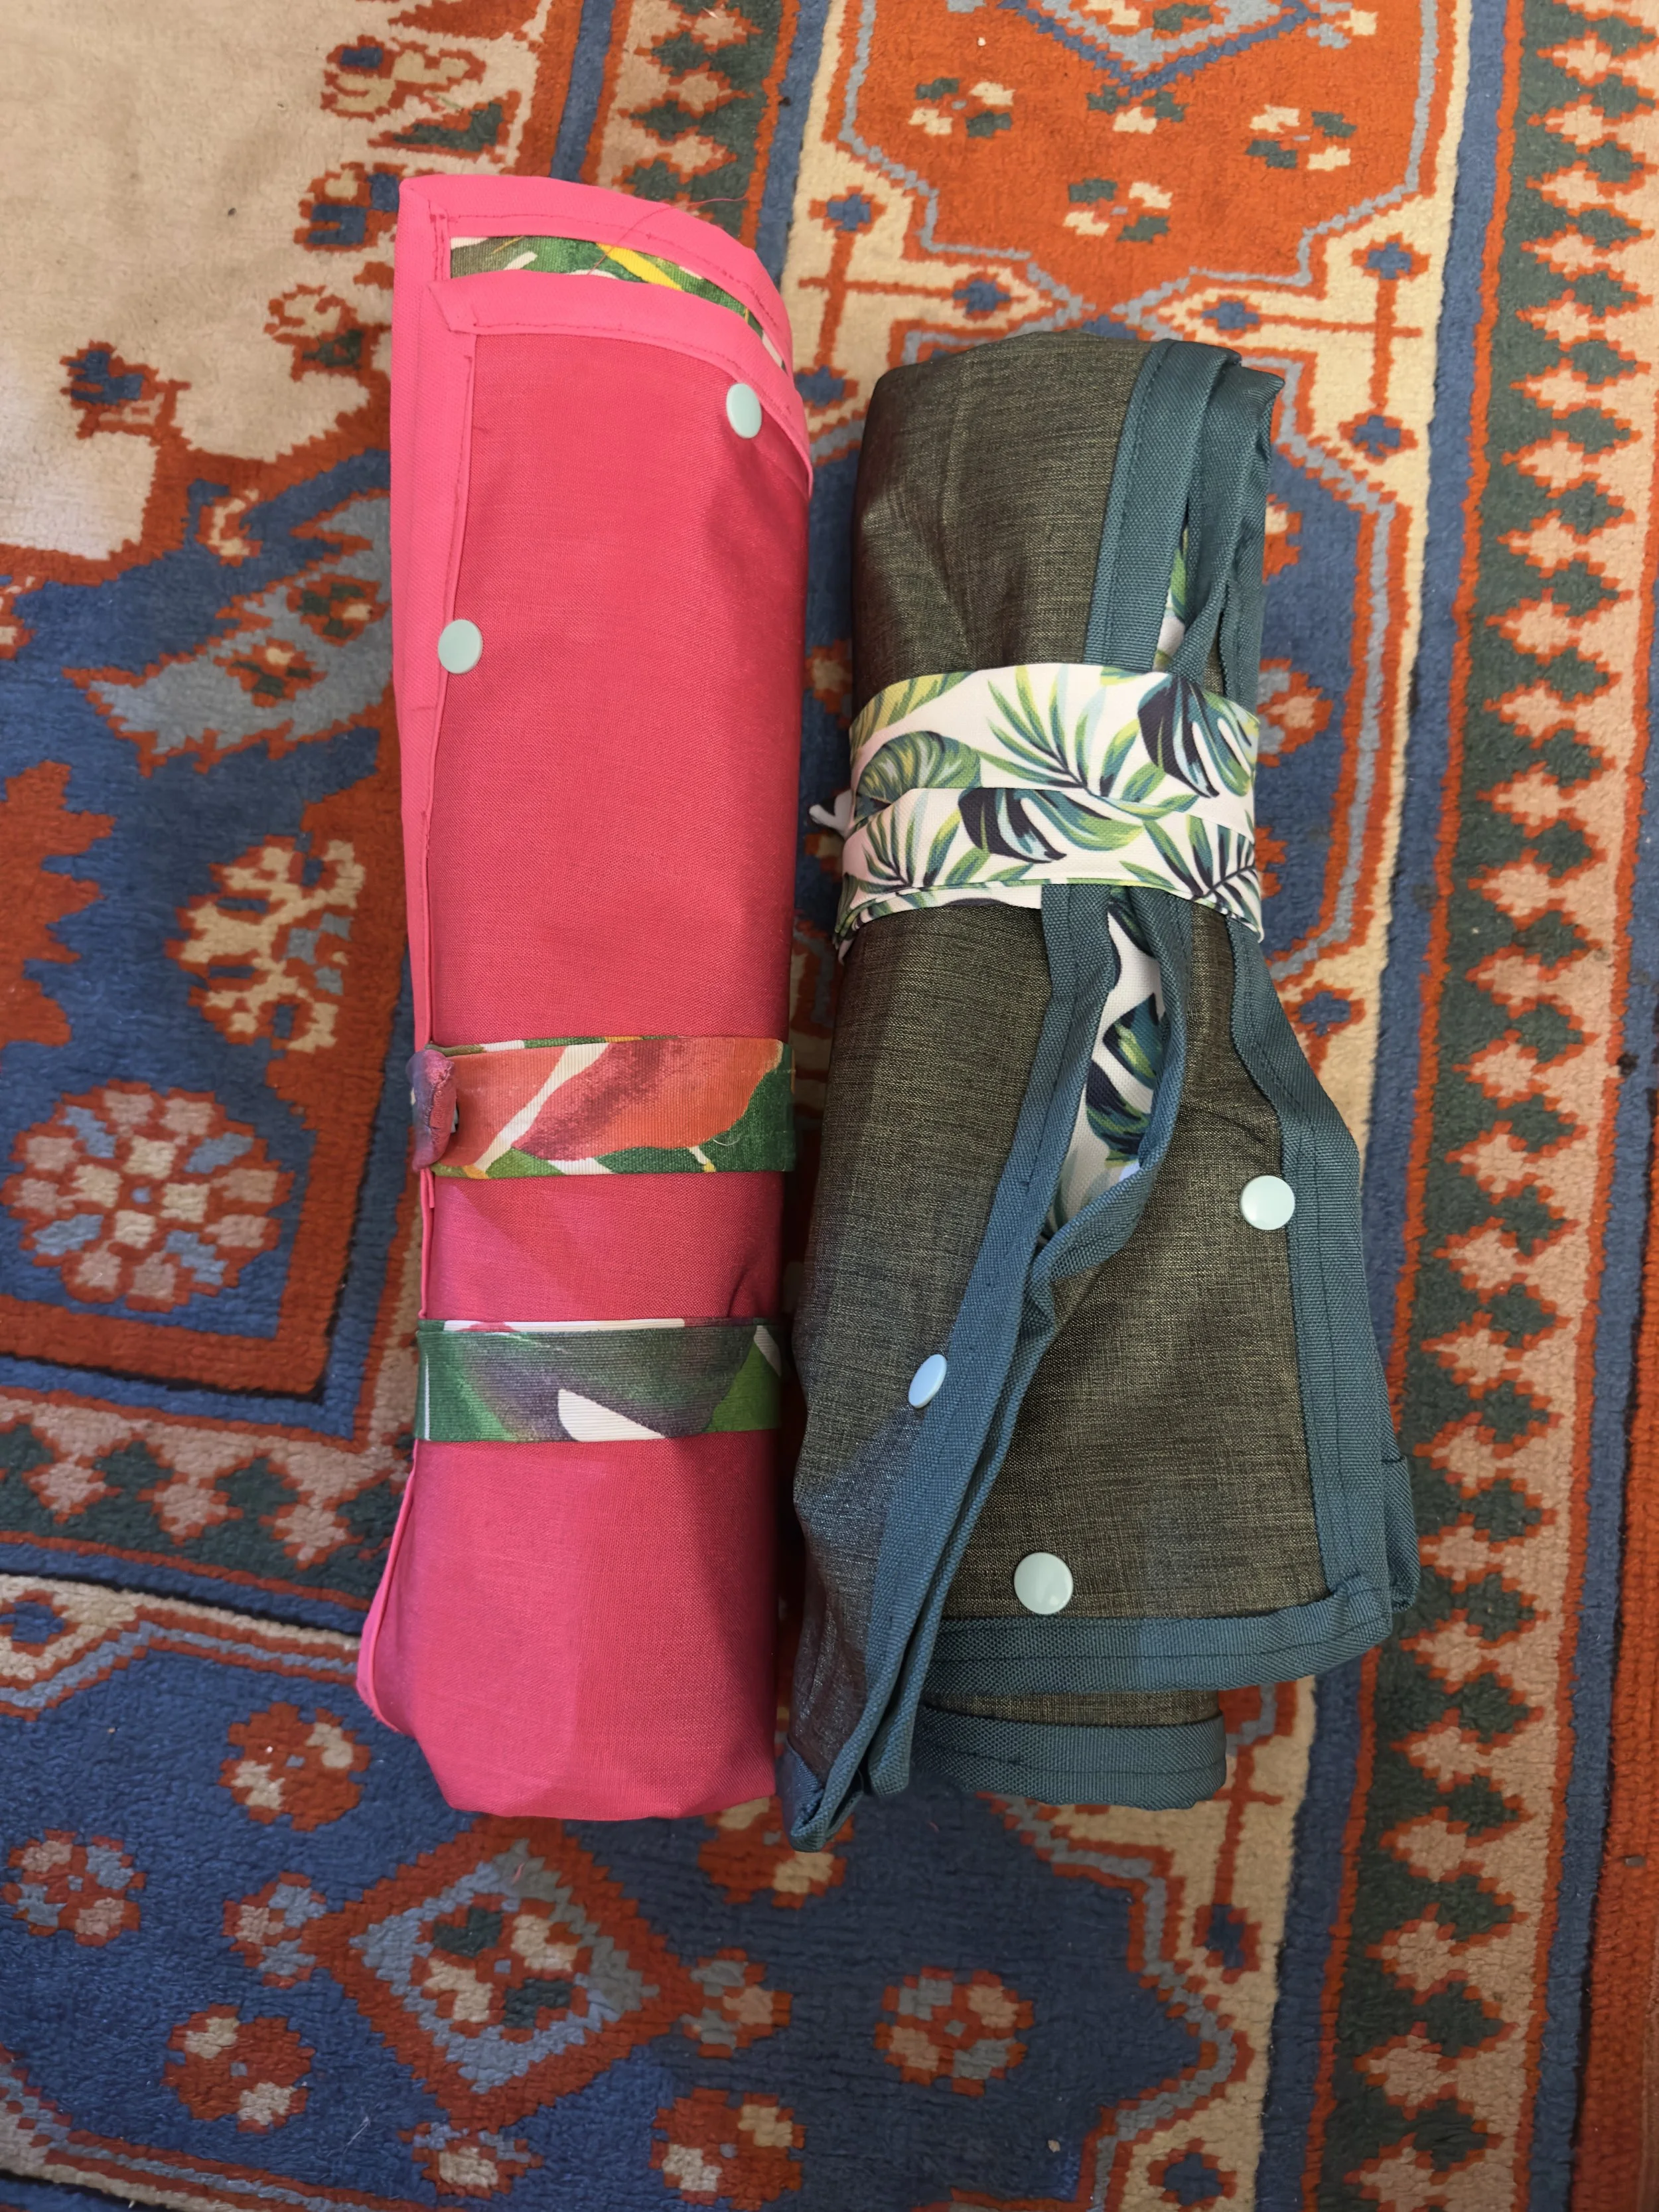
5. Fold and Store for Next Time
Once it’s completely dry, fold your mat in half and roll it up — ready for your next repotting session or planty adventure.
🌿 A Few Quick Warnings:
Hand wash only — no washing machines, please!
Avoid long exposure to direct sunlight or UV rays, as this can affect the durability of your mat.
Store somewhere dry and cool for best results.
remember when emptying mat take of anything that will not be biodegradable in the garden.
Take care of your tools, and they’ll take care of your plants.
Ready to roll out your mat and repot again? Jungle Floor Creative has you covered.

Unlocking the Underground Magic: The Power of Mycorrhizal Fungi
I’ve recently been experimenting with different methods of growing what I can add to my substrates to improve the root growth as well as using Sea Weed, I’ve been trying out Mycorrhizal Fungi. As you know I like to research and be using it for a while before sharing my experience with something.
When we think about plant care, we usually focus on what we can see — leaves, stems, flowers, and maybe a bit of root pruning here and there. But beneath the surface lies a hidden network that has been quietly supporting plant life for hundreds of millions of years: mycorrhizal fungi. We all want our plants to have the best start and if the roots are happy the plants are happy. You may have seen them used in rooting cutting of Roses.
What is Mycorrhizal Fungi.
"Mycorrhiza" literally means "fungus-root." These are beneficial fungi that form symbiotic relationships with plant roots. In simple terms, they team up with your plant’s roots and help each other thrive. The fungi attach to the root system and extend their thread-like structures (called hyphae) deep into the soil, increasing the root’s reach dramatically.


Why Are They So Magical?
Let’s break down the benefits:
🌱 Nutrient Superhighways
Mycorrhizal fungi help plants access nutrients that would otherwise be out of reach, especially phosphorus, nitrogen, and trace minerals. The fungi absorb these nutrients from the soil and shuttle them directly to the plant roots.
💧 Improved Water Uptake
The extended network of hyphae acts like a sponge, helping plants access water from a larger area. This is especially valuable in dry conditions or for thirsty plants.
🛡️ Stronger Immunity
Mycorrhizal relationships can boost a plant's resistance to soil-borne diseases and environmental stress. They essentially help train your plant's immune system and fend off unwanted pathogens.
🌍 Soil Health Champions
These fungi play a major role in improving soil structure by binding particles together, creating better aeration and drainage. Healthier soil = healthier plants.
🌿 Carbon Exchange & Communication
In forests, these underground fungal networks even allow trees to “communicate” and share resources — often called the “Wood Wide Web.” While this may sound like sci-fi, it's backed by fascinating research.


Mycorrhizae and Houseplants: Do They Need It?
In nature, most plants form mycorrhizal relationships, but indoor plants often miss out. Sterile potting mixes, frequent watering, and isolation from natural ecosystems limit fungal activity. That’s why adding mycorrhizal inoculants when repotting or planting can make a noticeable difference in plant health, especially for slower growers, newly transplanted specimens, or stressed plants.
How to Use Mycorrhizal Inoculants
Powdered or granular: Sprinkle onto roots during repotting.
Liquid: Mix with water and drench the soil.
Pre-mixed into soil: Some high-quality potting mixes already contain beneficial fungi.
Note: Mycorrhizae don’t work as well in synthetic-heavy soils or with high-phosphorus fertilizers, which can inhibit the fungal growth.
Not All Plants Use Mycorrhizae
Fun fact: Some plant families — like orchids — have very specific fungal partnerships, while others (like members of the Brassicaceae family, including cabbage) don’t form mycorrhizal relationships at all.
How to Use Mycorrhizal Fungi in Your Repotting Routine
One of the easiest ways to introduce mycorrhizal fungi is during repotting. Just sprinkle a bit of inoculant directly onto the root ball, or mix it lightly into the soil near the roots. Water it in gently, and let the magic begin.
This is also a great time to streamline your plant care setup. We love using Jungle Floor Creative’s waterproof potting mats — not only do they keep your workspace clean, but they help you stay focused on the task at hand without making a mess. Pair it with one of our plant scoops, and you’ve got everything you need to blend soil, fungi, and love into every pot.
Whether you’re repotting on the balcony, kitchen table, or floor, these reusable tools help you stay grounded (and stylish!) while you work.
🌱 Pro tip: Avoid high-phosphorus synthetic fertilizers when using mycorrhizae — they can suppress fungal growth!


⚠️ Cons of Mycorrhizal Fungi
❌ They’re Picky About Conditions
Mycorrhizae don’t thrive in sterile, compacted, or overly wet soils. Excessive use of chemical fertilizers (especially high-phosphorus ones) can also kill or suppress them.
❌ Not Universal
Some plants (like brassicas — think cabbage, broccoli, etc.) and many carnivorous plants don’t form mycorrhizal relationships. Orchids, on the other hand, require very specific fungal partners.
❌ Takes Time to Establish
They aren't a quick fix. Benefits develop gradually as the fungal network builds — it’s a long game.
❌ Varied Product Quality
Some commercial inoculants may contain low spore counts or inactive fungi, especially if stored improperly. Always check the source and shelf life.
❌ Not Always Needed
In rich, living soil with a healthy microbial ecosystem, fungi may already be present. Inoculants are most helpful when starting fresh or working with poor/substrate-heavy mixes.
Final Thoughts
Mycorrhizal fungi aren’t just a scientific curiosity — they’re ancient allies. With the right tools, knowledge, and a little fungal magic, your plants can become more resilient, nutrient-efficient, and beautifully self-sufficient.
So next time you're repotting, don’t just think about soil and pots — think about connections. Beneath the surface, there’s a whole world rooting for your plants. 🖤
Featured Tools
🪴 Jungle Floor Creative Potting Mats – Durable, waterproof, and foldable. Designed for tidy, joyful repotting.
🪣 Plant Scoops – Because who has time to spoon mix soil by hand? These scoops make measuring, mixing, and sprinkling mycorrhizae a breeze.
I recommend Aqua Culture UK Dry Seaweed, Slow Release Fertiliser Soil Topper. This will work really well with Mycorrhizal as its organic and slow releasing like that of the Mycorrihizal to find out more about the benefits of sea weed check out my blog.
I use this type of Mycorrhizal started with a smaller bag and then now get a bigger bag

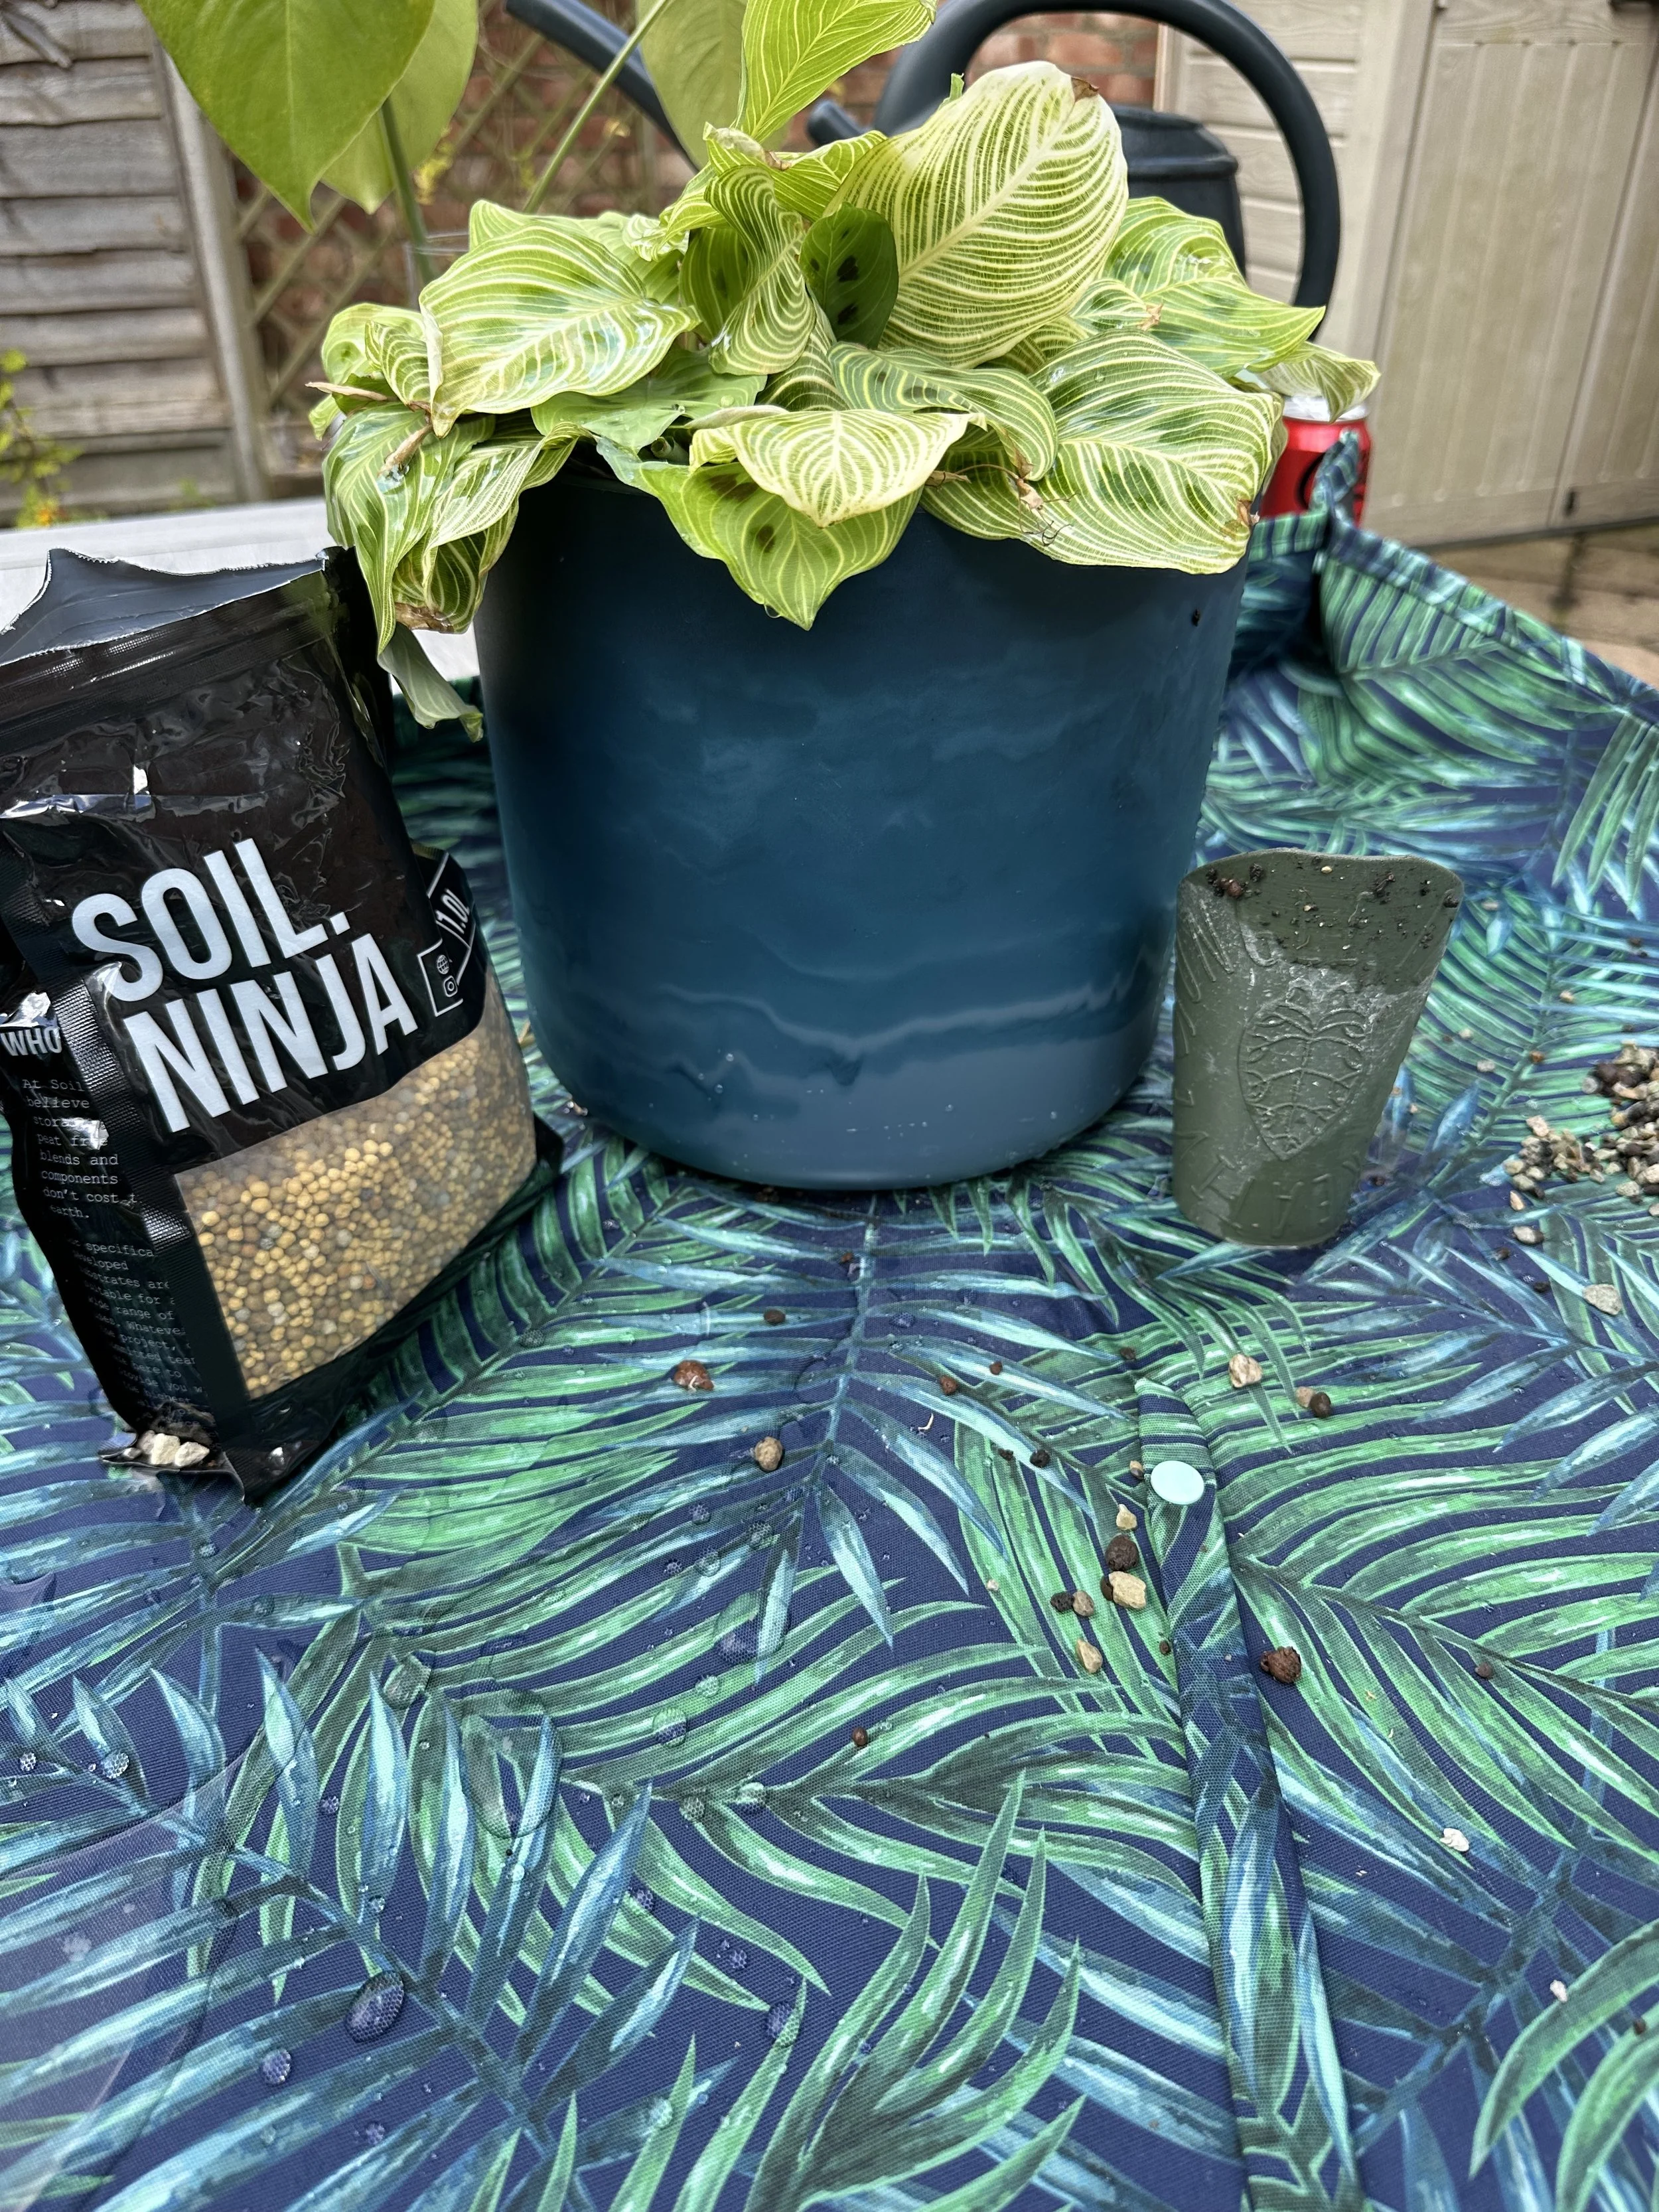
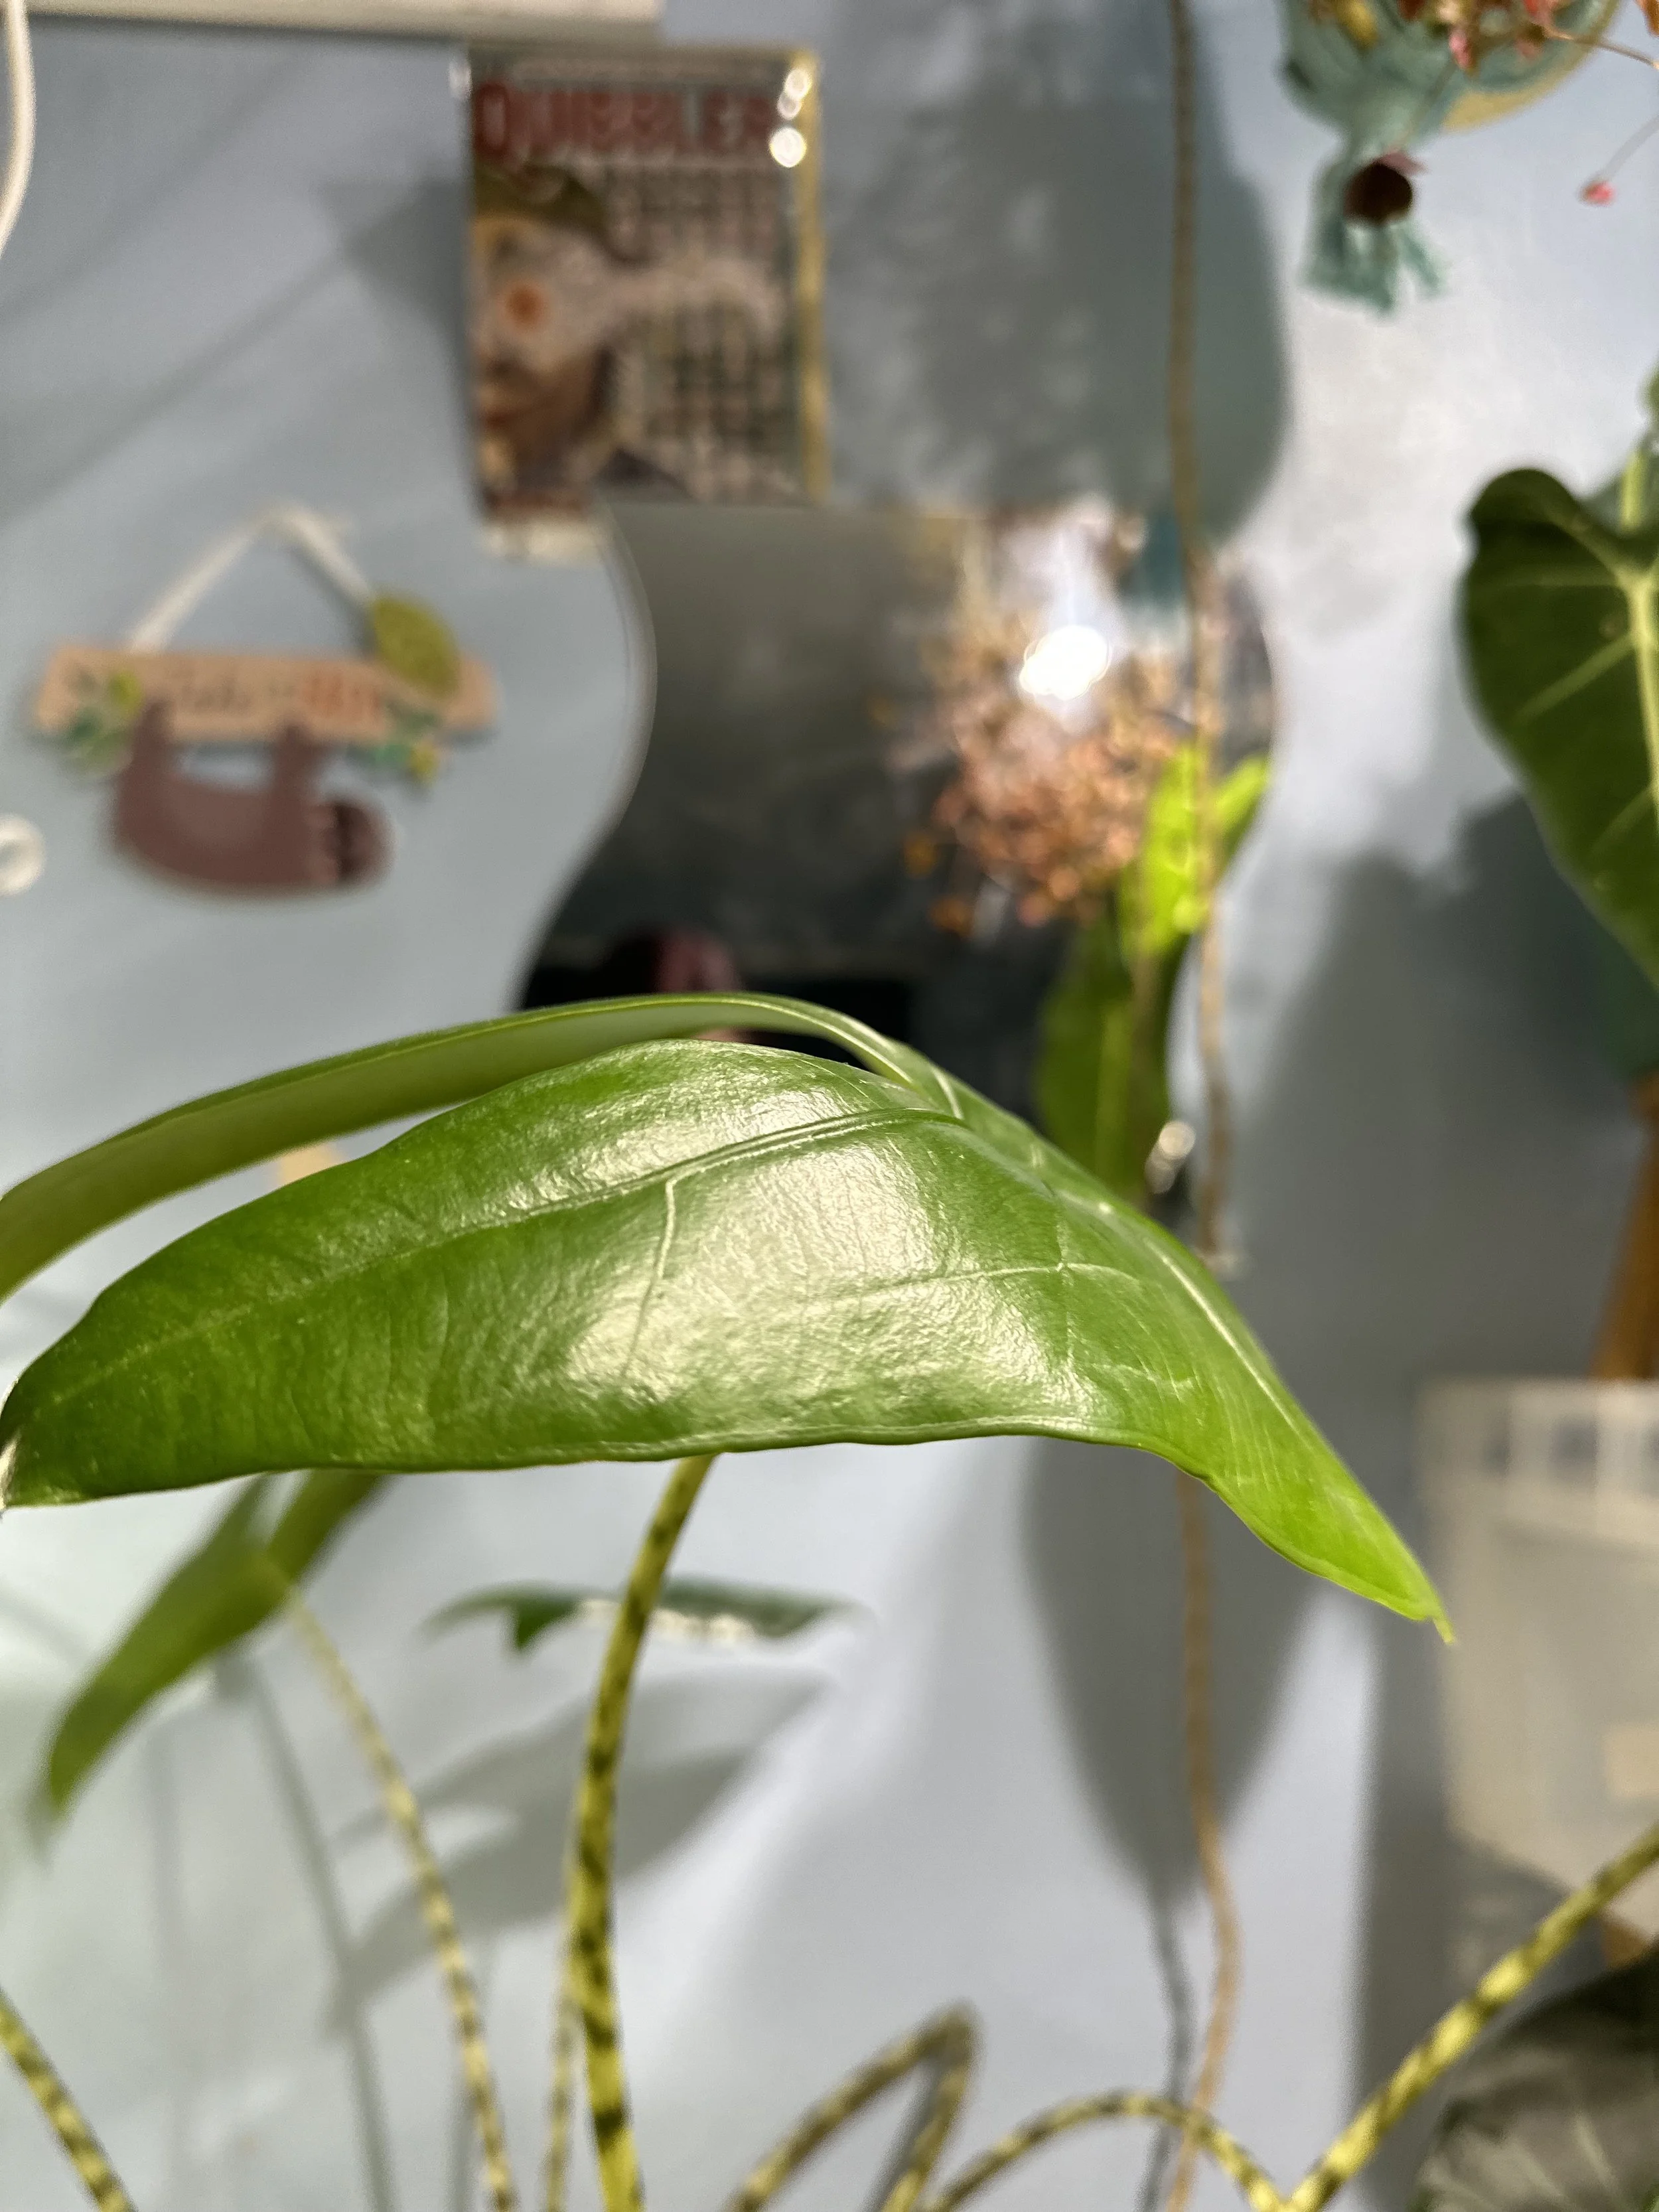
Zebrina Takes the Plunge: Switching to Semi-Hydroponics

This was the Zebrina in soil ninja’s Alocasia Mix which I was happy with how it was doing however because it was a strong plant I felt it would survive the transition to Semi Hydro.
Let’s Talk About My Alocasia Zebrina’s Semi-Hydro Journey!
Join me as I take you through the journey of transferring my Alocasia Zebrina into Soil Ninja’s Semi-Hydro Fine Mix. I’ll be sharing what worked, what didn’t, and all the highs and lows along the way. I’ll also explain what semi-hydro actually is—with the help of Soil Ninja and a few other resources—so you can get your head around the method before diving into the details of my plant’s big switch.
If you’ve been following me for a while—whether on Instagram or here on the blog—you might’ve seen the video I shared at the beginning of this little adventure. But don’t worry if you missed it, because I’m starting from the top and diving into the nitty-gritty of what semi-hydro even is.
Semi-Hydro 101
So, what exactly is semi-hydro? First off, it goes by quite a few names—and it’s not just one fixed method. In simple terms, semi-hydro is a soilless growing method.
Let’s break it down. Hydro means water, and semi means “not quite”—kind of like a semi-detached house: it’s attached, but not fully joined. In plant care, this means we’re not growing in just water, but not in traditional soil either.
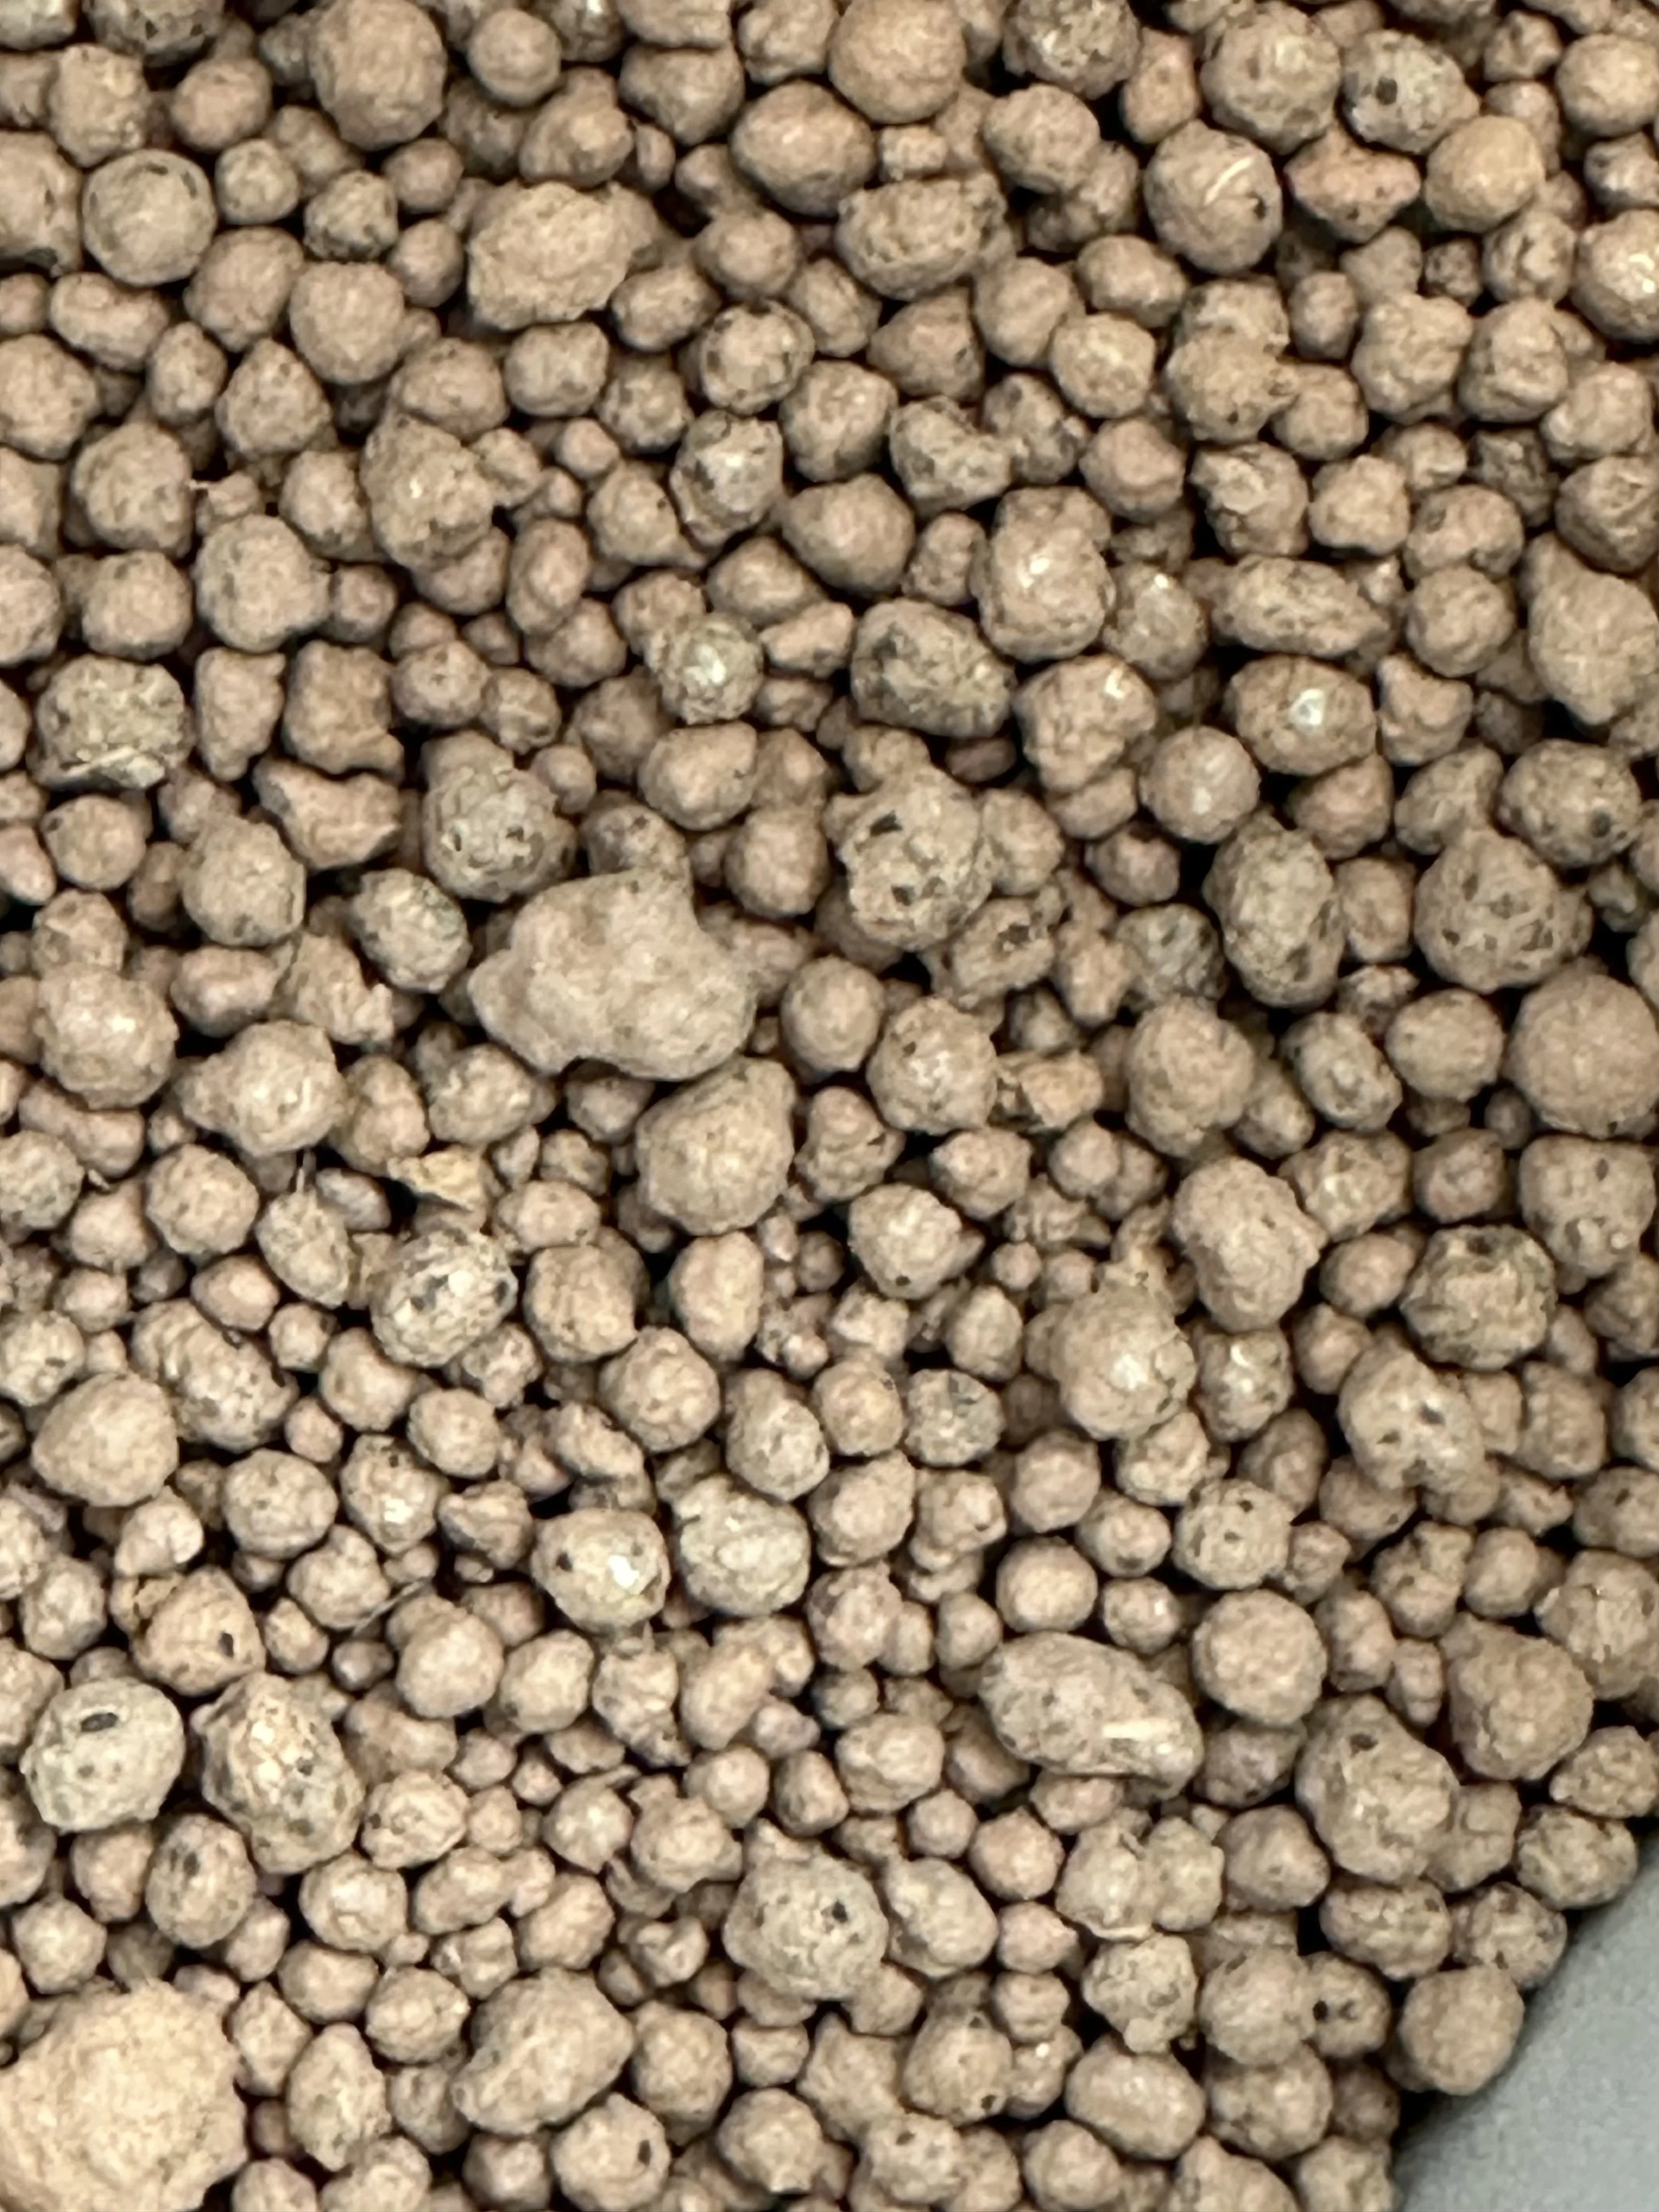
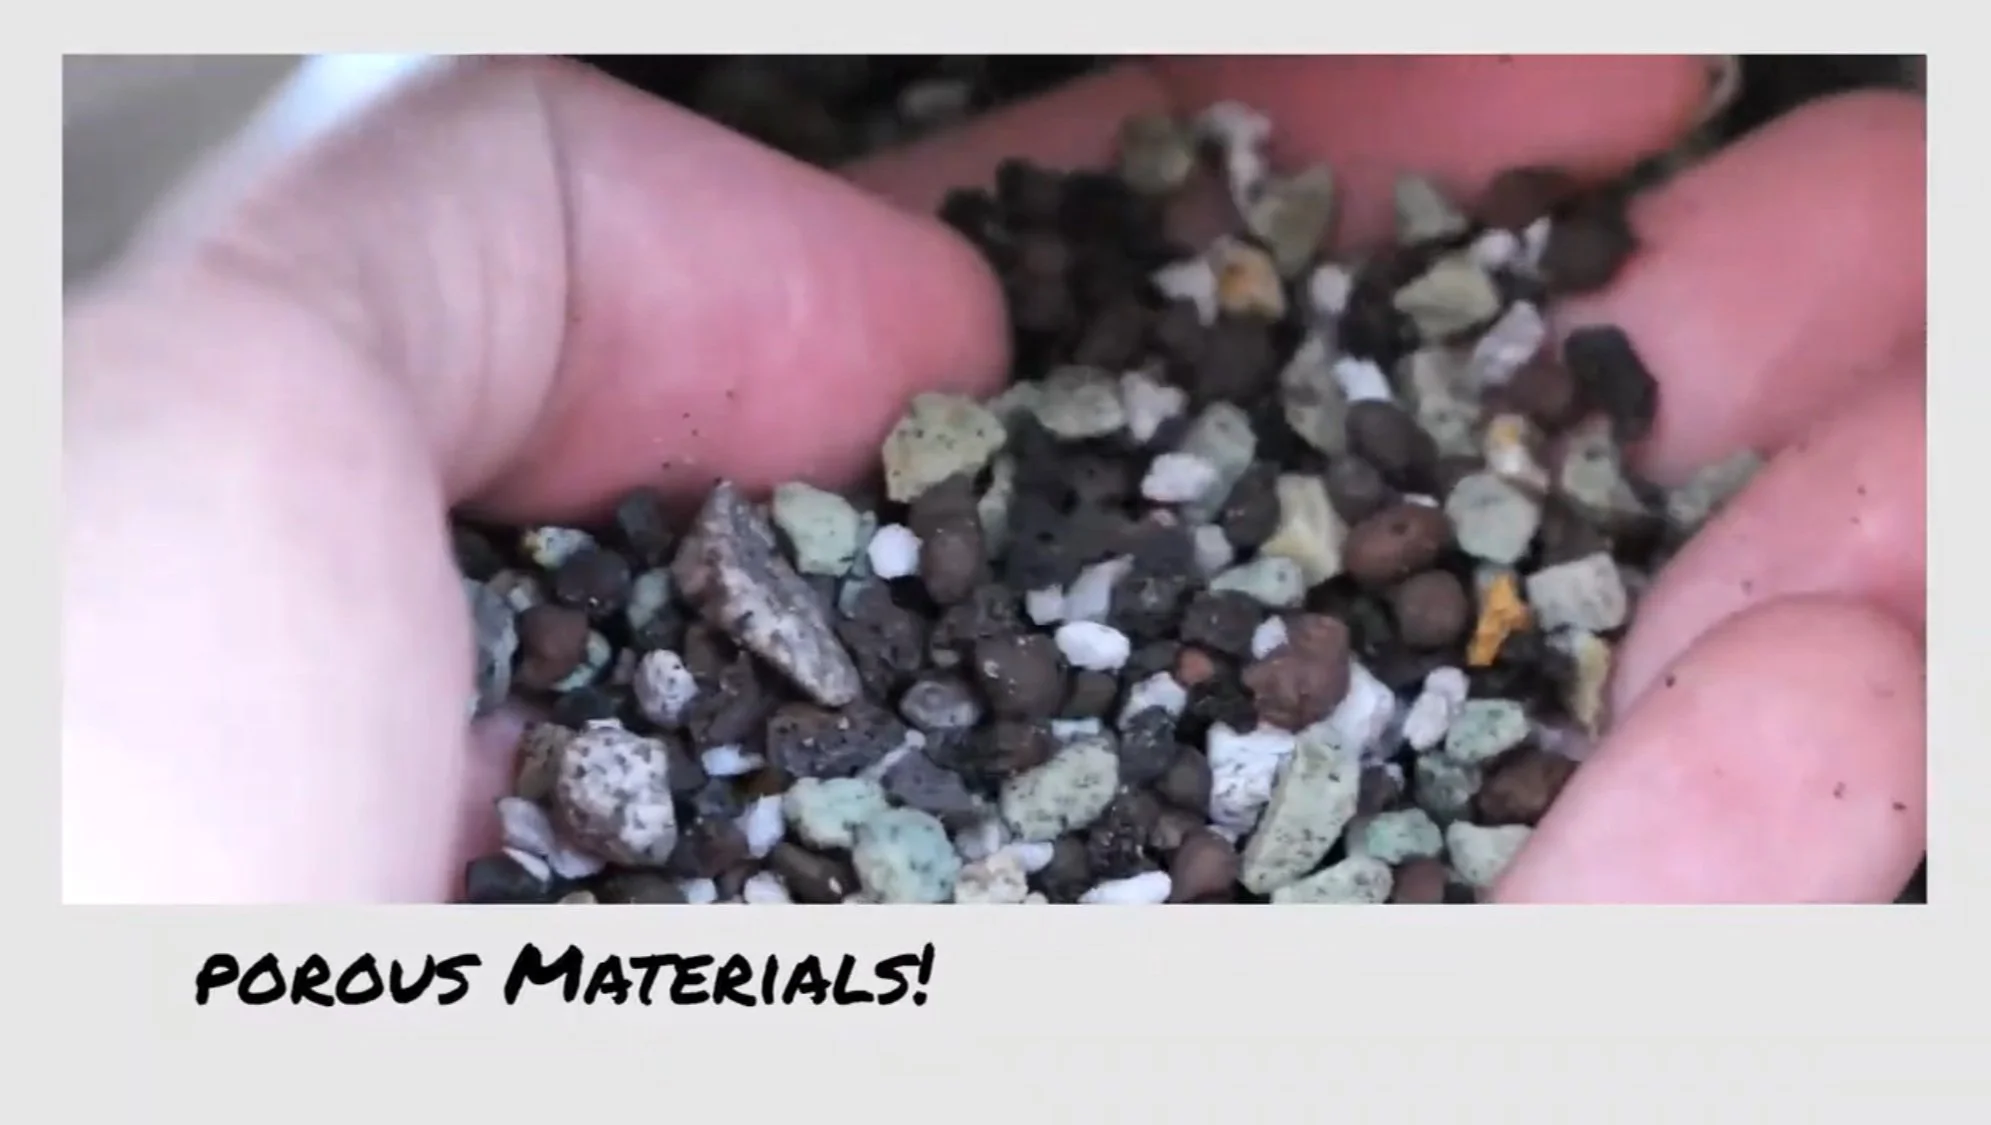
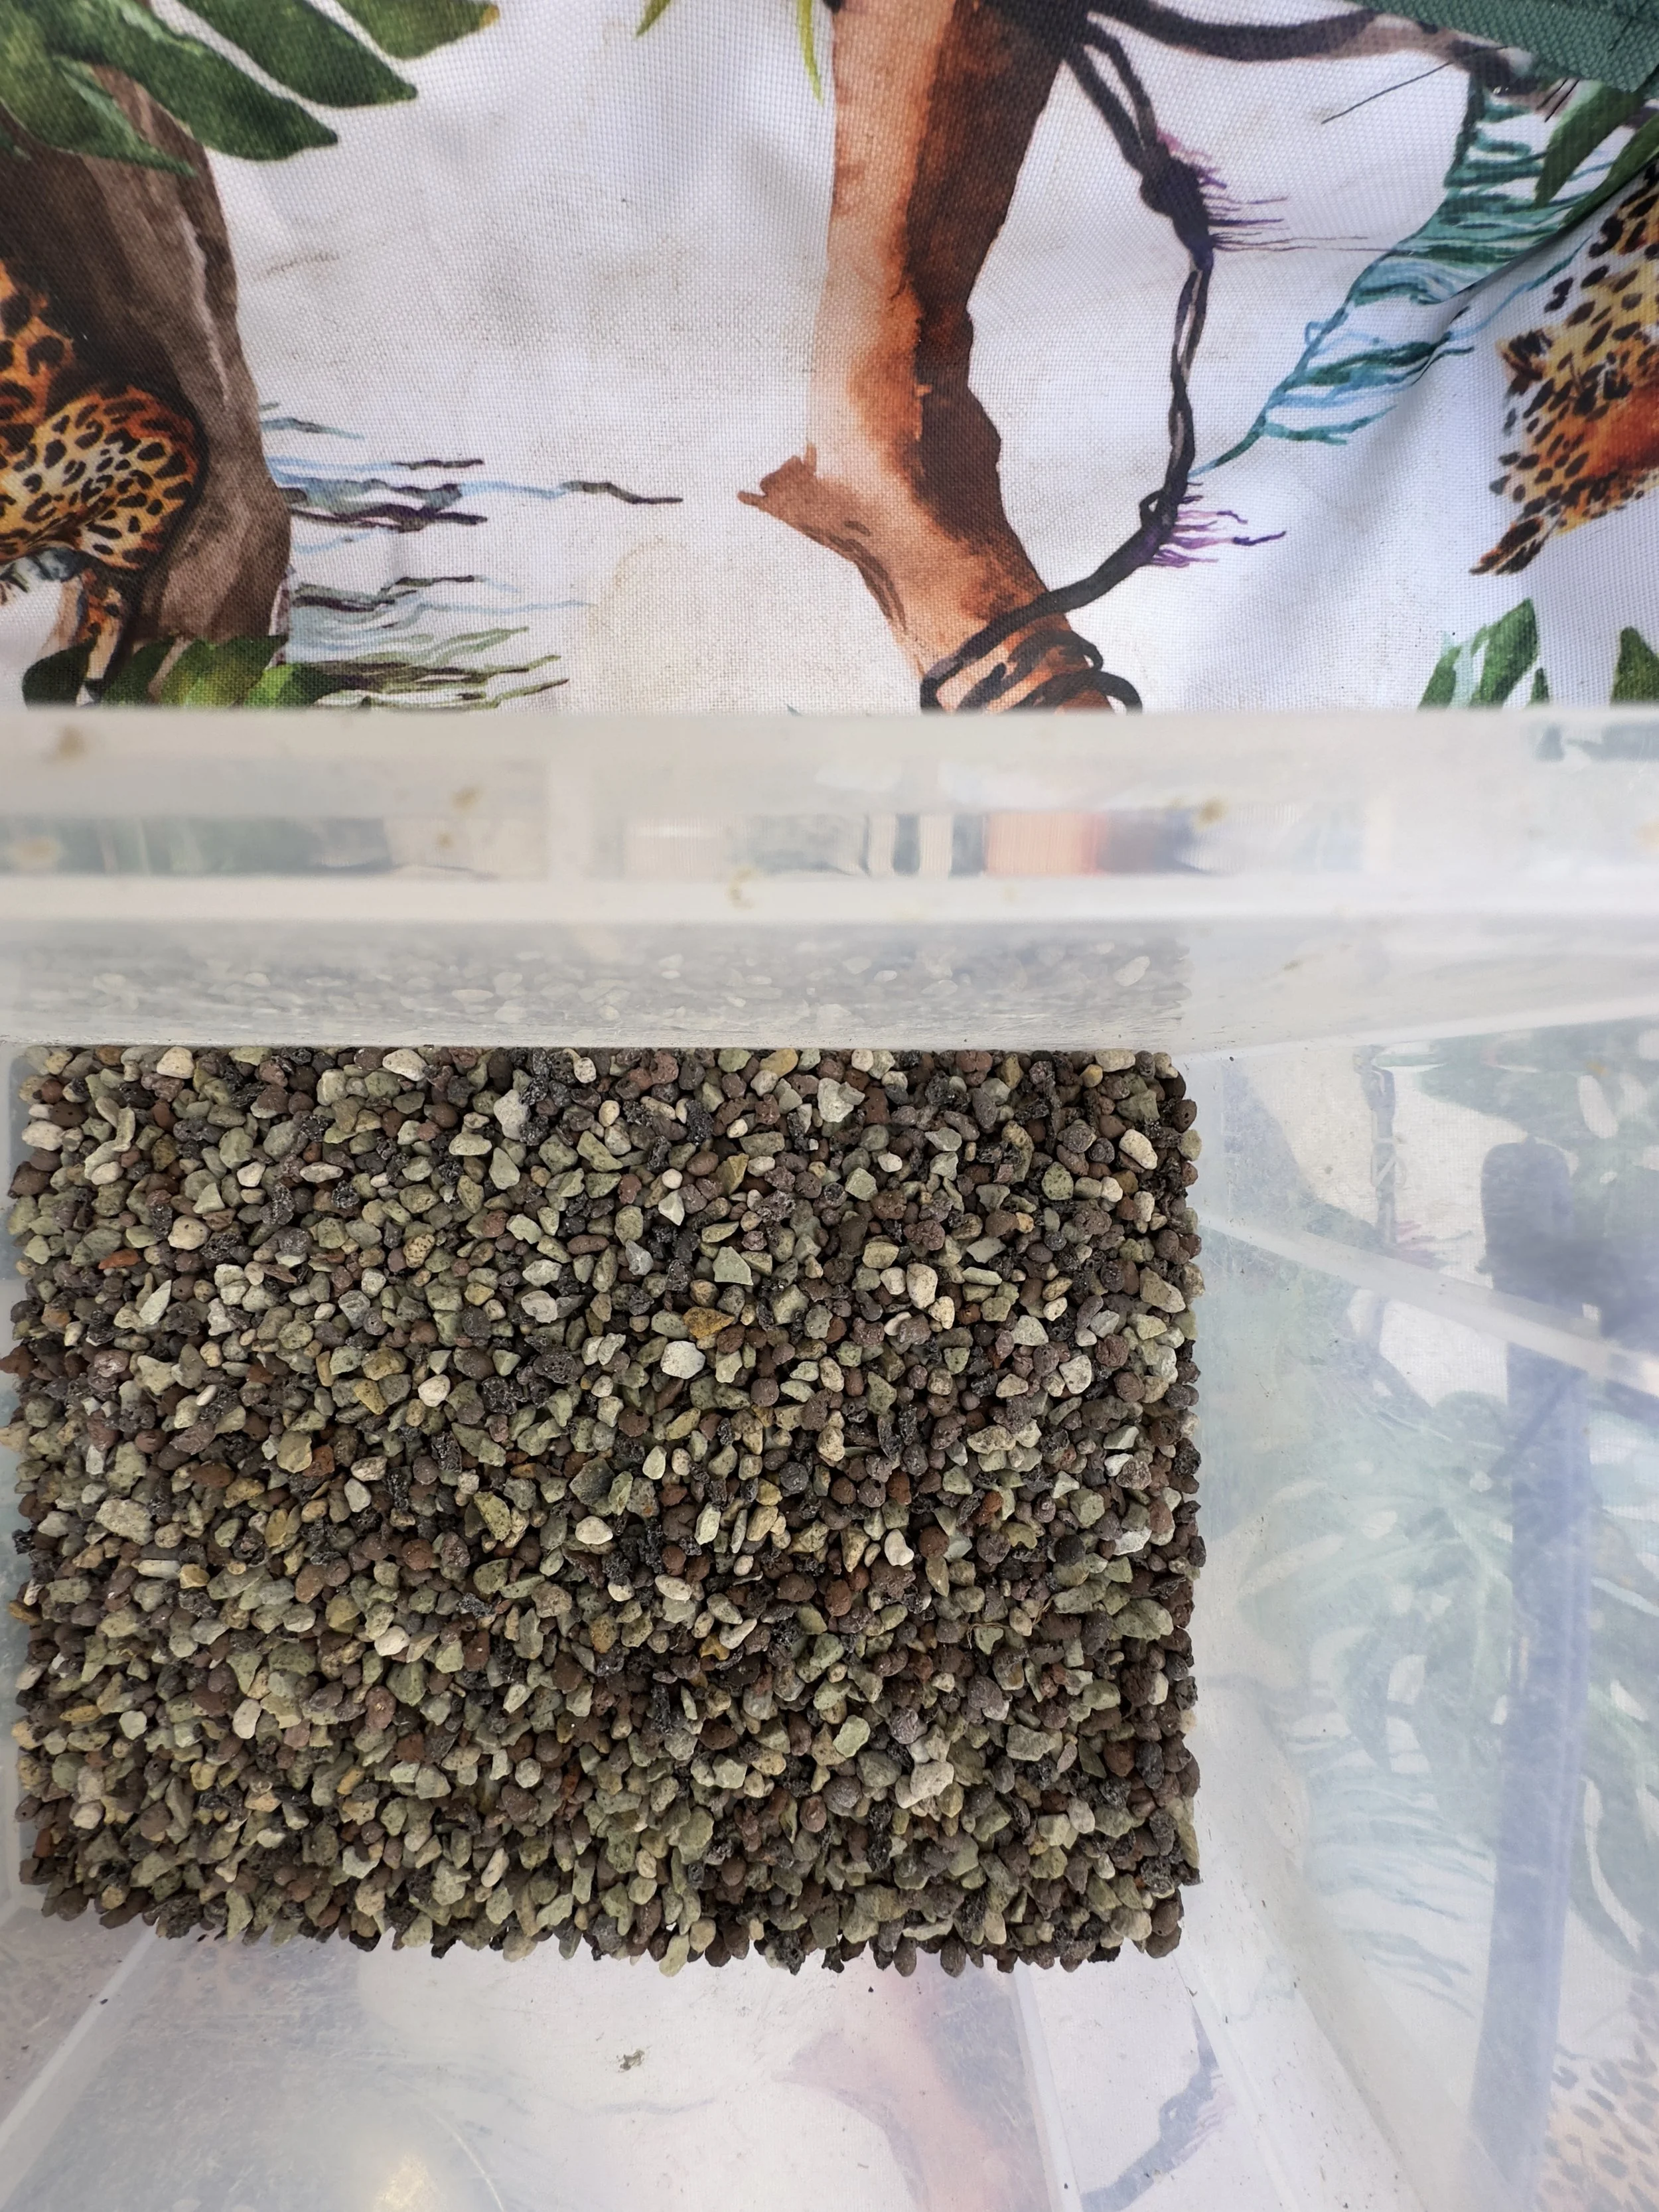
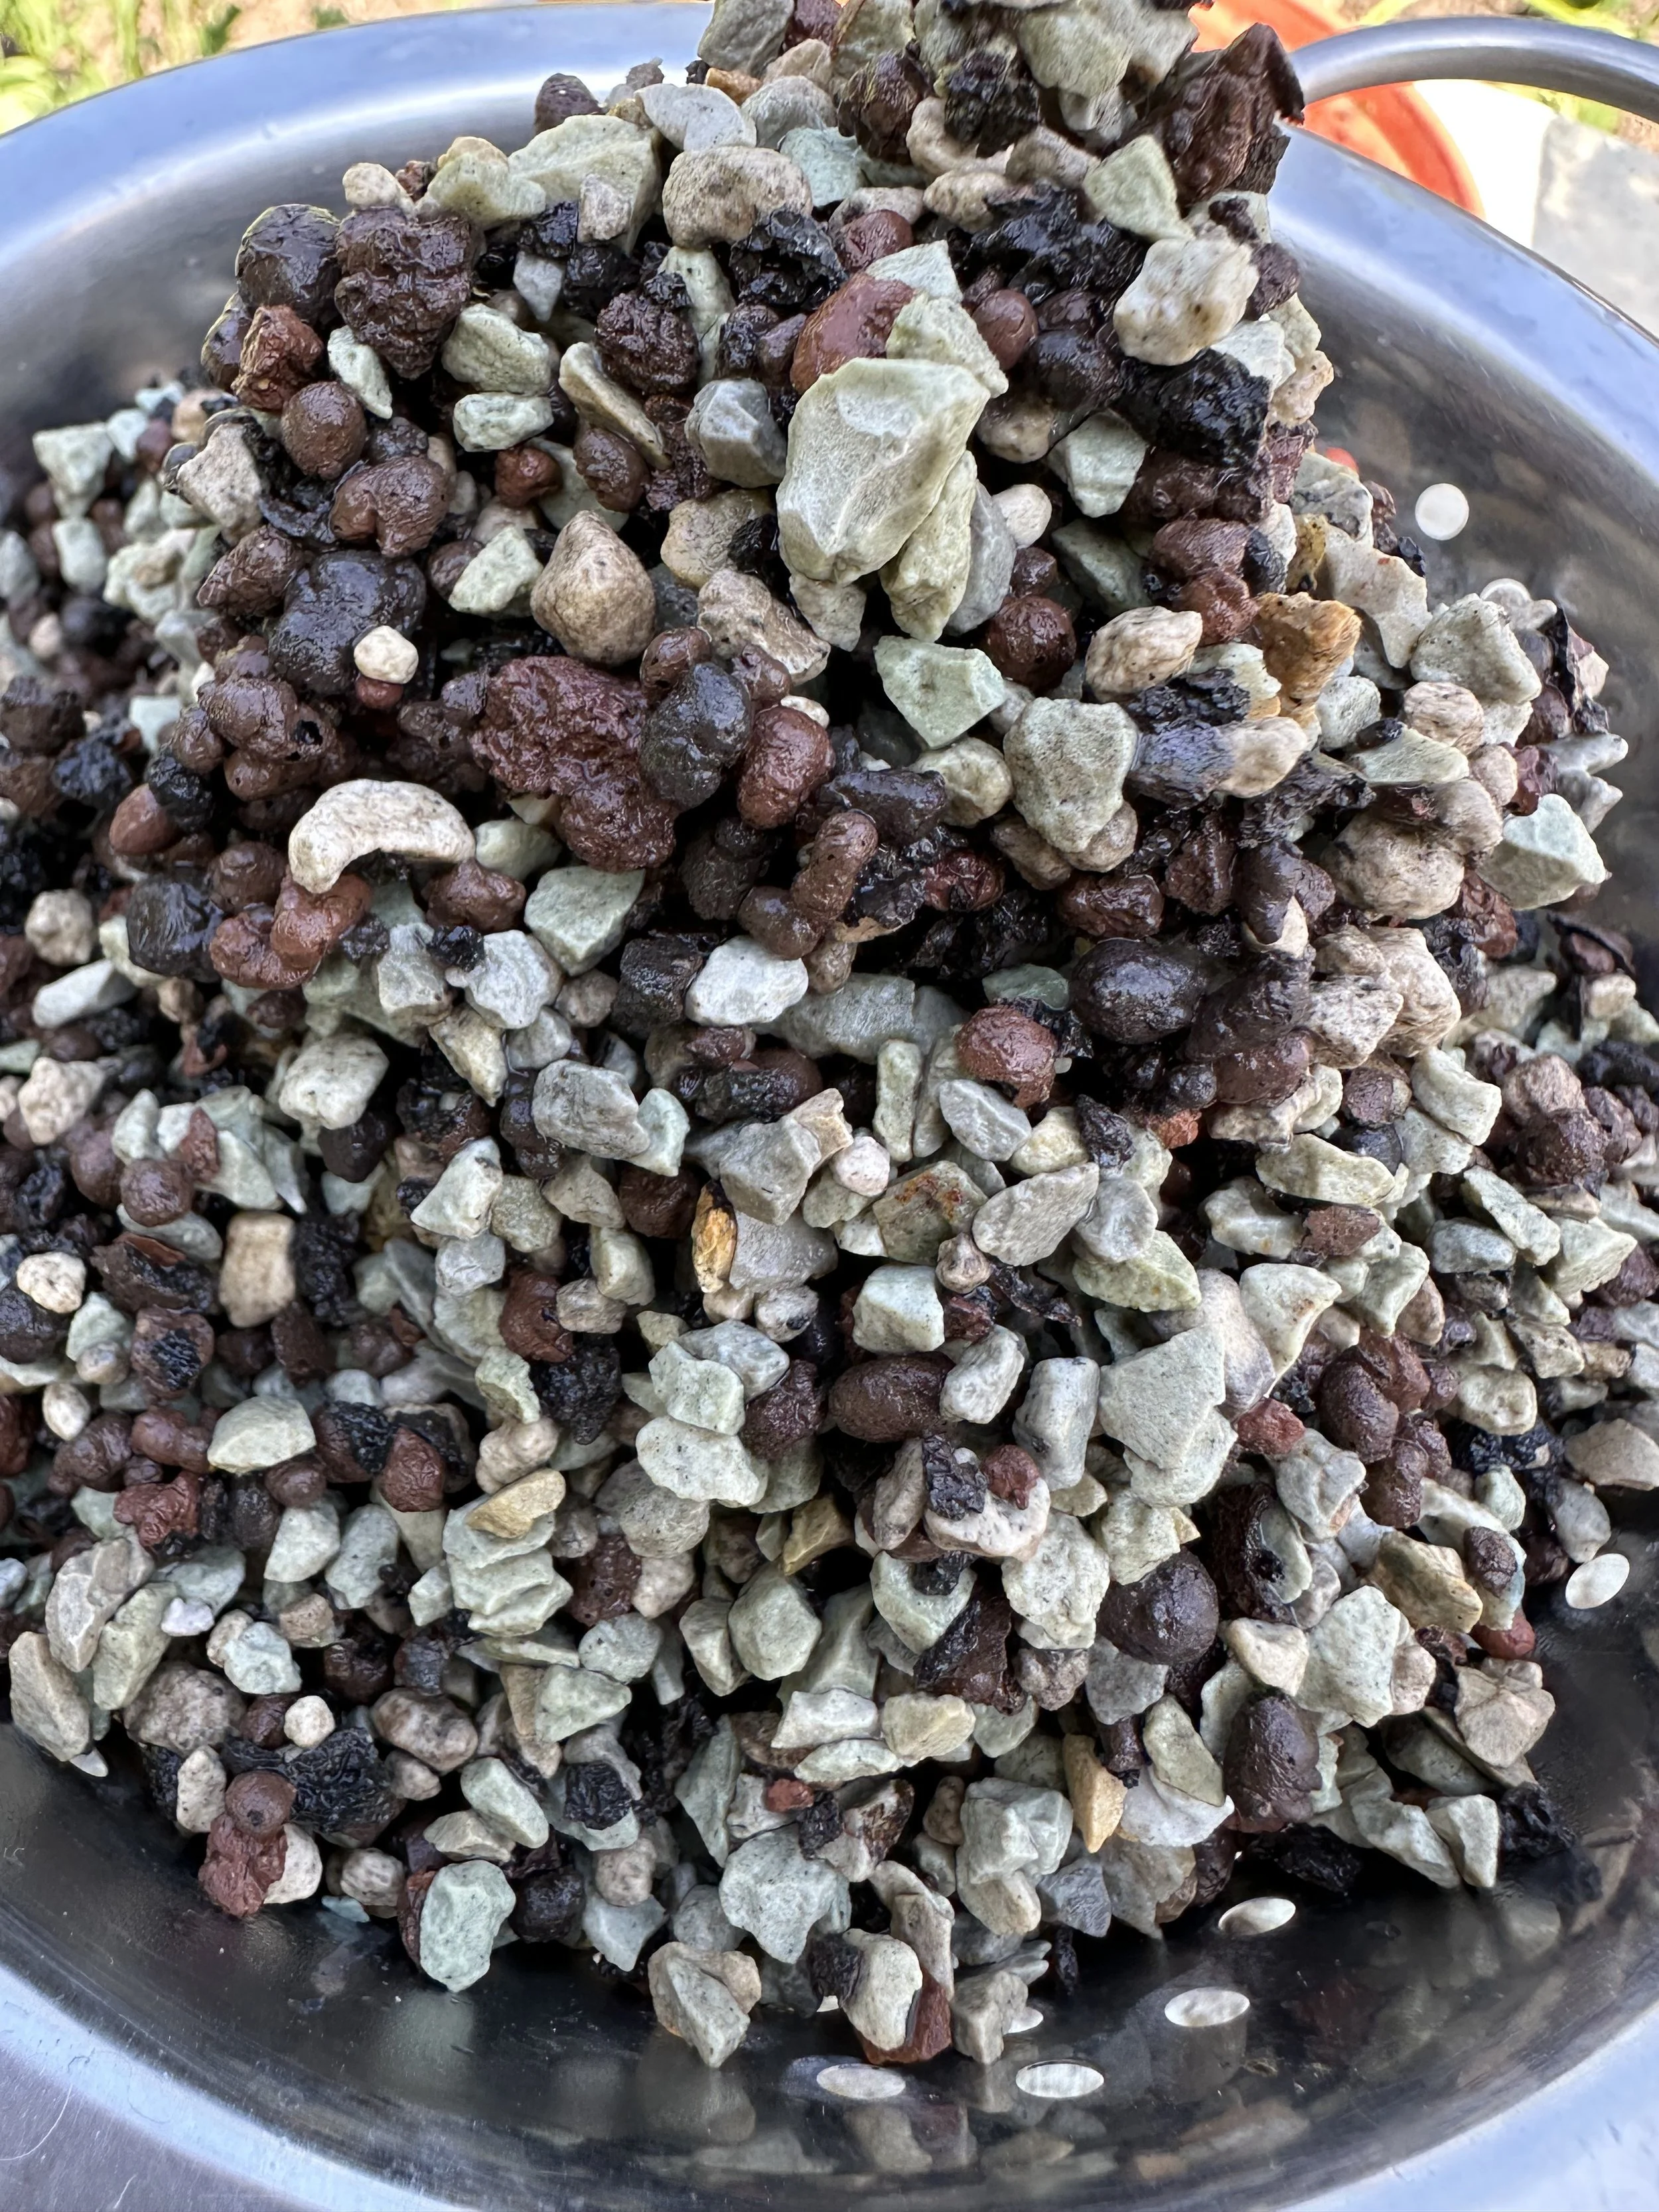
The “semi” part comes from the use of porous materials that allow both water and air to flow through their tiny, microscopic holes. These materials can include things like clay balls (LECA), pumice, vermiculite, unfired terracotta, biochar, perlite, timber, pulp, and sphagnum moss.
For this plant, I used Soil Ninja’s own semi-hydro blend, which they describe as:
“Our semi-hydro blend supplies porous materials & detoxifying/safeguarding amendments, all to keep your propagation & plants healthy, strong & happy.”
They actually offer two versions of this mix:

Coarse – chunkier pieces and a rougher texture
Fine – smaller particles with a finer texture
Because Alocasia roots are generally finer and more delicate than something like a Monstera or Philodendron (which tend to have chunkier roots), I went with the Fine mix—plus, they’d just released it at the time and I was excited to try it!
You can check out the video below to see exactly how I prepped my Alocasia for its semi-hydro makeover. But if you prefer a step-by-step written guide, keep scrolling! I made the switch around two years ago now, so I’ll also be sharing how it’s gone since then and how my Alocasia Zebrina is doing today.
The Switch | The Method I Used to Transition to Semi-Hydro
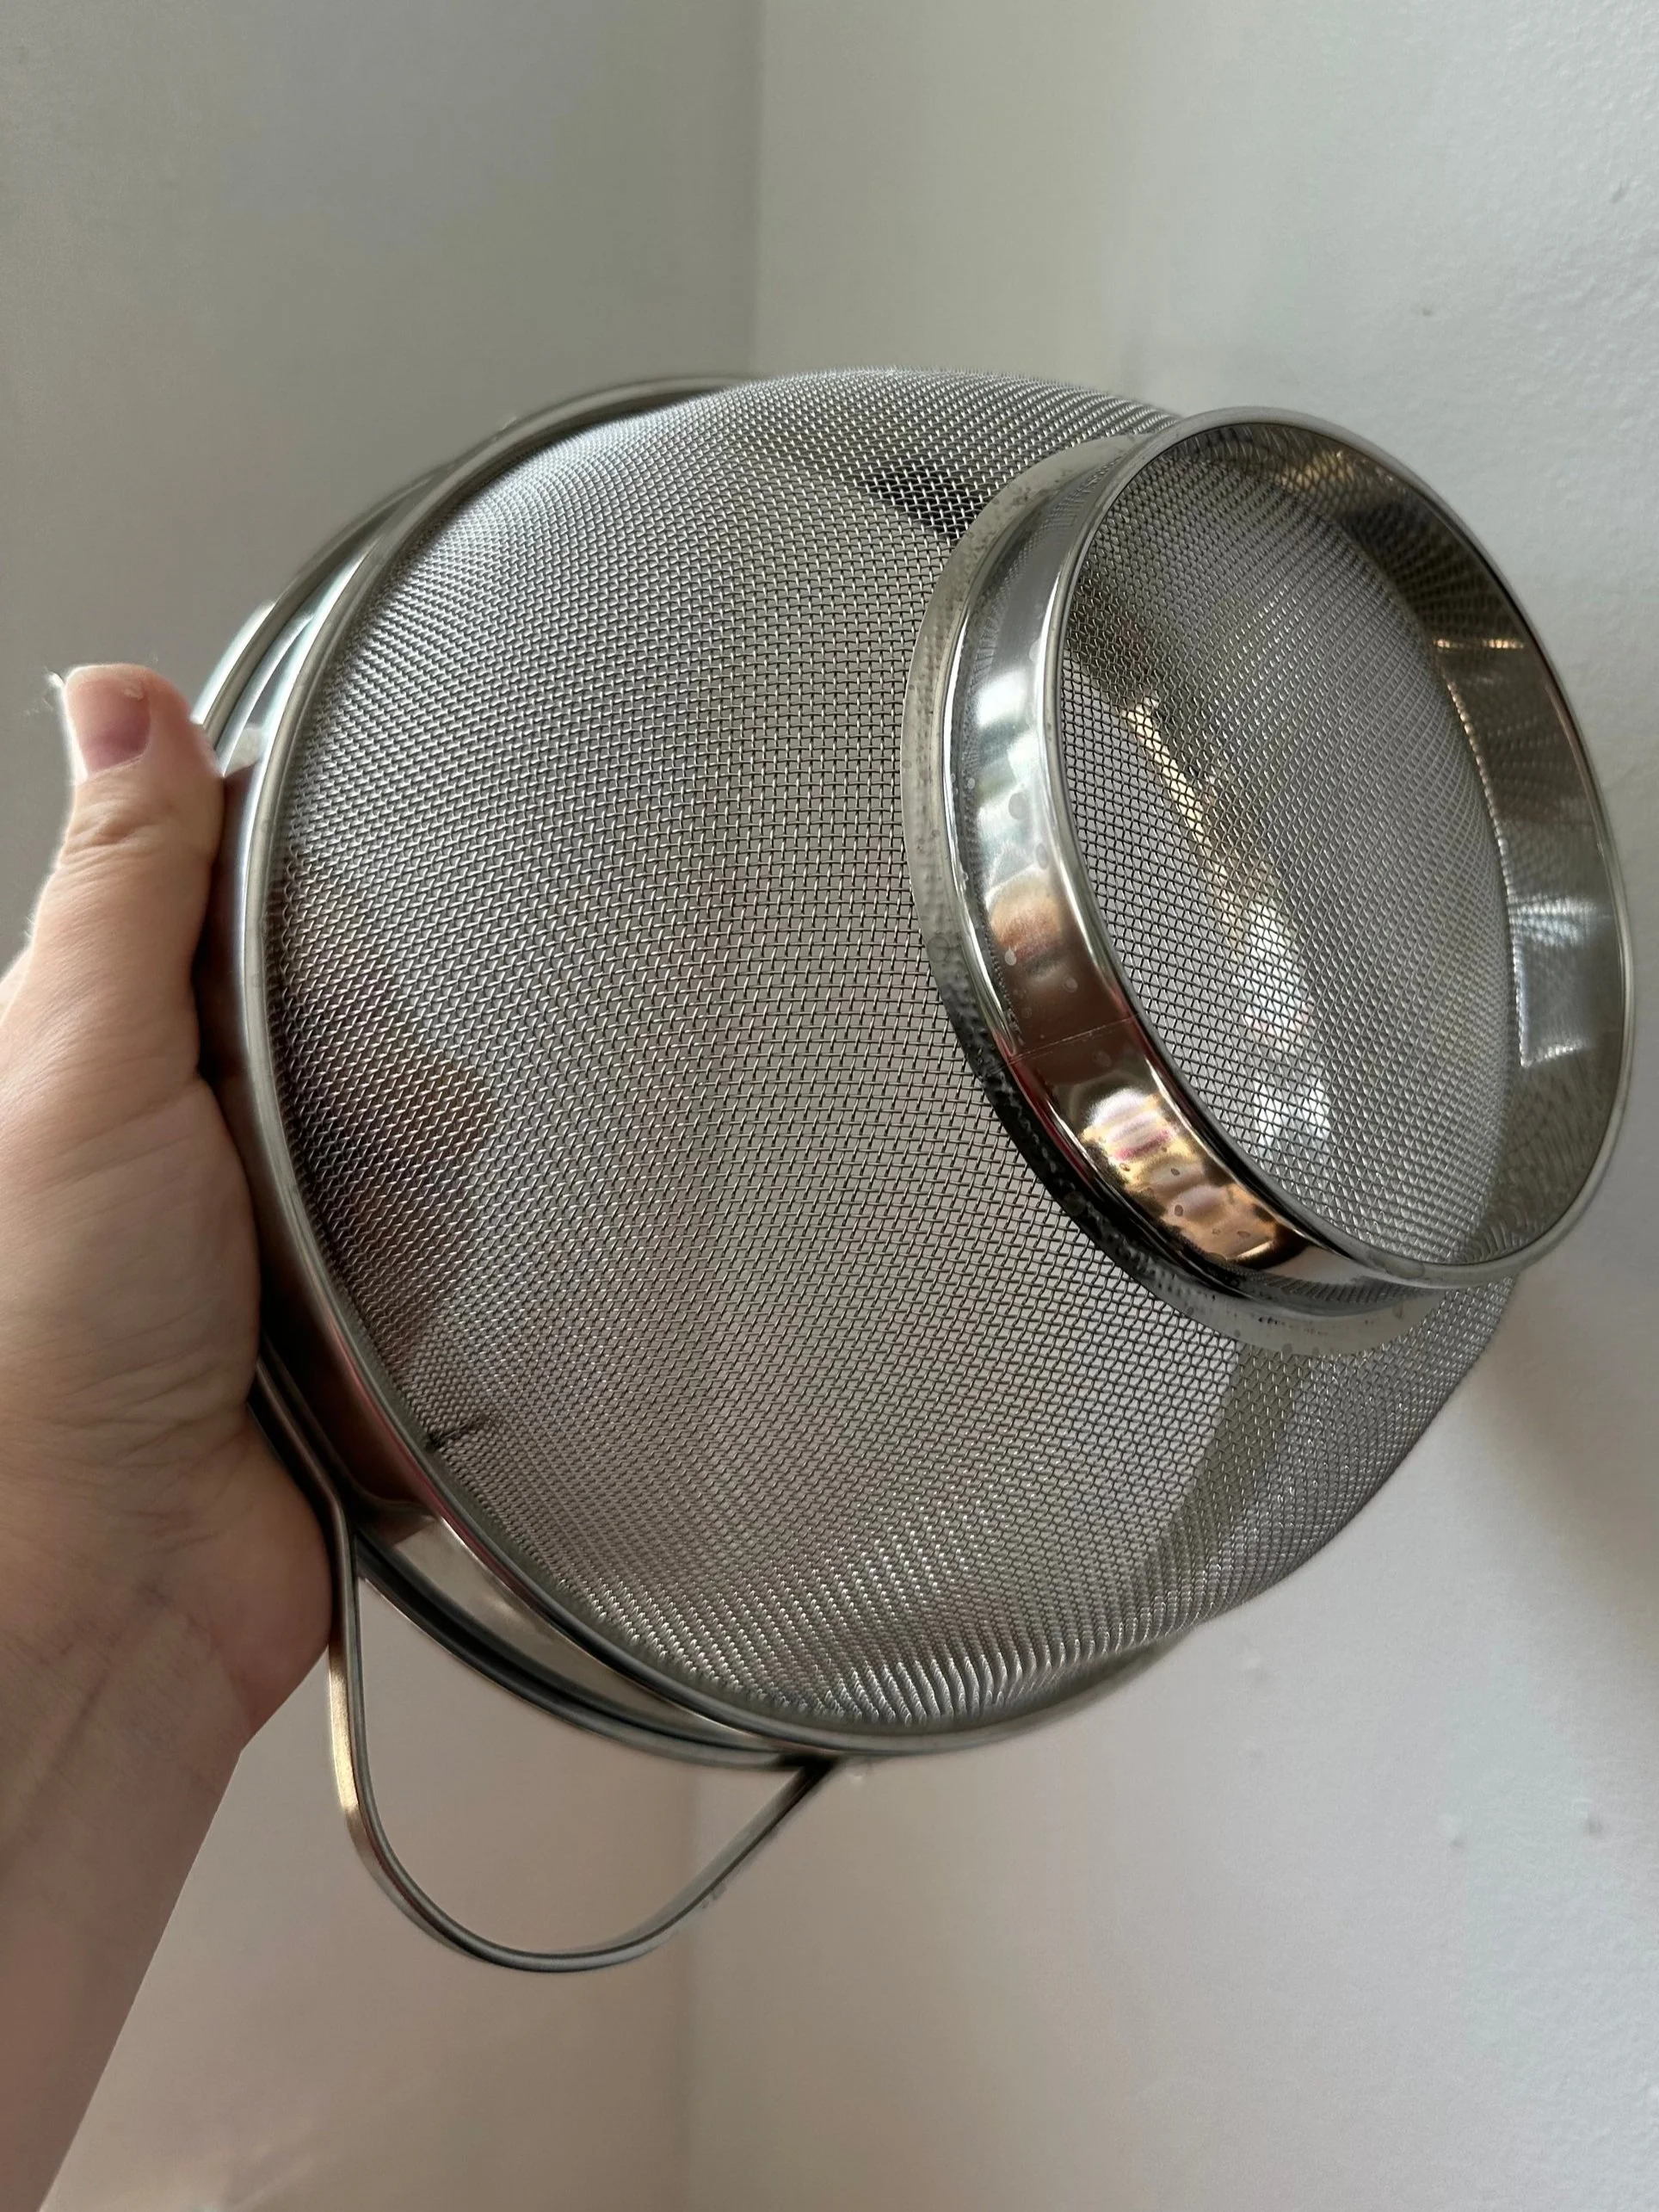
Strainer I use for rinsing and sterilizing semi-hydro! Got this one from Tkmax; good size, small holes, and metal.
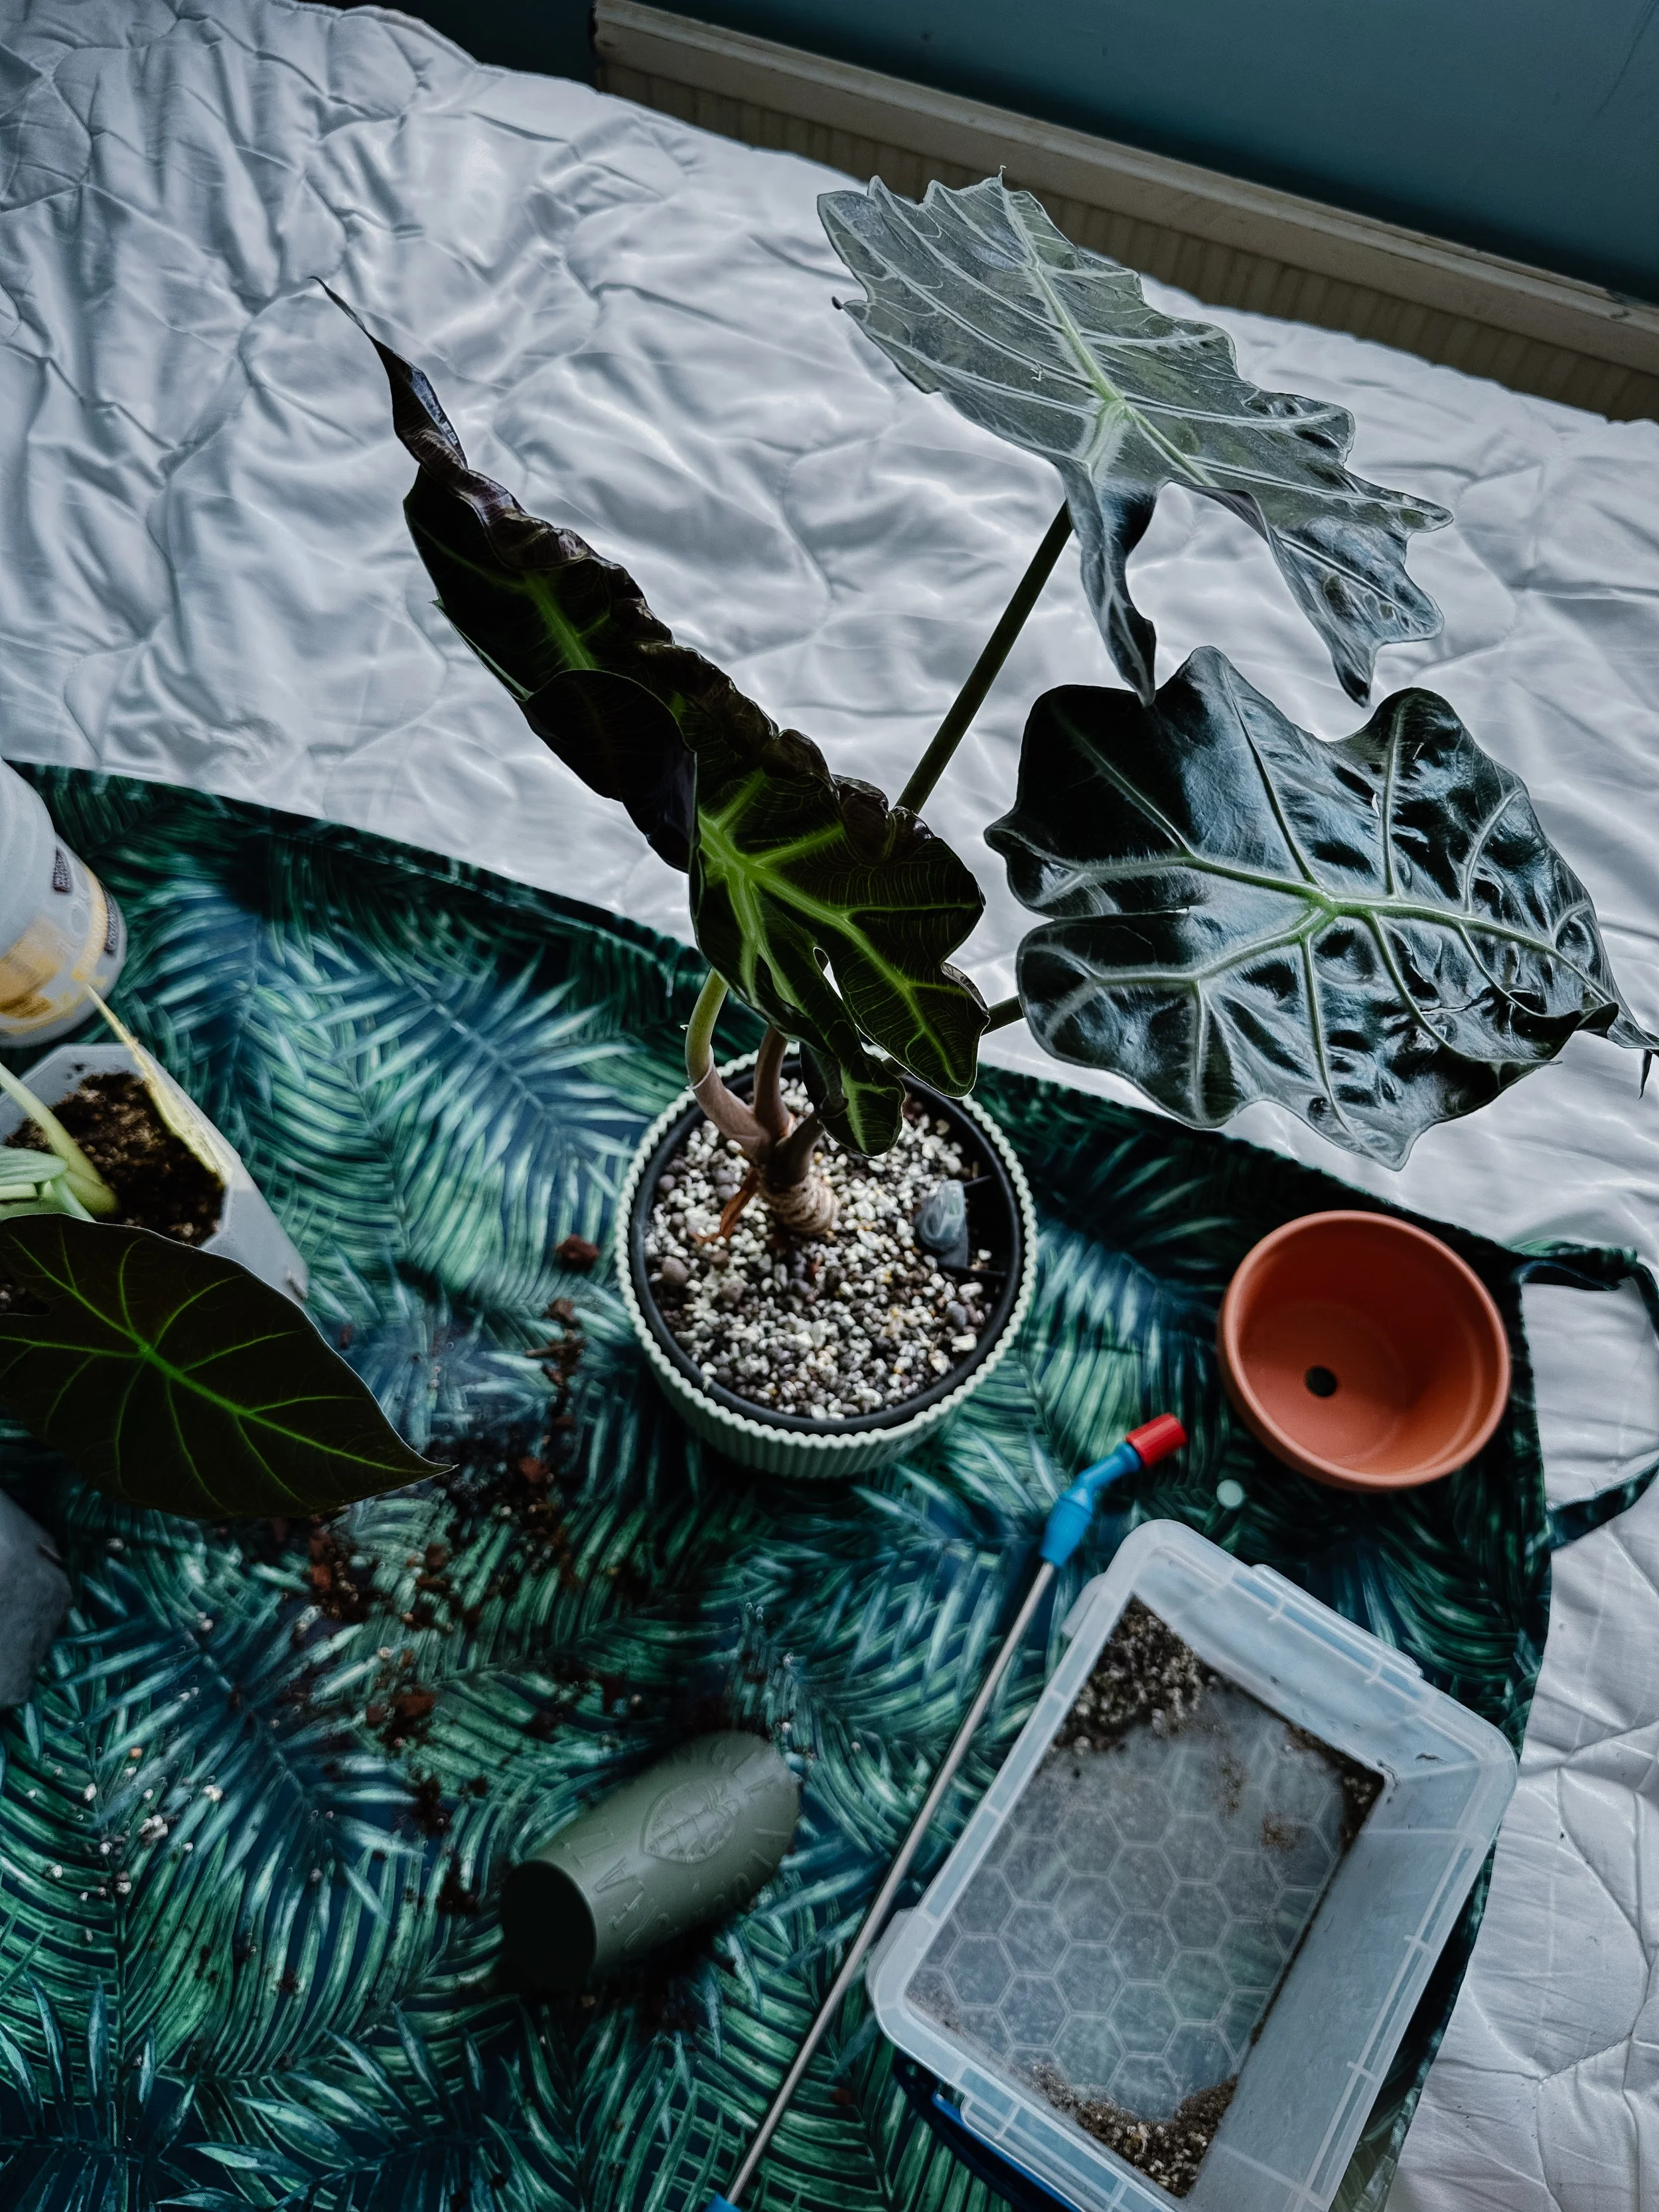
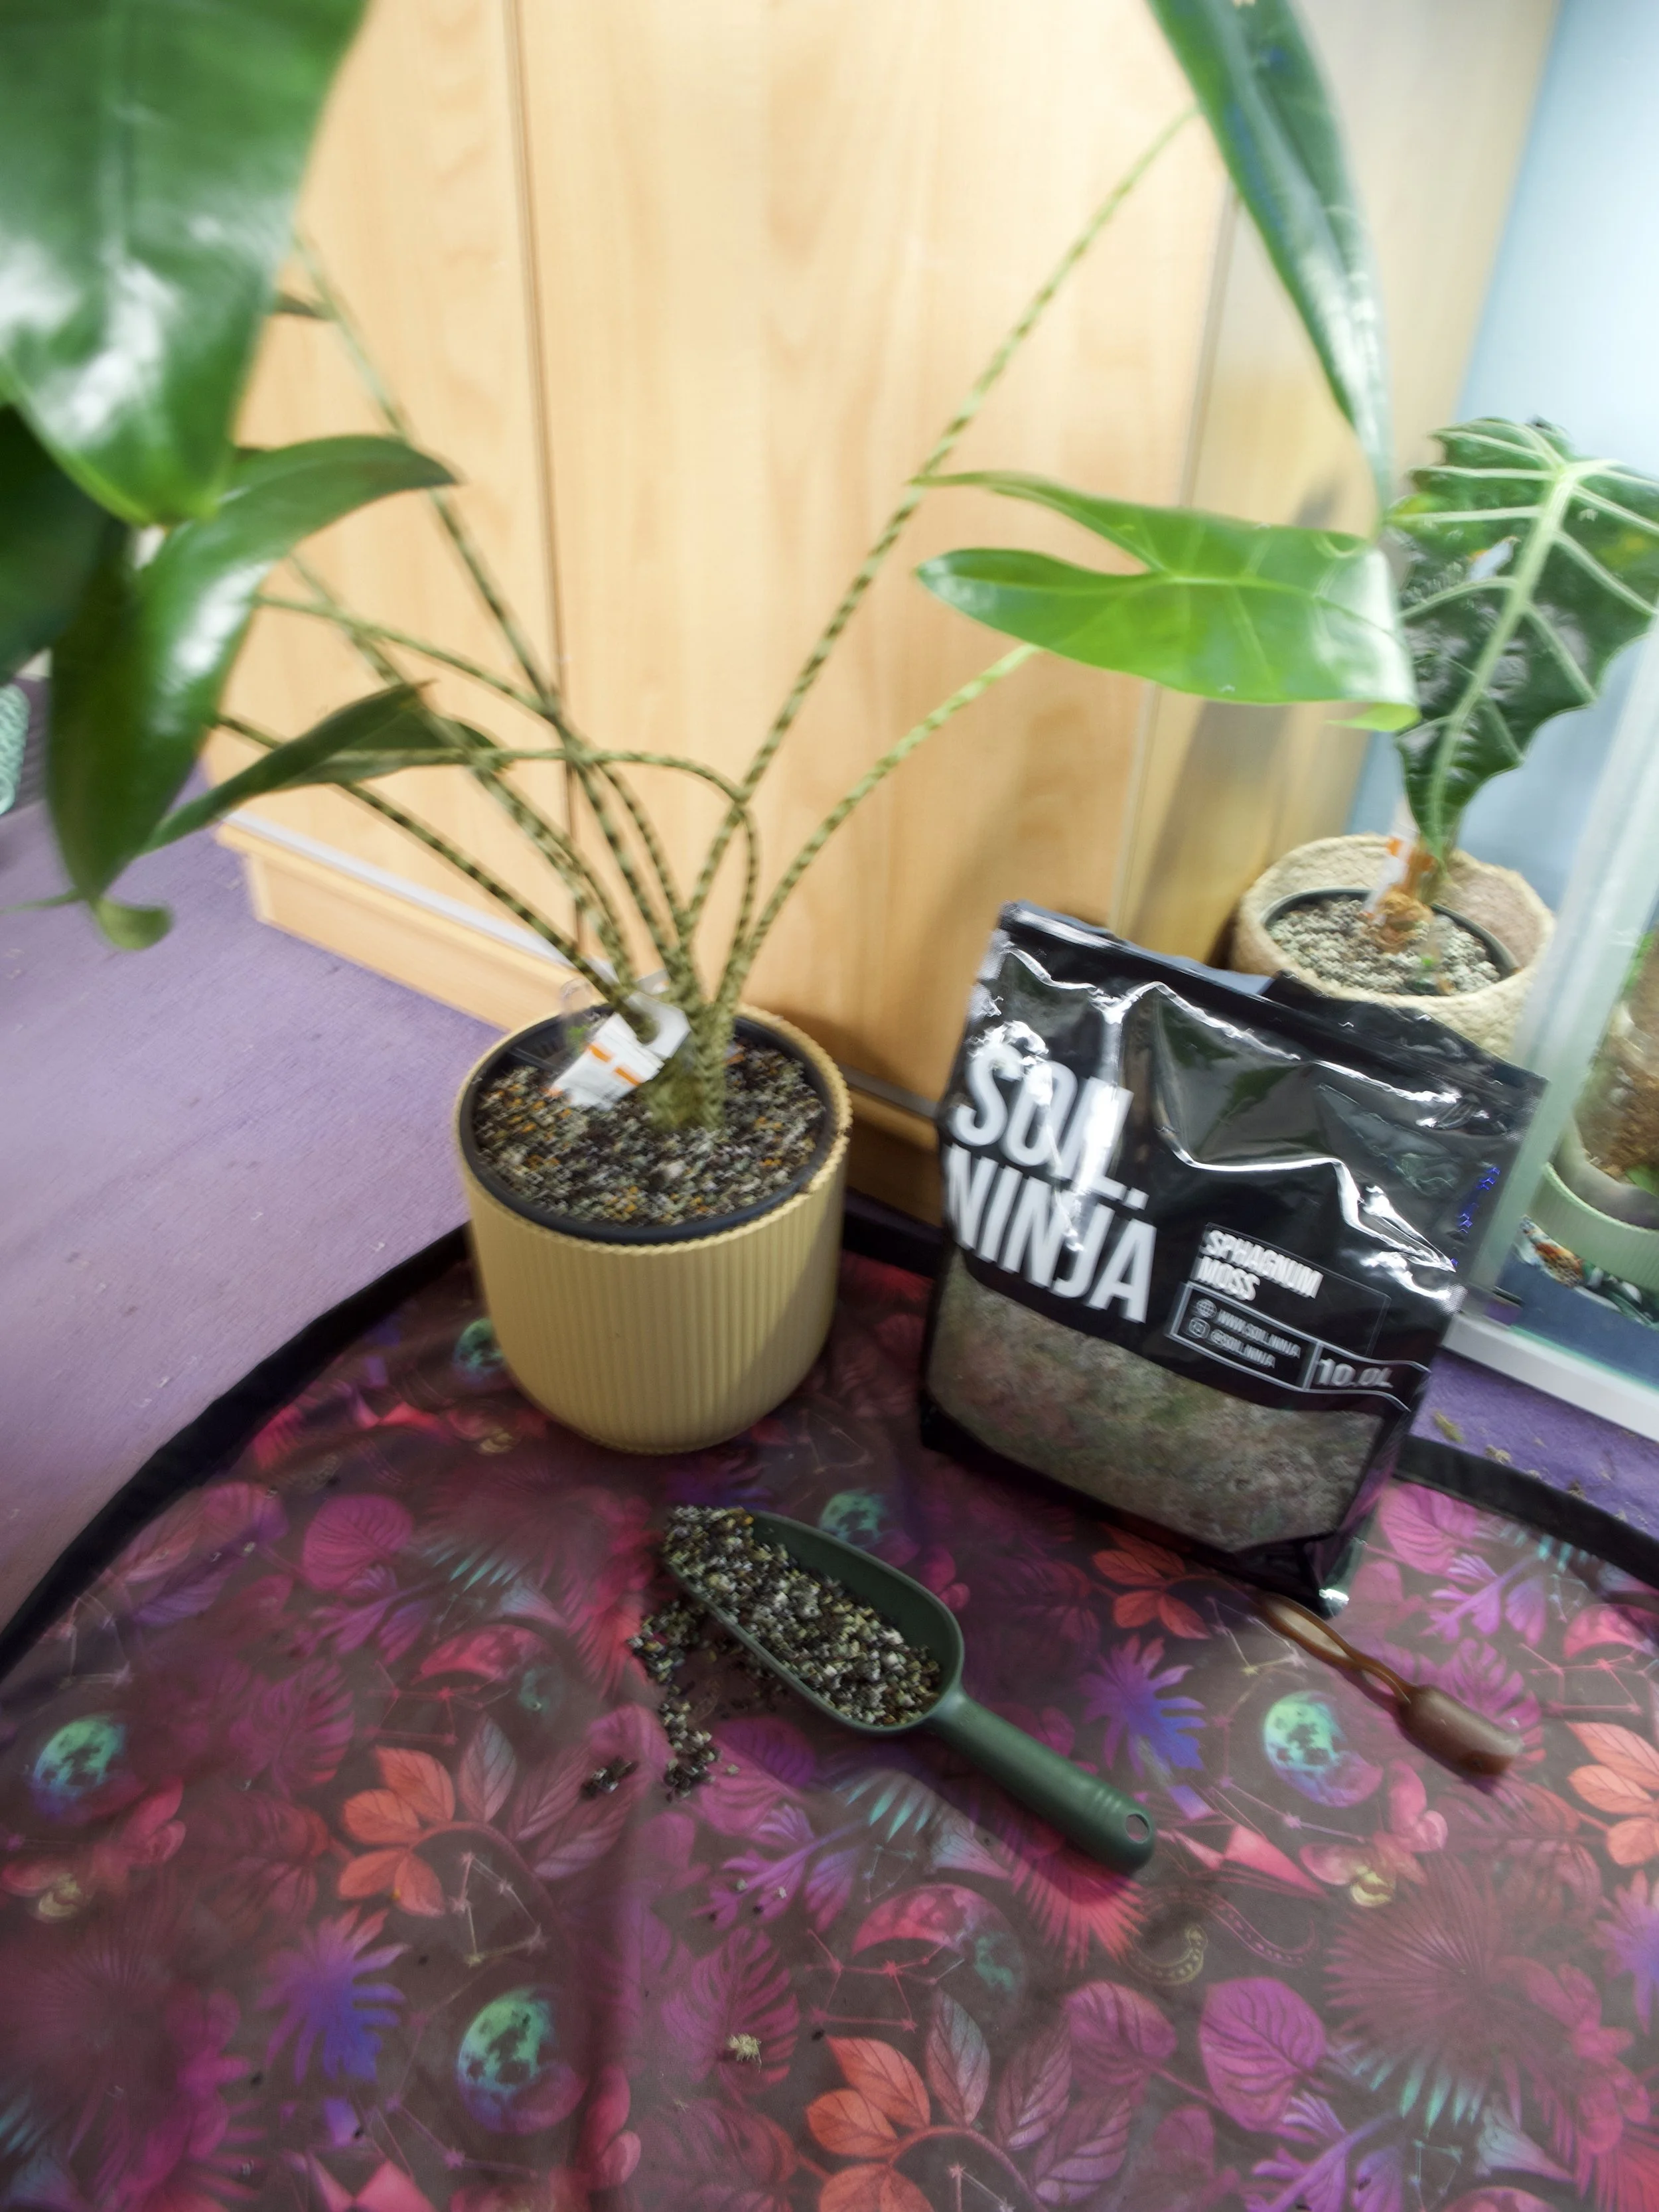
Step One: Gather Your Tools
Here’s what I used for the switch to semi-hydro:
My plant (Alocasia Zebrina)
A potting mat
A scoop
A bag of Soil Ninja Semi-Hydro Mix
A kettle (for sterilising the mix)
A self-watering pot – I used the Elho Homes pot from Soil Ninja, but a standard aroid tower pot works too
A strainer
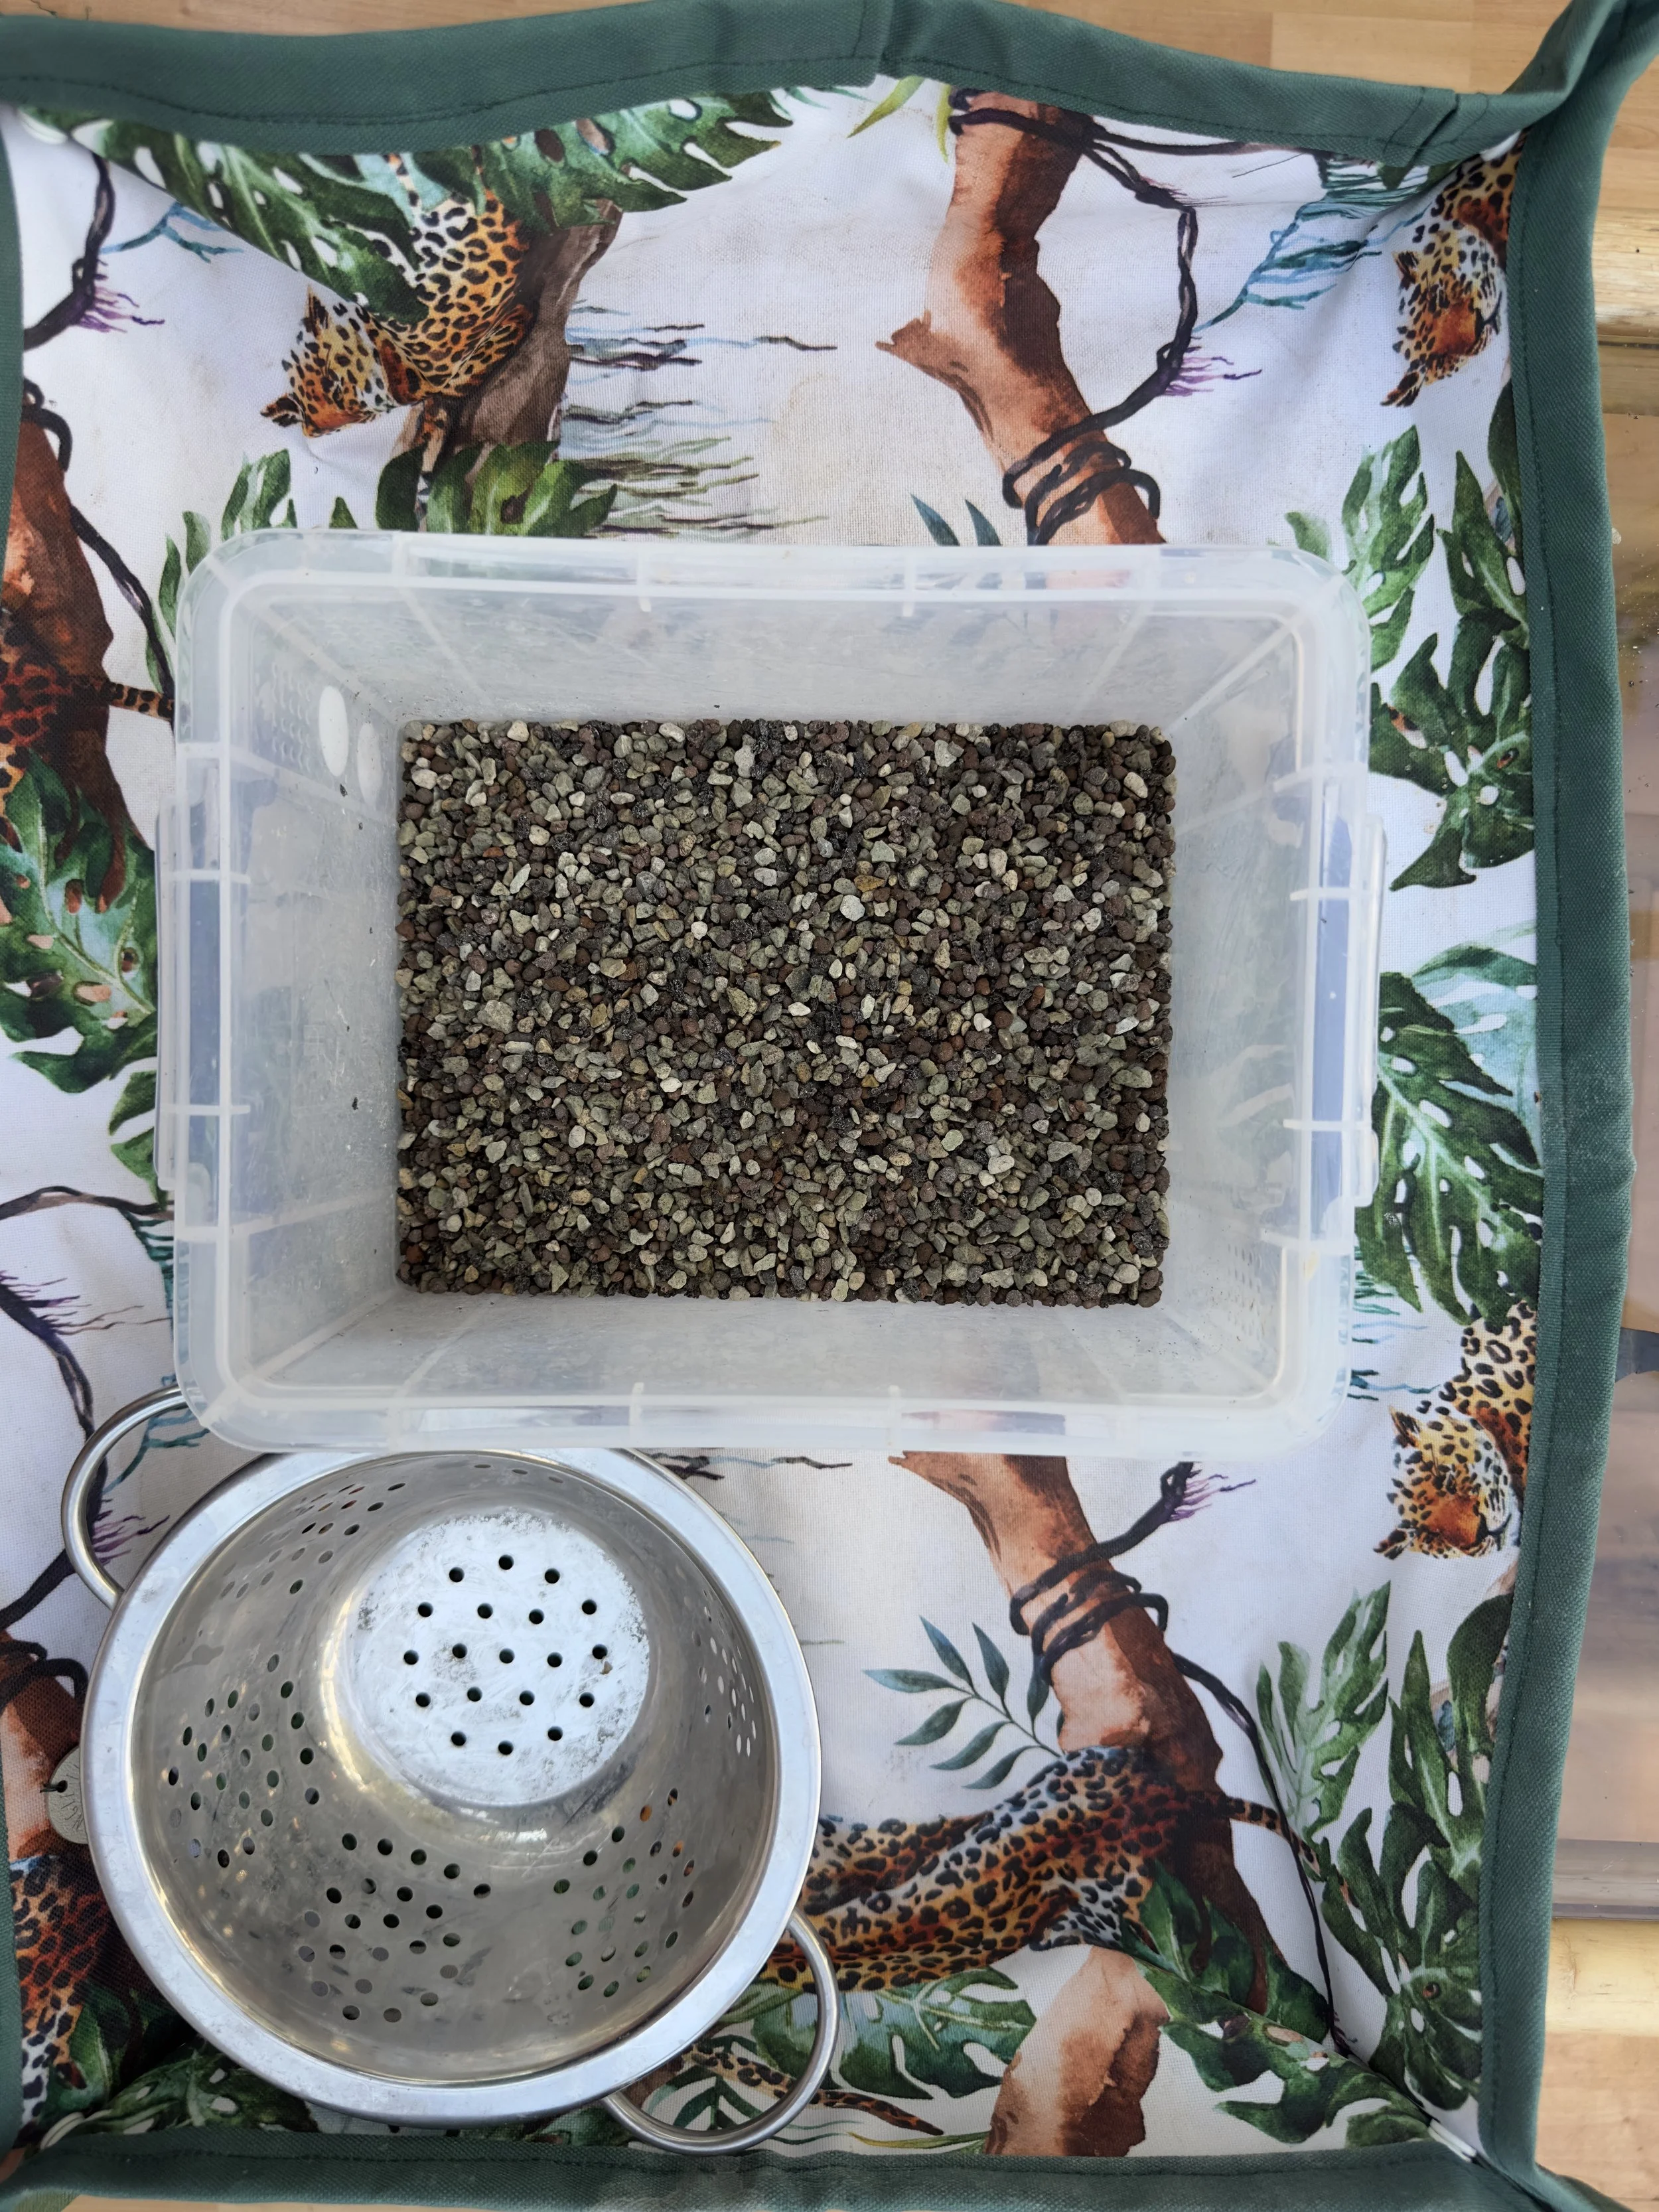
A bucket or tub for rinsing the mix
If you're upsizing your pot, make sure the new one isn’t too much bigger than the root ball—a jump that’s too big can lead to overwatering issues.
What I’ve learned:
I needed a strainer with smaller holes for the fine mix. I even made my own at one point, but it didn’t catch all the fine particles. Eventually, I found a great strainer at TK Maxx with tiny holes. Some grains still slipped through, but most of the semi-hydro stayed put. Keep an eye out for kitchen gadgets—they can come in really handy!
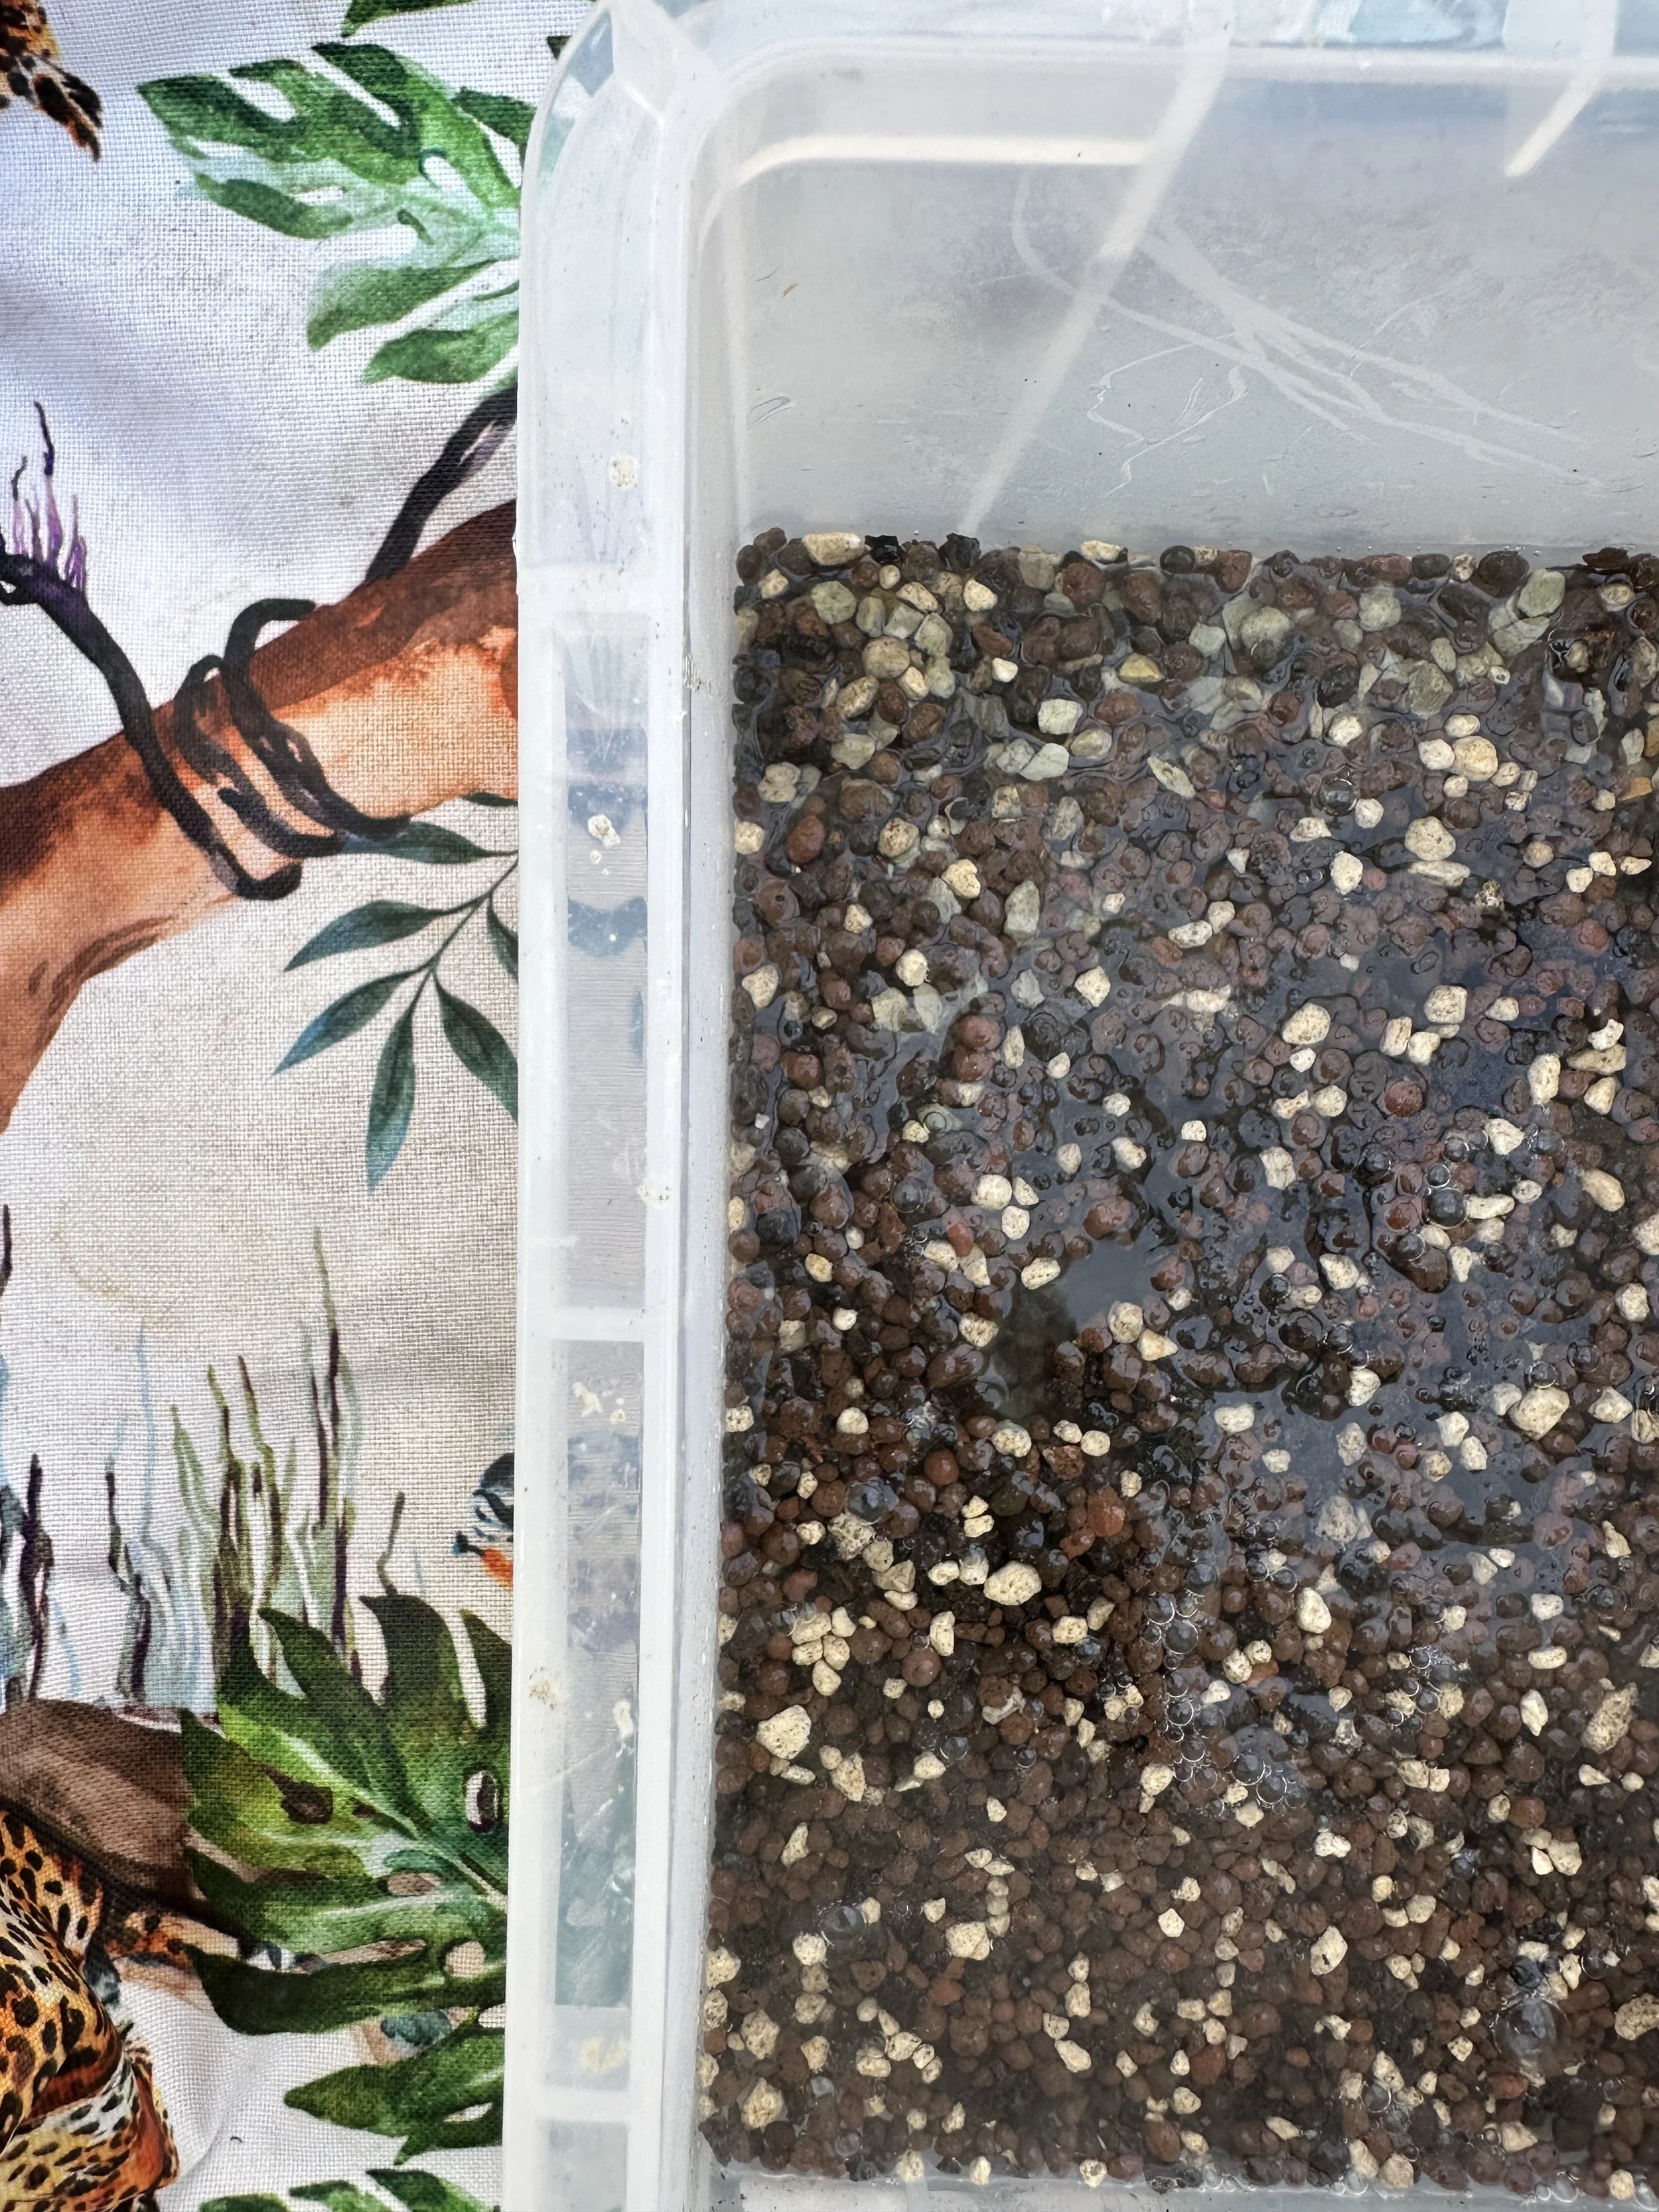
Step Two: Rinse & Sterilise Your Semi-Hydro Mix
I started by rinsing and sterilising the mix. While sterilising isn’t always essential, I like to be cautious—especially when I’m working with a new mix or repotting a sensitive plant.
To do this, I pour hot (not boiling) water over the mix in a strainer—or sometimes through a holey ice cream tub if I’m improvising!
What I’ve learned:
You don’t need to sterilise every time—especially if you’re reusing clean mix.
It depends on your supplier; some brands pre-wash and package their mix ready to use.
Rinsing removes fine dust or particles that could clog up the mix and reduce airflow.
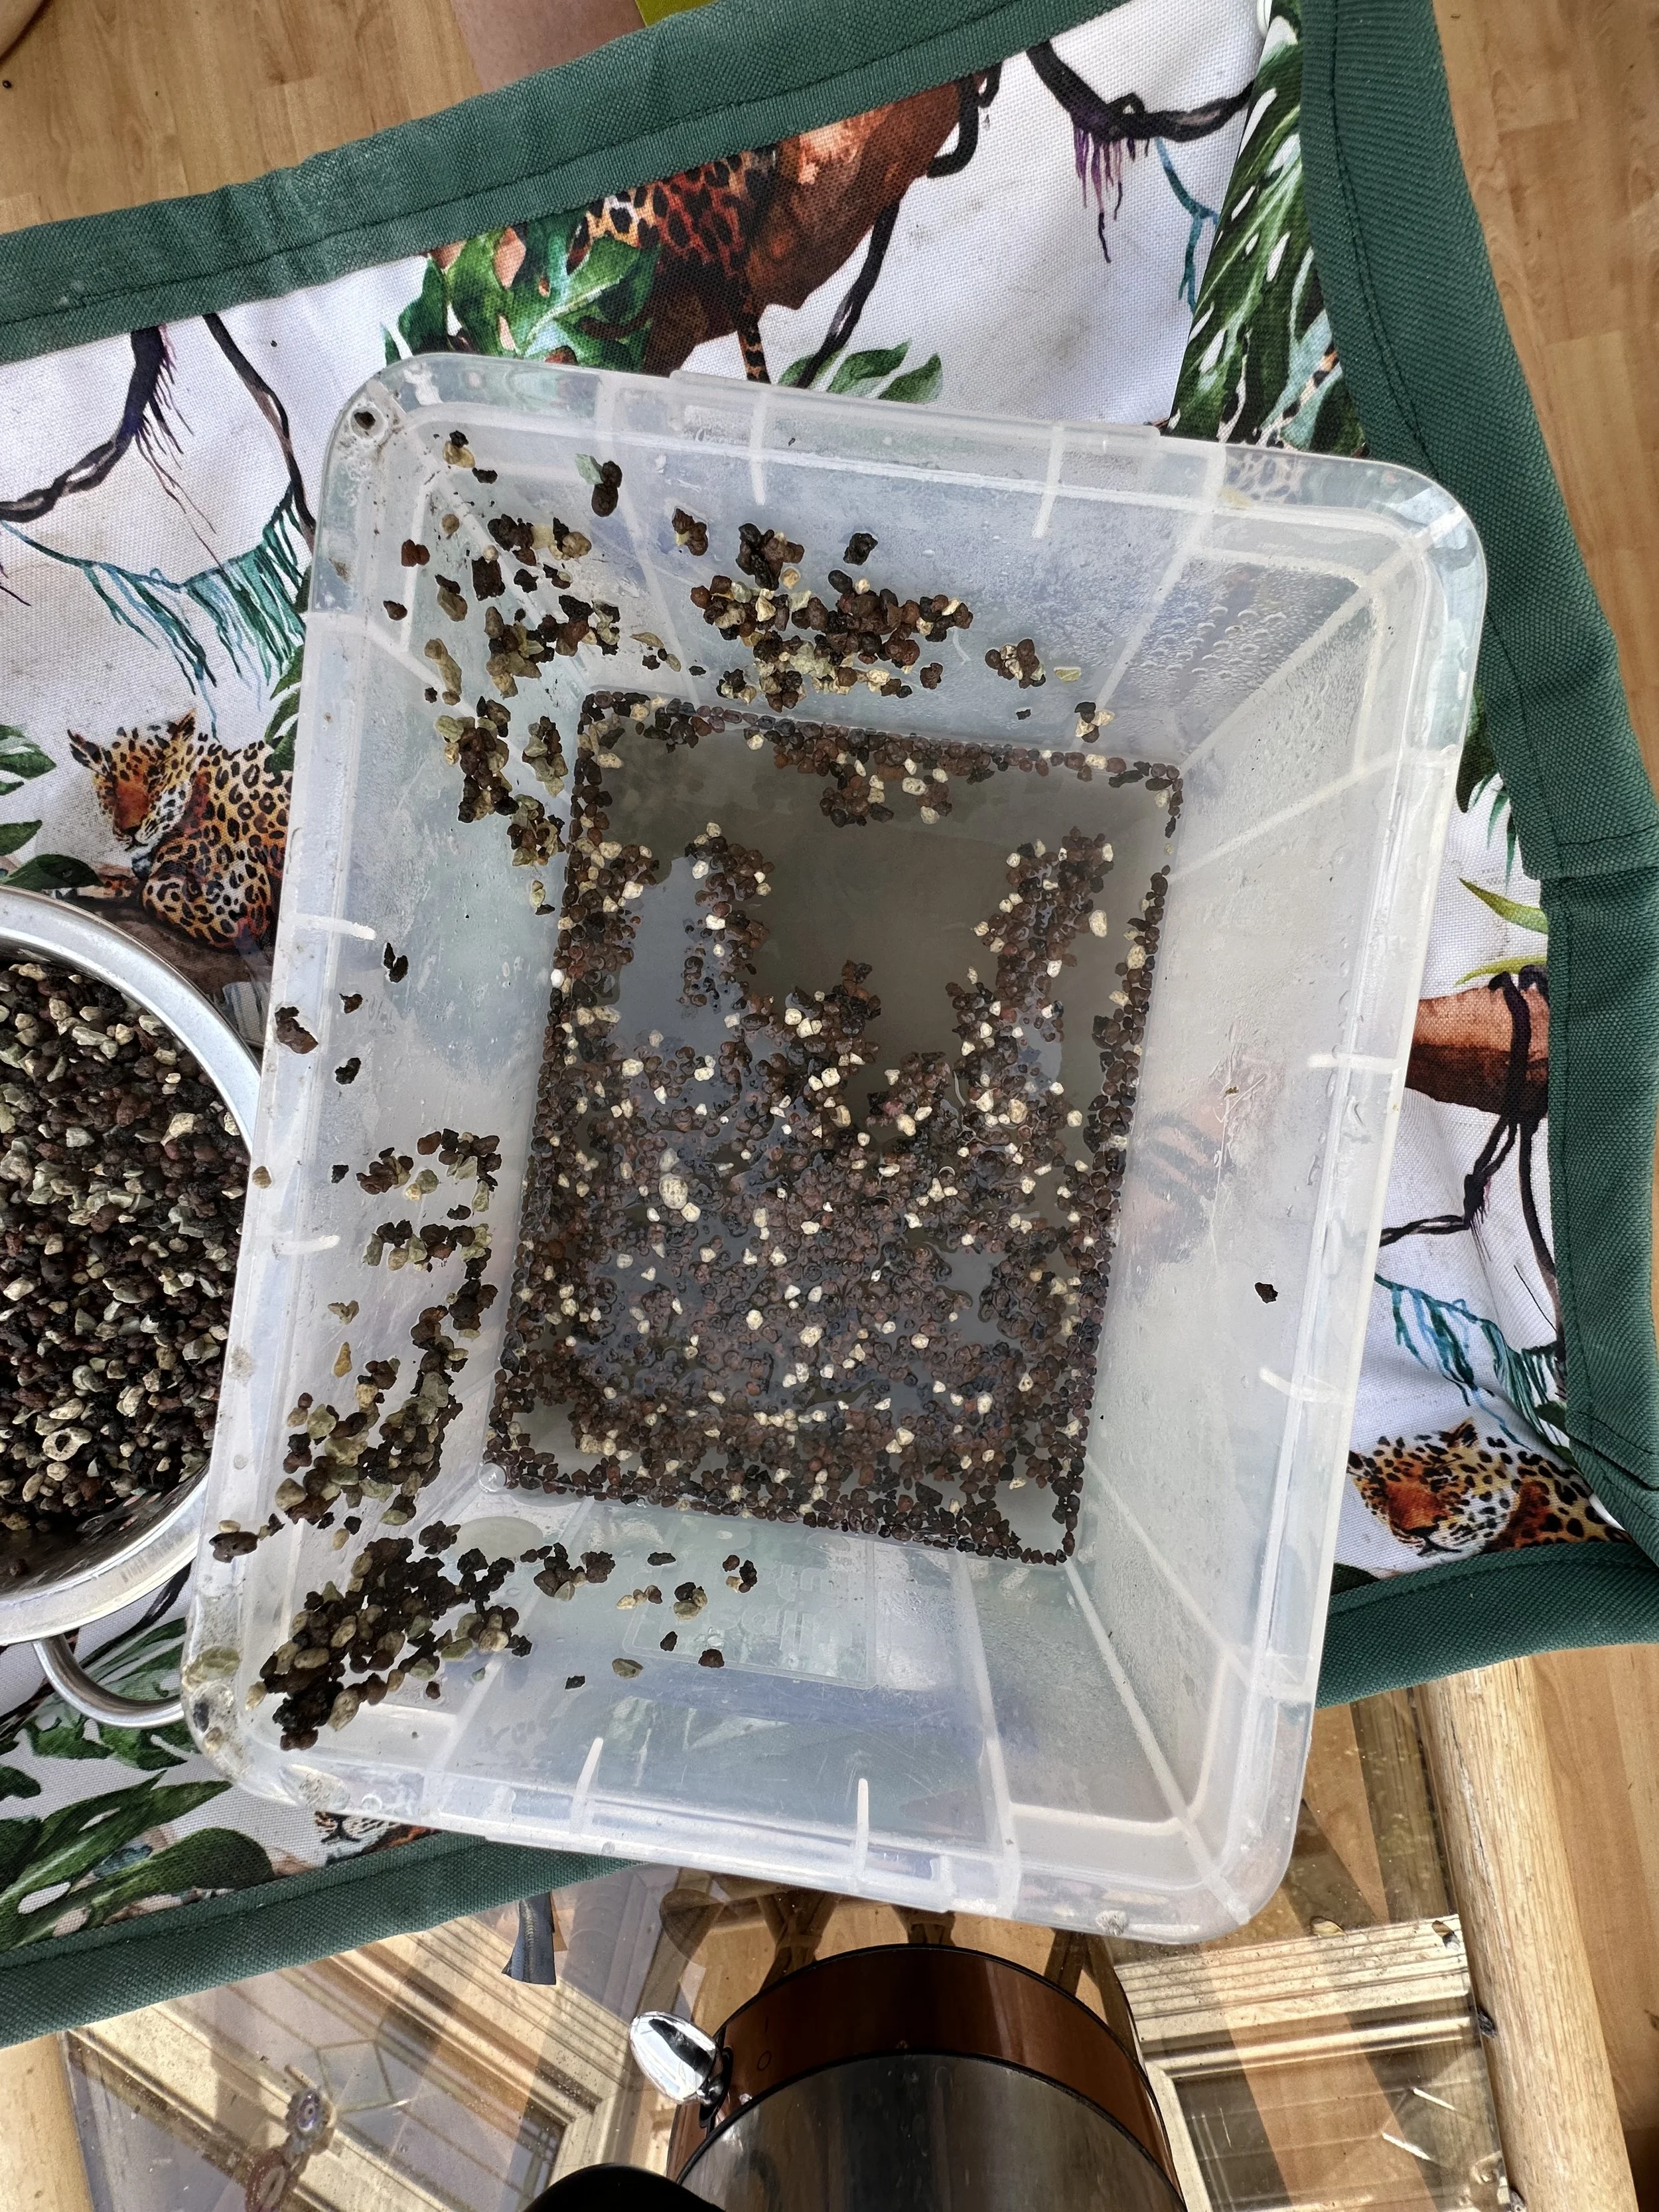
Step Three: Rinse Until Clear
Rinse the mix until the water runs mostly clear. I usually rinse three times just to be safe, but with Soil Ninja’s mix, two rinses are often enough.
What I’ve learned:
Soil Ninja’s semi-hydro mix takes less rinsing than something like Lechuza Pon. I think it’s because they don’t include perlite, which tends to release more dust.
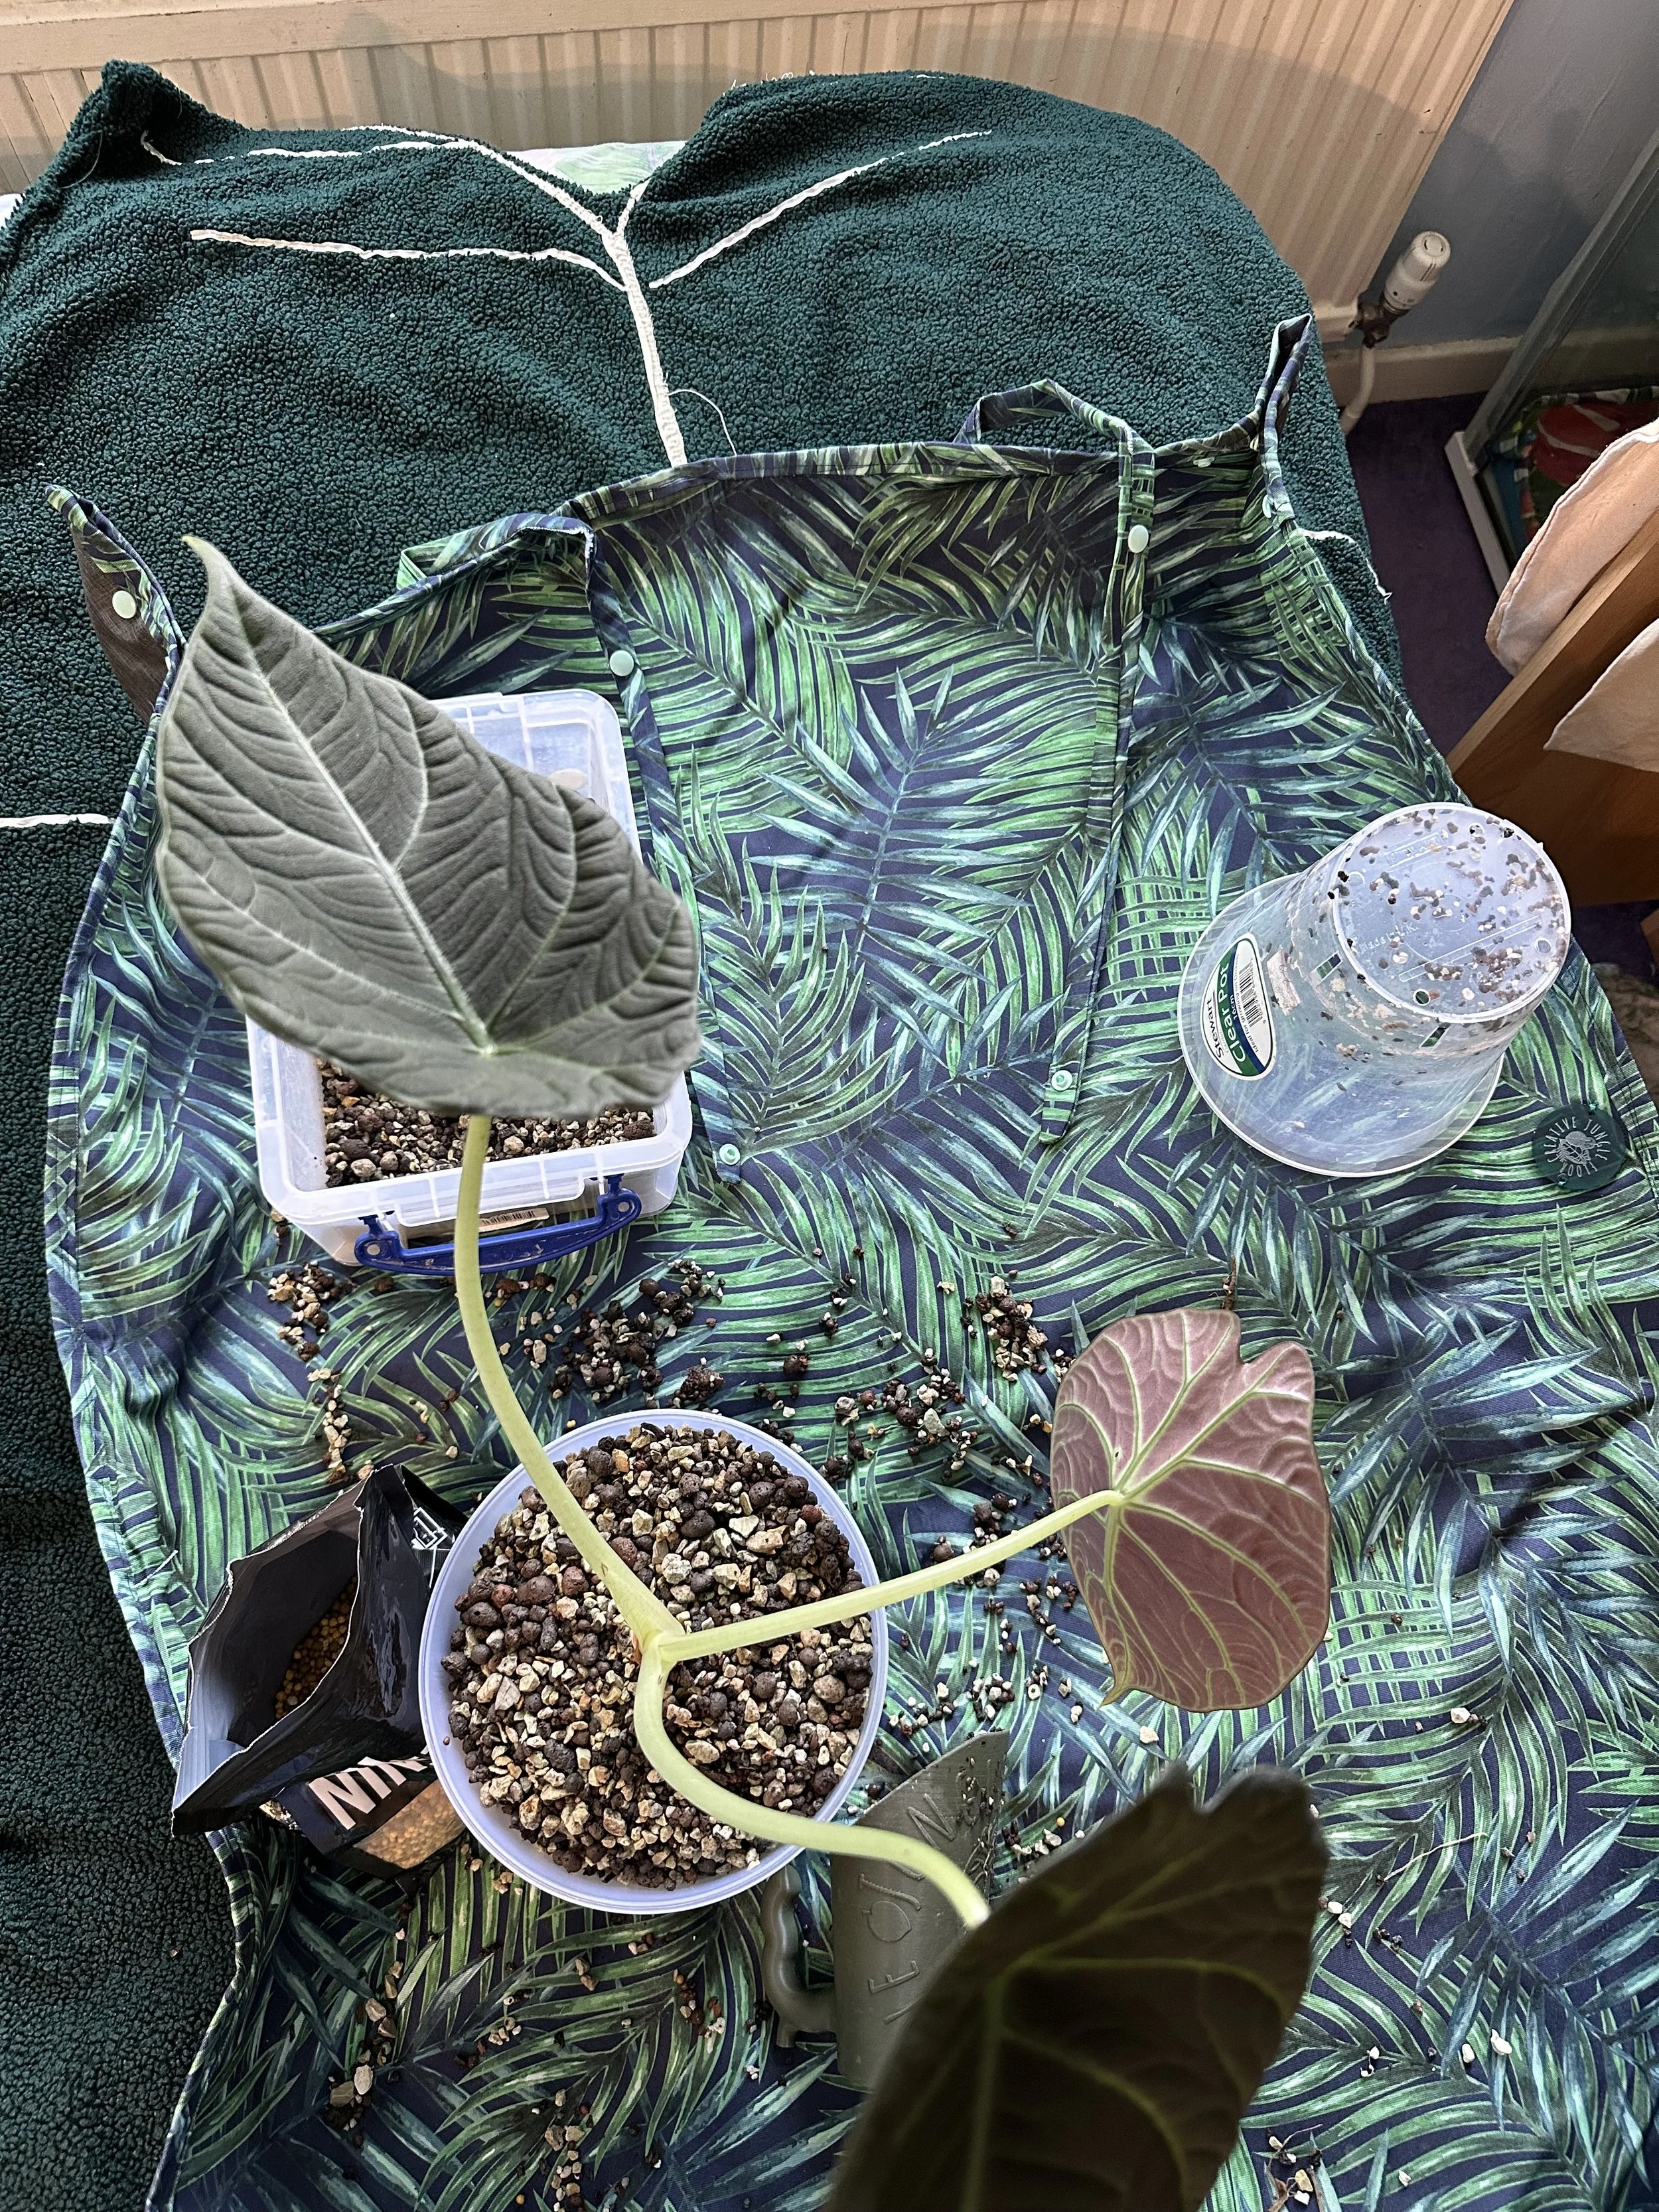
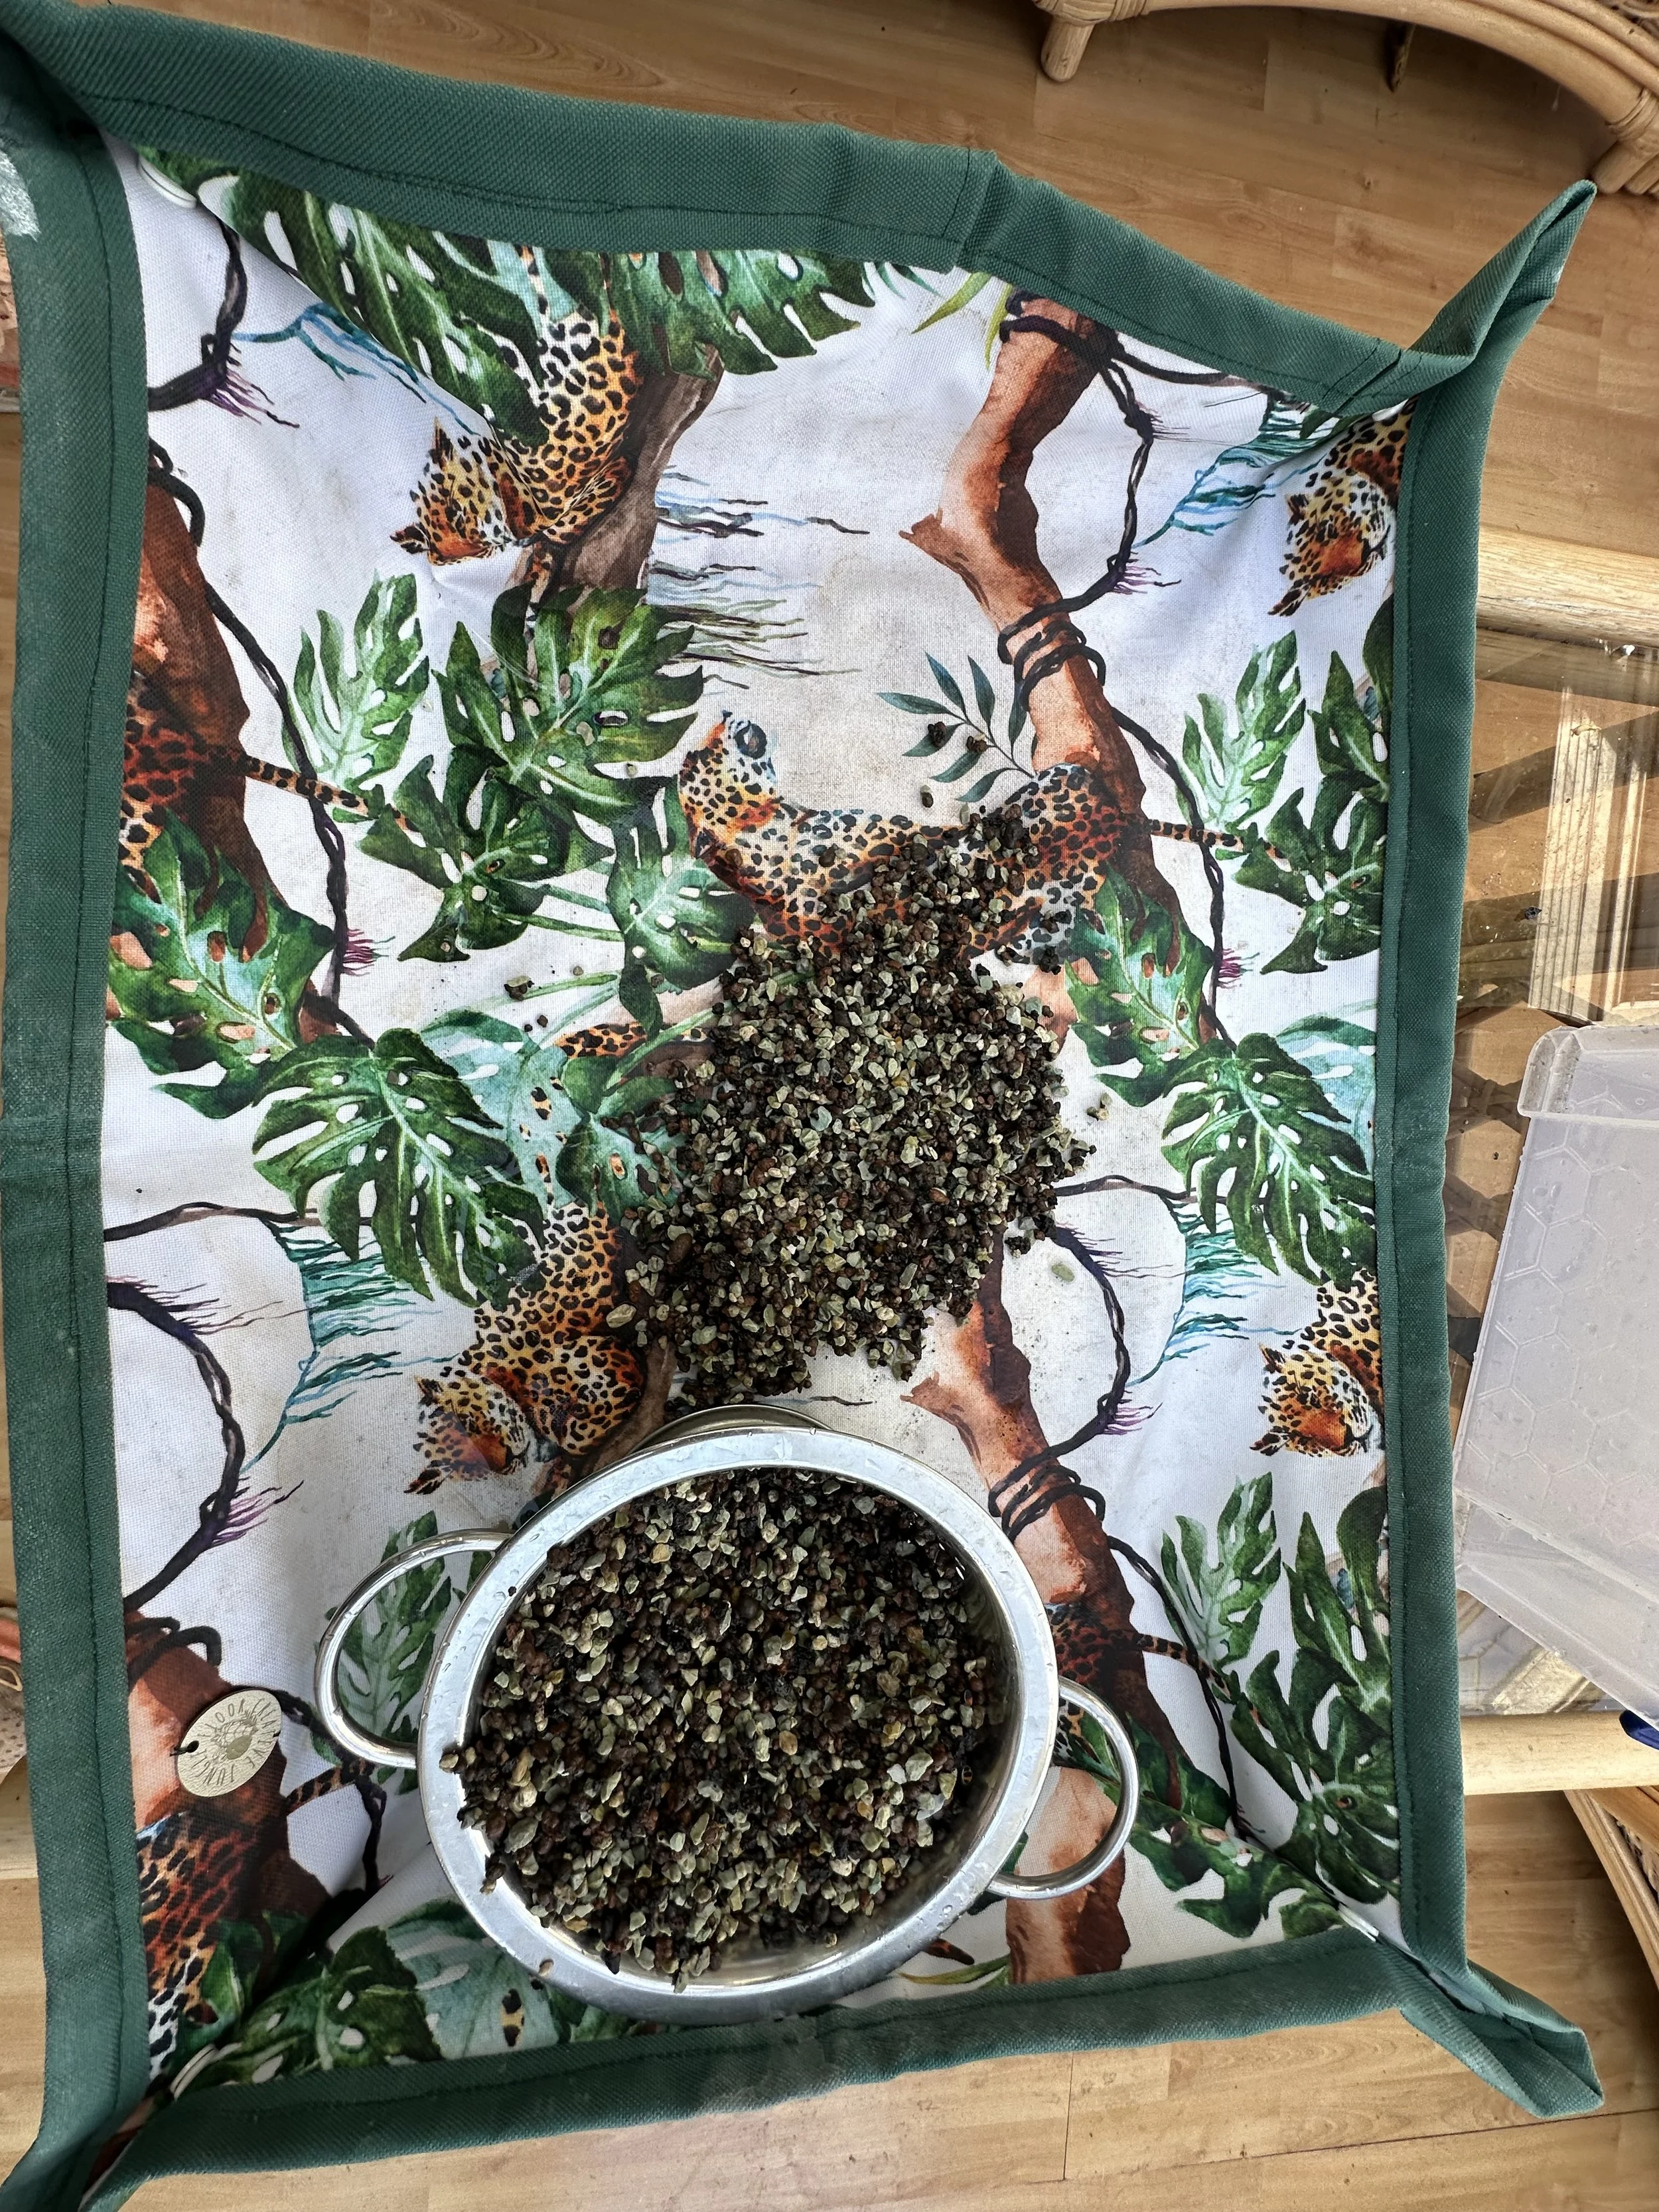
Step Four: Set Up Your Potting Mat
Lay out your potting mat before you start working. Trust me, it makes a big difference—especially with finer substrates that love to bounce and roll off your table.
And no, it doesn’t have to be one of my potting mats. It could be a tray, a piece of oilcloth, or even an old tea towel in a pinch. But the flat surface really helps if you’re planning to reuse the mix later, since it stops things from getting trapped in corners or folds.

What I’ve learned:
You don’t have to sterilise every time, especially if you're reusing clean mix.
It depends on the supplier—some arrive pre-washed and ready to go.
Rinsing helps remove dust or fine particles that could block the porous structure of the mix.
Step Three: Rinse Until Clear
Rinse the semi-hydro mix until the water runs nearly clear. I usually do this three times just to be thorough, though with Soil Ninja’s mix, twice is usually enough.
what I’ve learned:
Semi hydro by soil.ninja takes less rinses than lechuza pon I think this is due to them using perlite. Which Soil.Ninja’s Semi hydro doesn’t.
Step Four: Set Up Your Potting Mat
Lay out your Potting mat—it’ll catch any spills and make clean-up easier, especially with substrates like LECA or pon. A potting Mat doesn’t need to be one of my Potting mats it could be anything.

Before we dive into Step Five, I want to share something I discovered along the way: after trying a few different repotting setups, I found that using a flat potting mat worked best for me. Unlike trays or lids, the flat surface didn’t trap the semi-hydro mix, which made it easier to clean up and reuse. Transferring the mix into a smaller container was far less messy this way—especially when you're working with finer substrates that like to scatter everywhere!
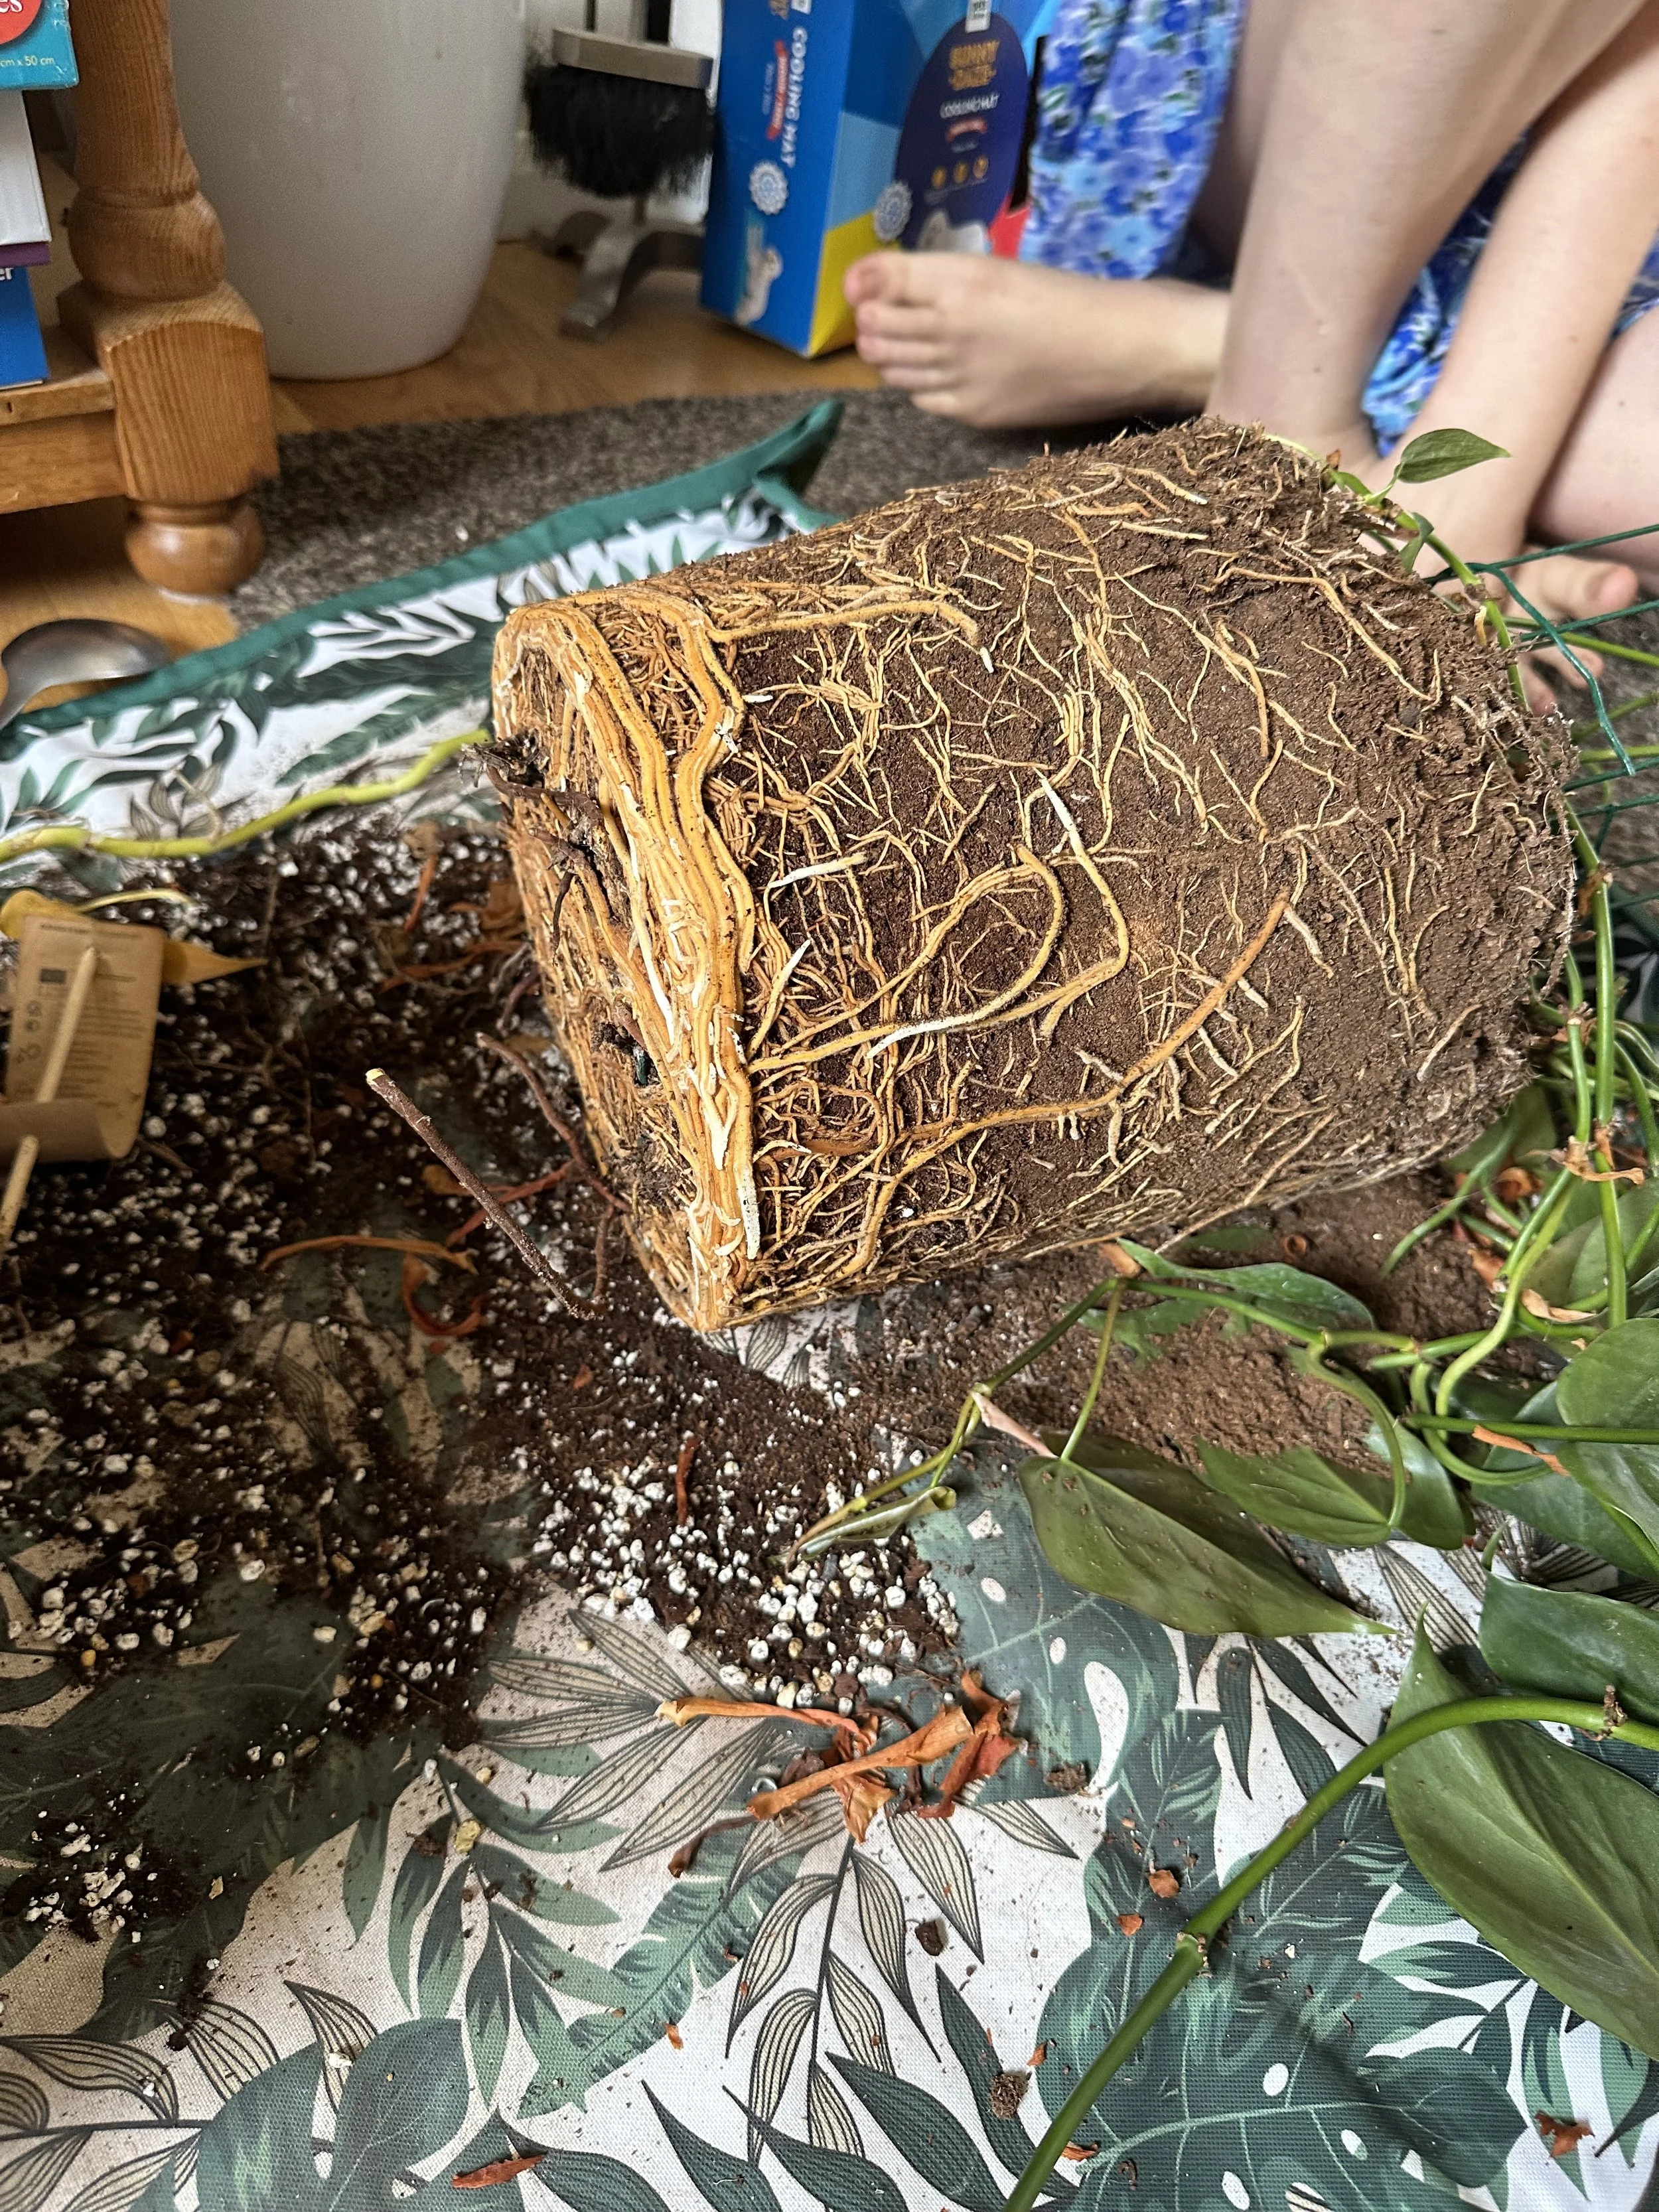
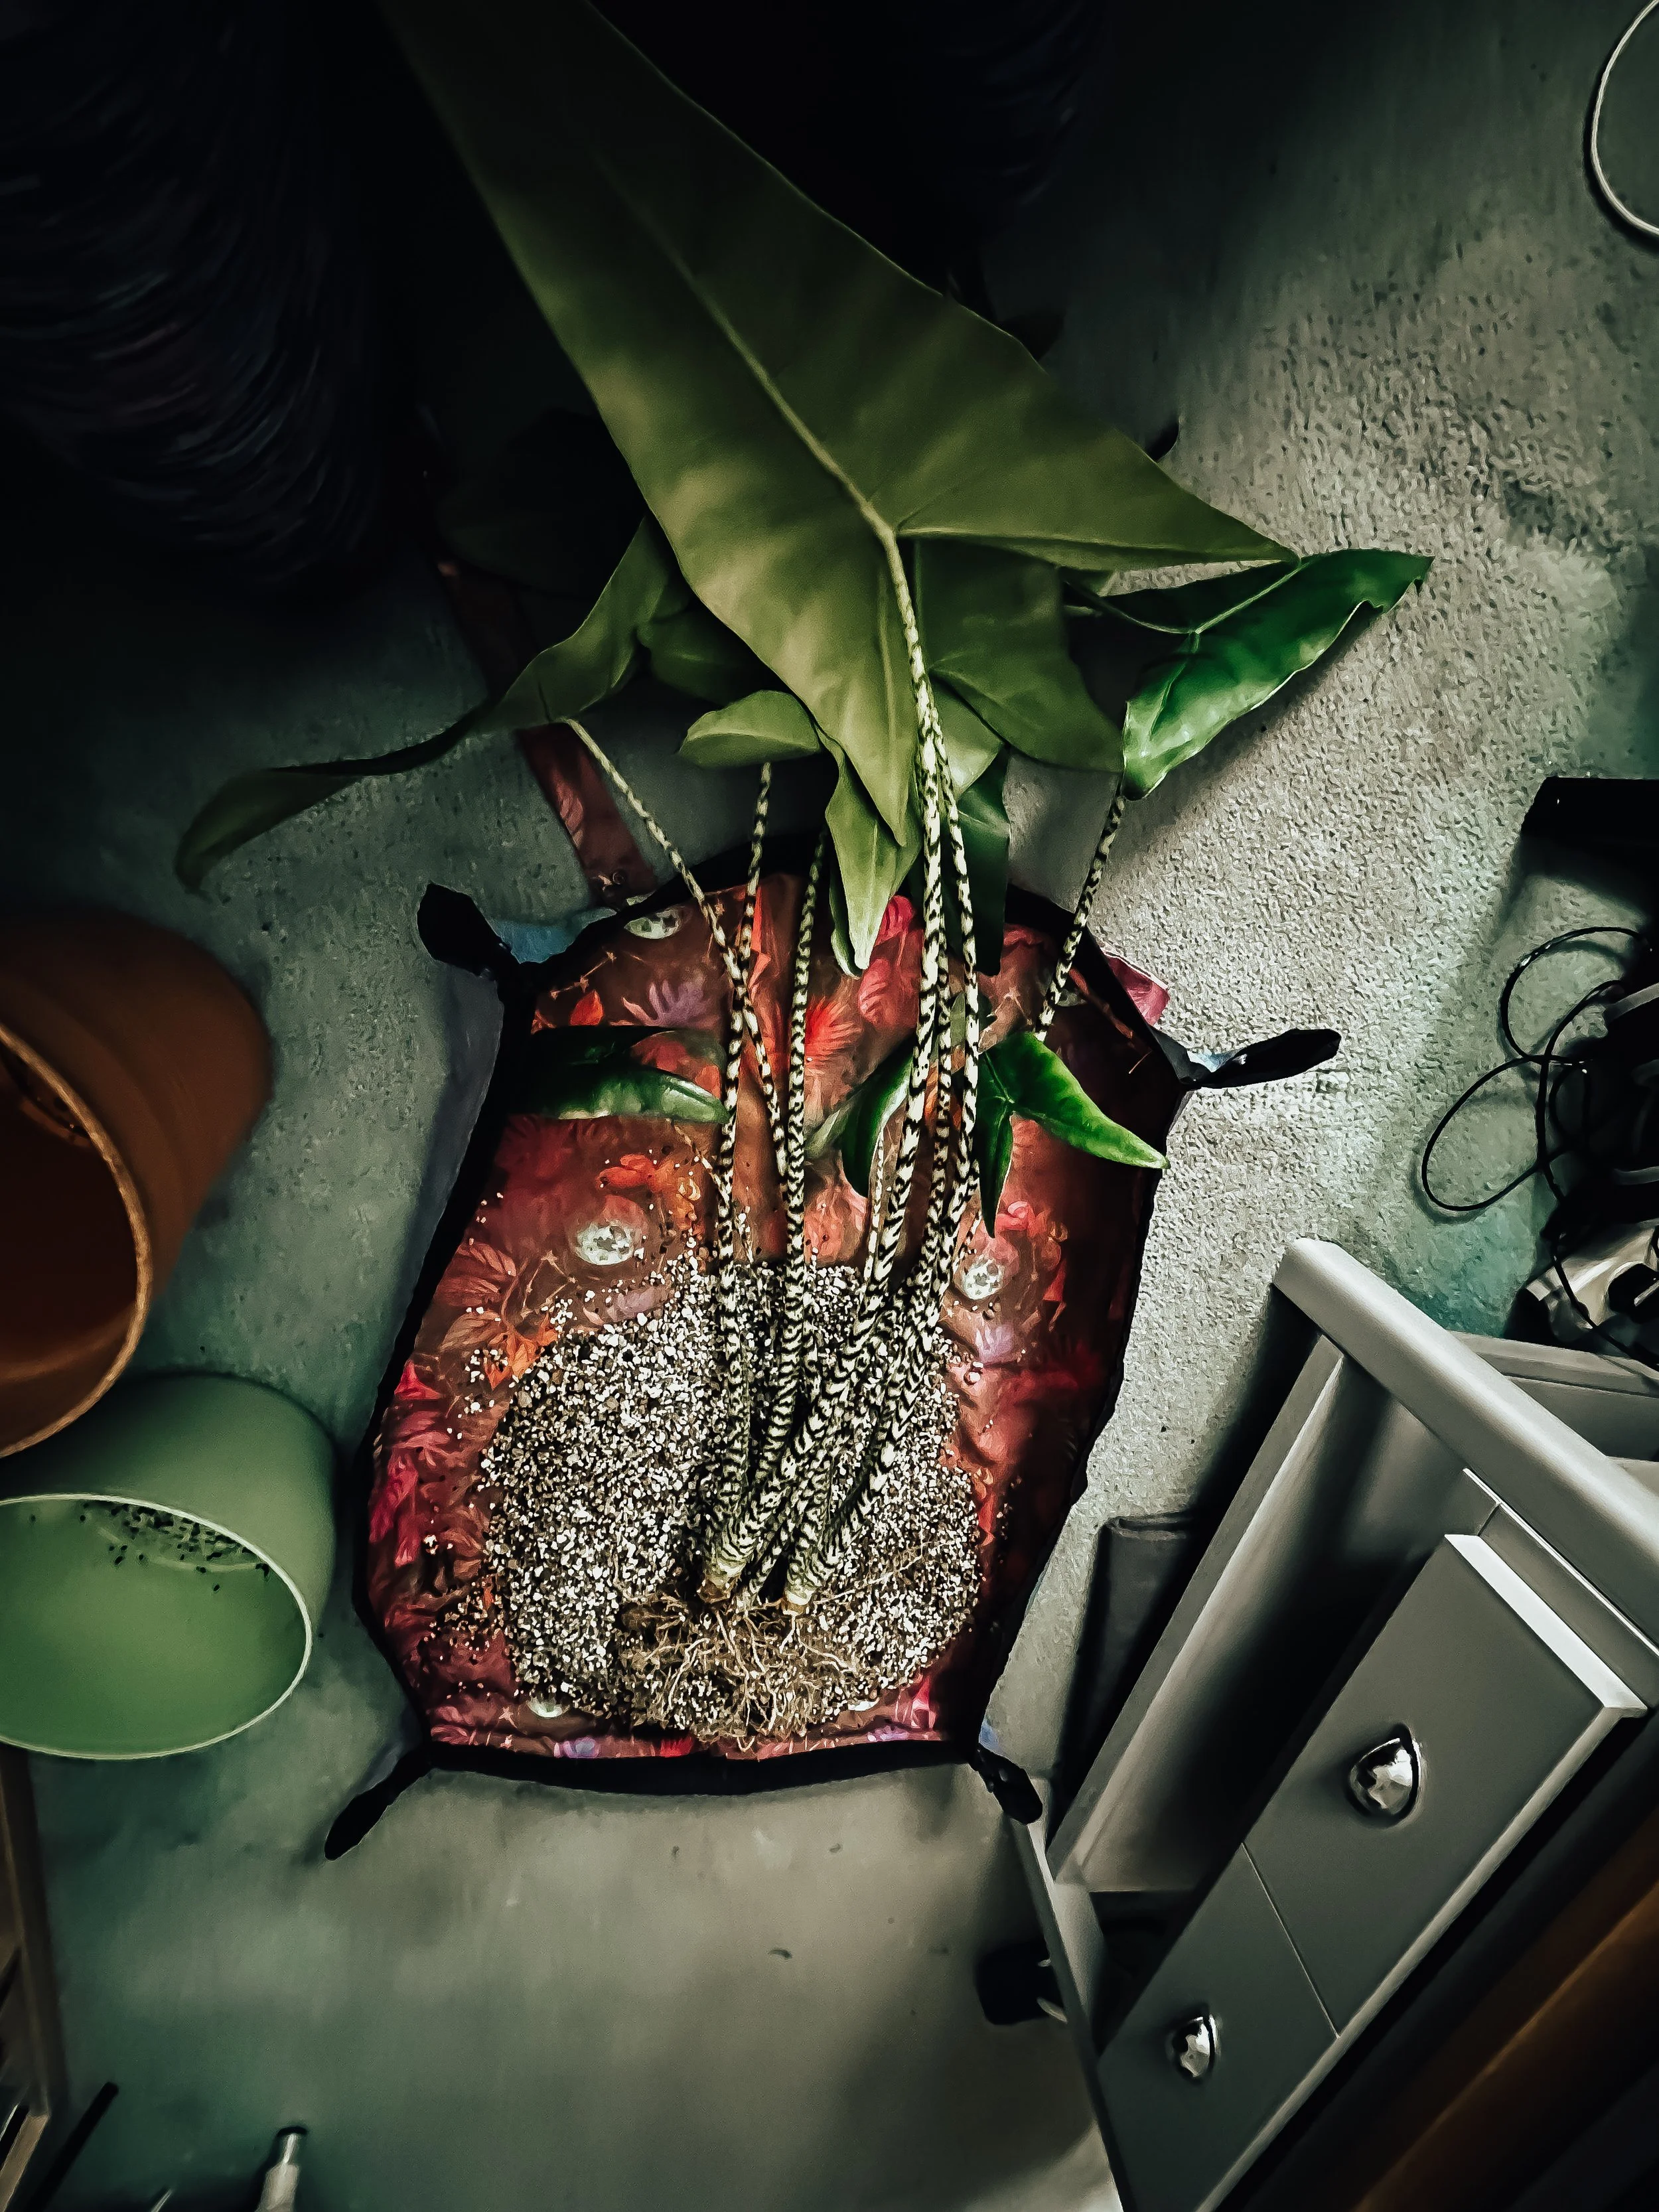
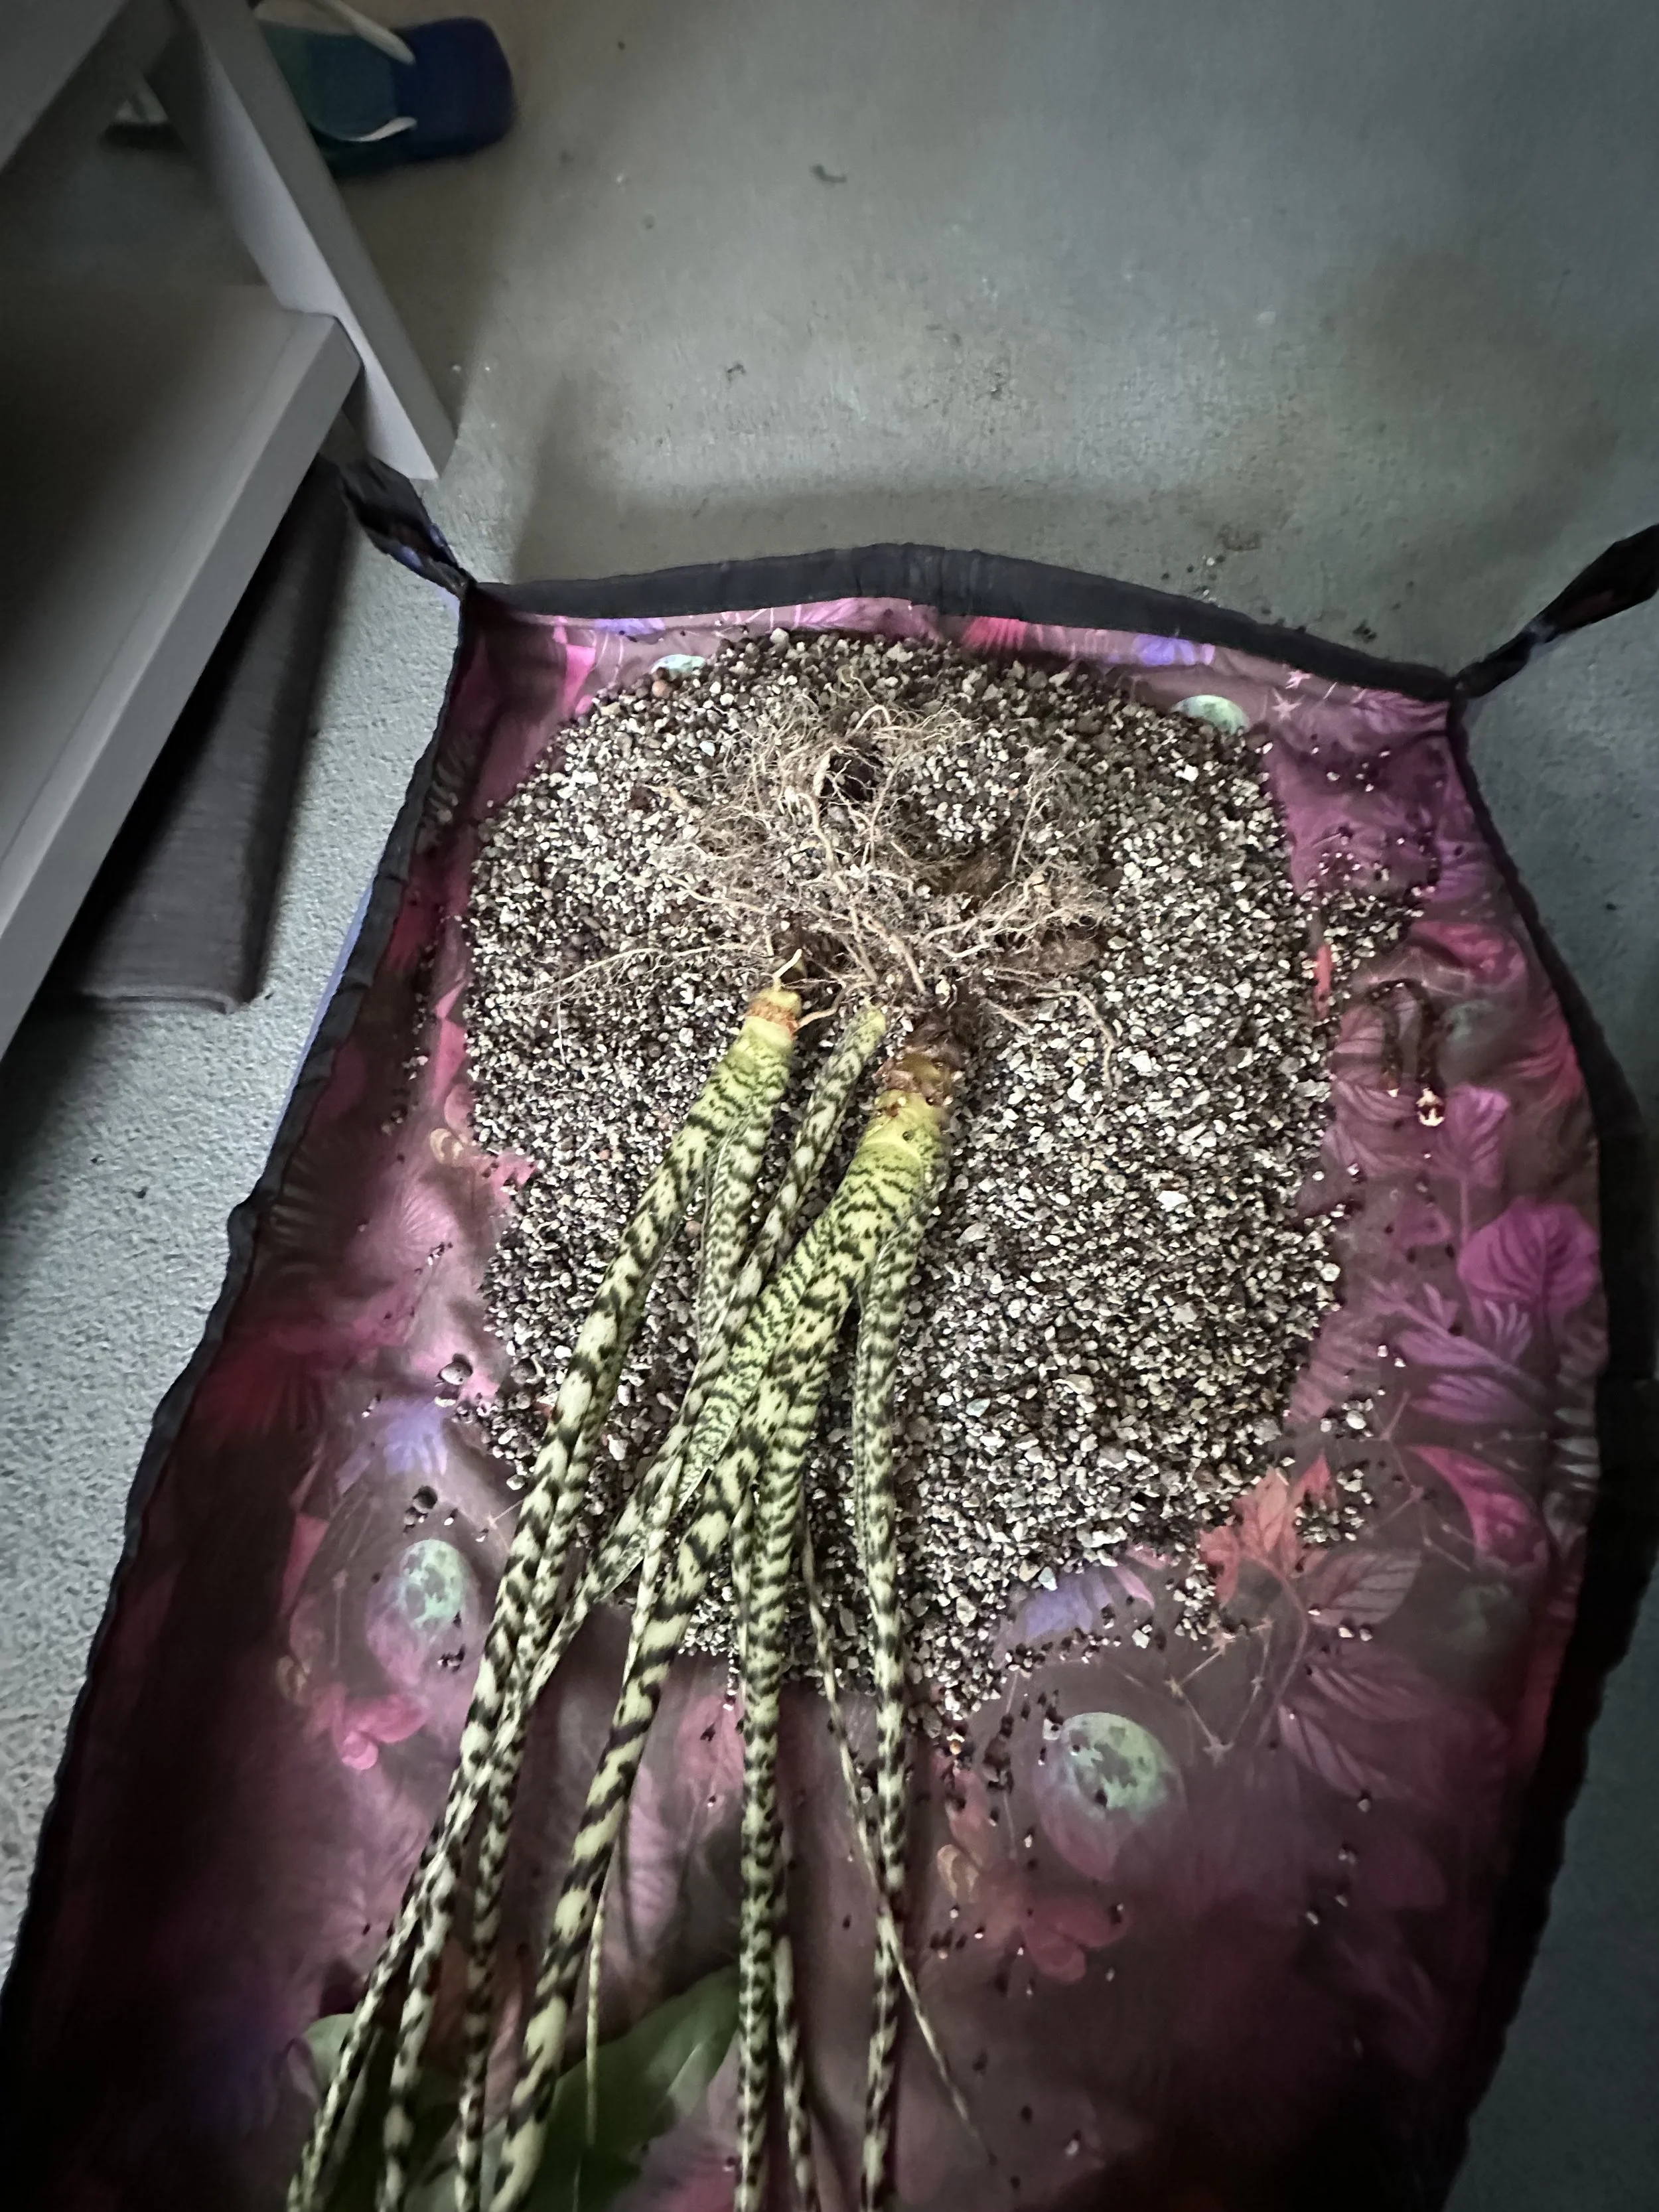
Step Five: Remove Your Plant from Soil
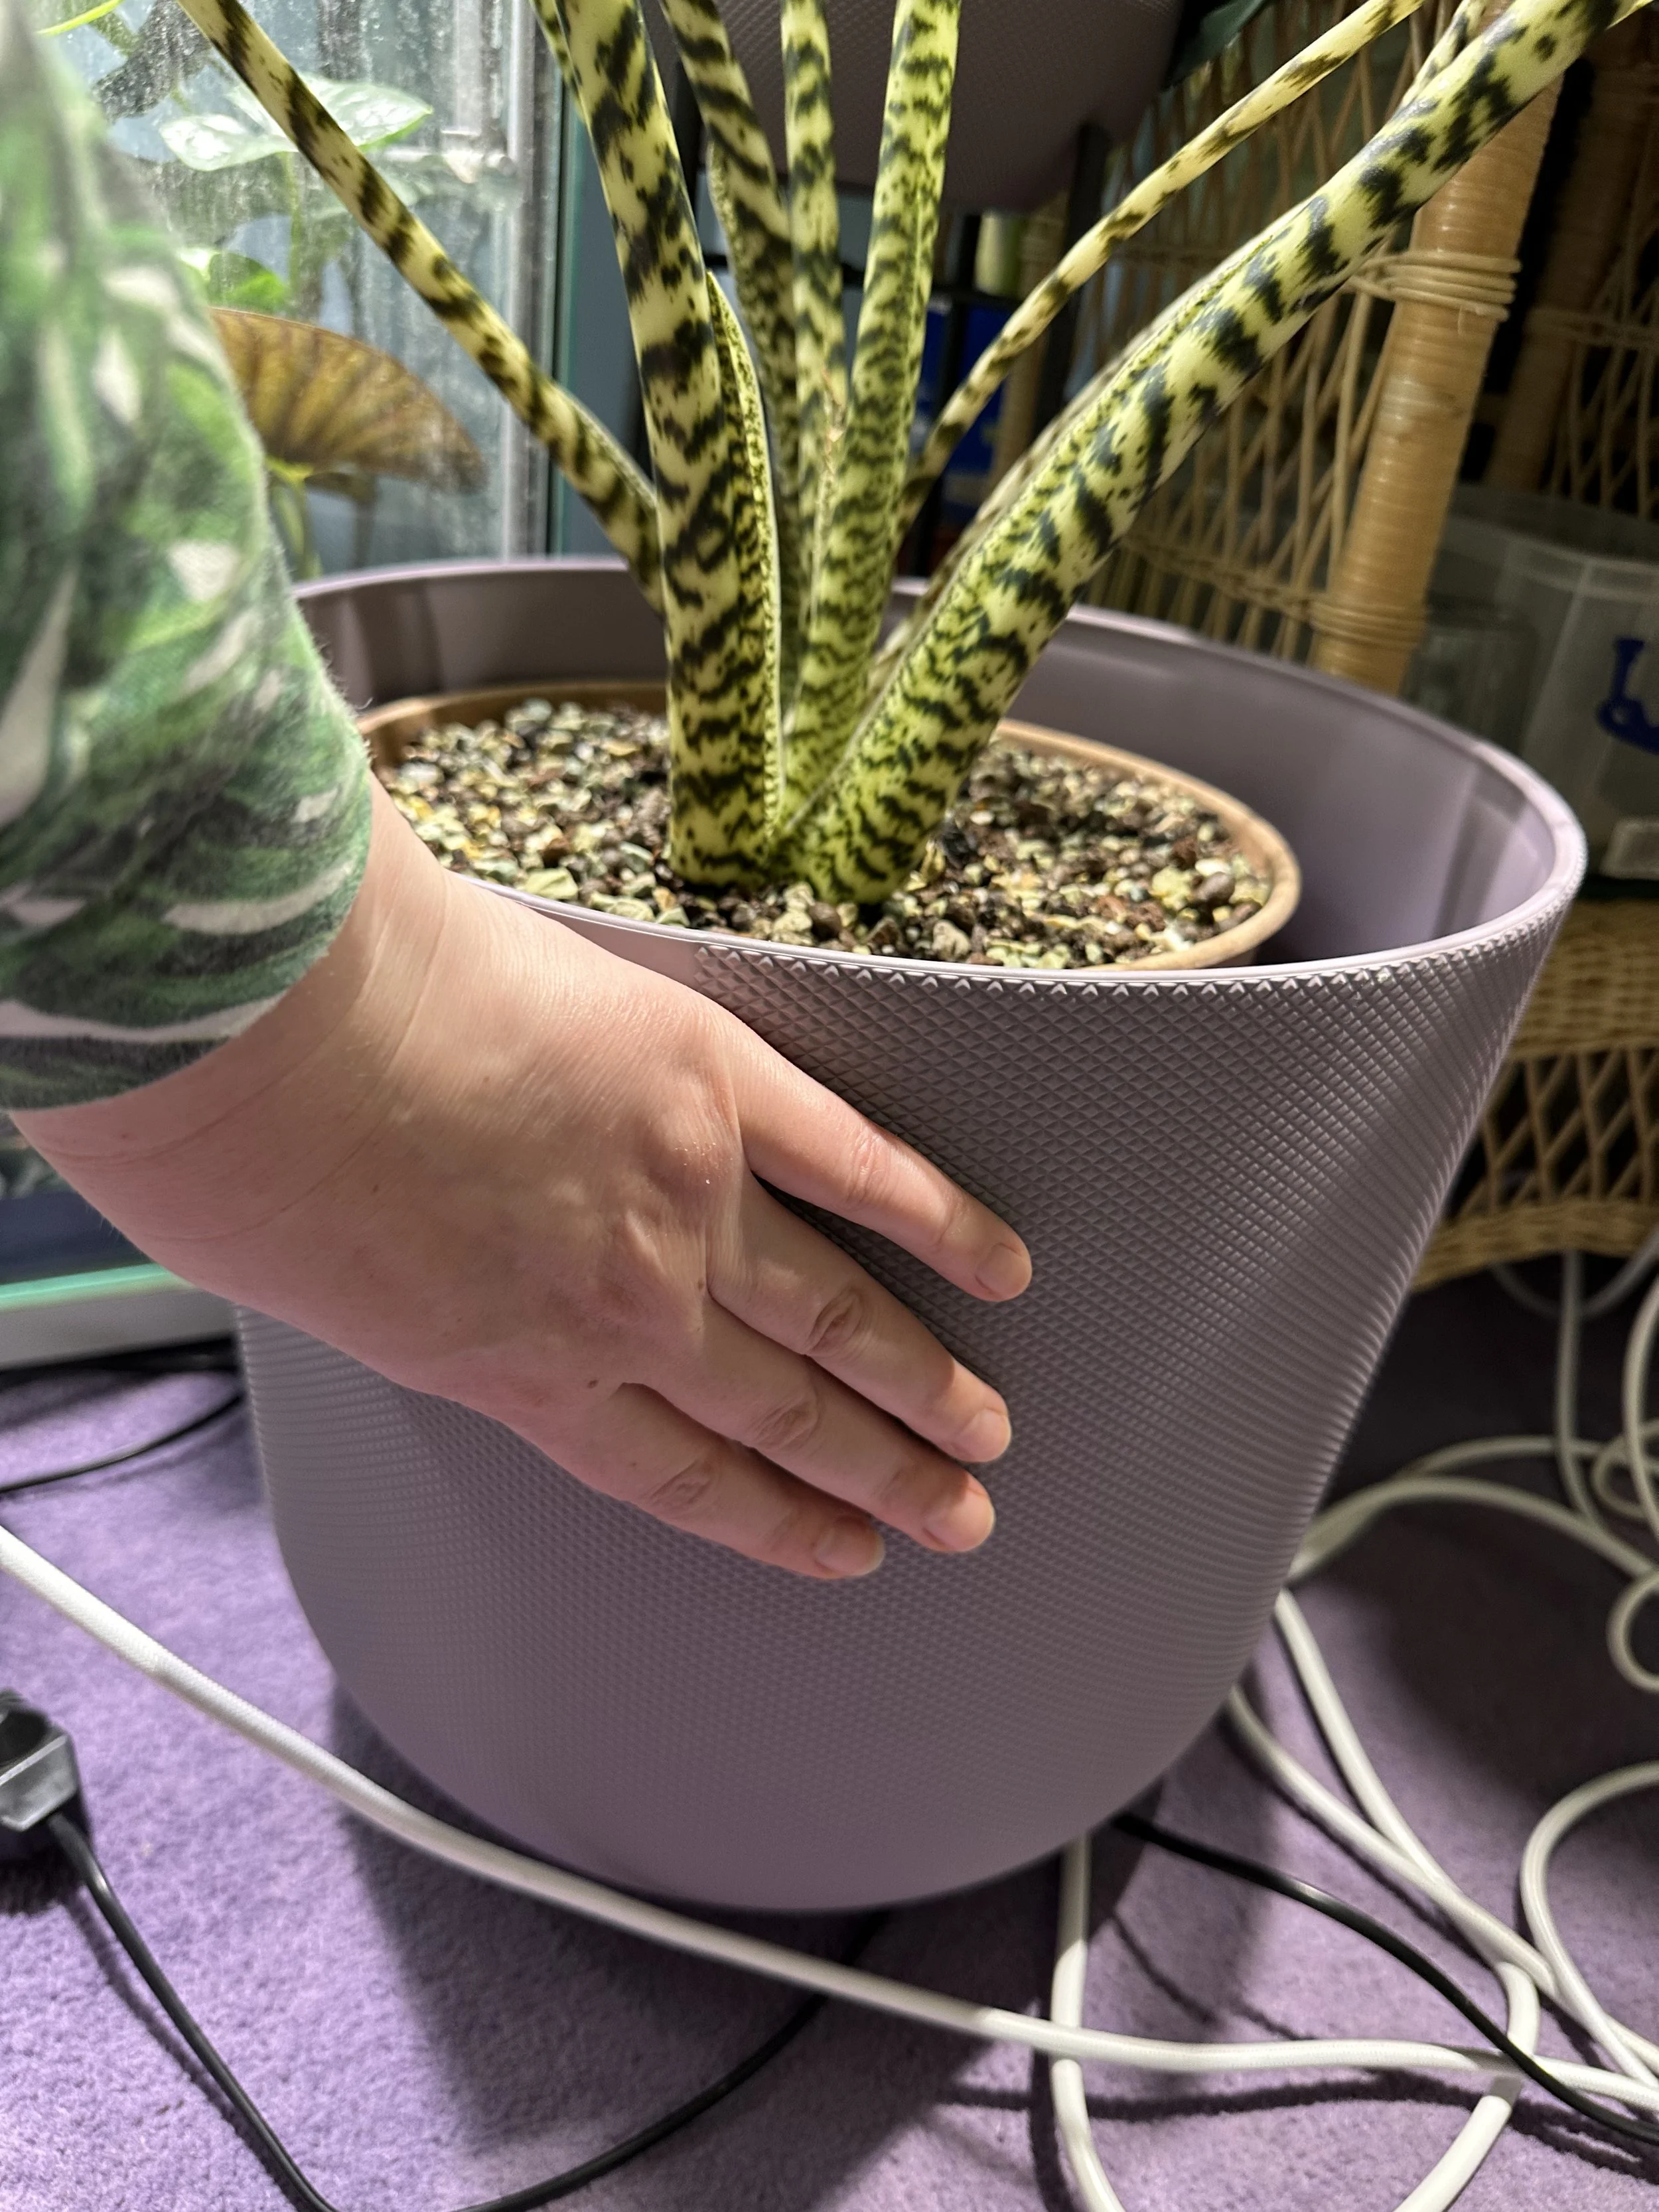
My Alocasia Zebrina had been growing in soil for quite some time and was mature enough to handle the transition. To remove it safely, I started by soaking the root ball in water to help loosen the soil. I then used lukewarm water from the shower to gently rinse away the remaining bits.
I found that just using my hands wasn’t enough to get the roots completely clean—rinsing with water really helped. The goal here isn’t to scrub the roots perfectly clean but to remove as much soil as possible so that the remaining roots can start adjusting to their new semi-hydro life.


Step Six: Prepare Your Pot
Choose a pot that's about an inch (2.5 cm) larger than the current one—but only if your plant actually needs upsizing. If the roots aren’t overcrowded, you can absolutely stick with the same size. Reusing a pot? Give it a good clean and sterilise it before repotting. Then, fill the bottom third with your semi-hydro mix.
One trick I use is to place the current pot inside a slightly larger one to check the size difference—you’re aiming for just 1 to 1.5 inches of extra space all around. This sizing can vary depending on the plant, but for Alocasia, smaller steps up tend to work better.
Tip: When transitioning to semi-hydro, the roots your plant currently has may not survive the change. That’s okay—the plant will often shed those roots and grow new ones better suited to the new environment. So, going up a pot size isn’t always necessary during this transition stage.
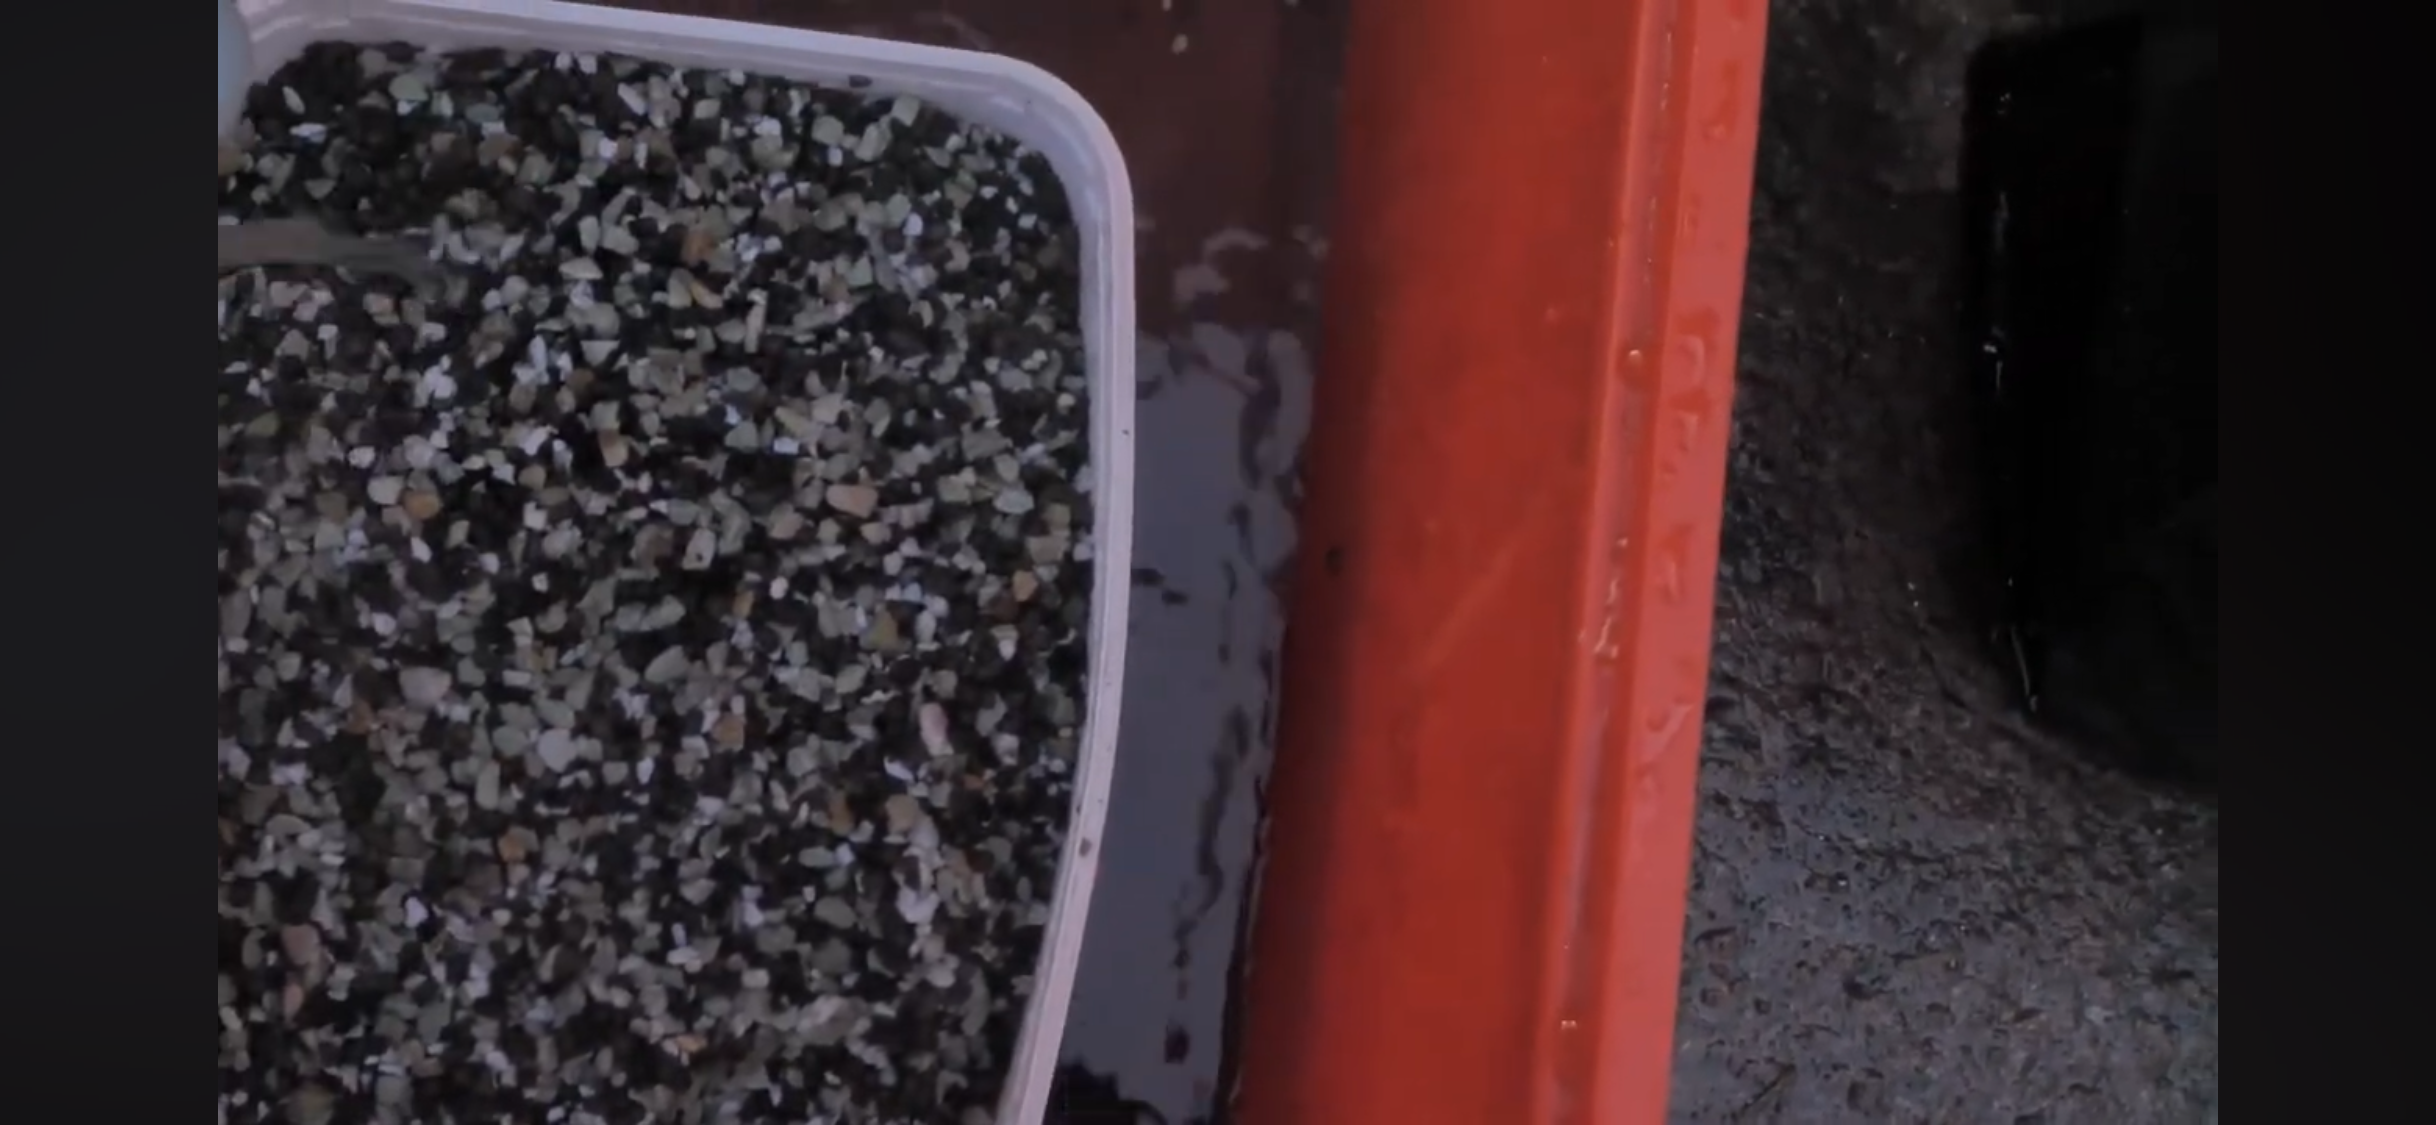
This what I used previously with my semi hydro.
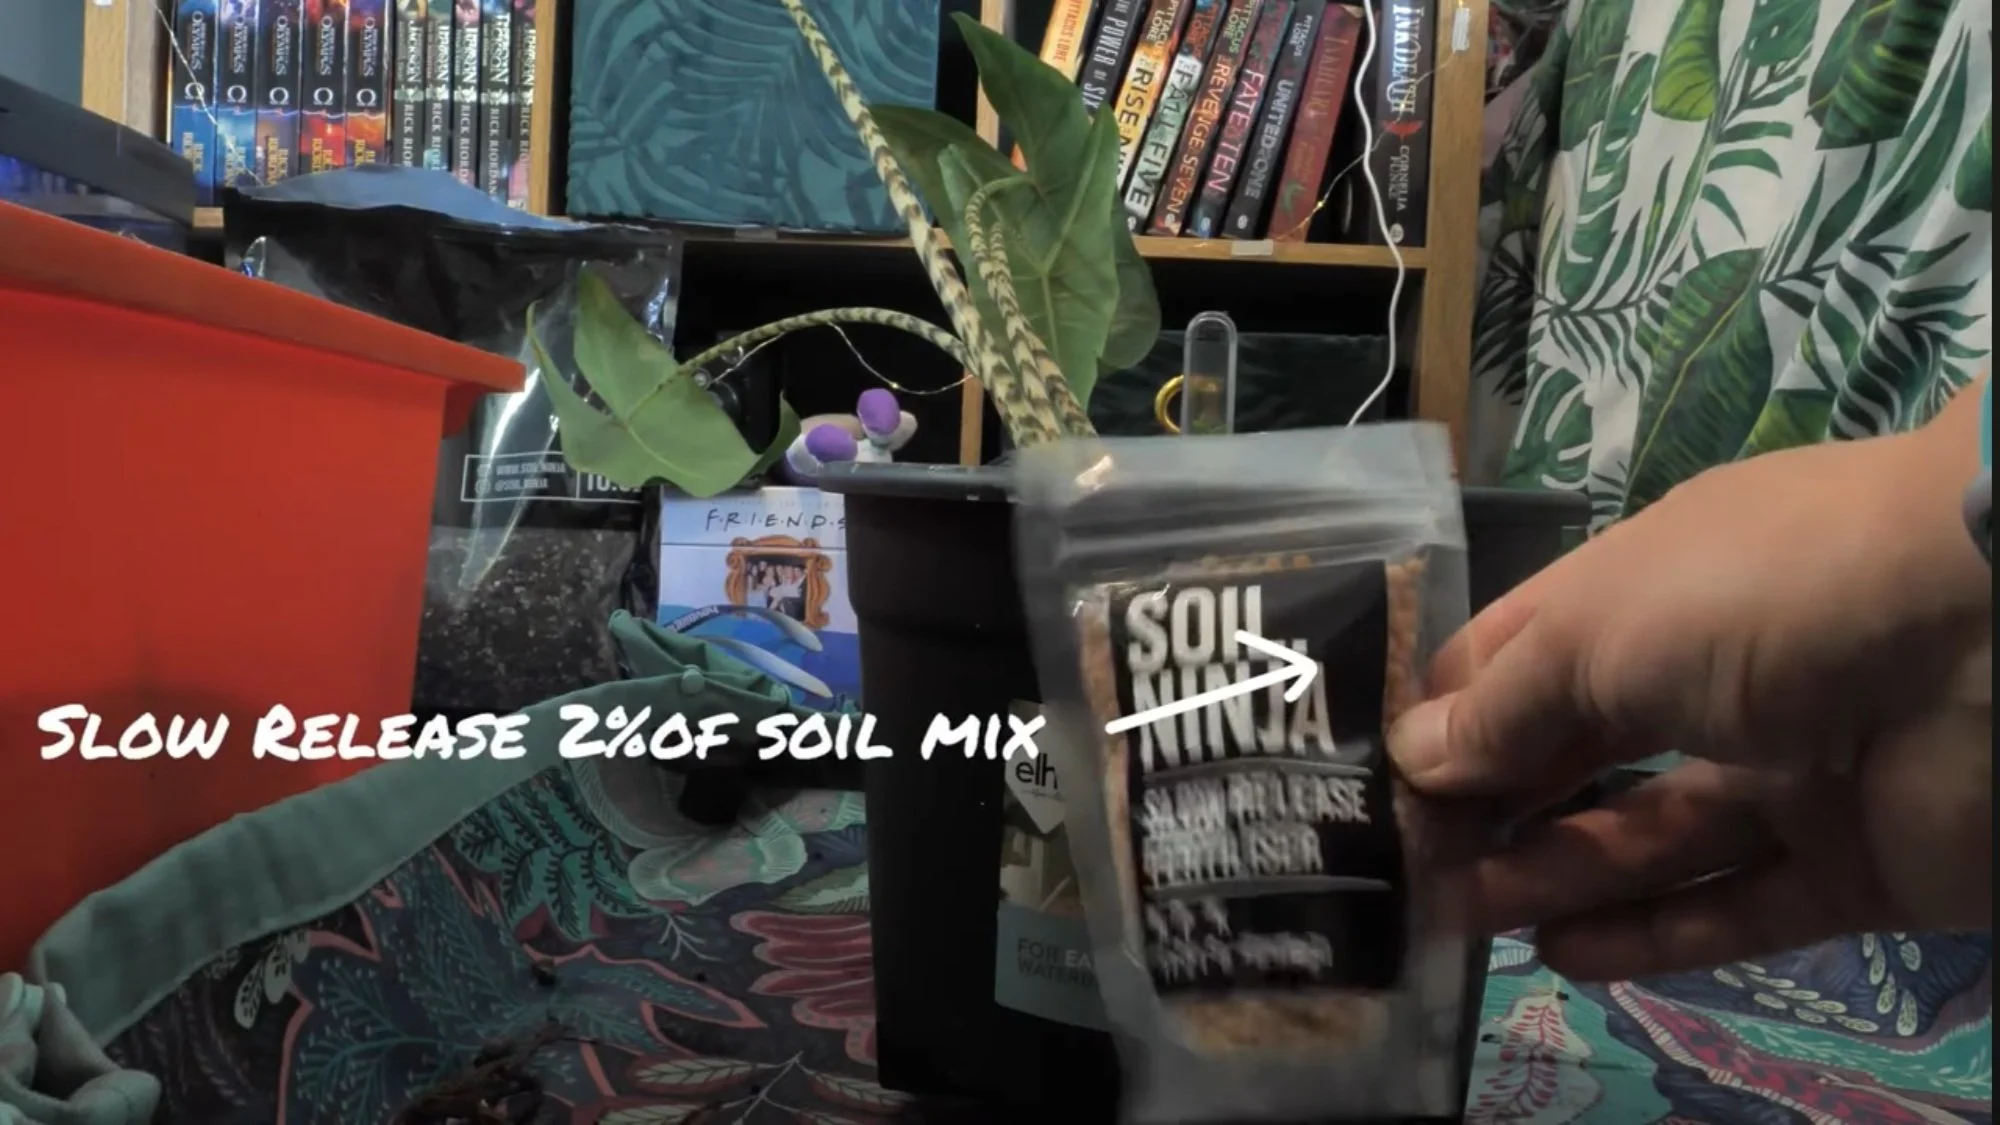
Step Seven: Add Fertiliser (Optional)
At this stage, I added a slow-release fertiliser to give the plant nutrients it would normally get from soil. There are lots of feeding options out there, but this method worked best for me—especially during the transition to semi-hydro.
Over time, I’ve experimented with different options—from Soil Ninja’s slow-release fertiliser to using dried seaweed. Some semi-hydro mixes already come with added nutrients, so it's worth checking the packaging before adding anything extra.
Step Eight: Fill Around the Plant
Gently place your plant into the pot and fill in the sides with more semi-hydro mix. I find that using a scoop makes it easier to distribute the substrate evenly without damaging the roots. The goal here is to stabilise the plant while giving the roots space to breathe and grow.
Step Nine: Add Water
Once the plant is upright and stable, add a small amount of filtered or rainwater into the cover pot—just enough to reach the base of the roots. This is the beauty of semi-hydro: your plant gets consistent access to moisture with a lower risk of rot.
I’ve read that watering from the top the first time can encourage the development of water roots—and I’ve found that to be true in my own setup, too.
Sometimes I don’t even use a proper drainage pot—I just pop the plant into a clear plastic cup, and it works just fine!
A Note on Shock and Root Loss
It’s totally normal for your plant to experience some shock when switching substrates. This often means some root loss. Try not to panic—this is part of the adjustment.
As long as the rhizome isn’t fully buried or sitting in water, the plant will likely bounce back. Avoid disturbing it too much while it’s adjusting. Let the new roots grow in peace!
🌱 P.S. — I’ve created a free PDF guide to help walk you through the process step-by-step. Check it out below! ⬇️
Soil Ninja’s Semi-Hydro Fine Mix gave me a great starting point for transitioning my plants. I followed their basic instructions, and my Zebrina has been thriving ever since. But I’ll be honest—it’s easy to lose hope during the early stages. Things can look rough before they get better.
That’s why I want to share how I tweaked the process and what happened to my Zebrina from day one to where she is now. Keep reading to see what I changed—and what I learned along the way.

My Semi-Hydro Experience
I got my second Alocasia Zebrina in April 2021. I’d owned one before, but sadly lost it when I moved back home. At the time, I was still learning the ropes—figuring out what Alocasias needed and what worked best for them.
I’d already tried LECA with other plants, and while it worked well for some, I didn’t have much luck using clay balls with Alocasias. So I shelved the idea for a while. Then Soil Ninja released their Semi-Hydro mix, and that changed everything.
I started using it in June 2022 with a few of my Philodendrons. Later that summer, they launched a finer version of the mix, and I thought—why not try it with my Alocasias? That decision kicked off a whole new chapter in my plant journey.
What I’ve Learned Along the Way
If you’ve read this far—thank you! I hope by sharing my experience, I can save someone a few of the headaches I had early on.
One thing I wish someone had told me when I first got into Alocasias is this: every plant—even within the same genus—can respond differently, and there’s rarely just one right way to grow them. Finding what works for your plant takes time and experimentation.
Growing my Zebrina in semi-hydro has been a long process, full of trial and error. One big lesson I learned was the difference between root types. At first, I didn’t realise that hydro roots and water roots aren’t the same:
Water roots are thinner, more fragile, and often white or even transparent. They tend to stay near the top of the pot to access oxygen from the water surface.
Soil roots, on the other hand, are thicker, darker, and have a tougher outer layer. They anchor the plant and absorb nutrients and oxygen from the soil.
Hydro roots fall somewhere in between—they’re adapted for the airier, semi-hydro environment. But when conditions change, roots often die off and regrow in a form better suited to the new setup. So if you're seeing root loss when switching to semi-hydro—don’t panic. It's normal.
Tips from My Journey
Frequent water changes helped. Especially in the early days, regularly changing the water helped keep things oxygenated and encouraged new hydro roots to grow. Yes, it’s a bit more work—but it sped up the plant’s adaptation and kept things healthy.
Don’t worry too much about some root loss. If you're losing roots after the switch, it's likely just the plant replacing them with ones better suited to the new environment.
Be mindful of how much rhizome is buried. When potting an Alocasia into semi-hydro, make sure not to fully submerge the rhizome. Keeping it partially above the substrate helps prevent rot.
Rinse your substrate! I learned this the hard way—if you don’t rinse the mix before using it, it can clump together and reduce airflow. Since air is so important to root health (especially for Alocasias), I now use a mix of Soil Ninja’s fine and coarse semi-hydro substrates—two parts fine to one part coarse—for better aeration.
Re-growing roots in water can work. If I’ve had an Alocasia suffer root loss from underwatering, I’ve had success regrowing roots in water before moving it back into semi-hydro. But I only do this if the original roots have completely dried up.
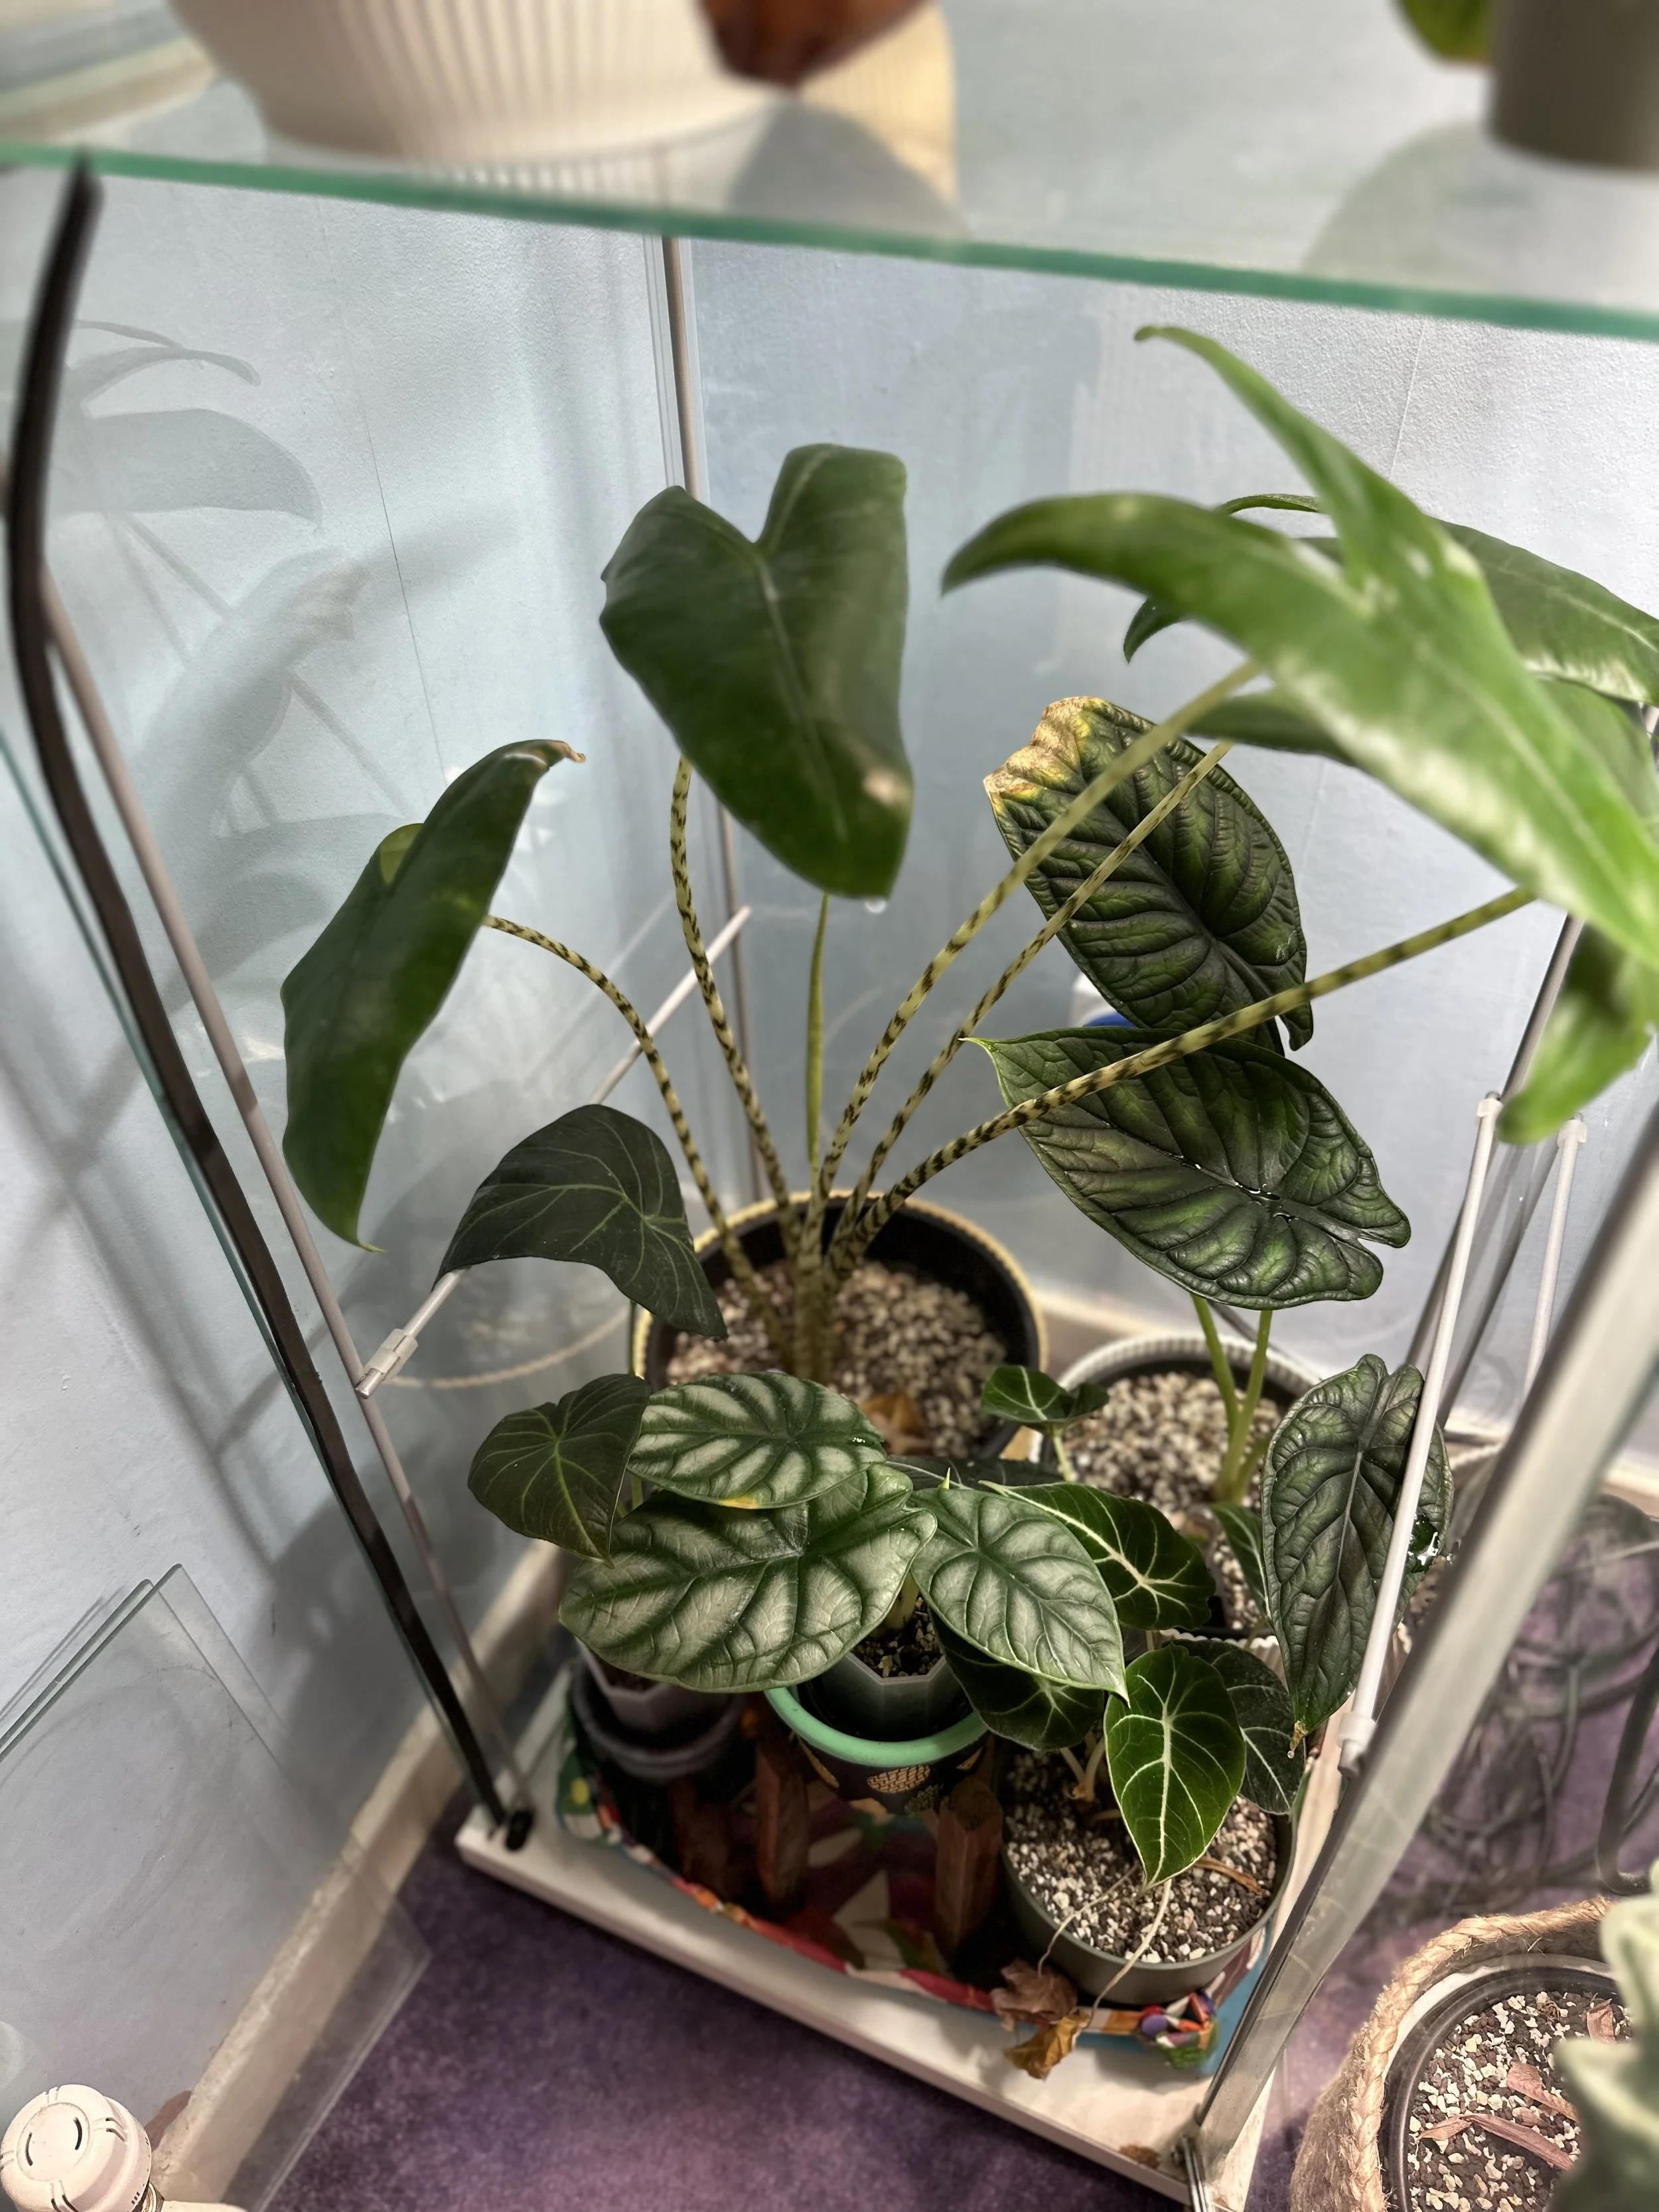


As I continued growing my Zebrina in semi-hydro, I started adding new Zebrina plants into the same pot to help fill it out. With each addition, I noticed it took less and less time for them to bounce back from the transition—they were clearly adapting well to the setup. After a couple of months of strong growth, the plant had outgrown its pot once again, and I had to move it into a slightly bigger one.


The first image above shows my Alocasia Zebrina back in March 2022, when it was still potted in soil. The next three images track its journey after I switched to semi-hydro—starting in February 2023, then again with upgrades in May and December 2023. Within that relatively short time, I had to repot several times because it was thriving so much in semi-hydro!
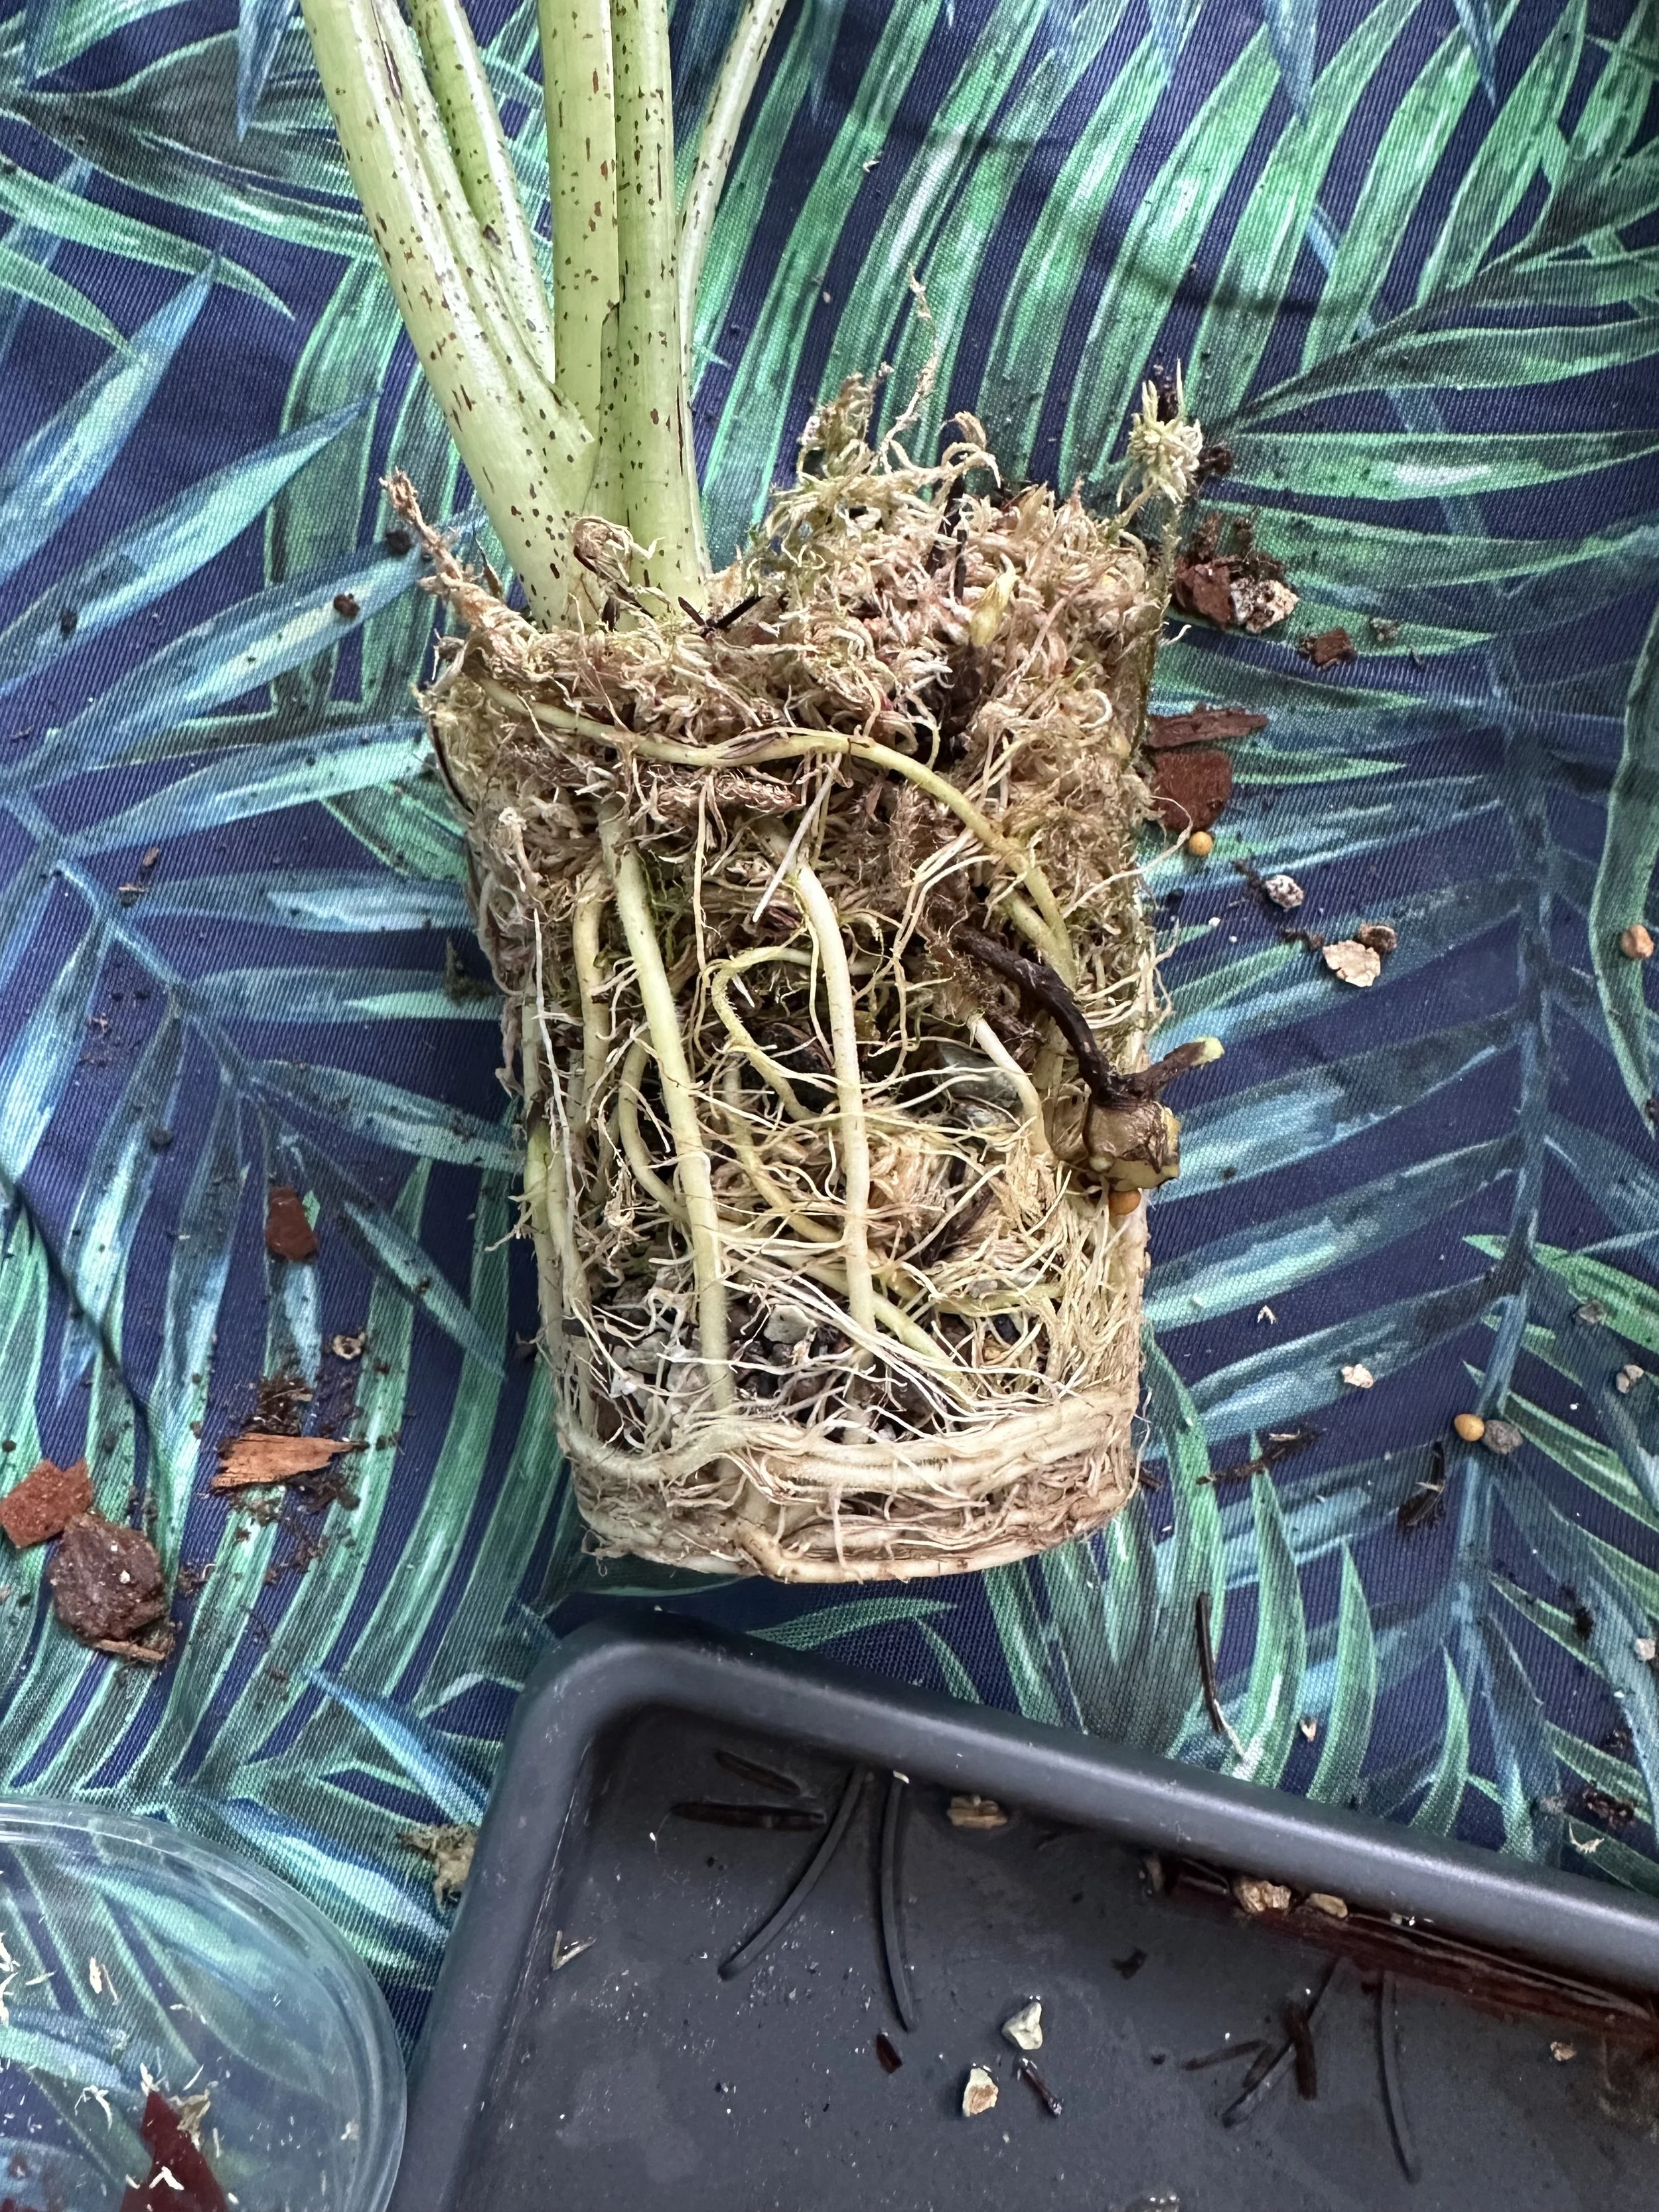
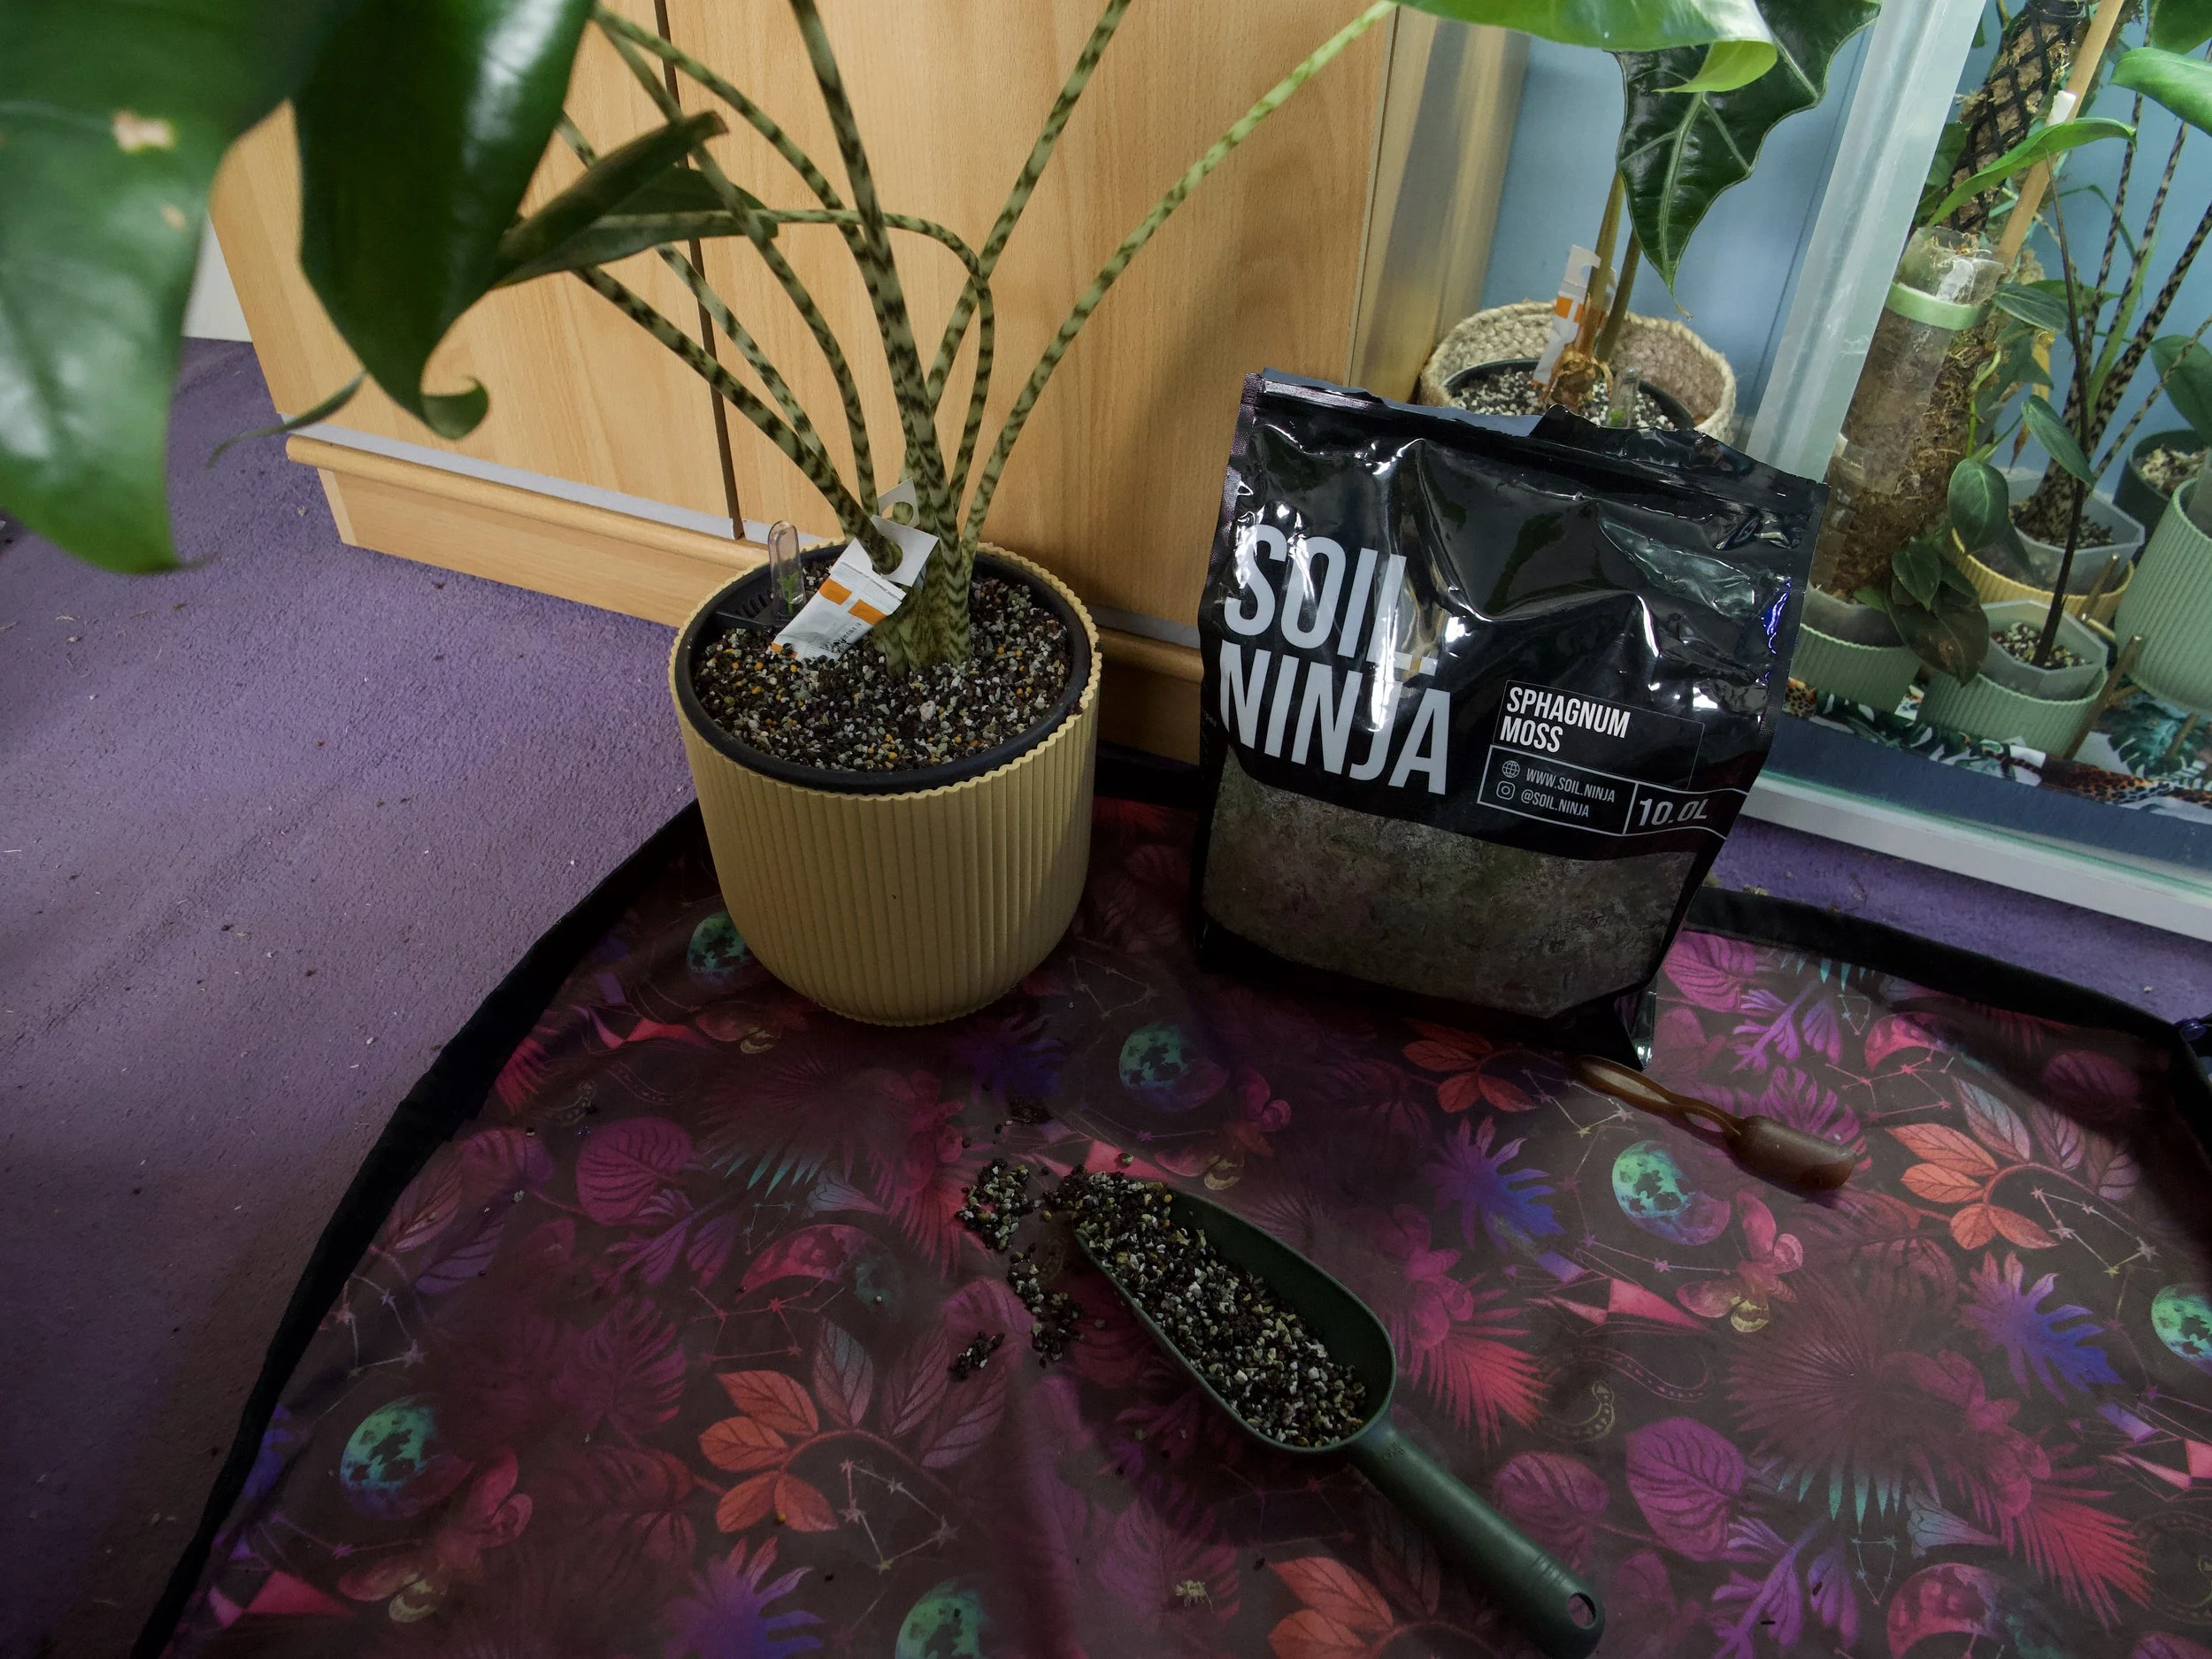
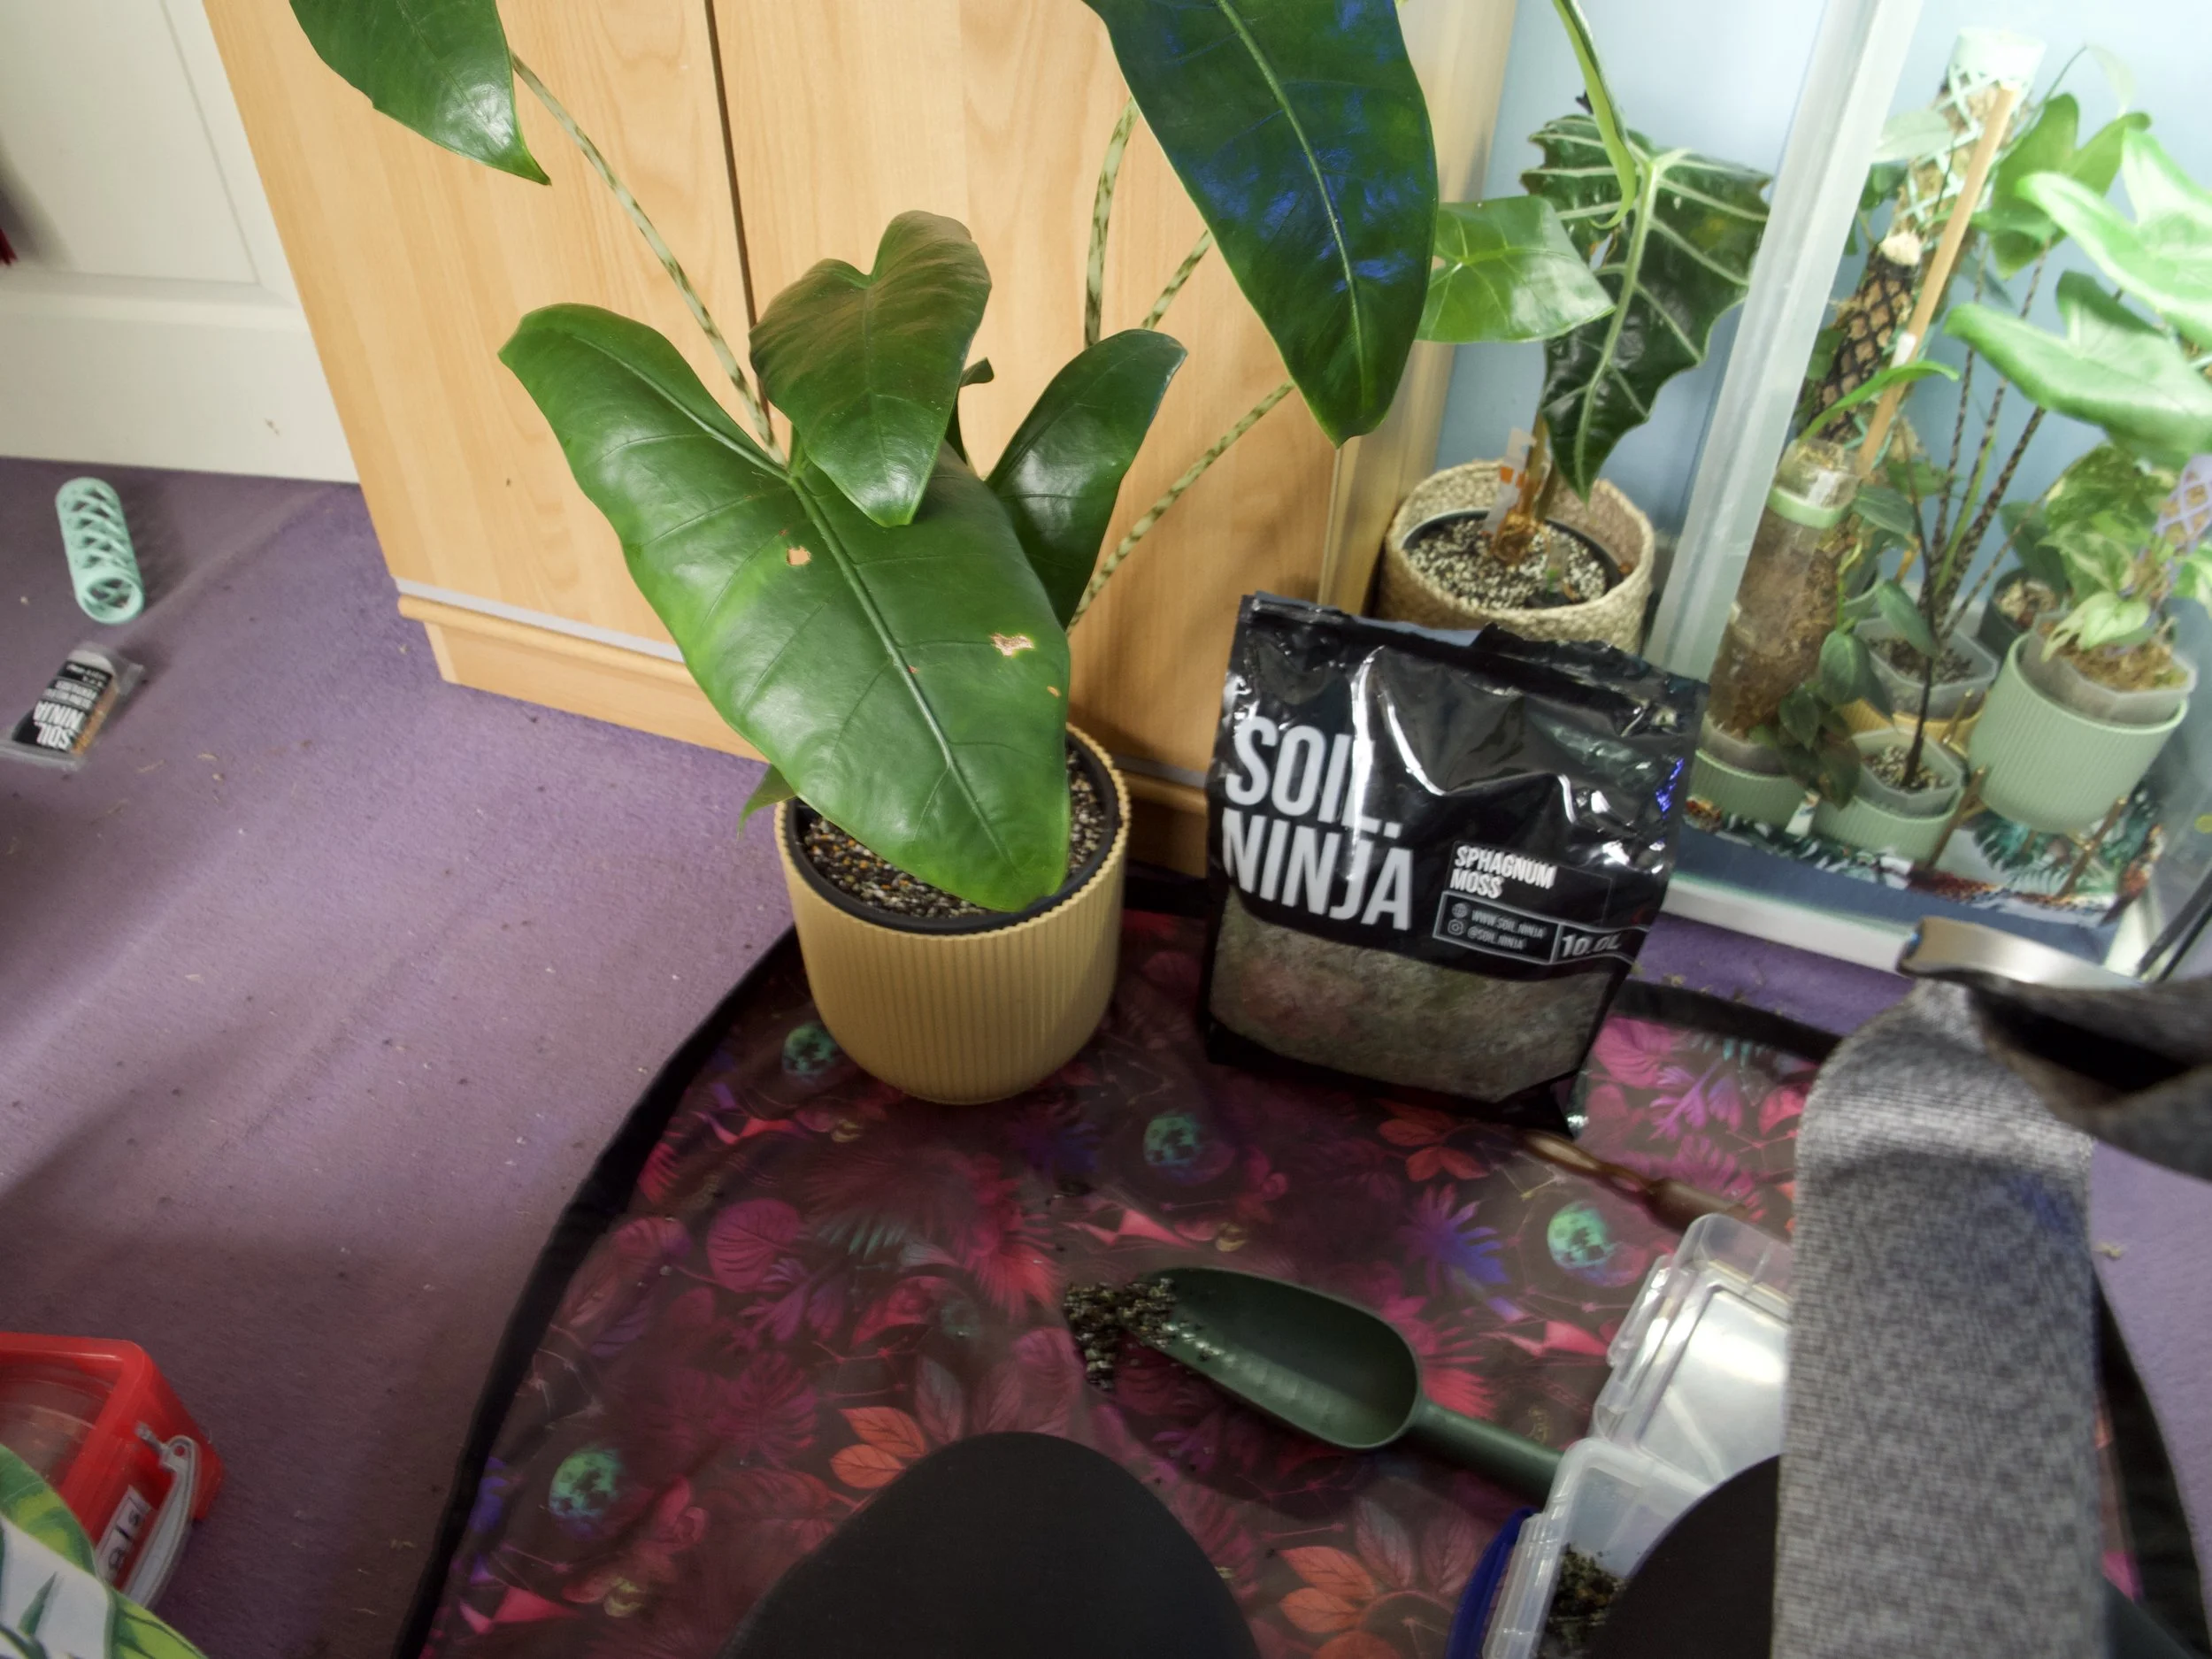
One thing I noticed was that the roots had been sitting in water for quite a while. About a month ago, I repotted again, but because I’d left it so long, the roots had become tangled and were more difficult to remove—unfortunately, that meant losing quite a few. I decided not to size up this time, as the new pot was already taller than the previous one.
(Side note: I really wish it were easier to find clear plastic pots larger than 21cm!)
As you can see, she’s grown a lot, and I’m now trying to grow a new plant from one of her massive corms.


In the end, this journey with Alocasia and semi-hydro has taught me a lot about patience, observation, and letting the plant take the lead. Every Alocasia seems to have its own rhythm, and sometimes the best thing we can do is give it space, trust the process, and learn as we go.
If you’ve tried semi-hydro with Alocasia (or you're thinking about it), I’d love to hear how it’s going for you! What worked? What didn’t? Let’s keep learning from each other—because plant care is so much more fun when we share the journey. 🌿💧 If you're experimenting with semi-hydro or just learning your plant's rhythm, don’t be discouraged by setbacks—they're often just part of the learning curve. With each repot and each leaf, we get a little better at understanding what our plants need. 🌱