

Zebrina Takes the Plunge: Switching to Semi-Hydroponics

This was the Zebrina in soil ninja’s Alocasia Mix which I was happy with how it was doing however because it was a strong plant I felt it would survive the transition to Semi Hydro.
Let’s Talk About My Alocasia Zebrina’s Semi-Hydro Journey!
Join me as I take you through the journey of transferring my Alocasia Zebrina into Soil Ninja’s Semi-Hydro Fine Mix. I’ll be sharing what worked, what didn’t, and all the highs and lows along the way. I’ll also explain what semi-hydro actually is—with the help of Soil Ninja and a few other resources—so you can get your head around the method before diving into the details of my plant’s big switch.
If you’ve been following me for a while—whether on Instagram or here on the blog—you might’ve seen the video I shared at the beginning of this little adventure. But don’t worry if you missed it, because I’m starting from the top and diving into the nitty-gritty of what semi-hydro even is.
Semi-Hydro 101
So, what exactly is semi-hydro? First off, it goes by quite a few names—and it’s not just one fixed method. In simple terms, semi-hydro is a soilless growing method.
Let’s break it down. Hydro means water, and semi means “not quite”—kind of like a semi-detached house: it’s attached, but not fully joined. In plant care, this means we’re not growing in just water, but not in traditional soil either.
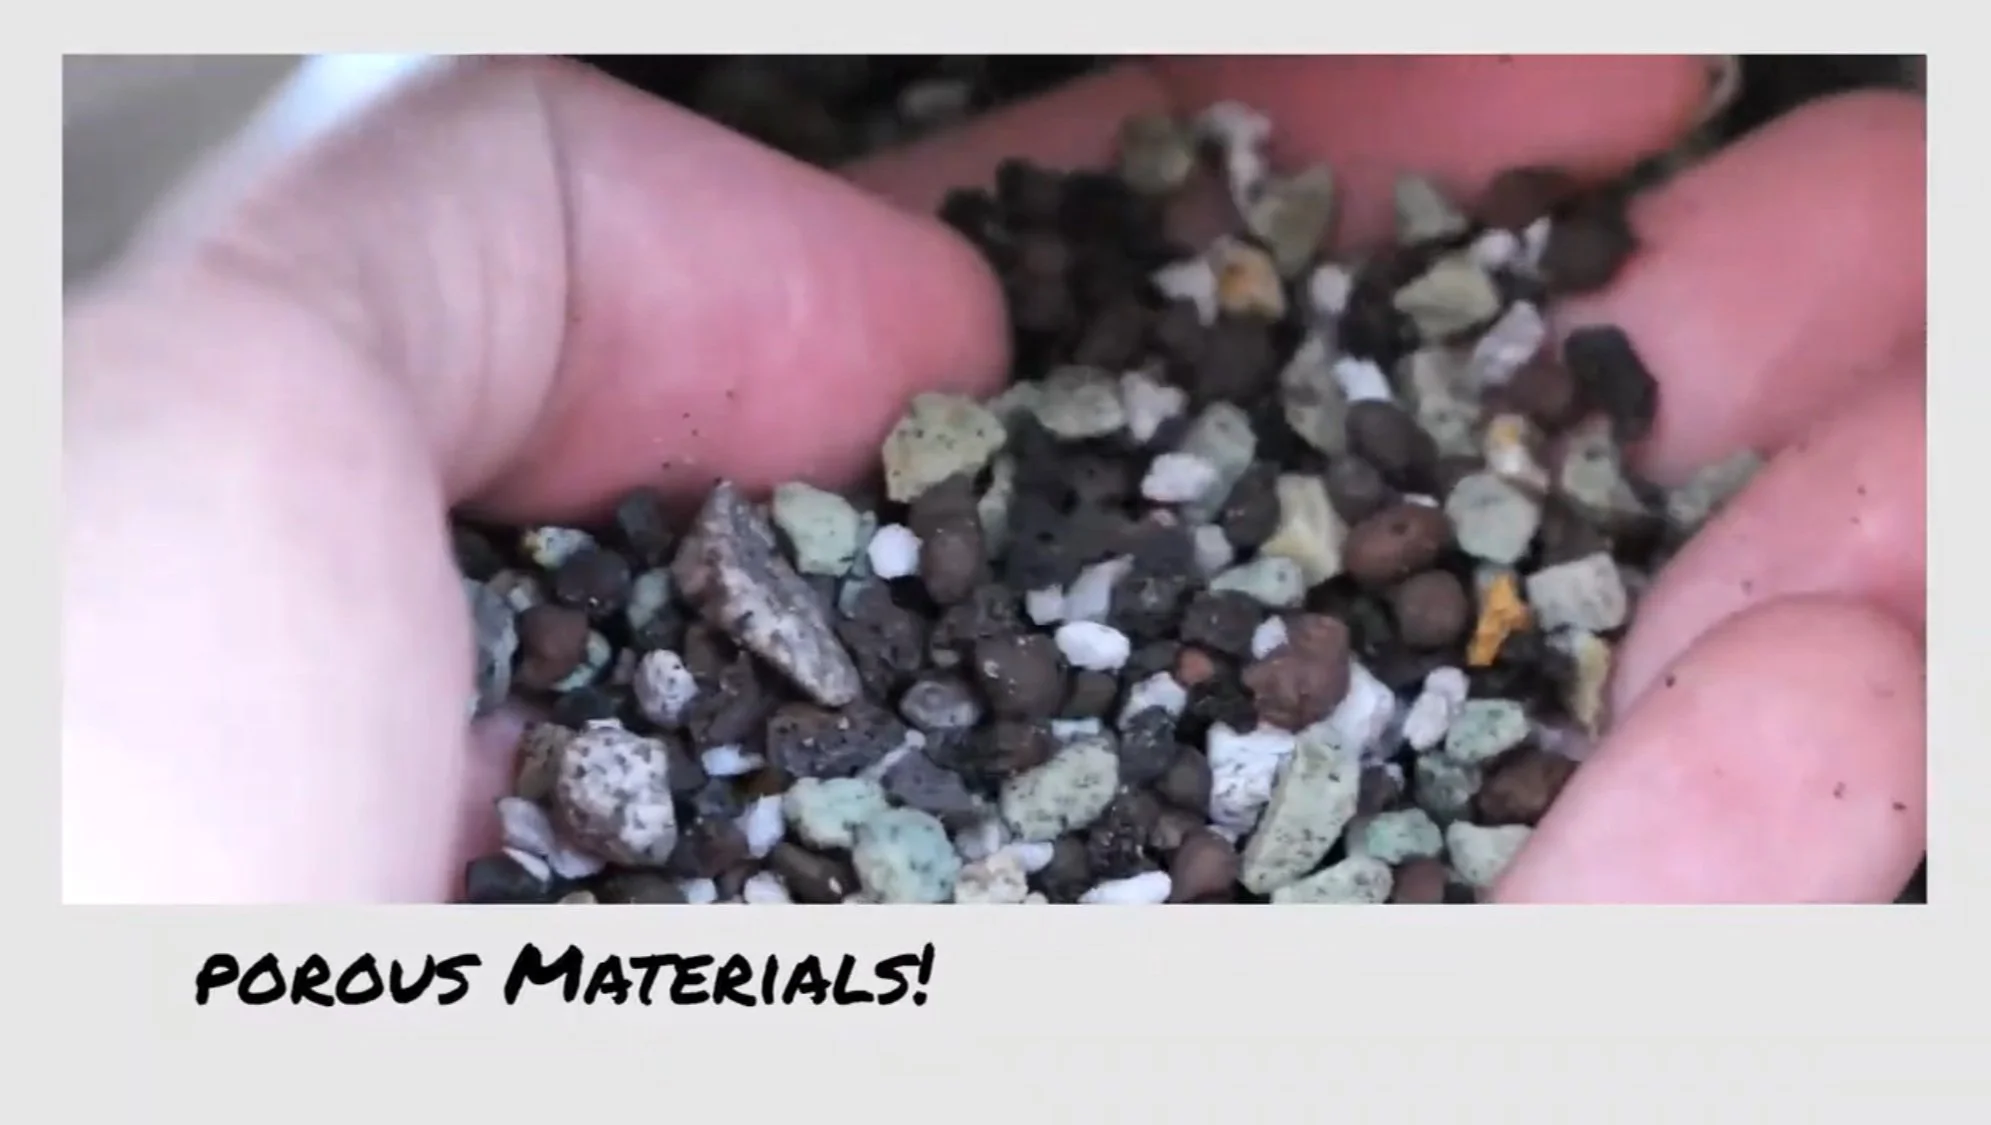
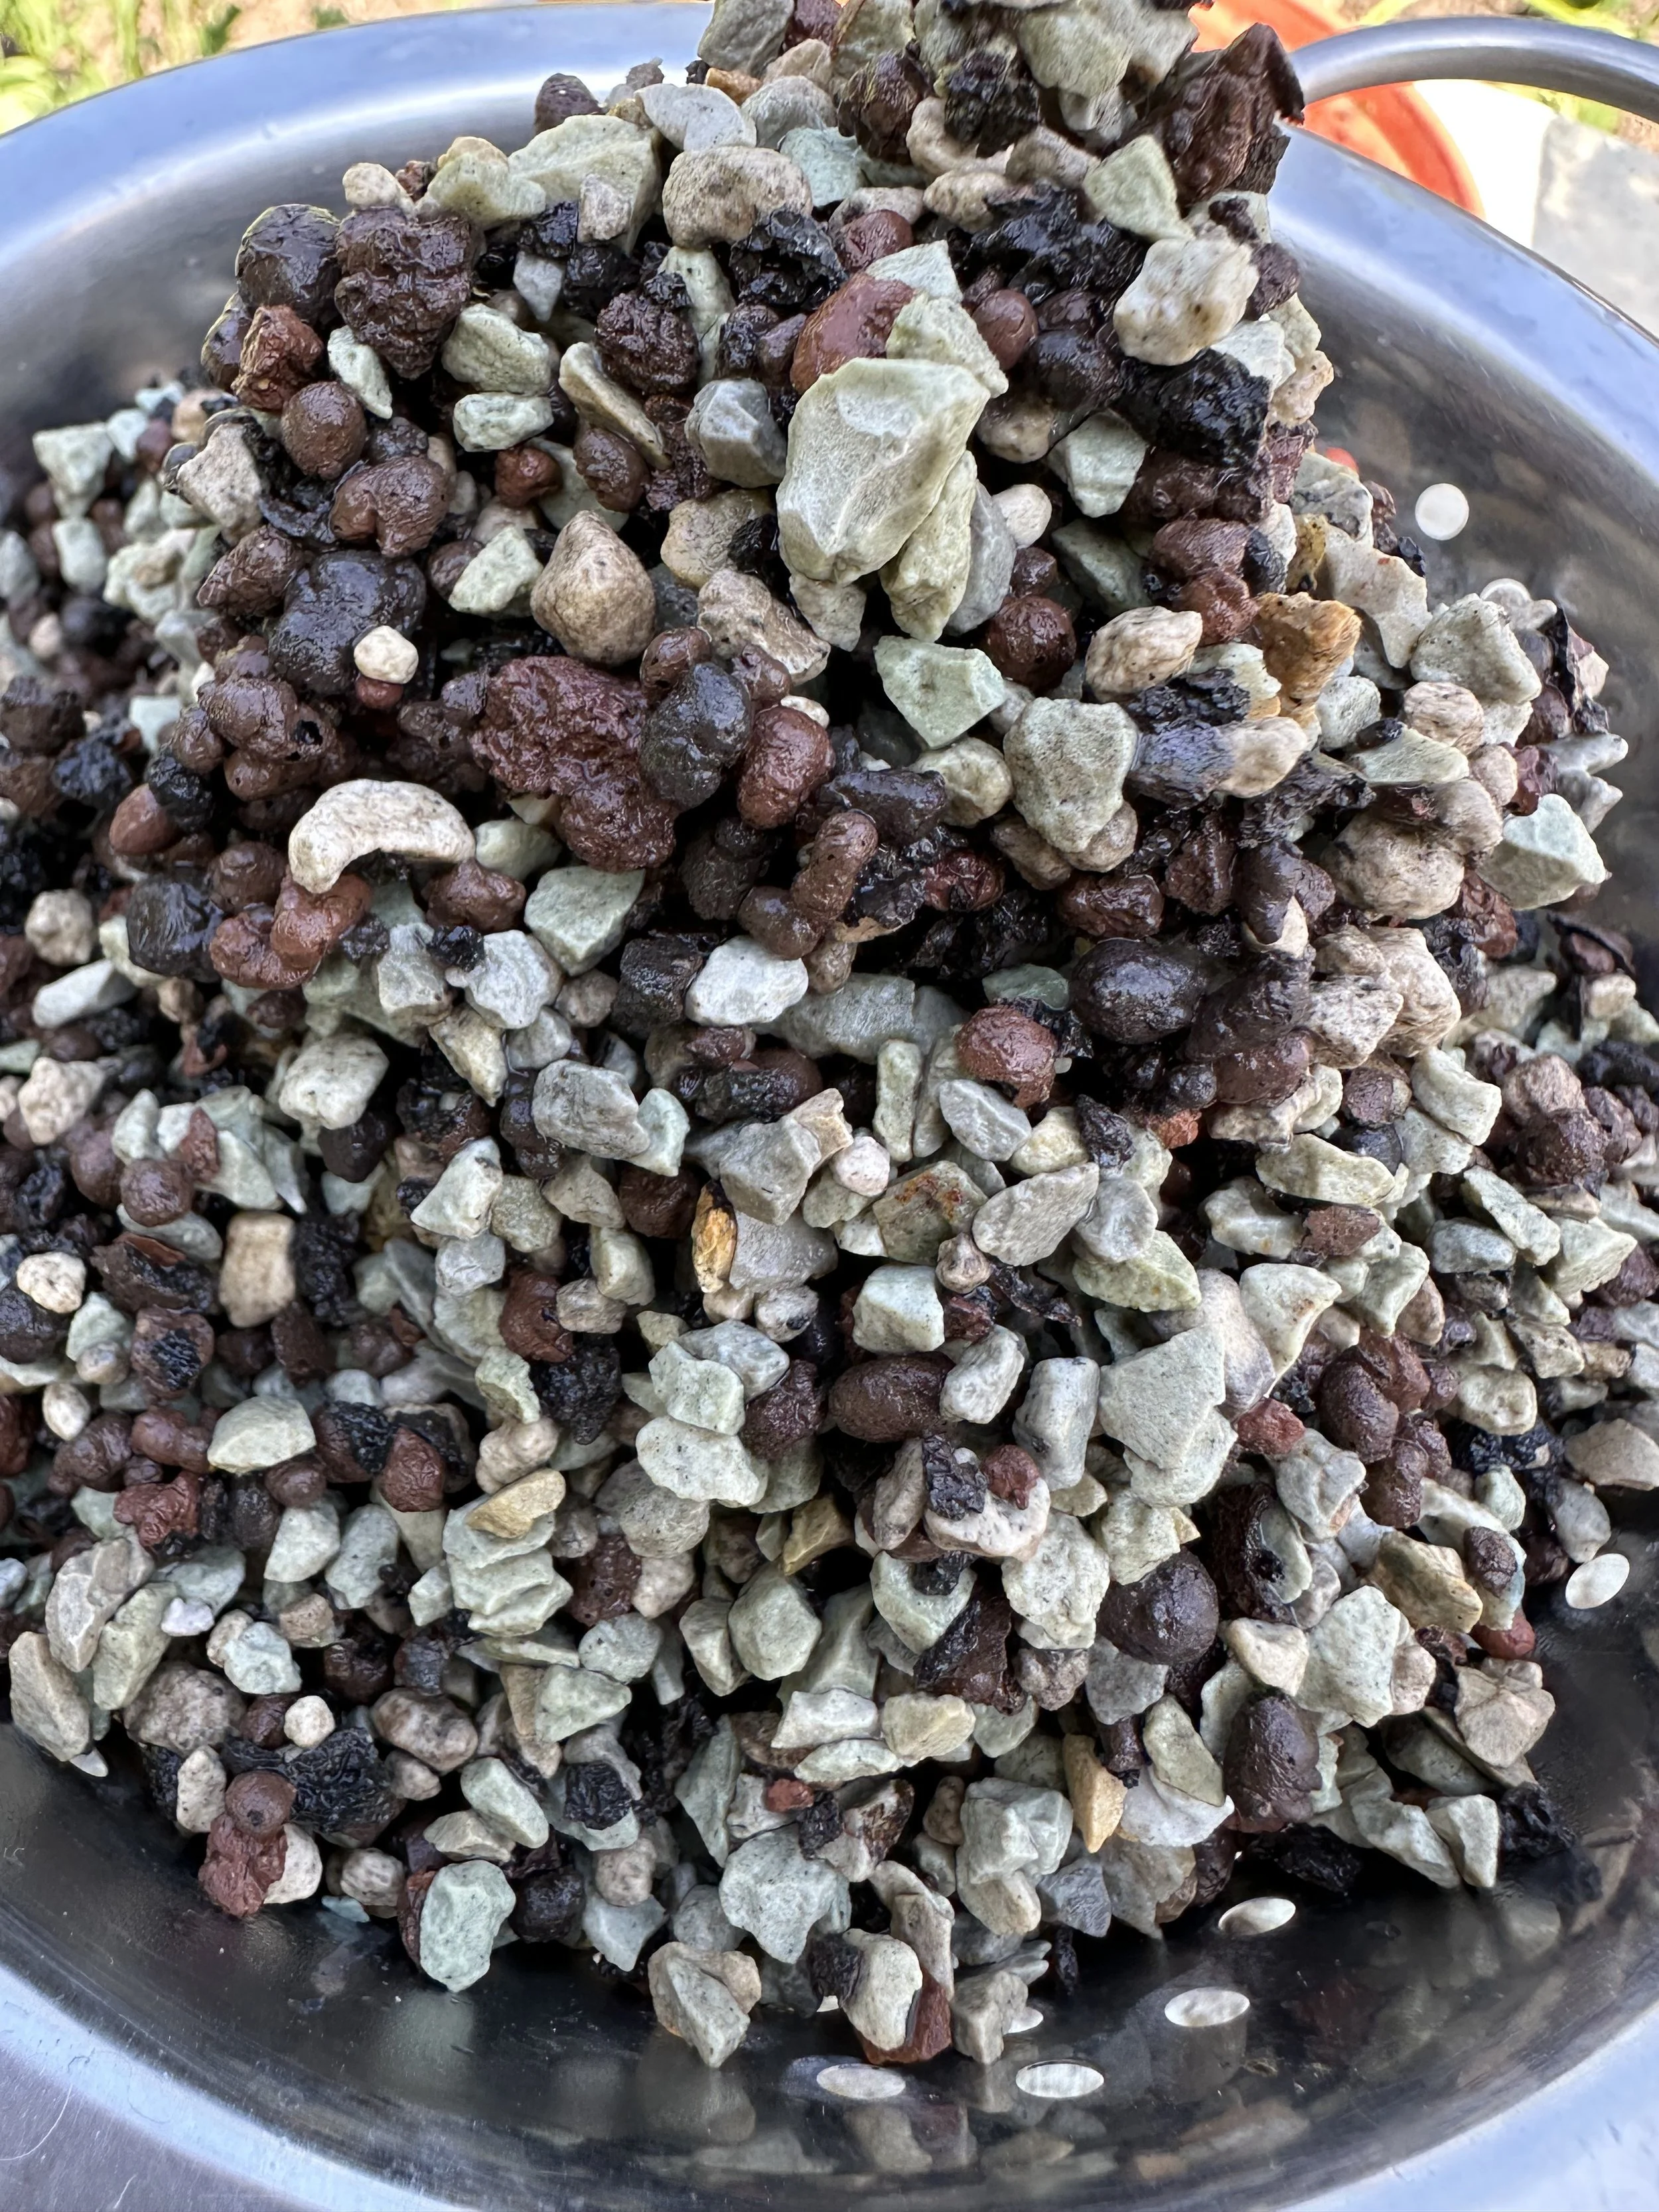
The “semi” part comes from the use of porous materials that allow both water and air to flow through their tiny, microscopic holes. These materials can include things like clay balls (LECA), pumice, vermiculite, unfired terracotta, biochar, perlite, timber, pulp, and sphagnum moss.
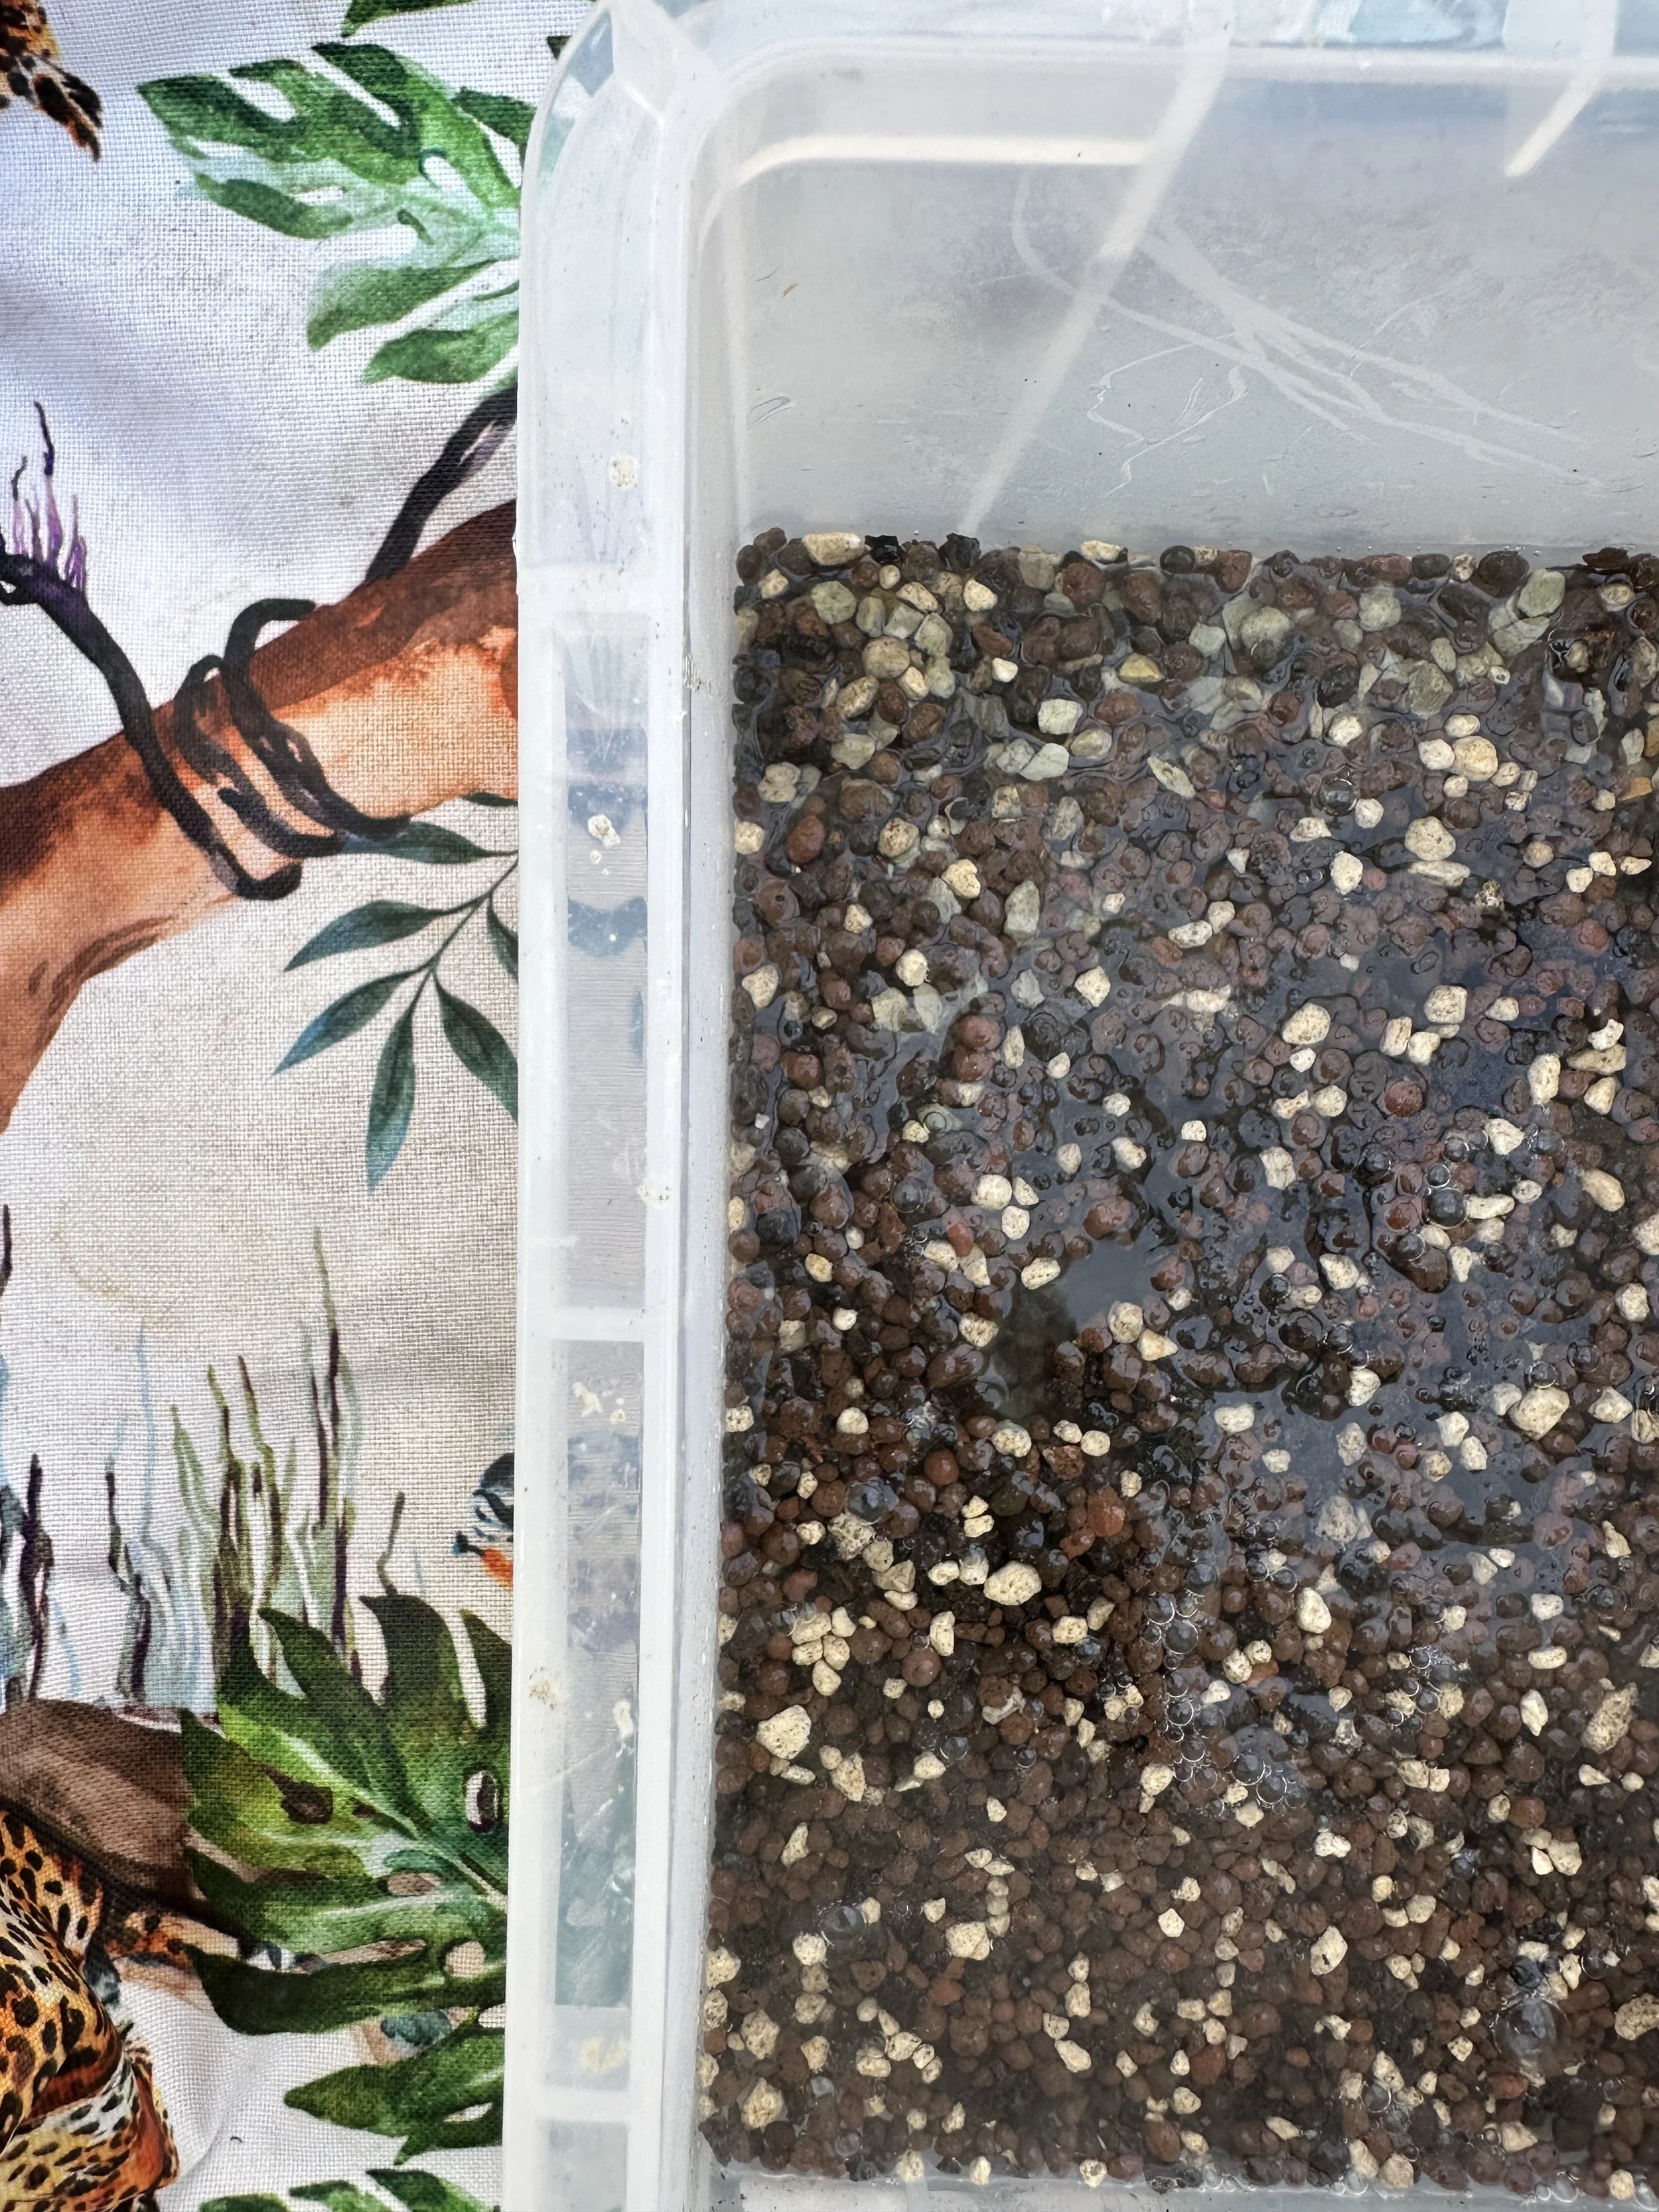
For this plant, I used Soil Ninja’s own semi-hydro blend, which they describe as:
“Our semi-hydro blend supplies porous materials & detoxifying/safeguarding amendments, all to keep your propagation & plants healthy, strong & happy.”
They actually offer two versions of this mix:

Coarse – chunkier pieces and a rougher texture
Fine – smaller particles with a finer texture
Because Alocasia roots are generally finer and more delicate than something like a Monstera or Philodendron (which tend to have chunkier roots), I went with the Fine mix—plus, they’d just released it at the time and I was excited to try it!
You can check out the video below to see exactly how I prepped my Alocasia for its semi-hydro makeover. But if you prefer a step-by-step written guide, keep scrolling! I made the switch around two years ago now, so I’ll also be sharing how it’s gone since then and how my Alocasia Zebrina is doing today.
The Switch | The Method I Used to Transition to Semi-Hydro
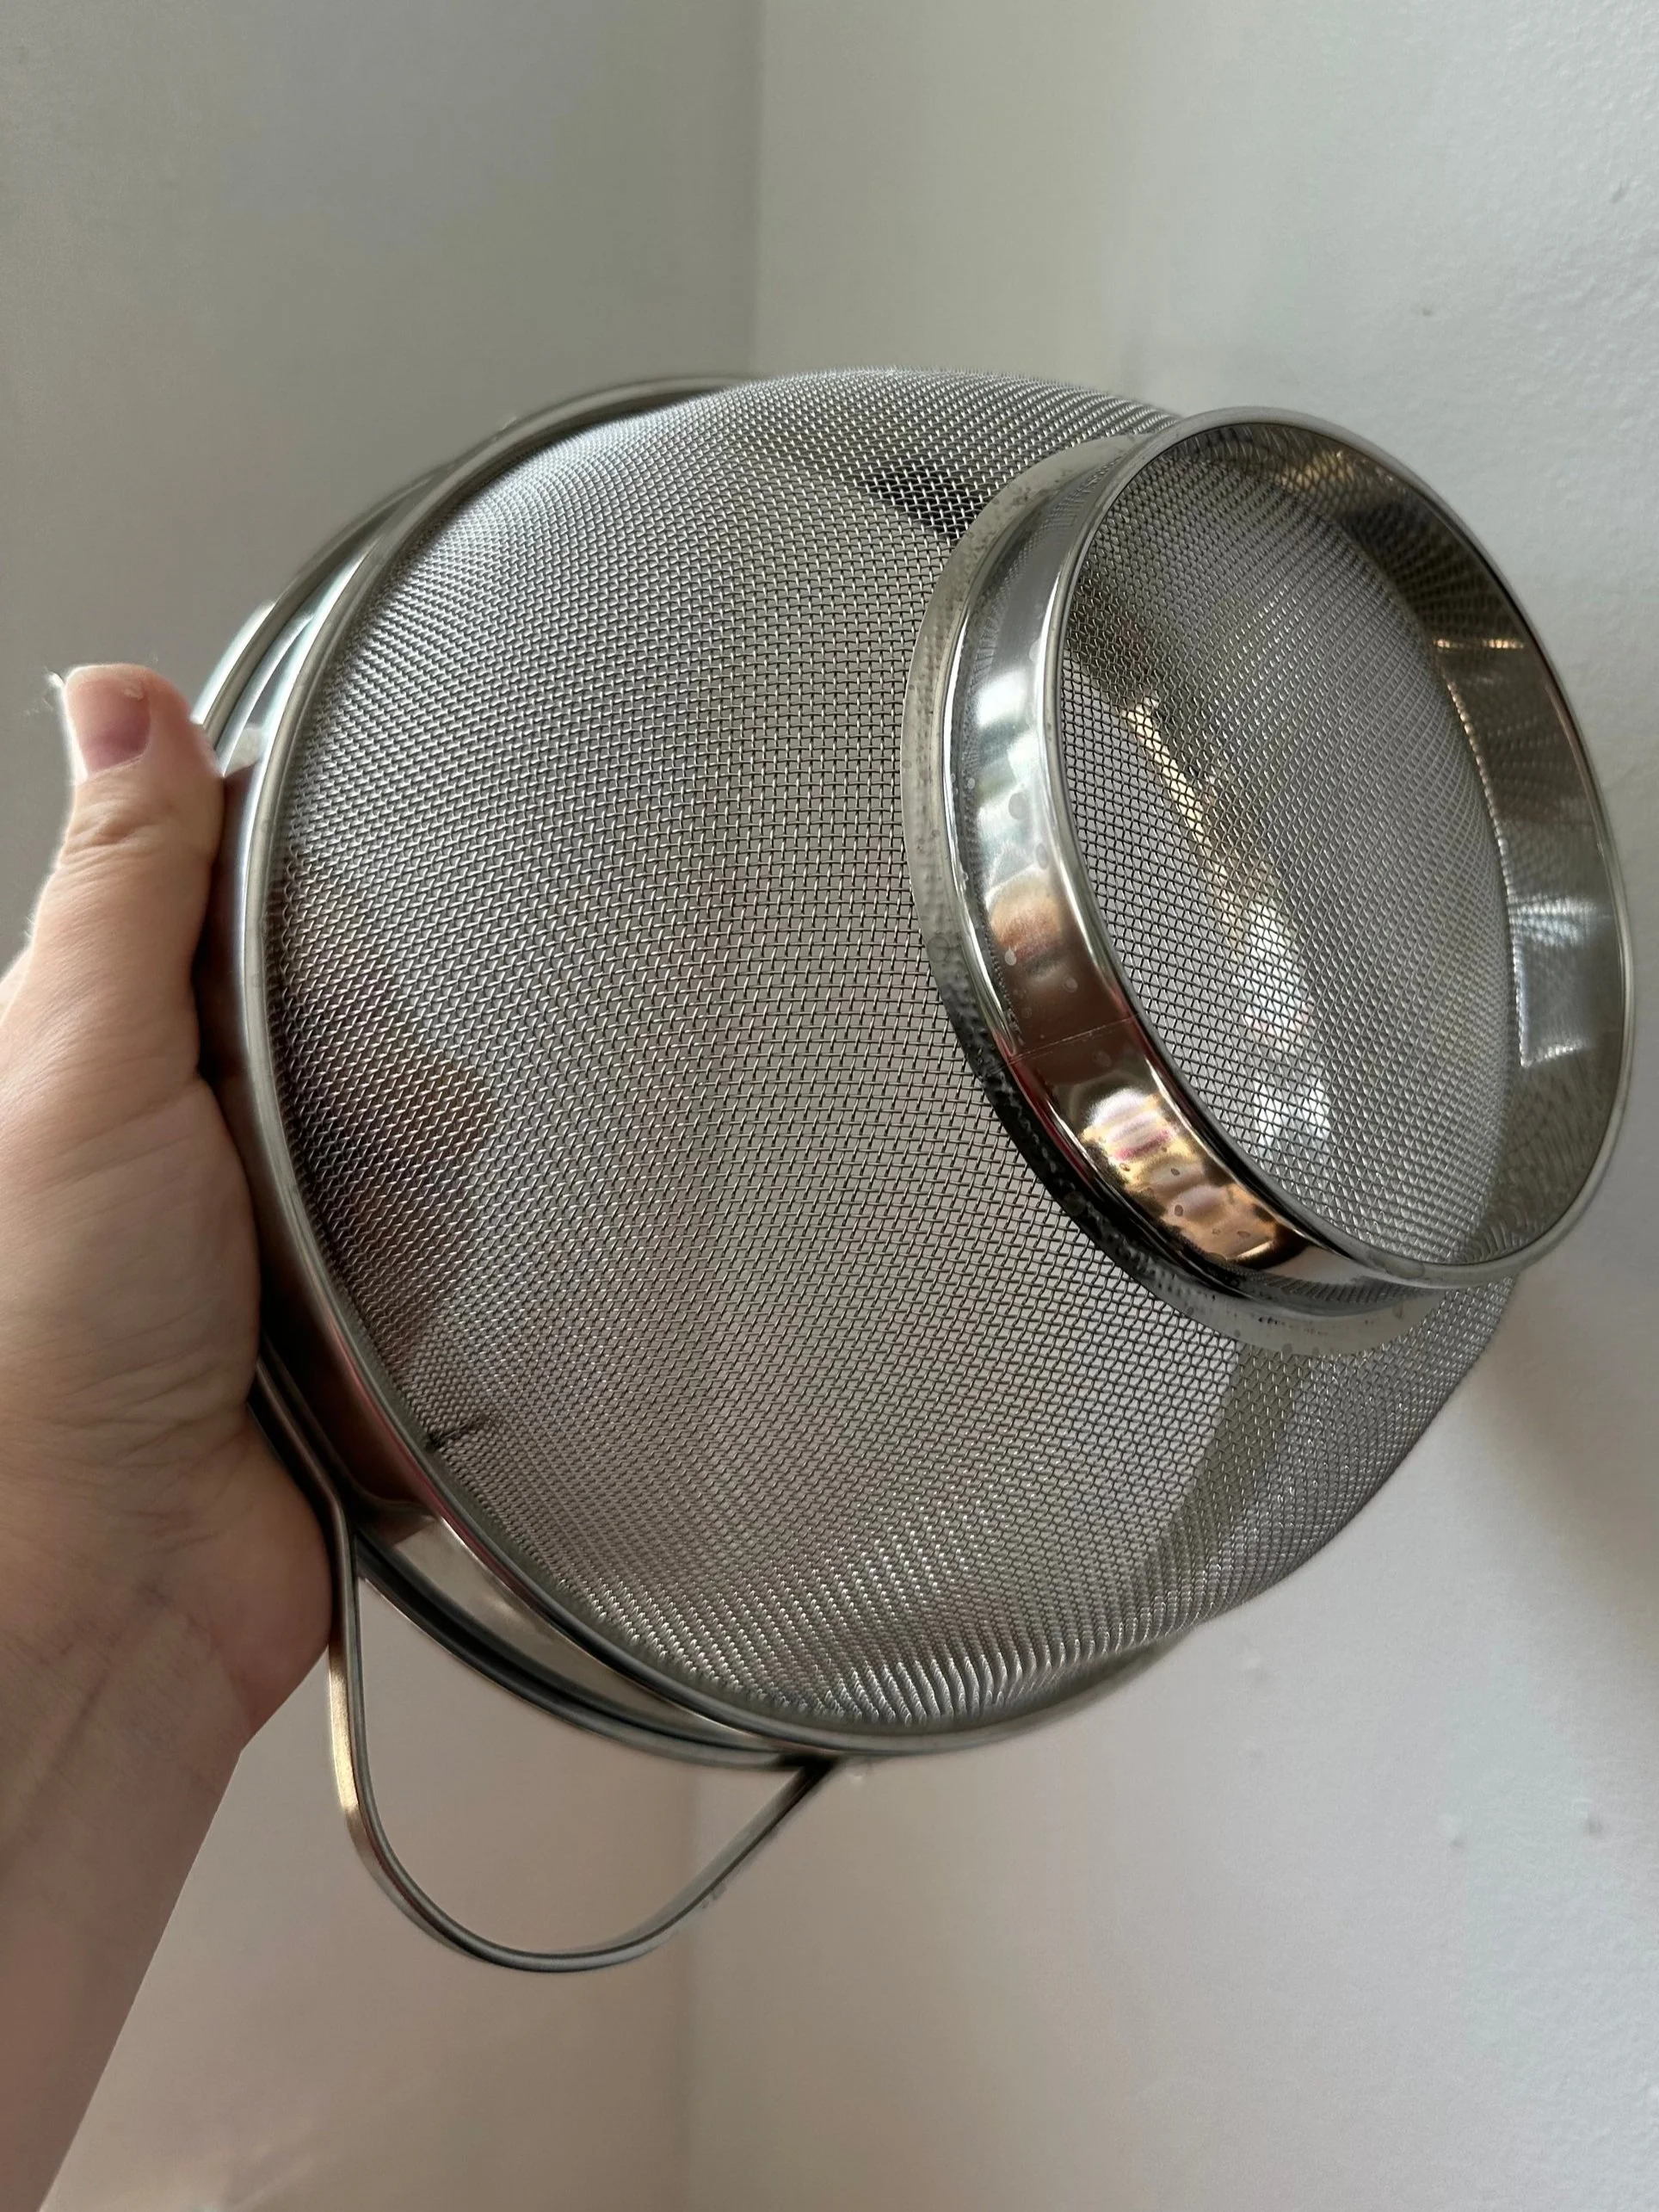
Strainer I use for rinsing and sterilizing semi-hydro! Got this one from Tkmax; good size, small holes, and metal.
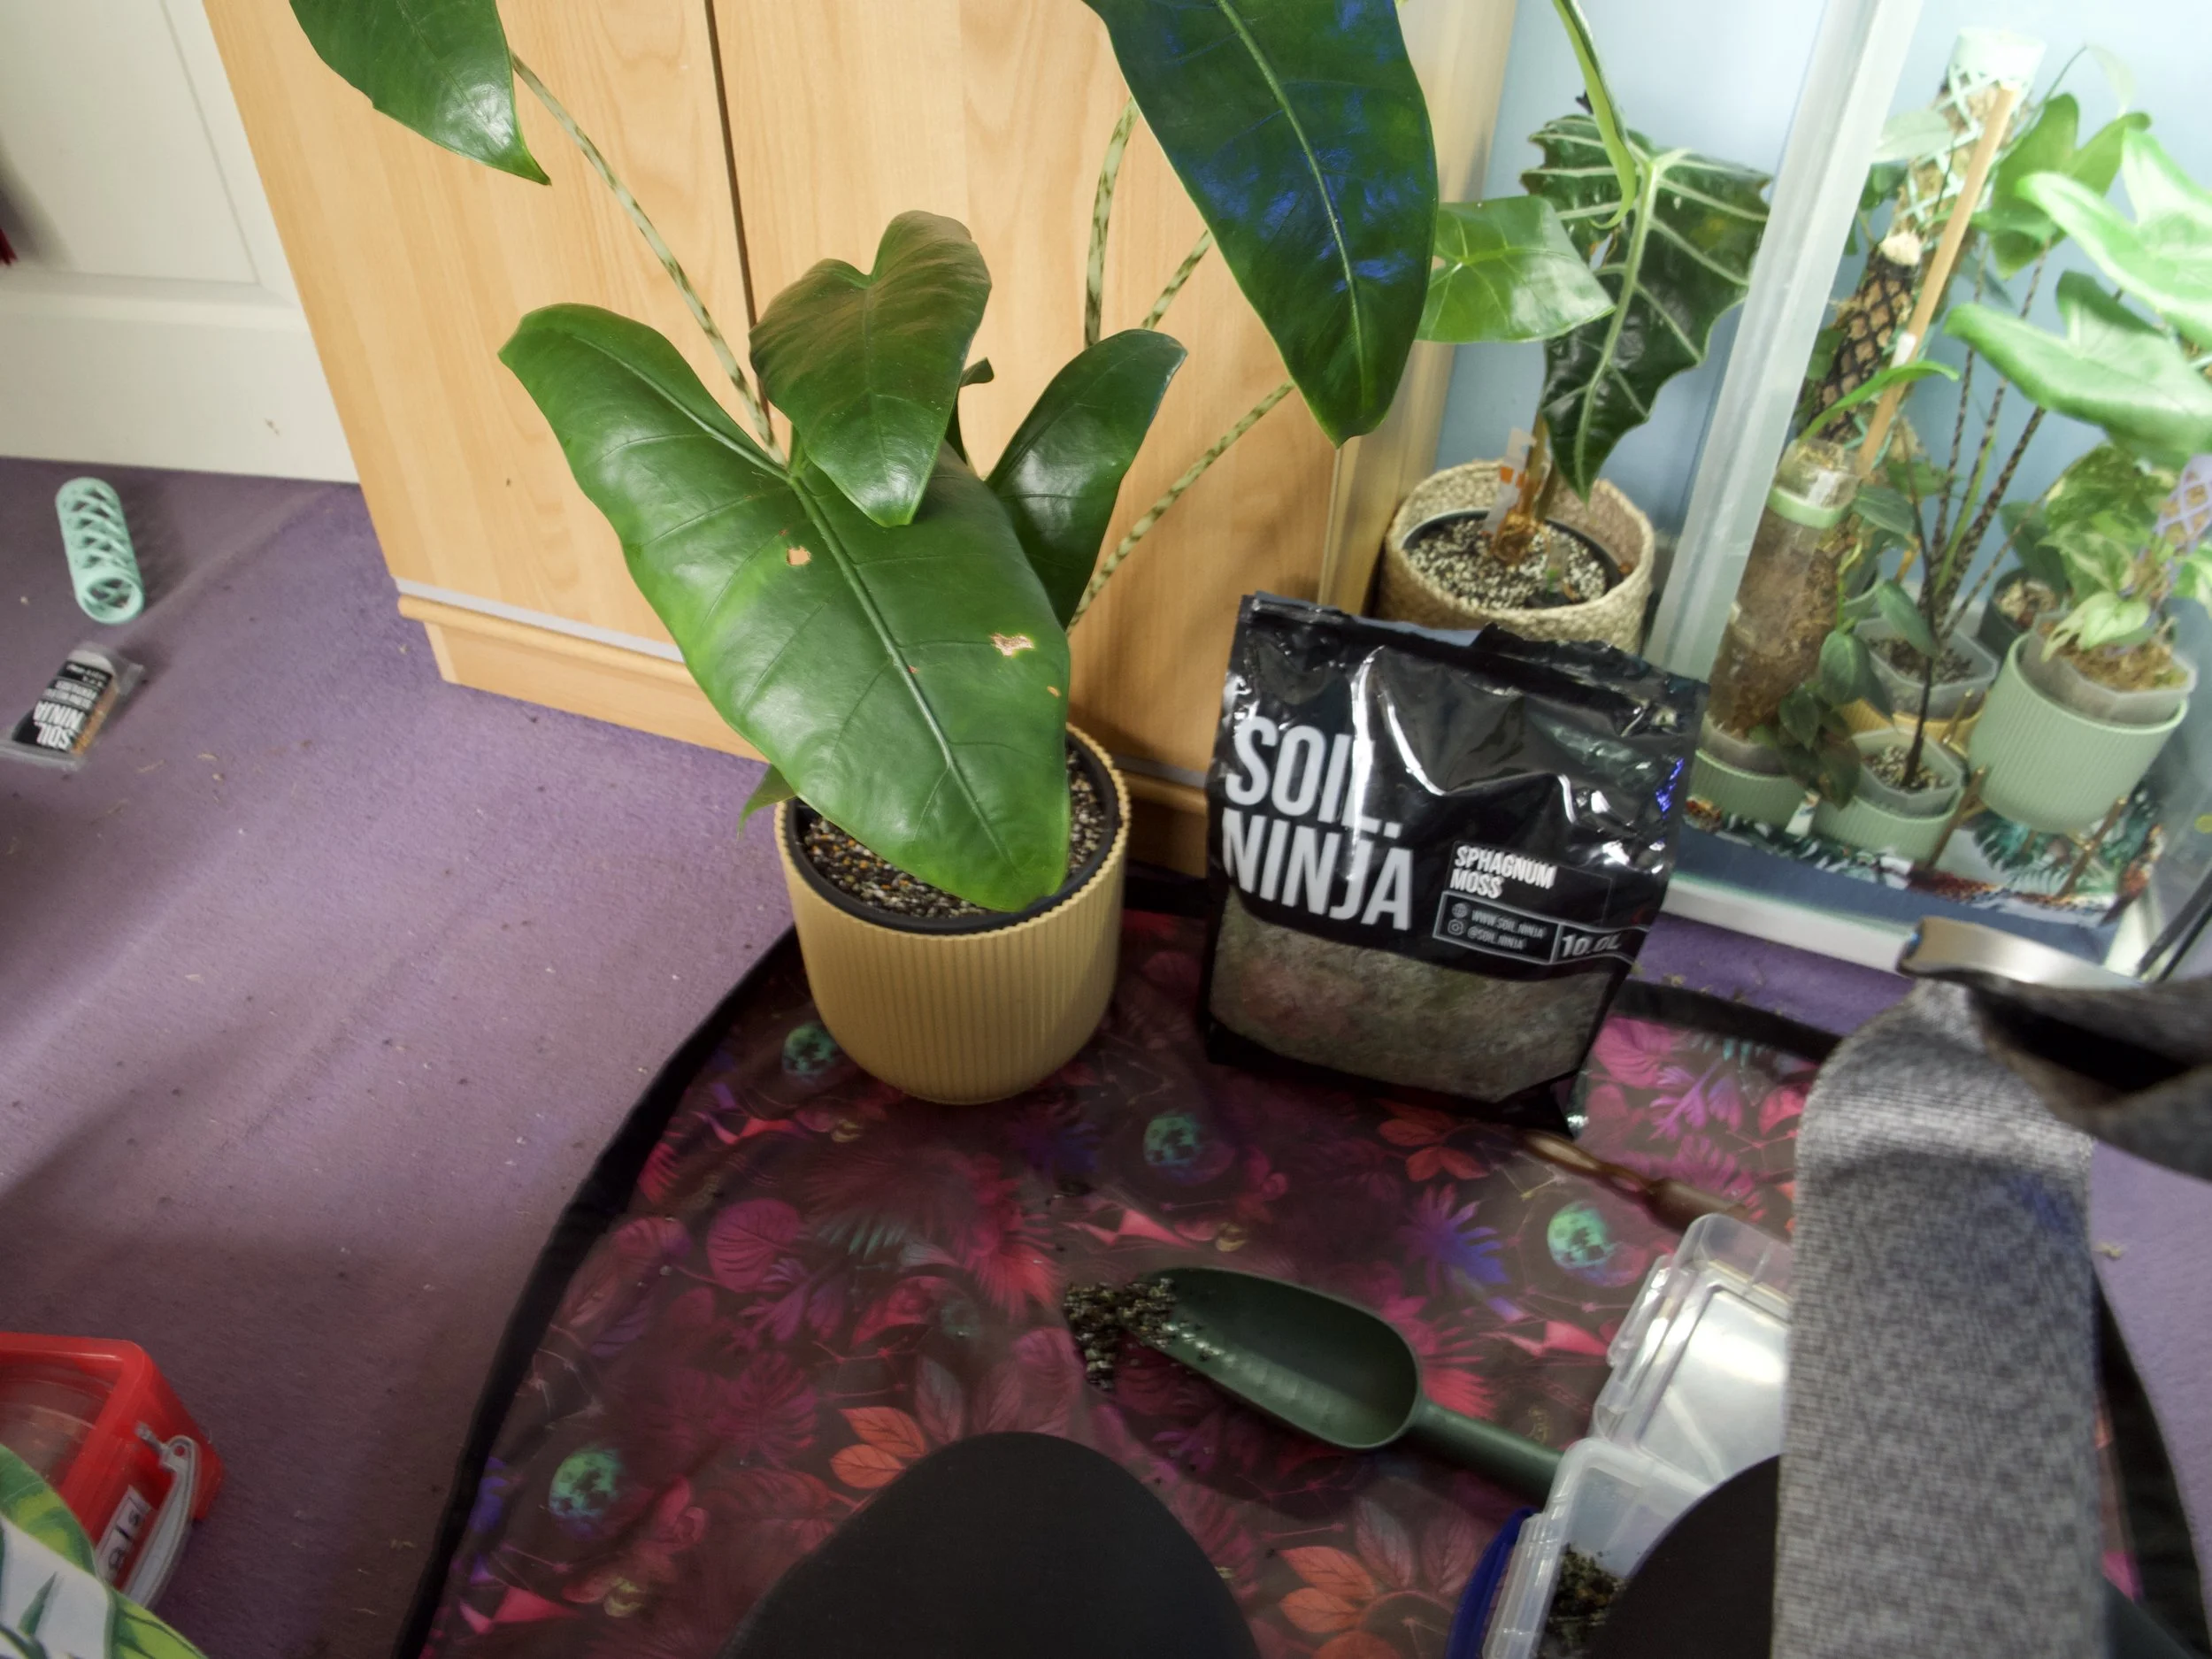
Step One: Gather Your Tools
Here’s what I used for the switch to semi-hydro:
My plant (Alocasia Zebrina)
A potting mat
A scoop
A bag of Soil Ninja Semi-Hydro Mix
A kettle (for sterilising the mix)
A self-watering pot – I used the Elho Homes pot from Soil Ninja, but a standard aroid tower pot works too
A strainer
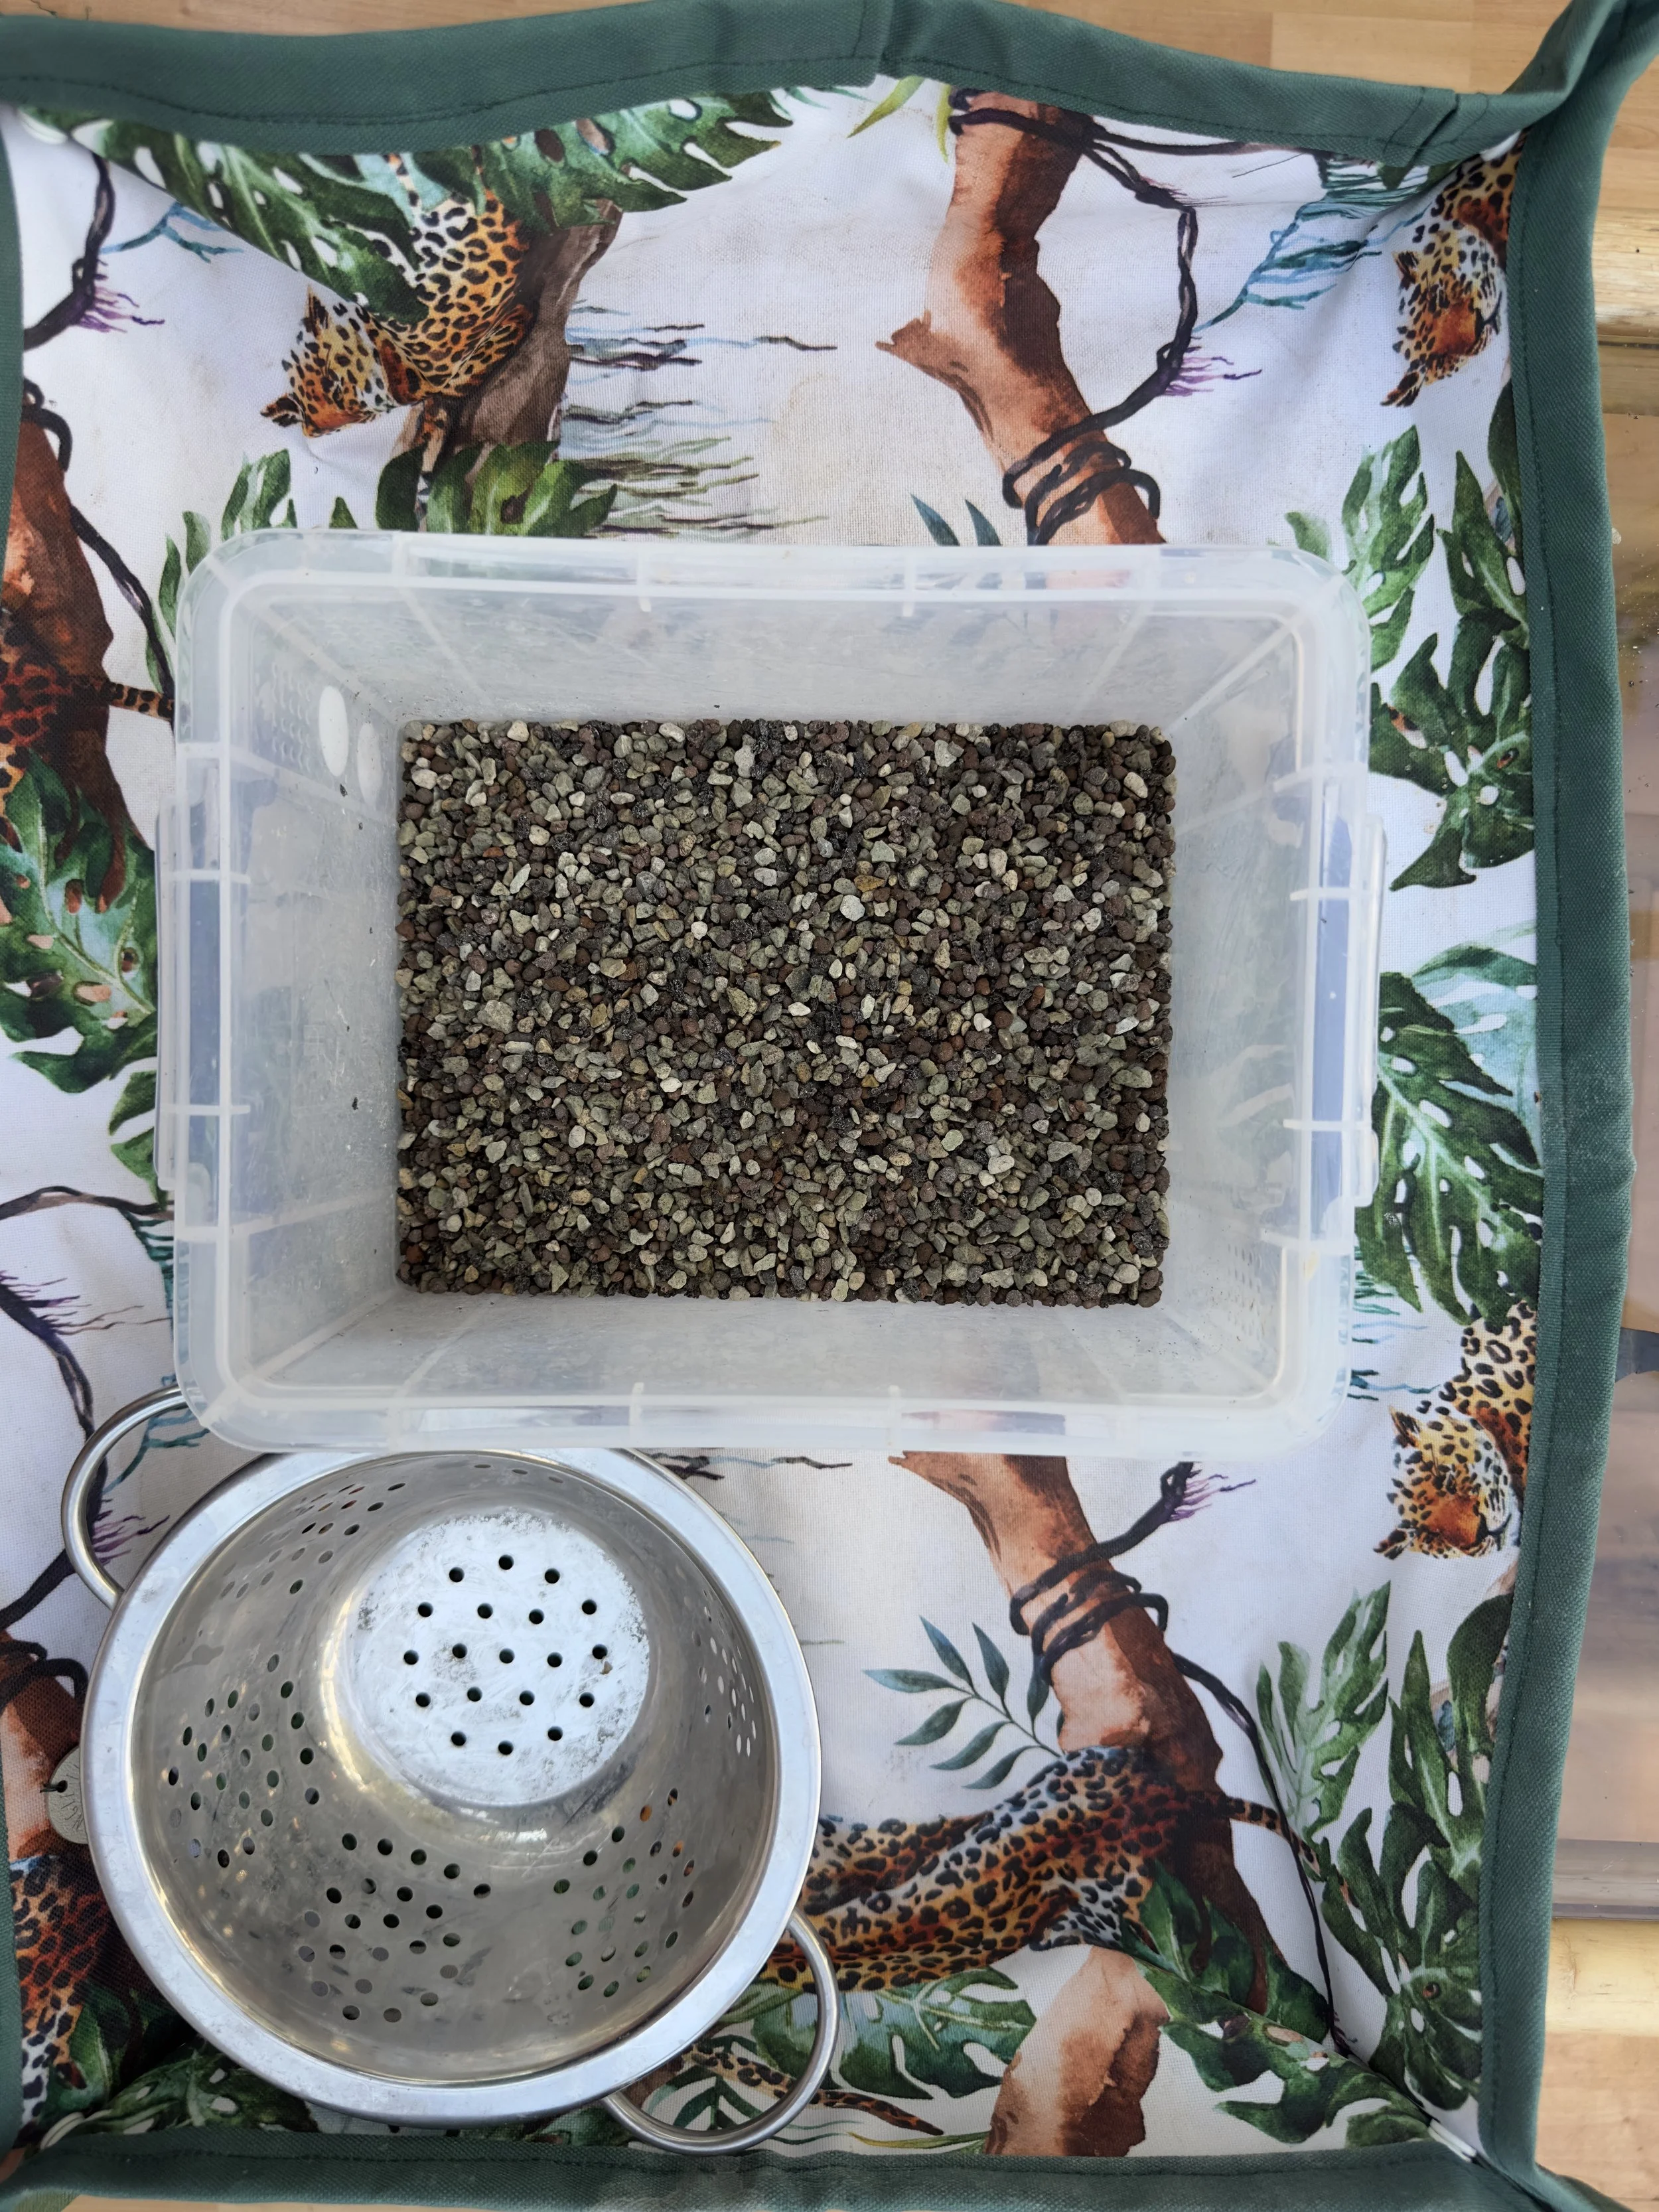
A bucket or tub for rinsing the mix
If you're upsizing your pot, make sure the new one isn’t too much bigger than the root ball—a jump that’s too big can lead to overwatering issues.
What I’ve learned:
I needed a strainer with smaller holes for the fine mix. I even made my own at one point, but it didn’t catch all the fine particles. Eventually, I found a great strainer at TK Maxx with tiny holes. Some grains still slipped through, but most of the semi-hydro stayed put. Keep an eye out for kitchen gadgets—they can come in really handy!
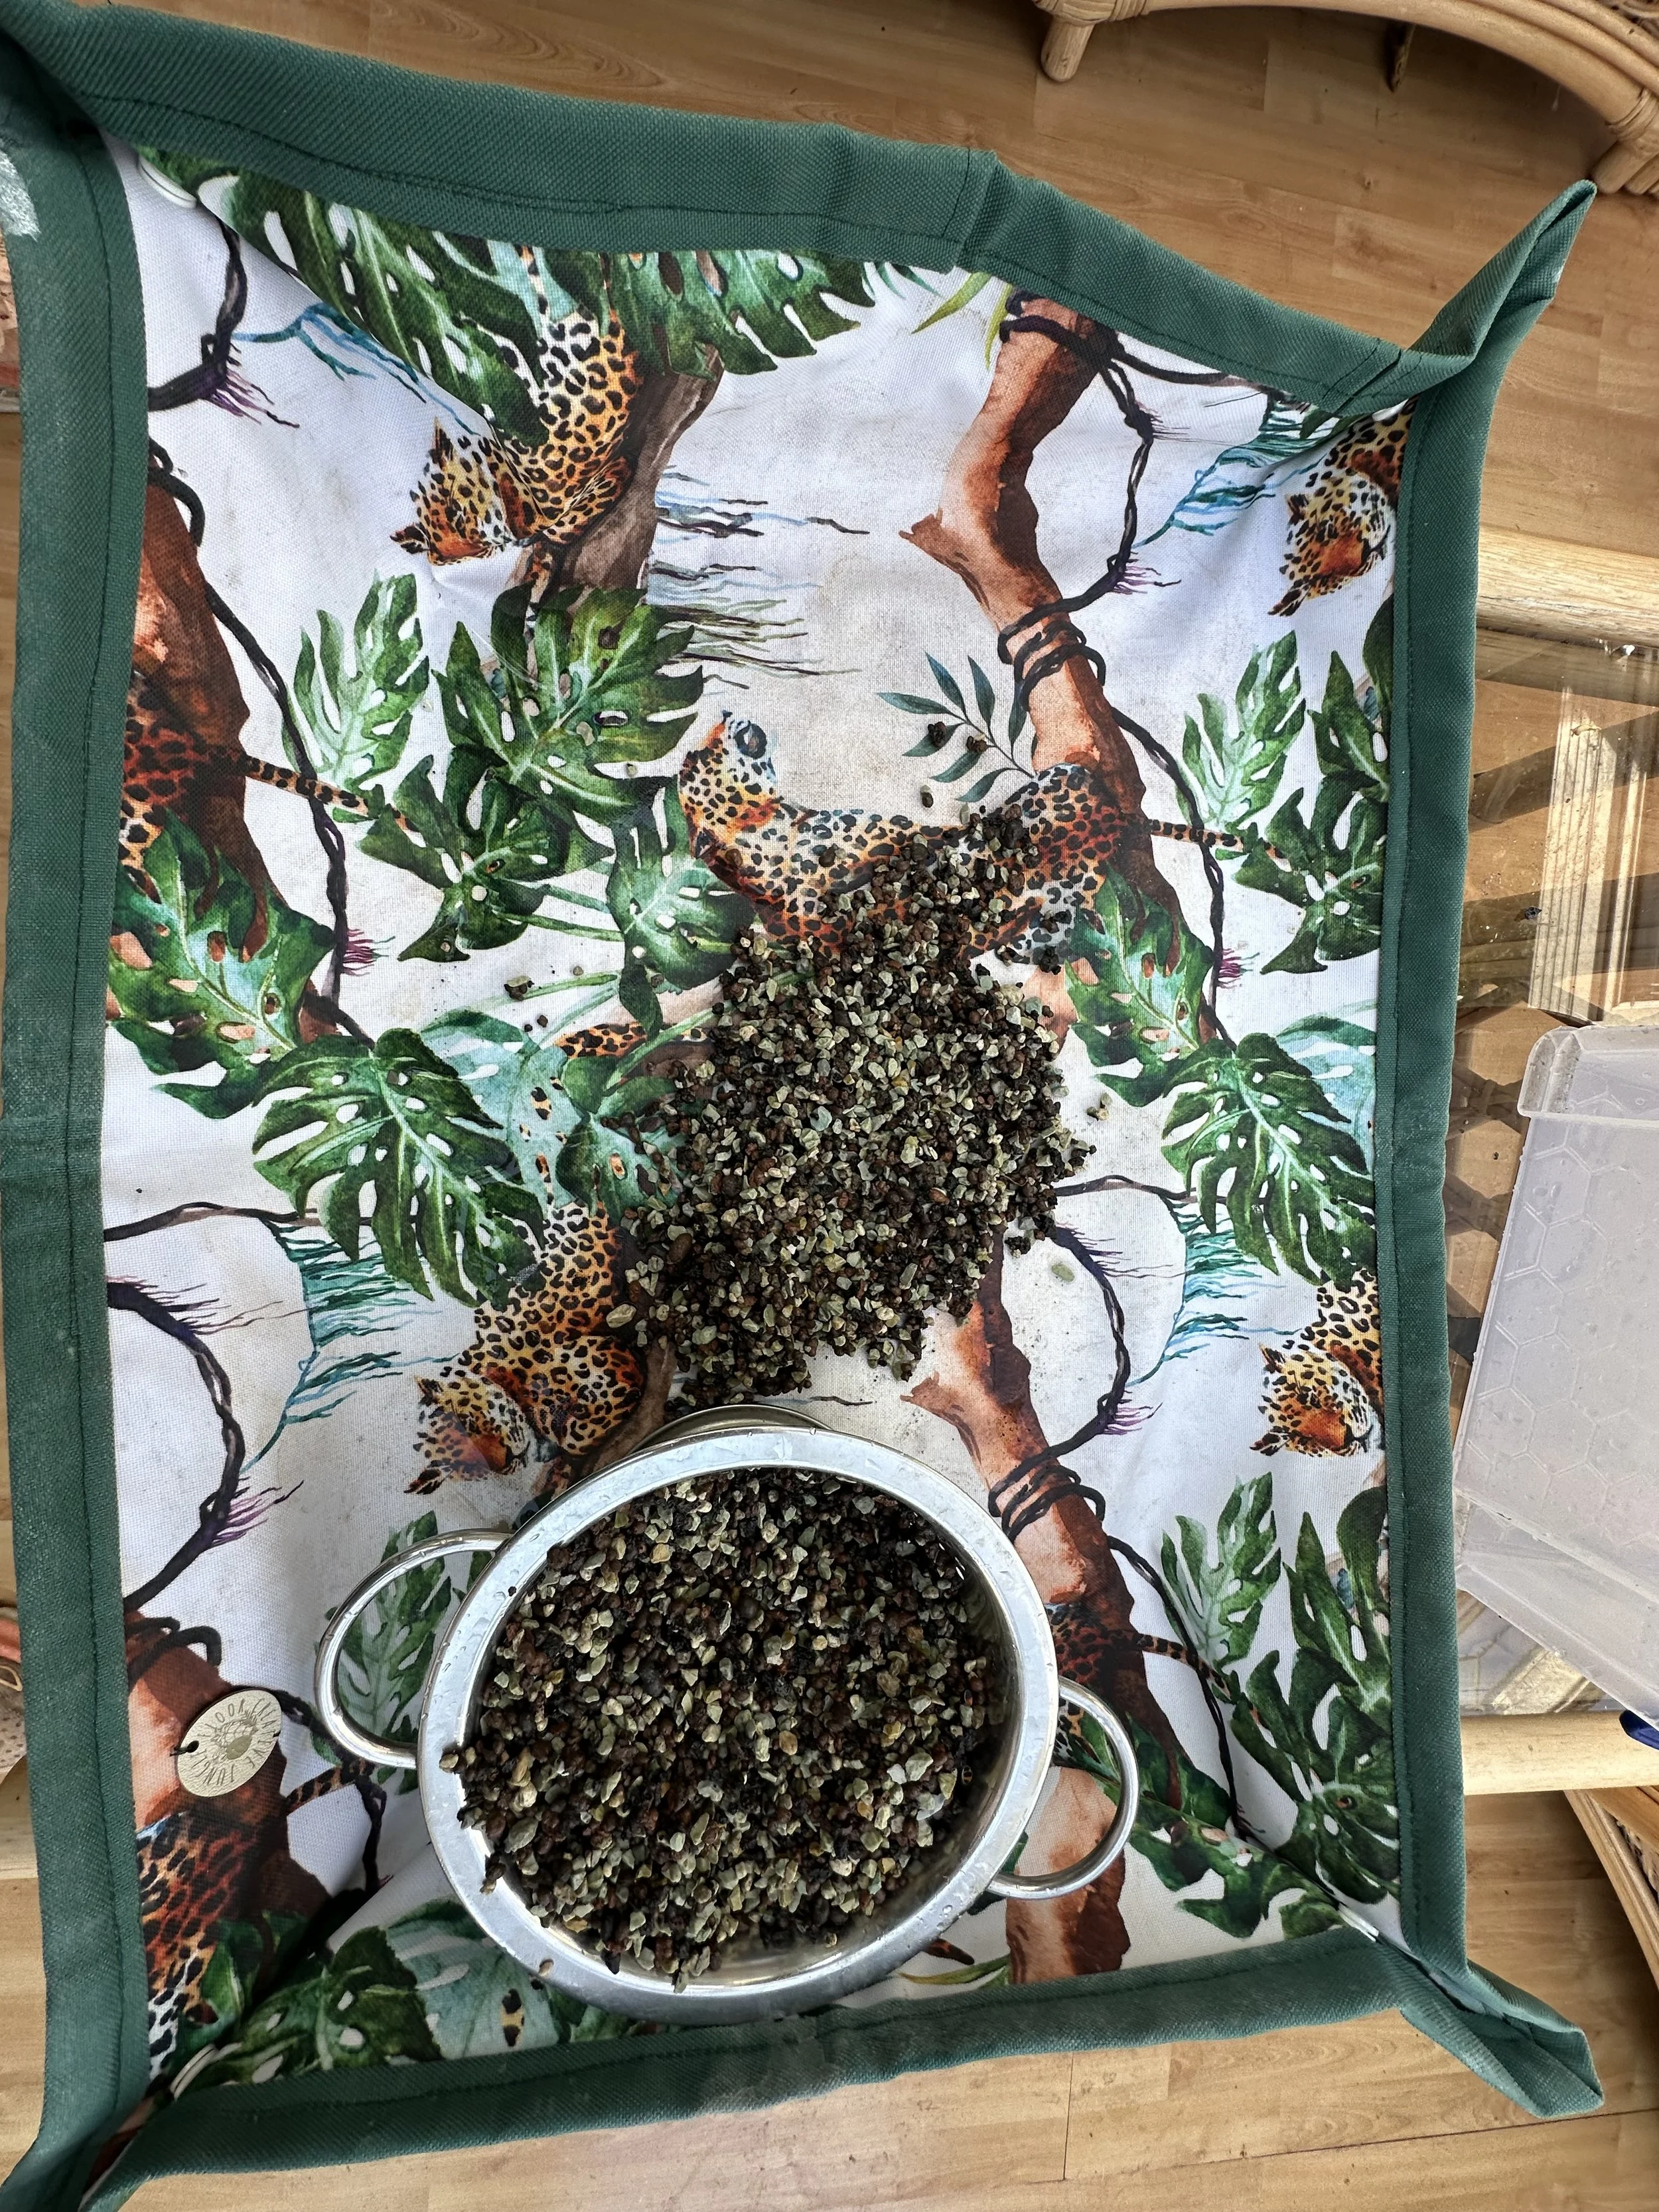
Step Two: Rinse & Sterilise Your Semi-Hydro Mix
I started by rinsing and sterilising the mix. While sterilising isn’t always essential, I like to be cautious—especially when I’m working with a new mix or repotting a sensitive plant.
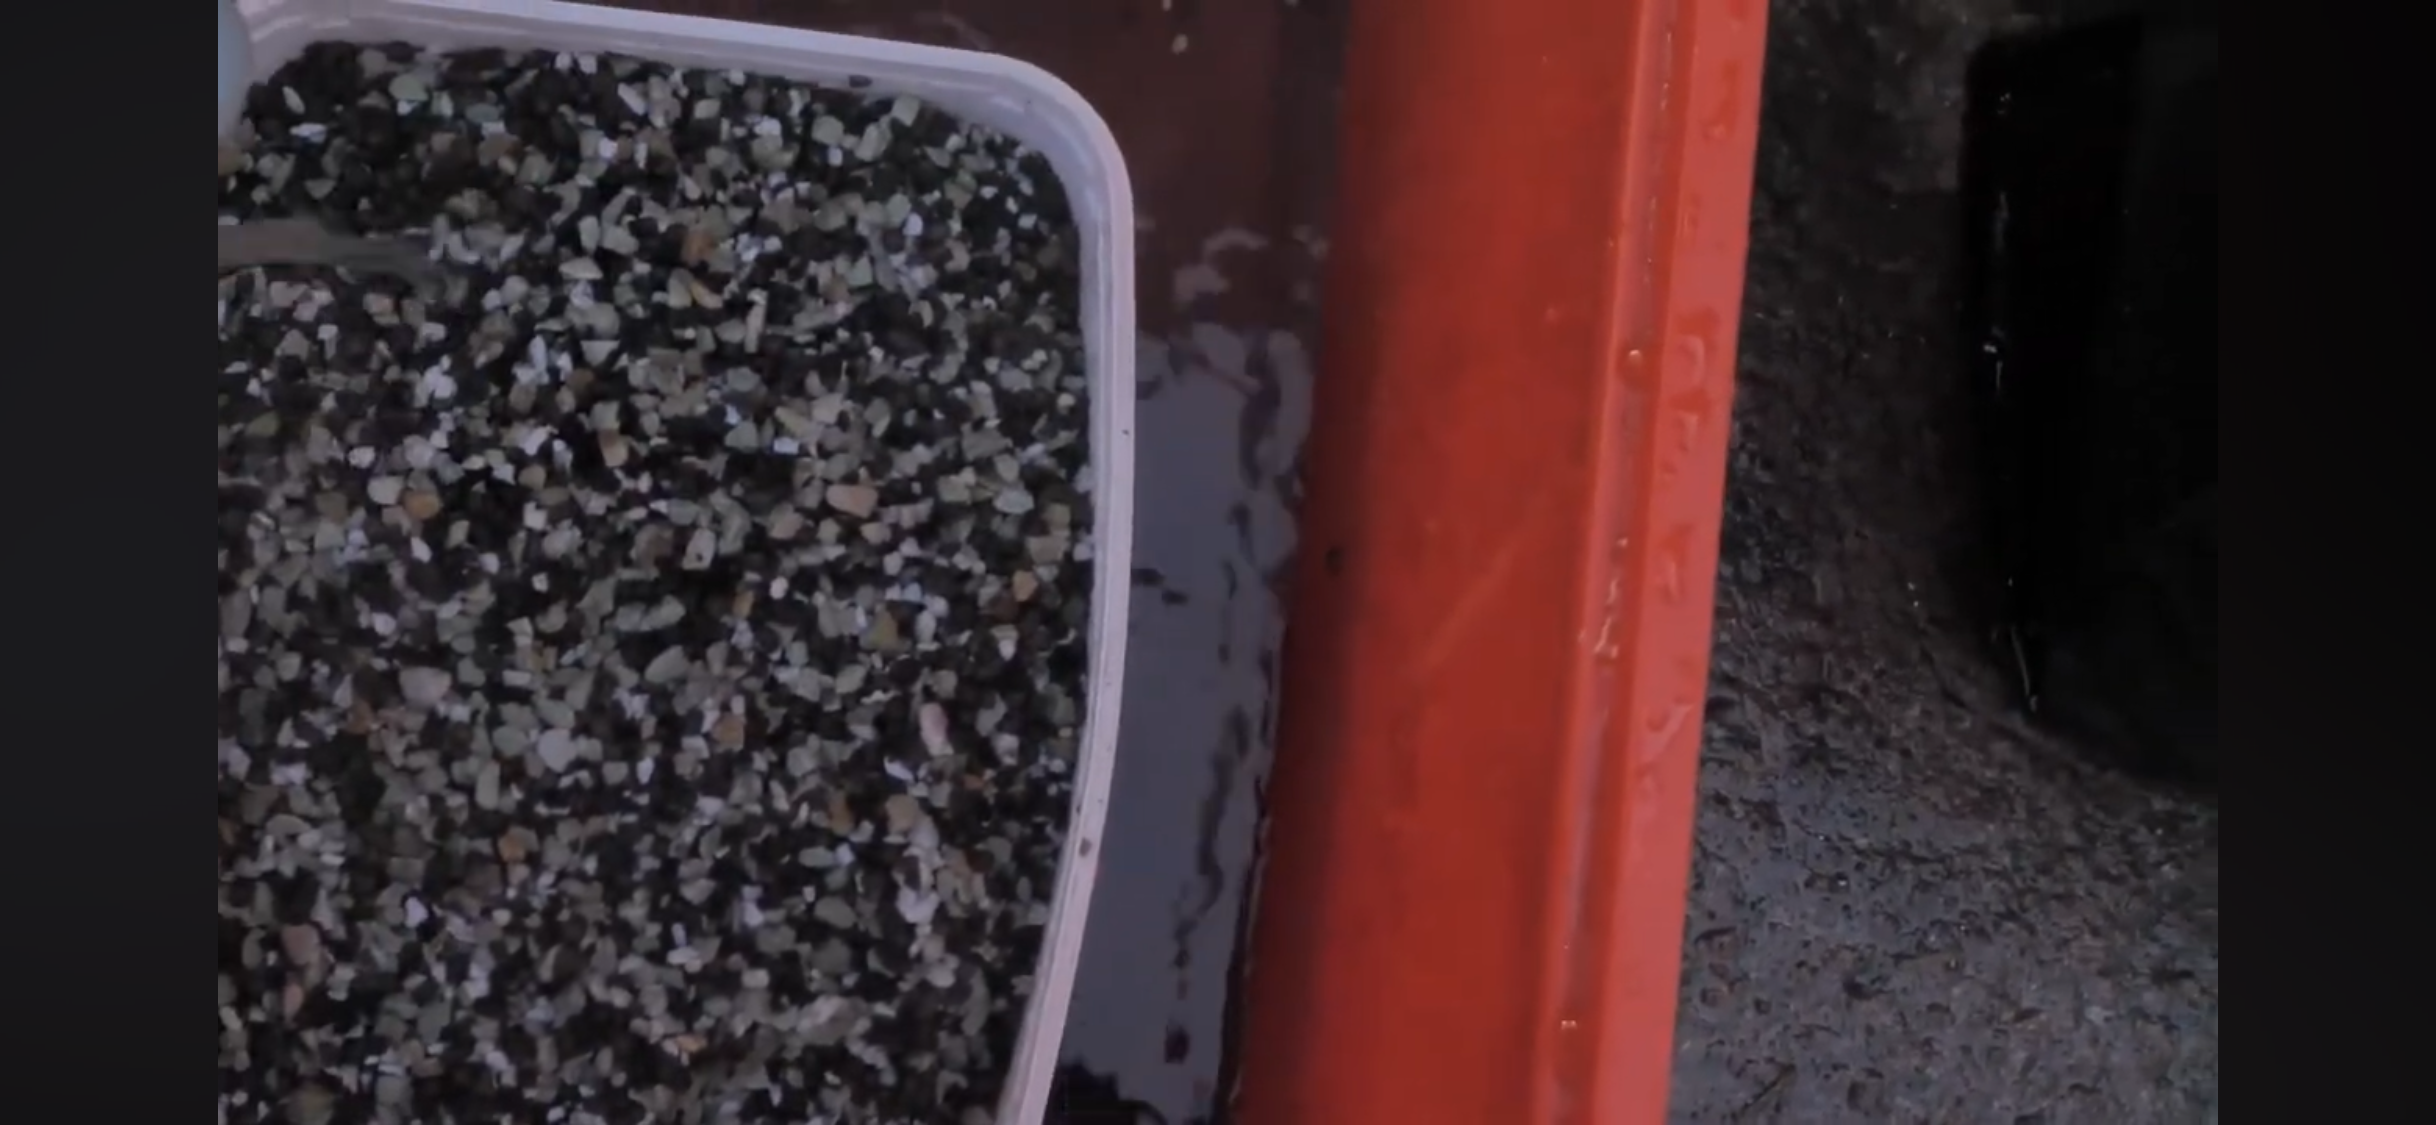
To do this, I pour hot (not boiling) water over the mix in a strainer—or sometimes through a holey ice cream tub if I’m improvising!
What I’ve learned:
You don’t need to sterilise every time—especially if you’re reusing clean mix.
It depends on your supplier; some brands pre-wash and package their mix ready to use.
Rinsing removes fine dust or particles that could clog up the mix and reduce airflow.
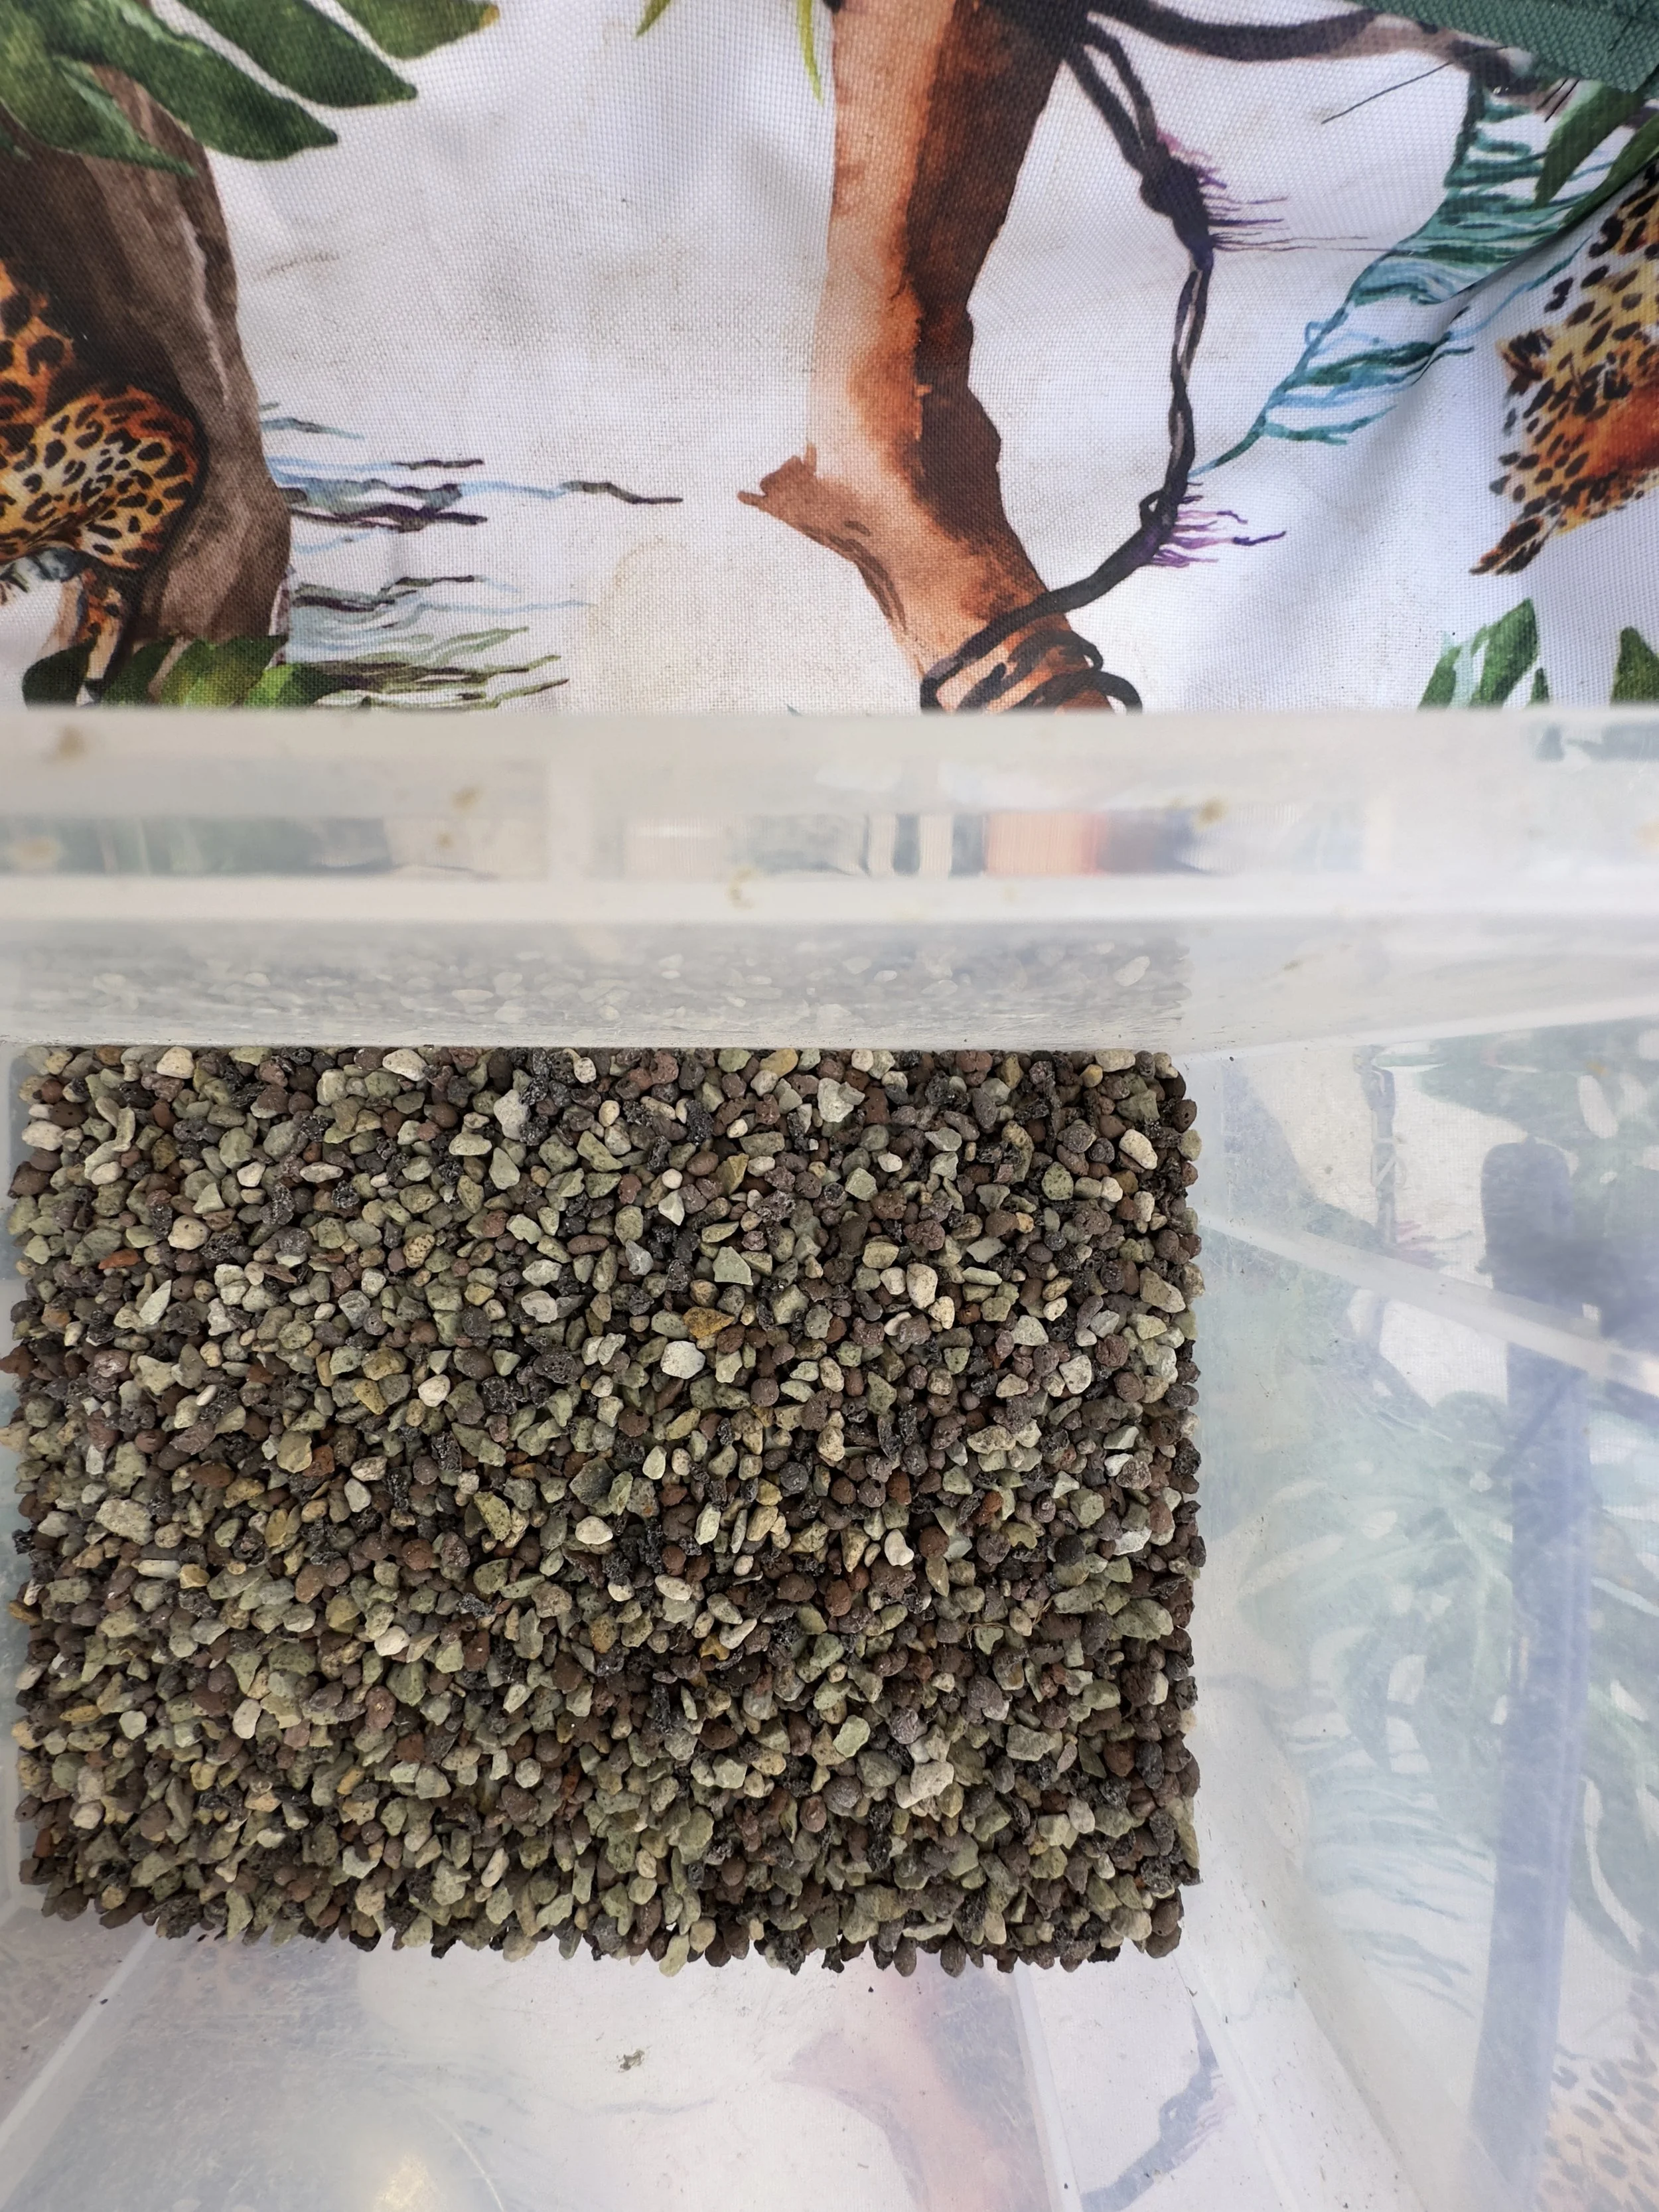
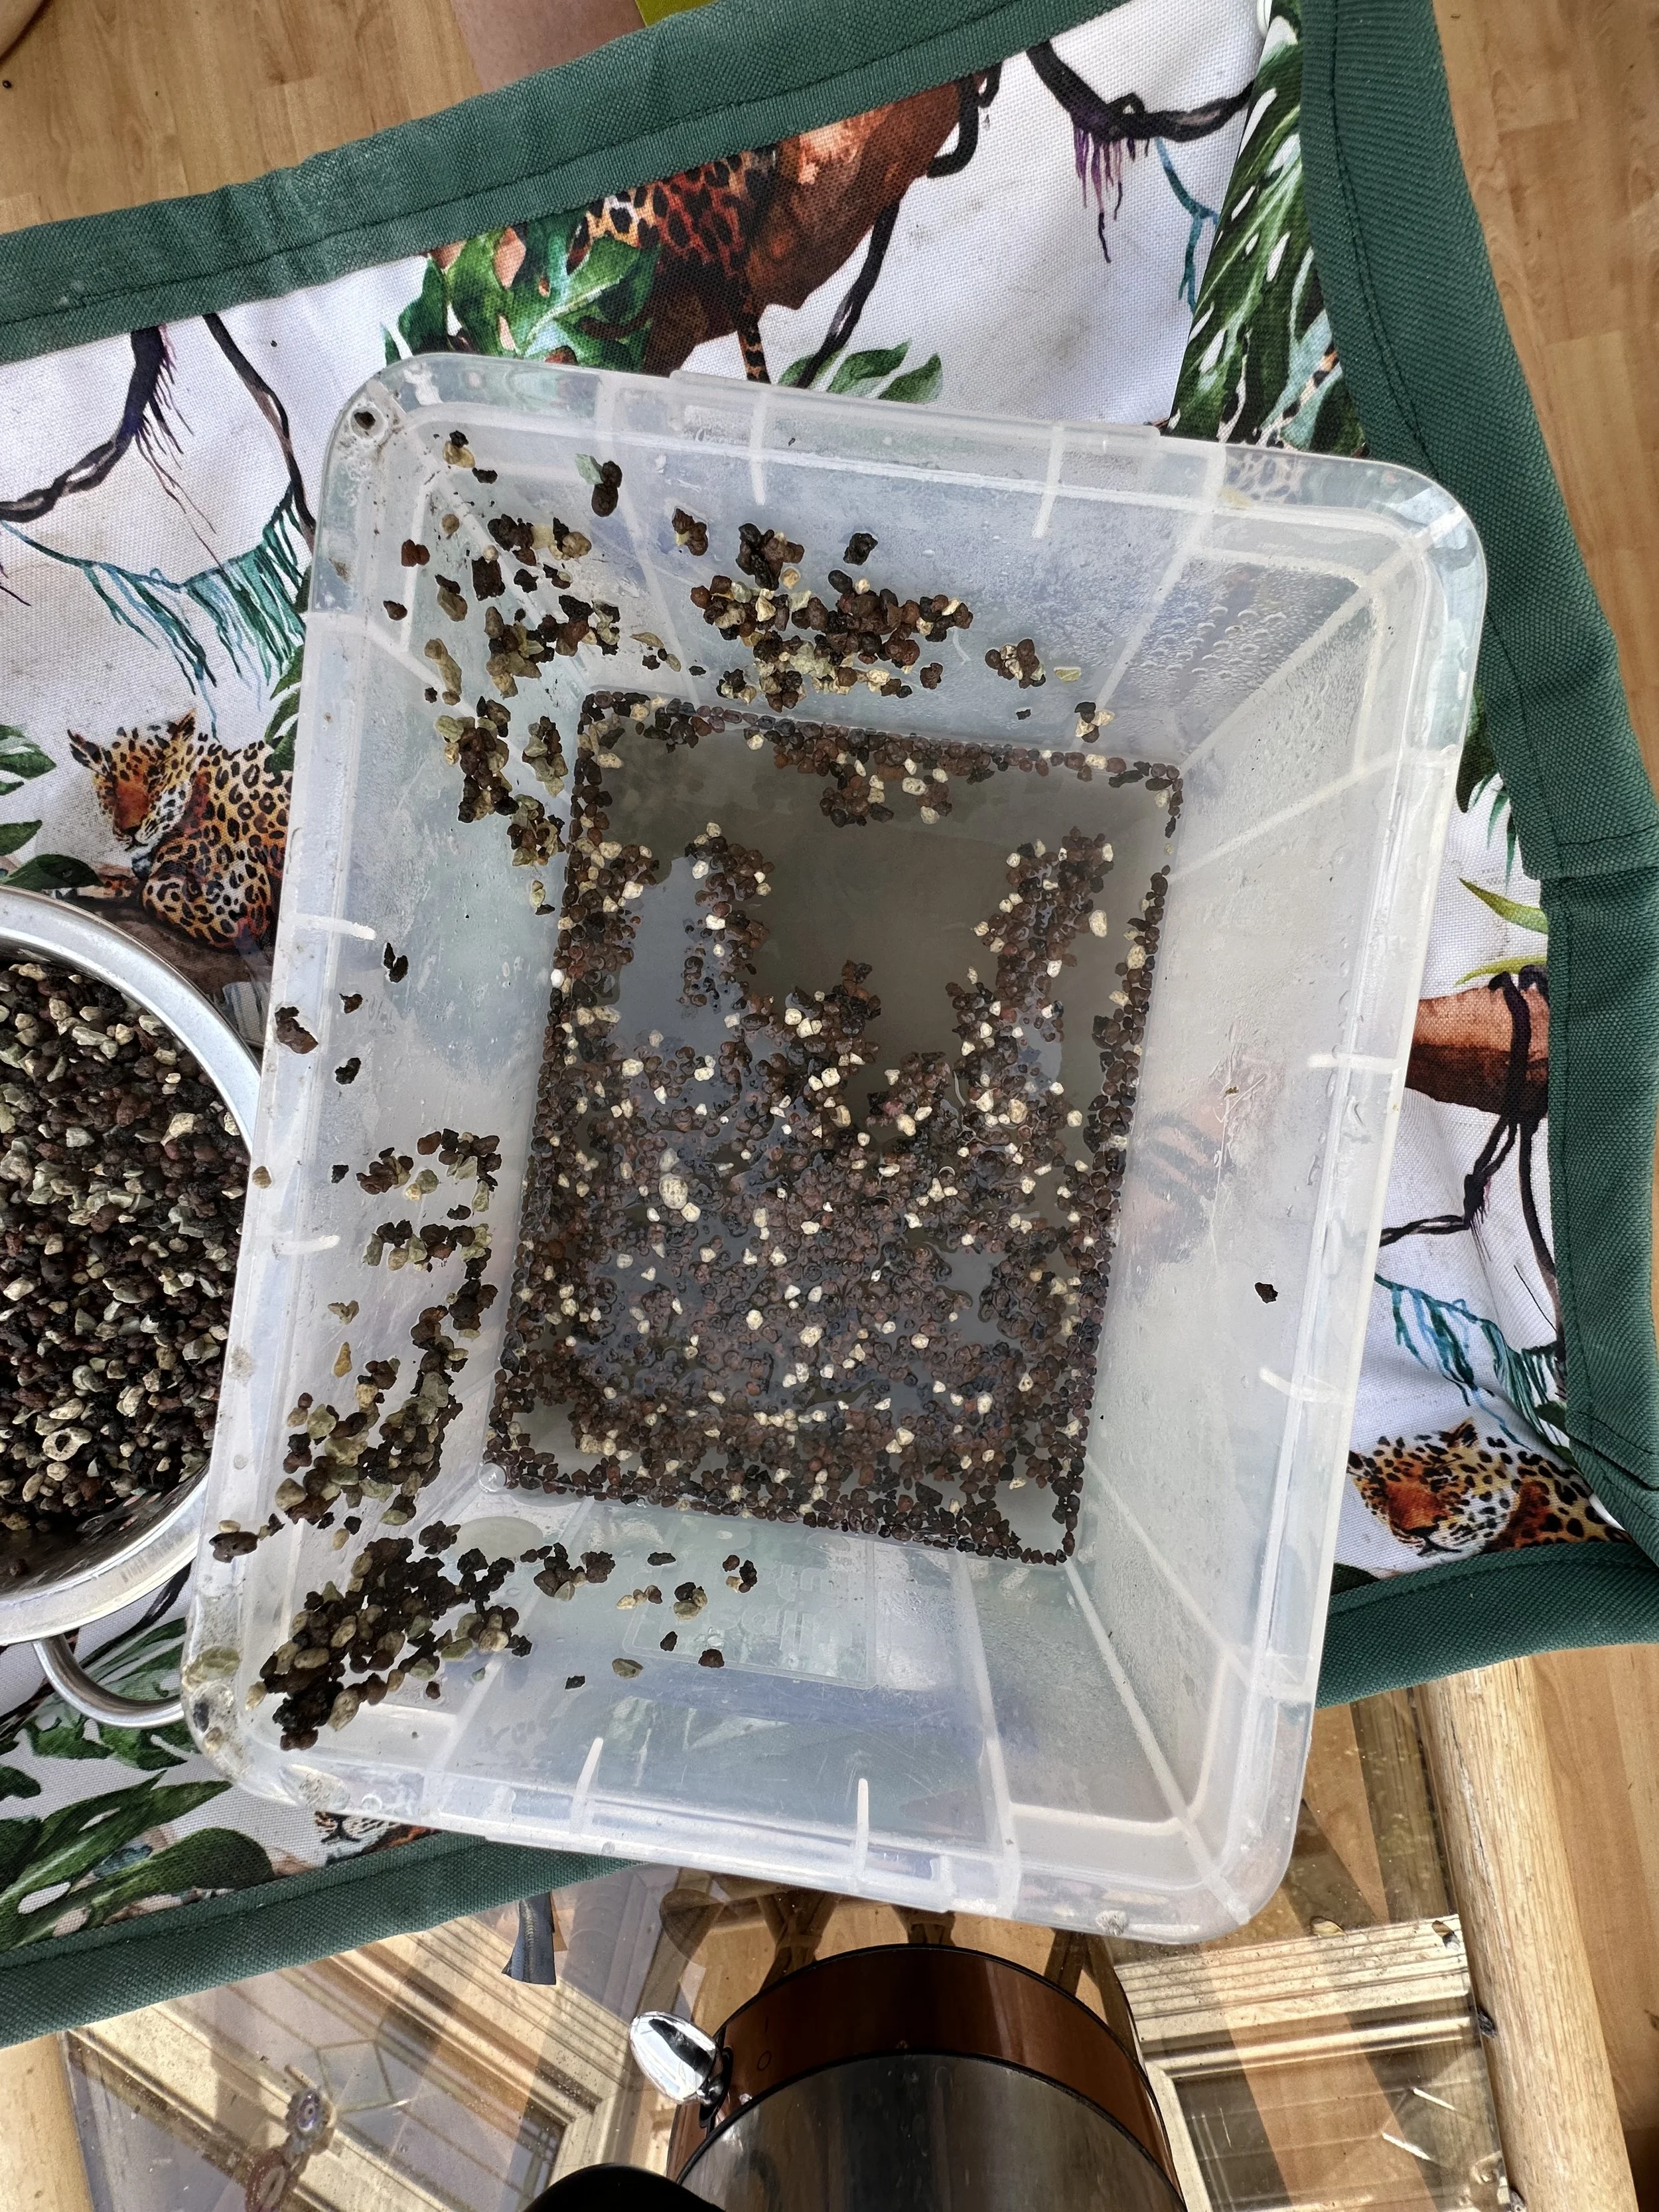
Step Three: Rinse Until Clear
Rinse the mix until the water runs mostly clear. I usually rinse three times just to be safe, but with Soil Ninja’s mix, two rinses are often enough.
What I’ve learned:
Soil Ninja’s semi-hydro mix takes less rinsing than something like Lechuza Pon. I think it’s because they don’t include perlite, which tends to release more dust.
Step Four: Set Up Your Potting Mat
Lay out your potting mat before you start working. Trust me, it makes a big difference—especially with finer substrates that love to bounce and roll off your table.
And no, it doesn’t have to be one of my potting mats. It could be a tray, a piece of oilcloth, or even an old tea towel in a pinch. But the flat surface really helps if you’re planning to reuse the mix later, since it stops things from getting trapped in corners or folds.

What I’ve learned:
You don’t have to sterilise every time, especially if you're reusing clean mix.
It depends on the supplier—some arrive pre-washed and ready to go.
Rinsing helps remove dust or fine particles that could block the porous structure of the mix.
Step Three: Rinse Until Clear
Rinse the semi-hydro mix until the water runs nearly clear. I usually do this three times just to be thorough, though with Soil Ninja’s mix, twice is usually enough.
what I’ve learned:
Semi hydro by soil.ninja takes less rinses than lechuza pon I think this is due to them using perlite. Which Soil.Ninja’s Semi hydro doesn’t.
Step Four: Set Up Your Potting Mat
Lay out your Potting mat—it’ll catch any spills and make clean-up easier, especially with substrates like LECA or pon. A potting Mat doesn’t need to be one of my Potting mats it could be anything.

Before we dive into Step Five, I want to share something I discovered along the way: after trying a few different repotting setups, I found that using a flat potting mat worked best for me. Unlike trays or lids, the flat surface didn’t trap the semi-hydro mix, which made it easier to clean up and reuse. Transferring the mix into a smaller container was far less messy this way—especially when you're working with finer substrates that like to scatter everywhere!
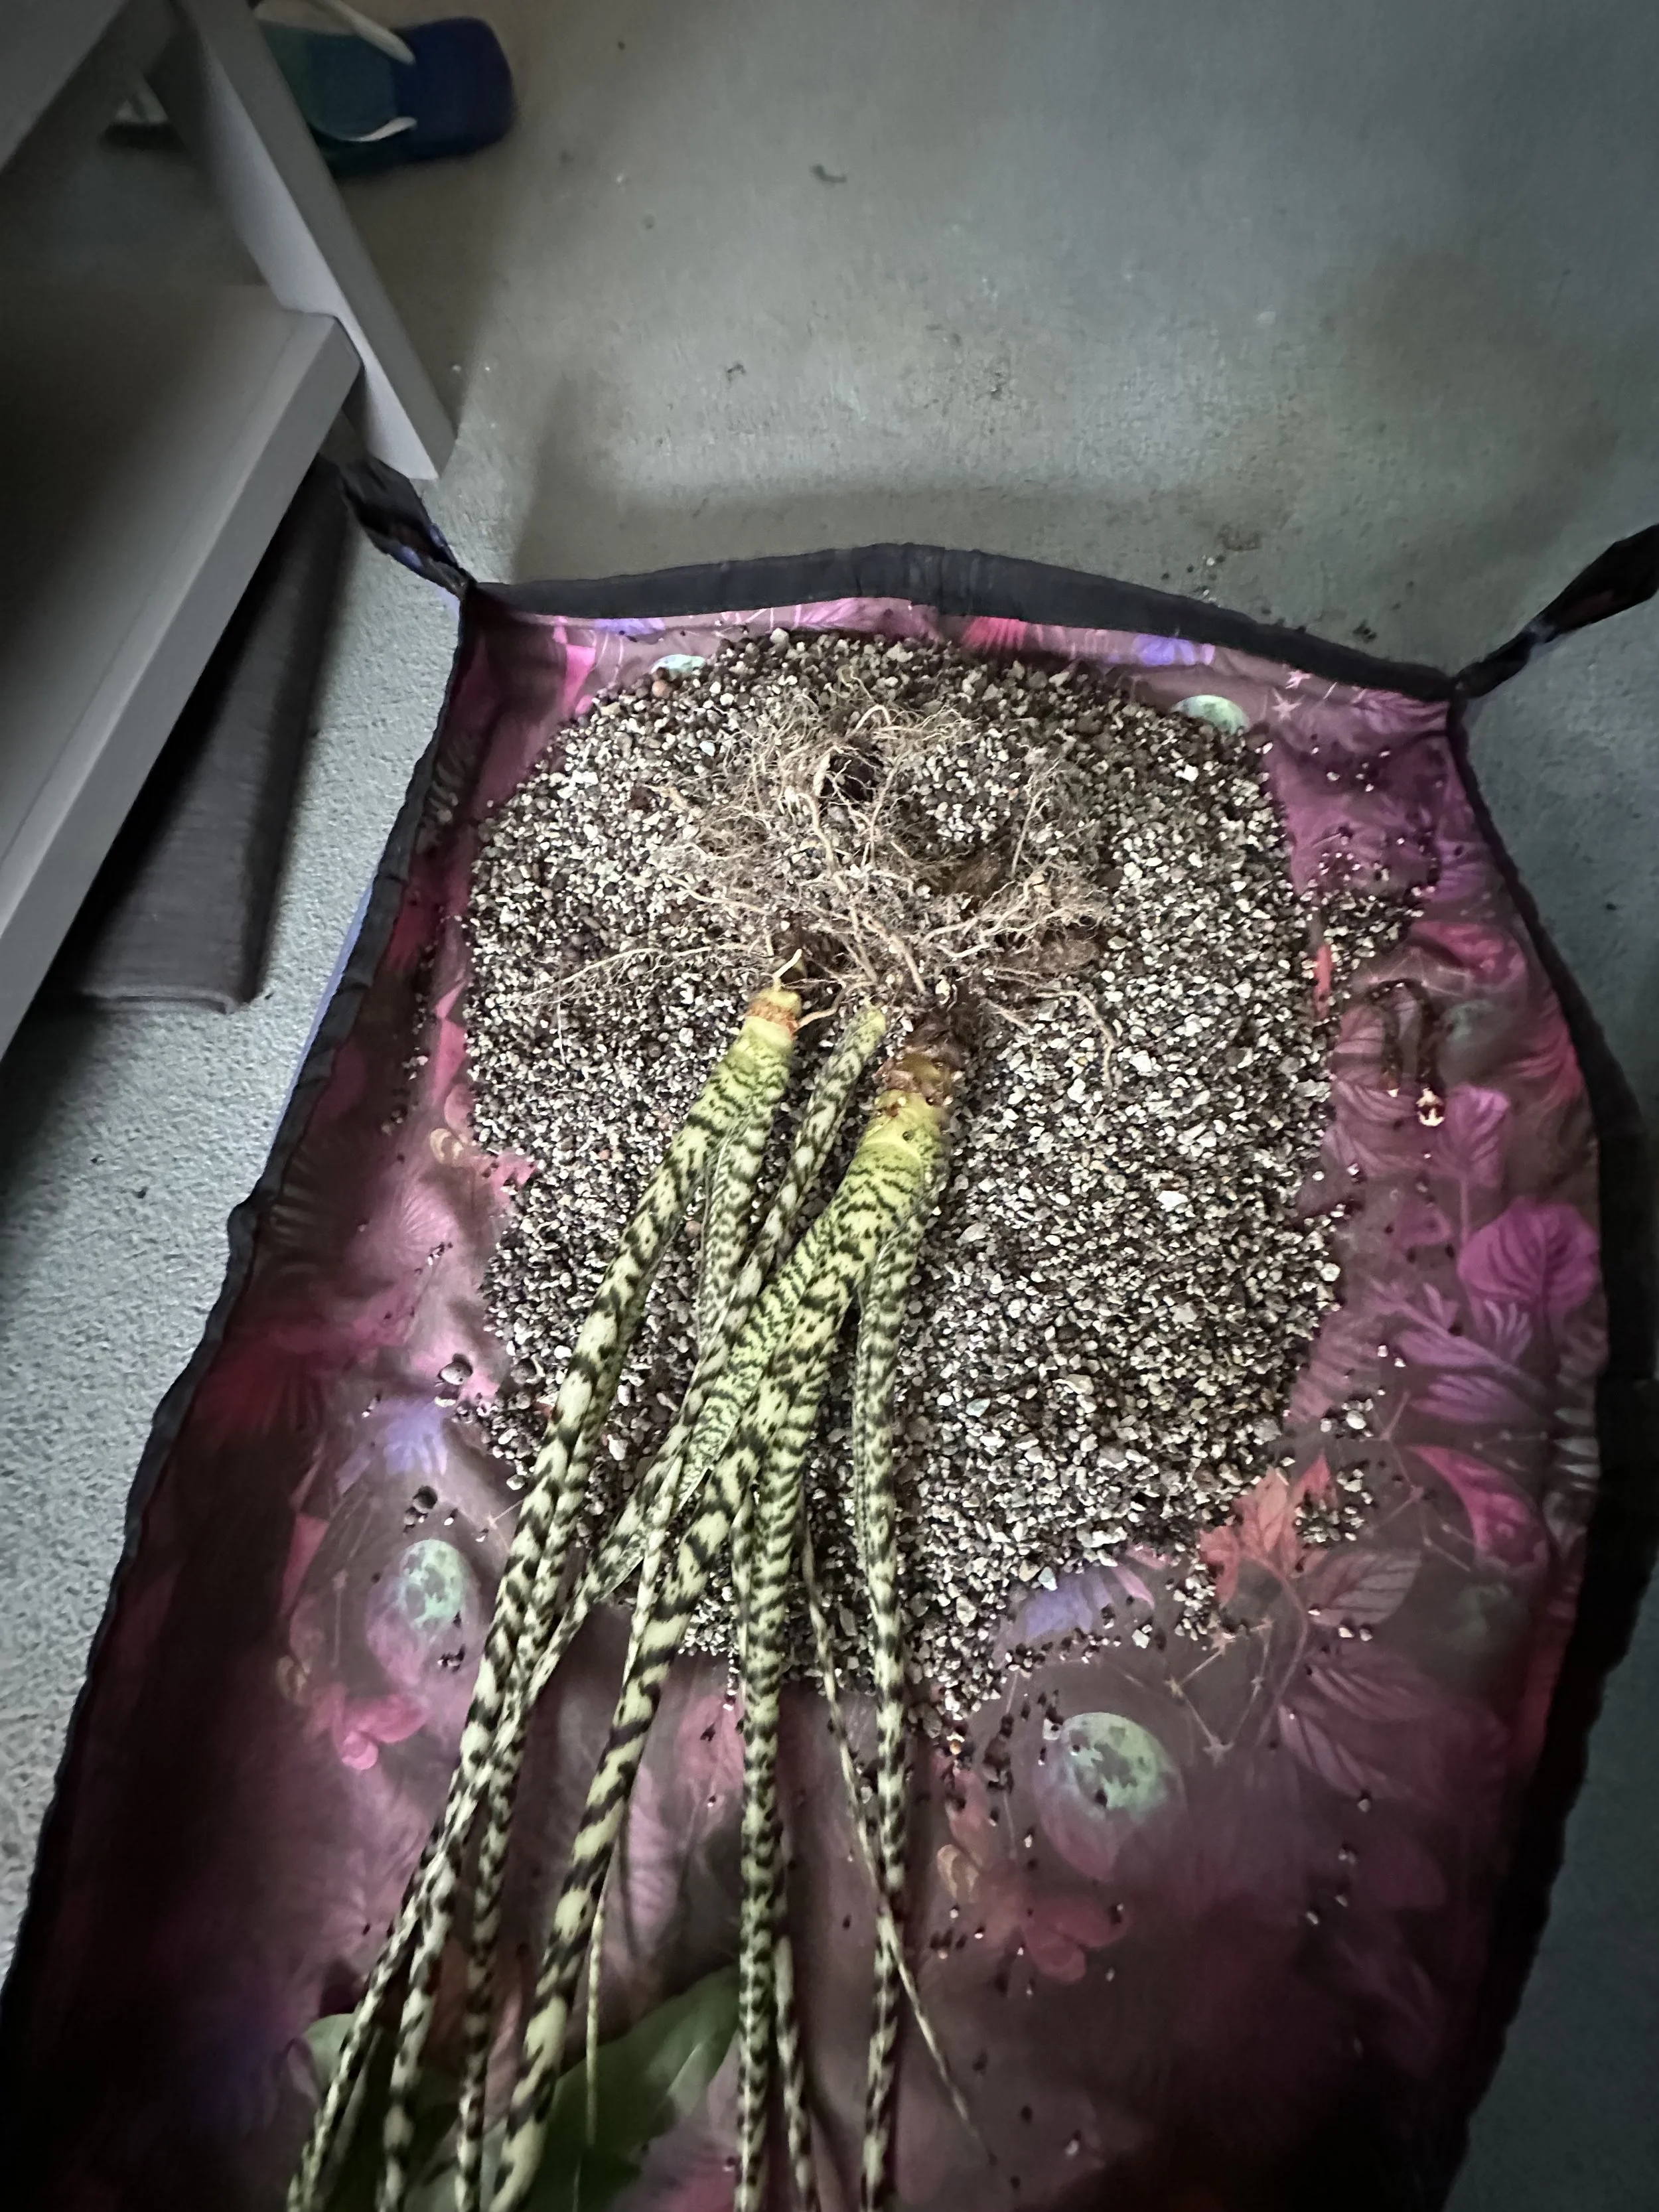
Step Five: Remove Your Plant from Soil
My Alocasia Zebrina had been growing in soil for quite some time and was mature enough to handle the transition. To remove it safely, I started by soaking the root ball in water to help loosen the soil. I then used lukewarm water from the shower to gently rinse away the remaining bits.
I found that just using my hands wasn’t enough to get the roots completely clean—rinsing with water really helped. The goal here isn’t to scrub the roots perfectly clean but to remove as much soil as possible so that the remaining roots can start adjusting to their new semi-hydro life.


Step Six: Prepare Your Pot
Choose a pot that's about an inch (2.5 cm) larger than the current one—but only if your plant actually needs upsizing. If the roots aren’t overcrowded, you can absolutely stick with the same size. Reusing a pot? Give it a good clean and sterilise it before repotting. Then, fill the bottom third with your semi-hydro mix.
One trick I use is to place the current pot inside a slightly larger one to check the size difference—you’re aiming for just 1 to 1.5 inches of extra space all around. This sizing can vary depending on the plant, but for Alocasia, smaller steps up tend to work better.
Tip: When transitioning to semi-hydro, the roots your plant currently has may not survive the change. That’s okay—the plant will often shed those roots and grow new ones better suited to the new environment. So, going up a pot size isn’t always necessary during this transition stage.
This what I used previously with my semi hydro.
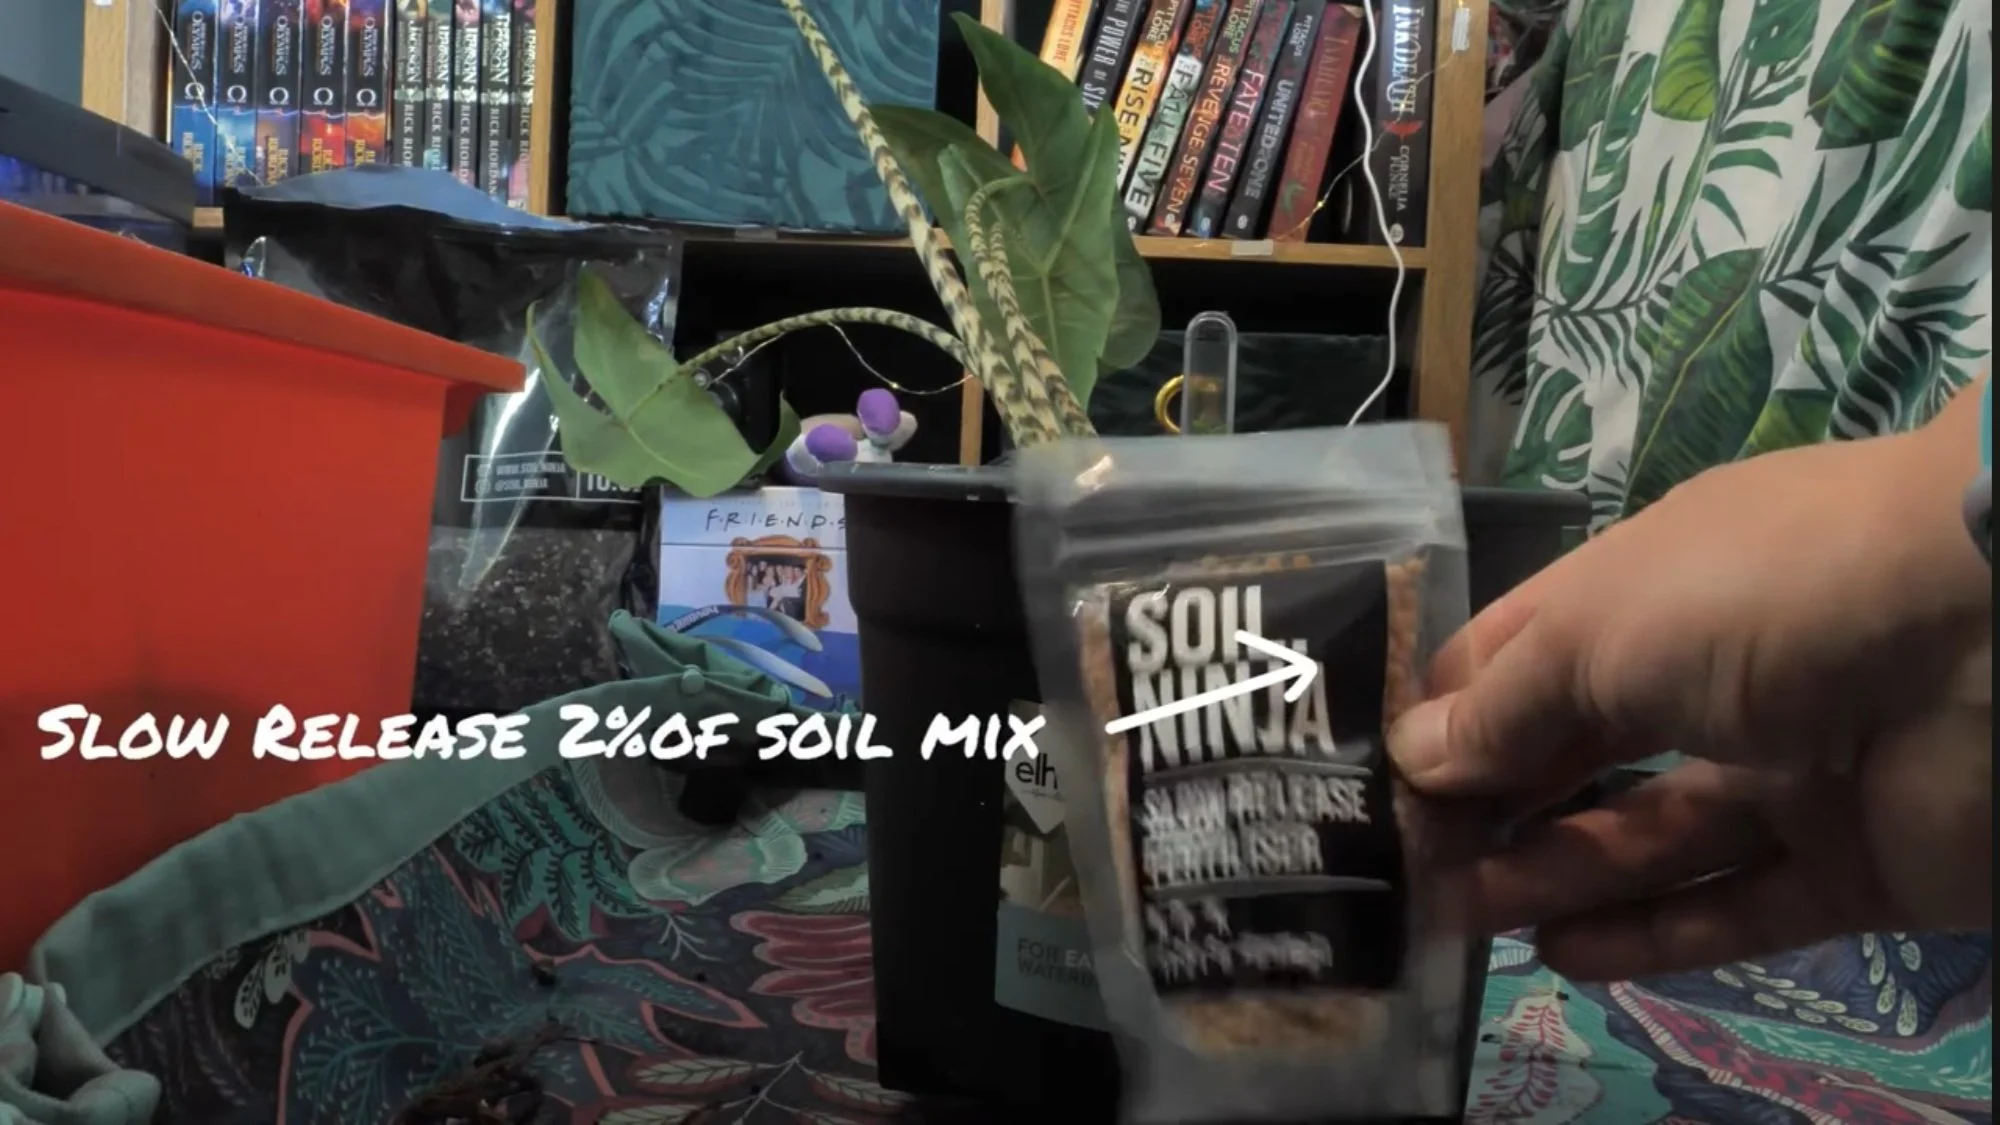
Step Seven: Add Fertiliser (Optional)
At this stage, I added a slow-release fertiliser to give the plant nutrients it would normally get from soil. There are lots of feeding options out there, but this method worked best for me—especially during the transition to semi-hydro.
Over time, I’ve experimented with different options—from Soil Ninja’s slow-release fertiliser to using dried seaweed. Some semi-hydro mixes already come with added nutrients, so it's worth checking the packaging before adding anything extra.
Step Eight: Fill Around the Plant
Gently place your plant into the pot and fill in the sides with more semi-hydro mix. I find that using a scoop makes it easier to distribute the substrate evenly without damaging the roots. The goal here is to stabilise the plant while giving the roots space to breathe and grow.
Step Nine: Add Water
Once the plant is upright and stable, add a small amount of filtered or rainwater into the cover pot—just enough to reach the base of the roots. This is the beauty of semi-hydro: your plant gets consistent access to moisture with a lower risk of rot.
I’ve read that watering from the top the first time can encourage the development of water roots—and I’ve found that to be true in my own setup, too.
Sometimes I don’t even use a proper drainage pot—I just pop the plant into a clear plastic cup, and it works just fine!
A Note on Shock and Root Loss
It’s totally normal for your plant to experience some shock when switching substrates. This often means some root loss. Try not to panic—this is part of the adjustment.
As long as the rhizome isn’t fully buried or sitting in water, the plant will likely bounce back. Avoid disturbing it too much while it’s adjusting. Let the new roots grow in peace!
🌱 P.S. — I’ve created a free PDF guide to help walk you through the process step-by-step. Check it out below! ⬇️
Soil Ninja’s Semi-Hydro Fine Mix gave me a great starting point for transitioning my plants. I followed their basic instructions, and my Zebrina has been thriving ever since. But I’ll be honest—it’s easy to lose hope during the early stages. Things can look rough before they get better.
That’s why I want to share how I tweaked the process and what happened to my Zebrina from day one to where she is now. Keep reading to see what I changed—and what I learned along the way.

My Semi-Hydro Experience
I got my second Alocasia Zebrina in April 2021. I’d owned one before, but sadly lost it when I moved back home. At the time, I was still learning the ropes—figuring out what Alocasias needed and what worked best for them.
I’d already tried LECA with other plants, and while it worked well for some, I didn’t have much luck using clay balls with Alocasias. So I shelved the idea for a while. Then Soil Ninja released their Semi-Hydro mix, and that changed everything.
I started using it in June 2022 with a few of my Philodendrons. Later that summer, they launched a finer version of the mix, and I thought—why not try it with my Alocasias? That decision kicked off a whole new chapter in my plant journey.
What I’ve Learned Along the Way
If you’ve read this far—thank you! I hope by sharing my experience, I can save someone a few of the headaches I had early on.
One thing I wish someone had told me when I first got into Alocasias is this: every plant—even within the same genus—can respond differently, and there’s rarely just one right way to grow them. Finding what works for your plant takes time and experimentation.
Growing my Zebrina in semi-hydro has been a long process, full of trial and error. One big lesson I learned was the difference between root types. At first, I didn’t realise that hydro roots and water roots aren’t the same:
Water roots are thinner, more fragile, and often white or even transparent. They tend to stay near the top of the pot to access oxygen from the water surface.
Soil roots, on the other hand, are thicker, darker, and have a tougher outer layer. They anchor the plant and absorb nutrients and oxygen from the soil.
Hydro roots fall somewhere in between—they’re adapted for the airier, semi-hydro environment. But when conditions change, roots often die off and regrow in a form better suited to the new setup. So if you're seeing root loss when switching to semi-hydro—don’t panic. It's normal.
Tips from My Journey
Frequent water changes helped. Especially in the early days, regularly changing the water helped keep things oxygenated and encouraged new hydro roots to grow. Yes, it’s a bit more work—but it sped up the plant’s adaptation and kept things healthy.
Don’t worry too much about some root loss. If you're losing roots after the switch, it's likely just the plant replacing them with ones better suited to the new environment.
Be mindful of how much rhizome is buried. When potting an Alocasia into semi-hydro, make sure not to fully submerge the rhizome. Keeping it partially above the substrate helps prevent rot.
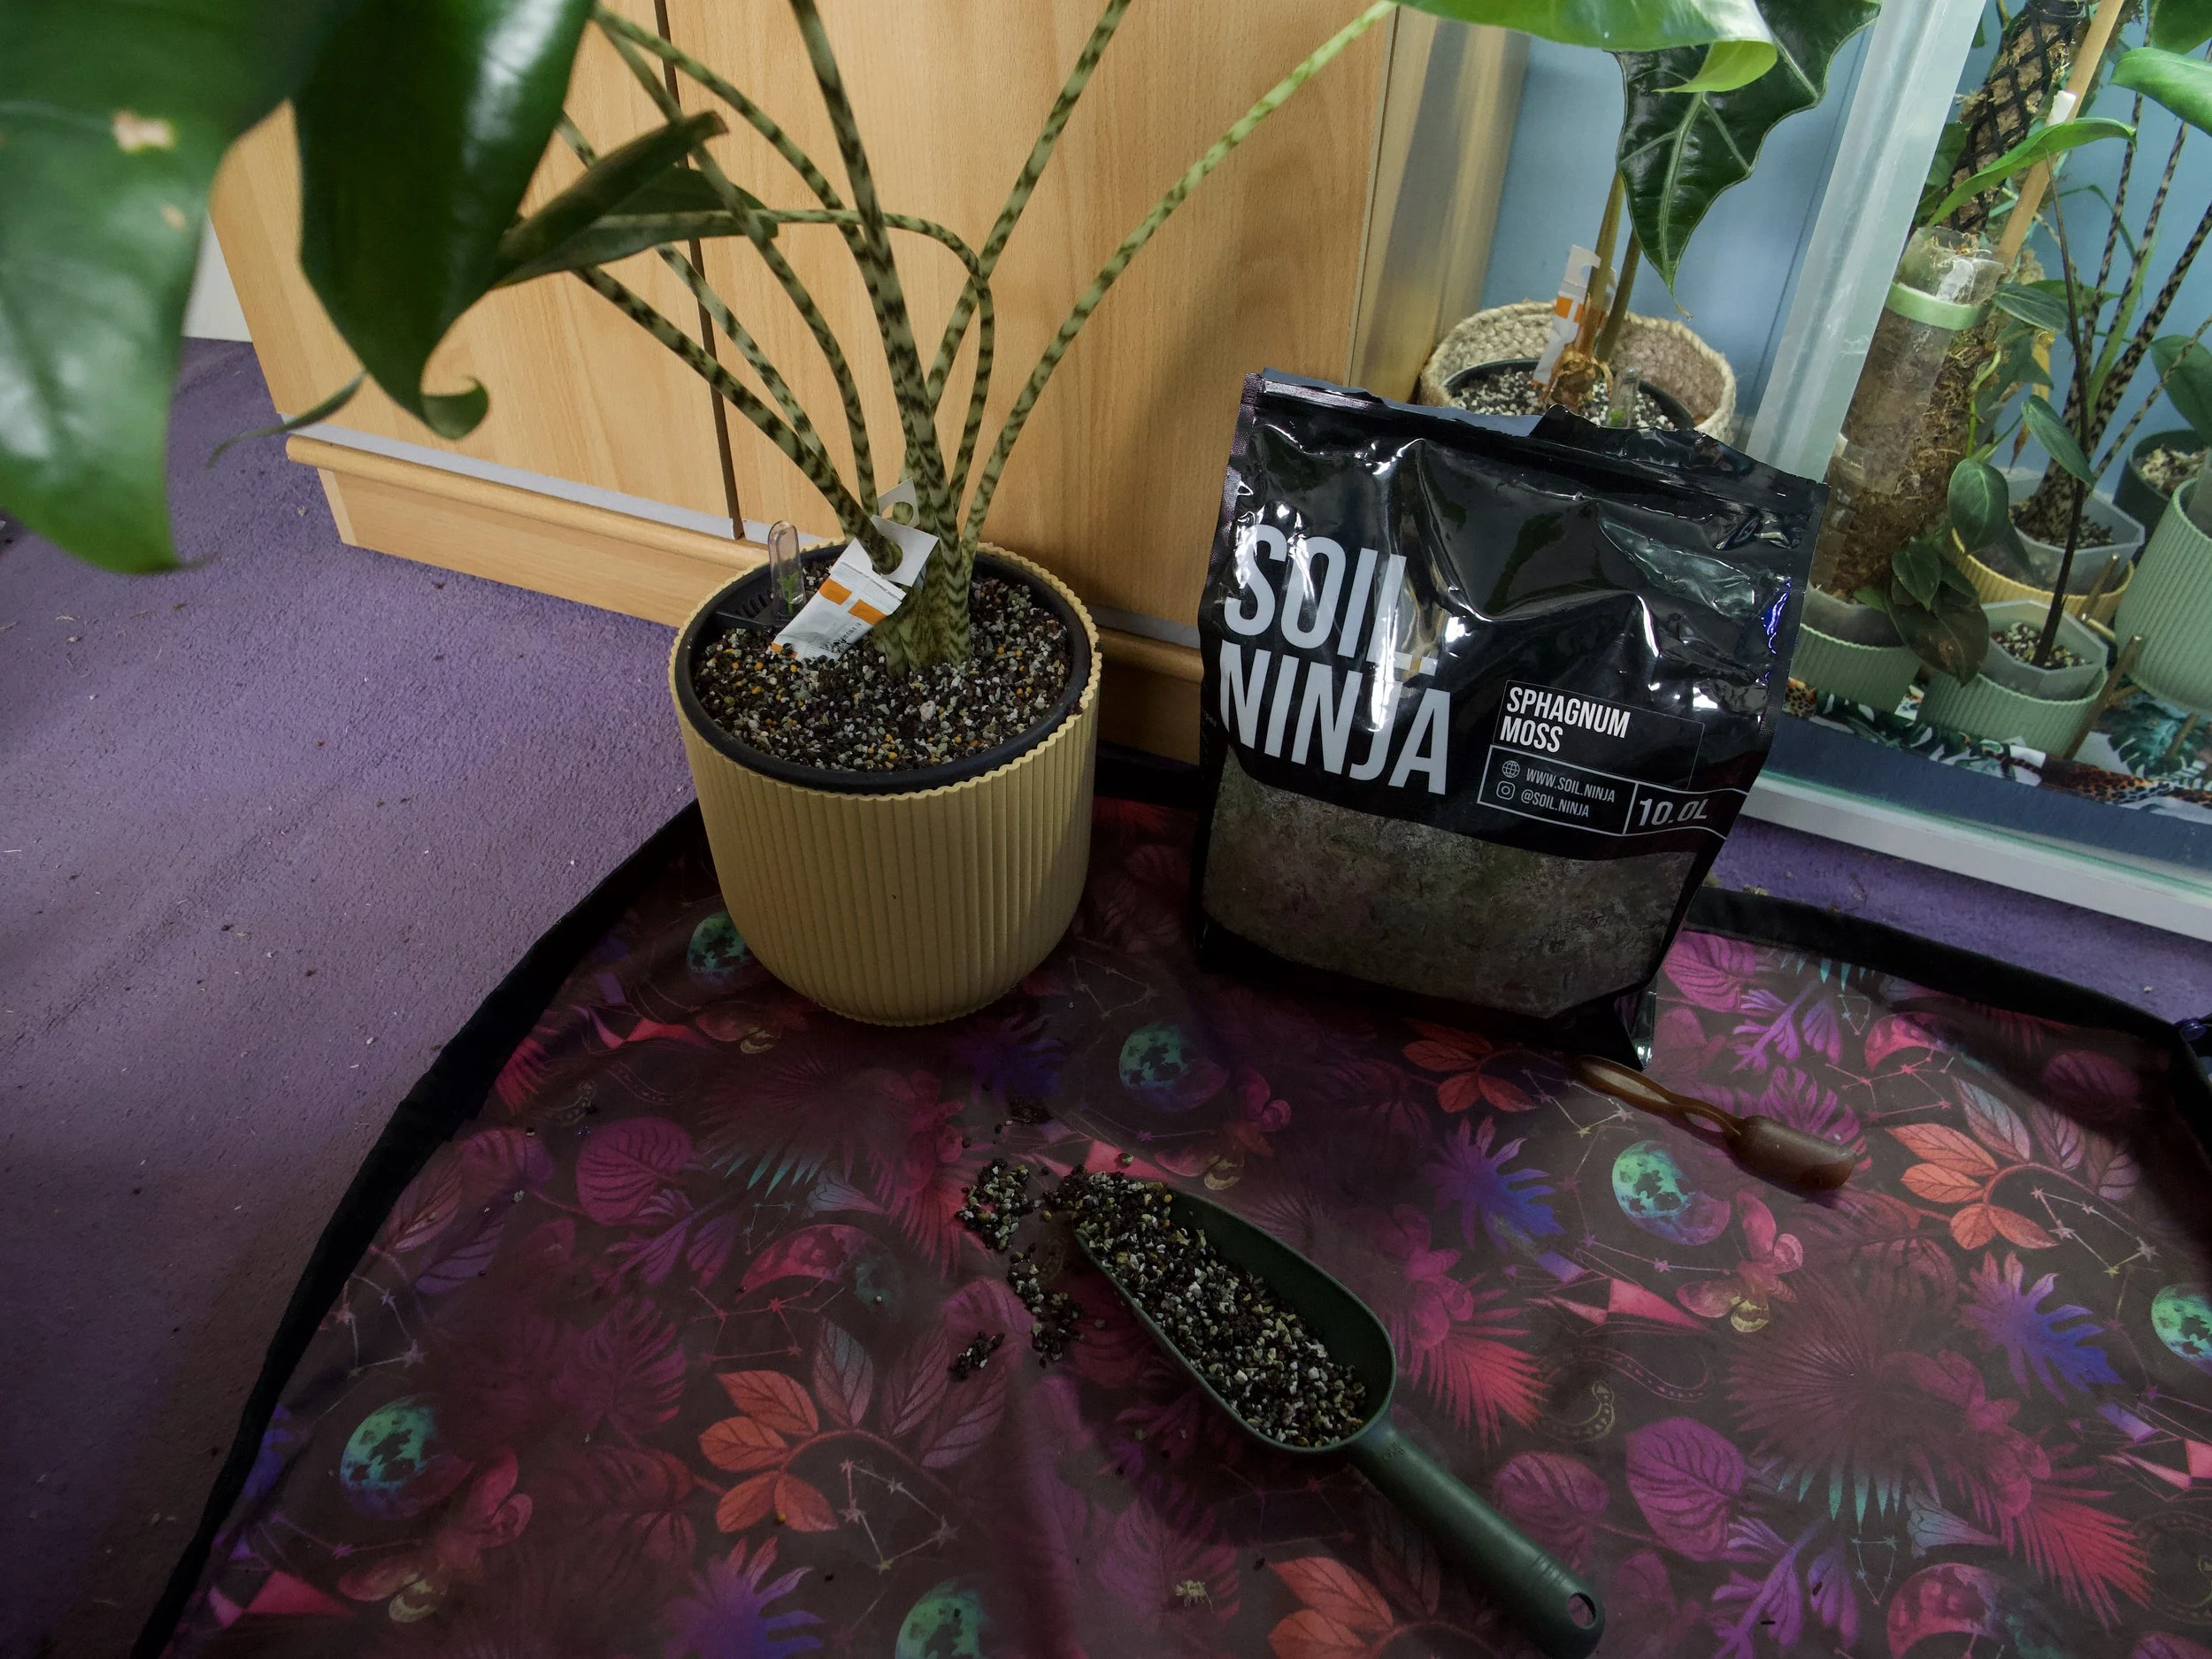
Rinse your substrate! I learned this the hard way—if you don’t rinse the mix before using it, it can clump together and reduce airflow. Since air is so important to root health (especially for Alocasias), I now use a mix of Soil Ninja’s fine and coarse semi-hydro substrates—two parts fine to one part coarse—for better aeration.
Re-growing roots in water can work. If I’ve had an Alocasia suffer root loss from underwatering, I’ve had success regrowing roots in water before moving it back into semi-hydro. But I only do this if the original roots have completely dried up.
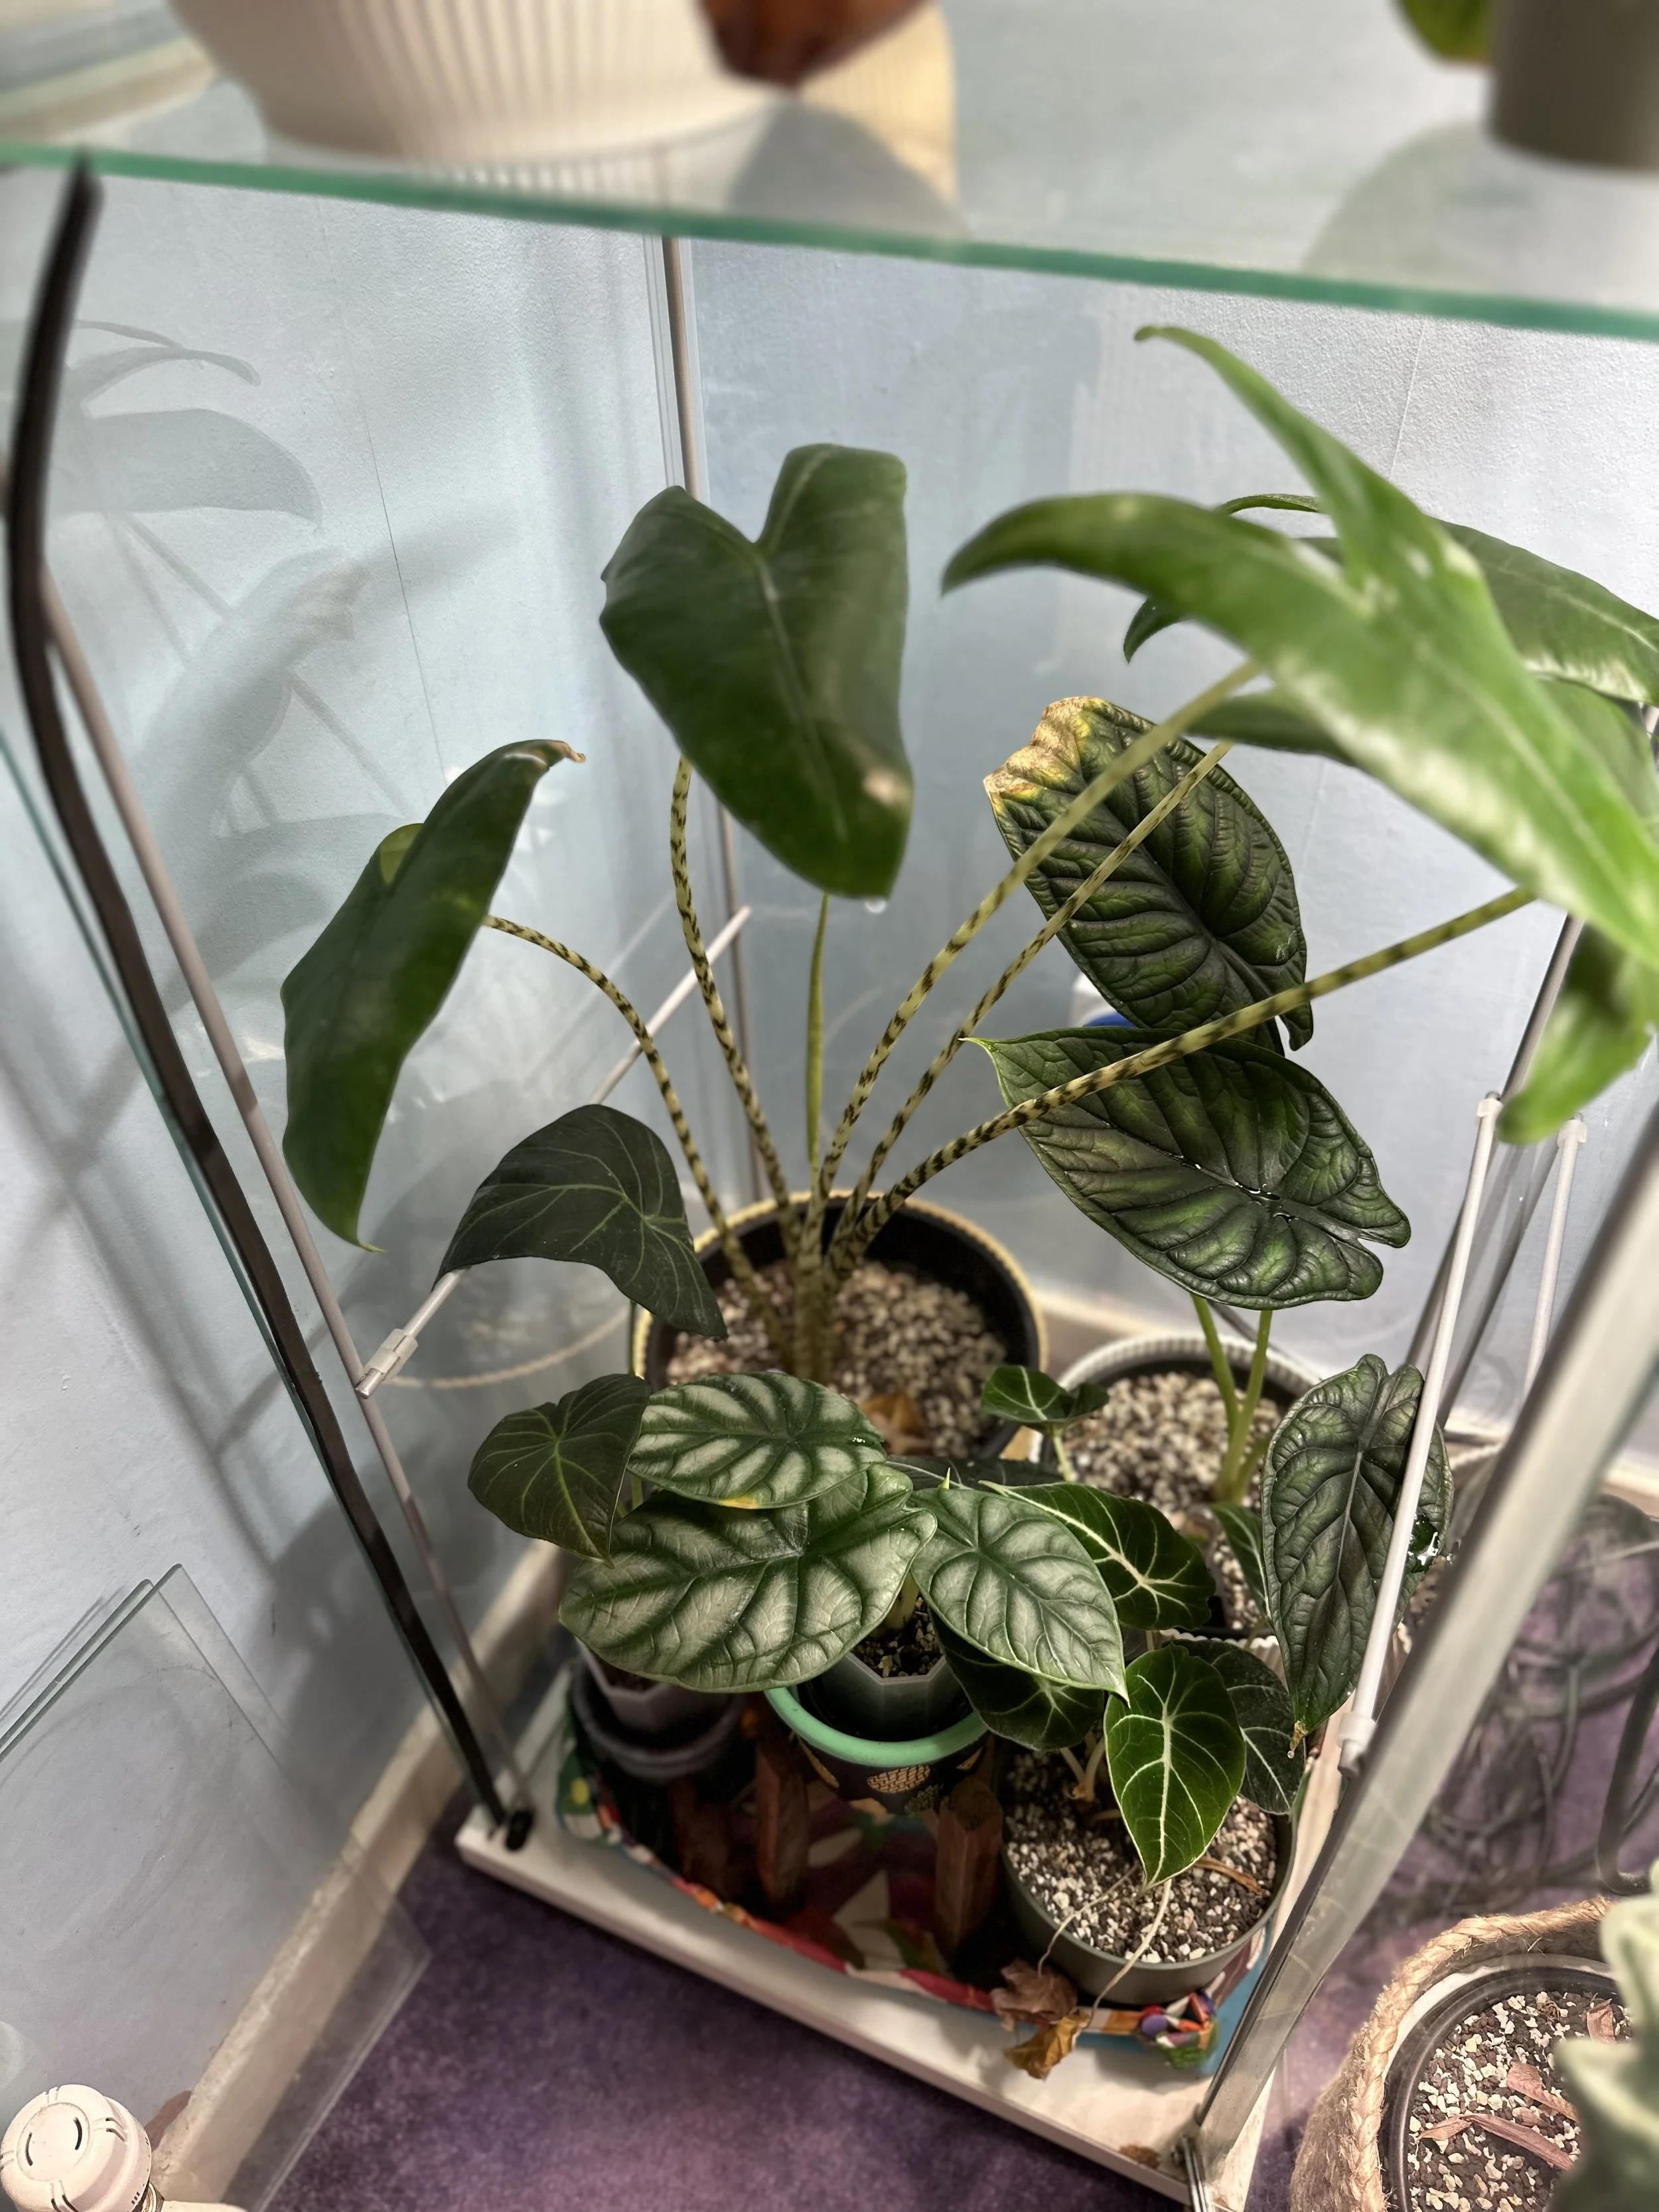


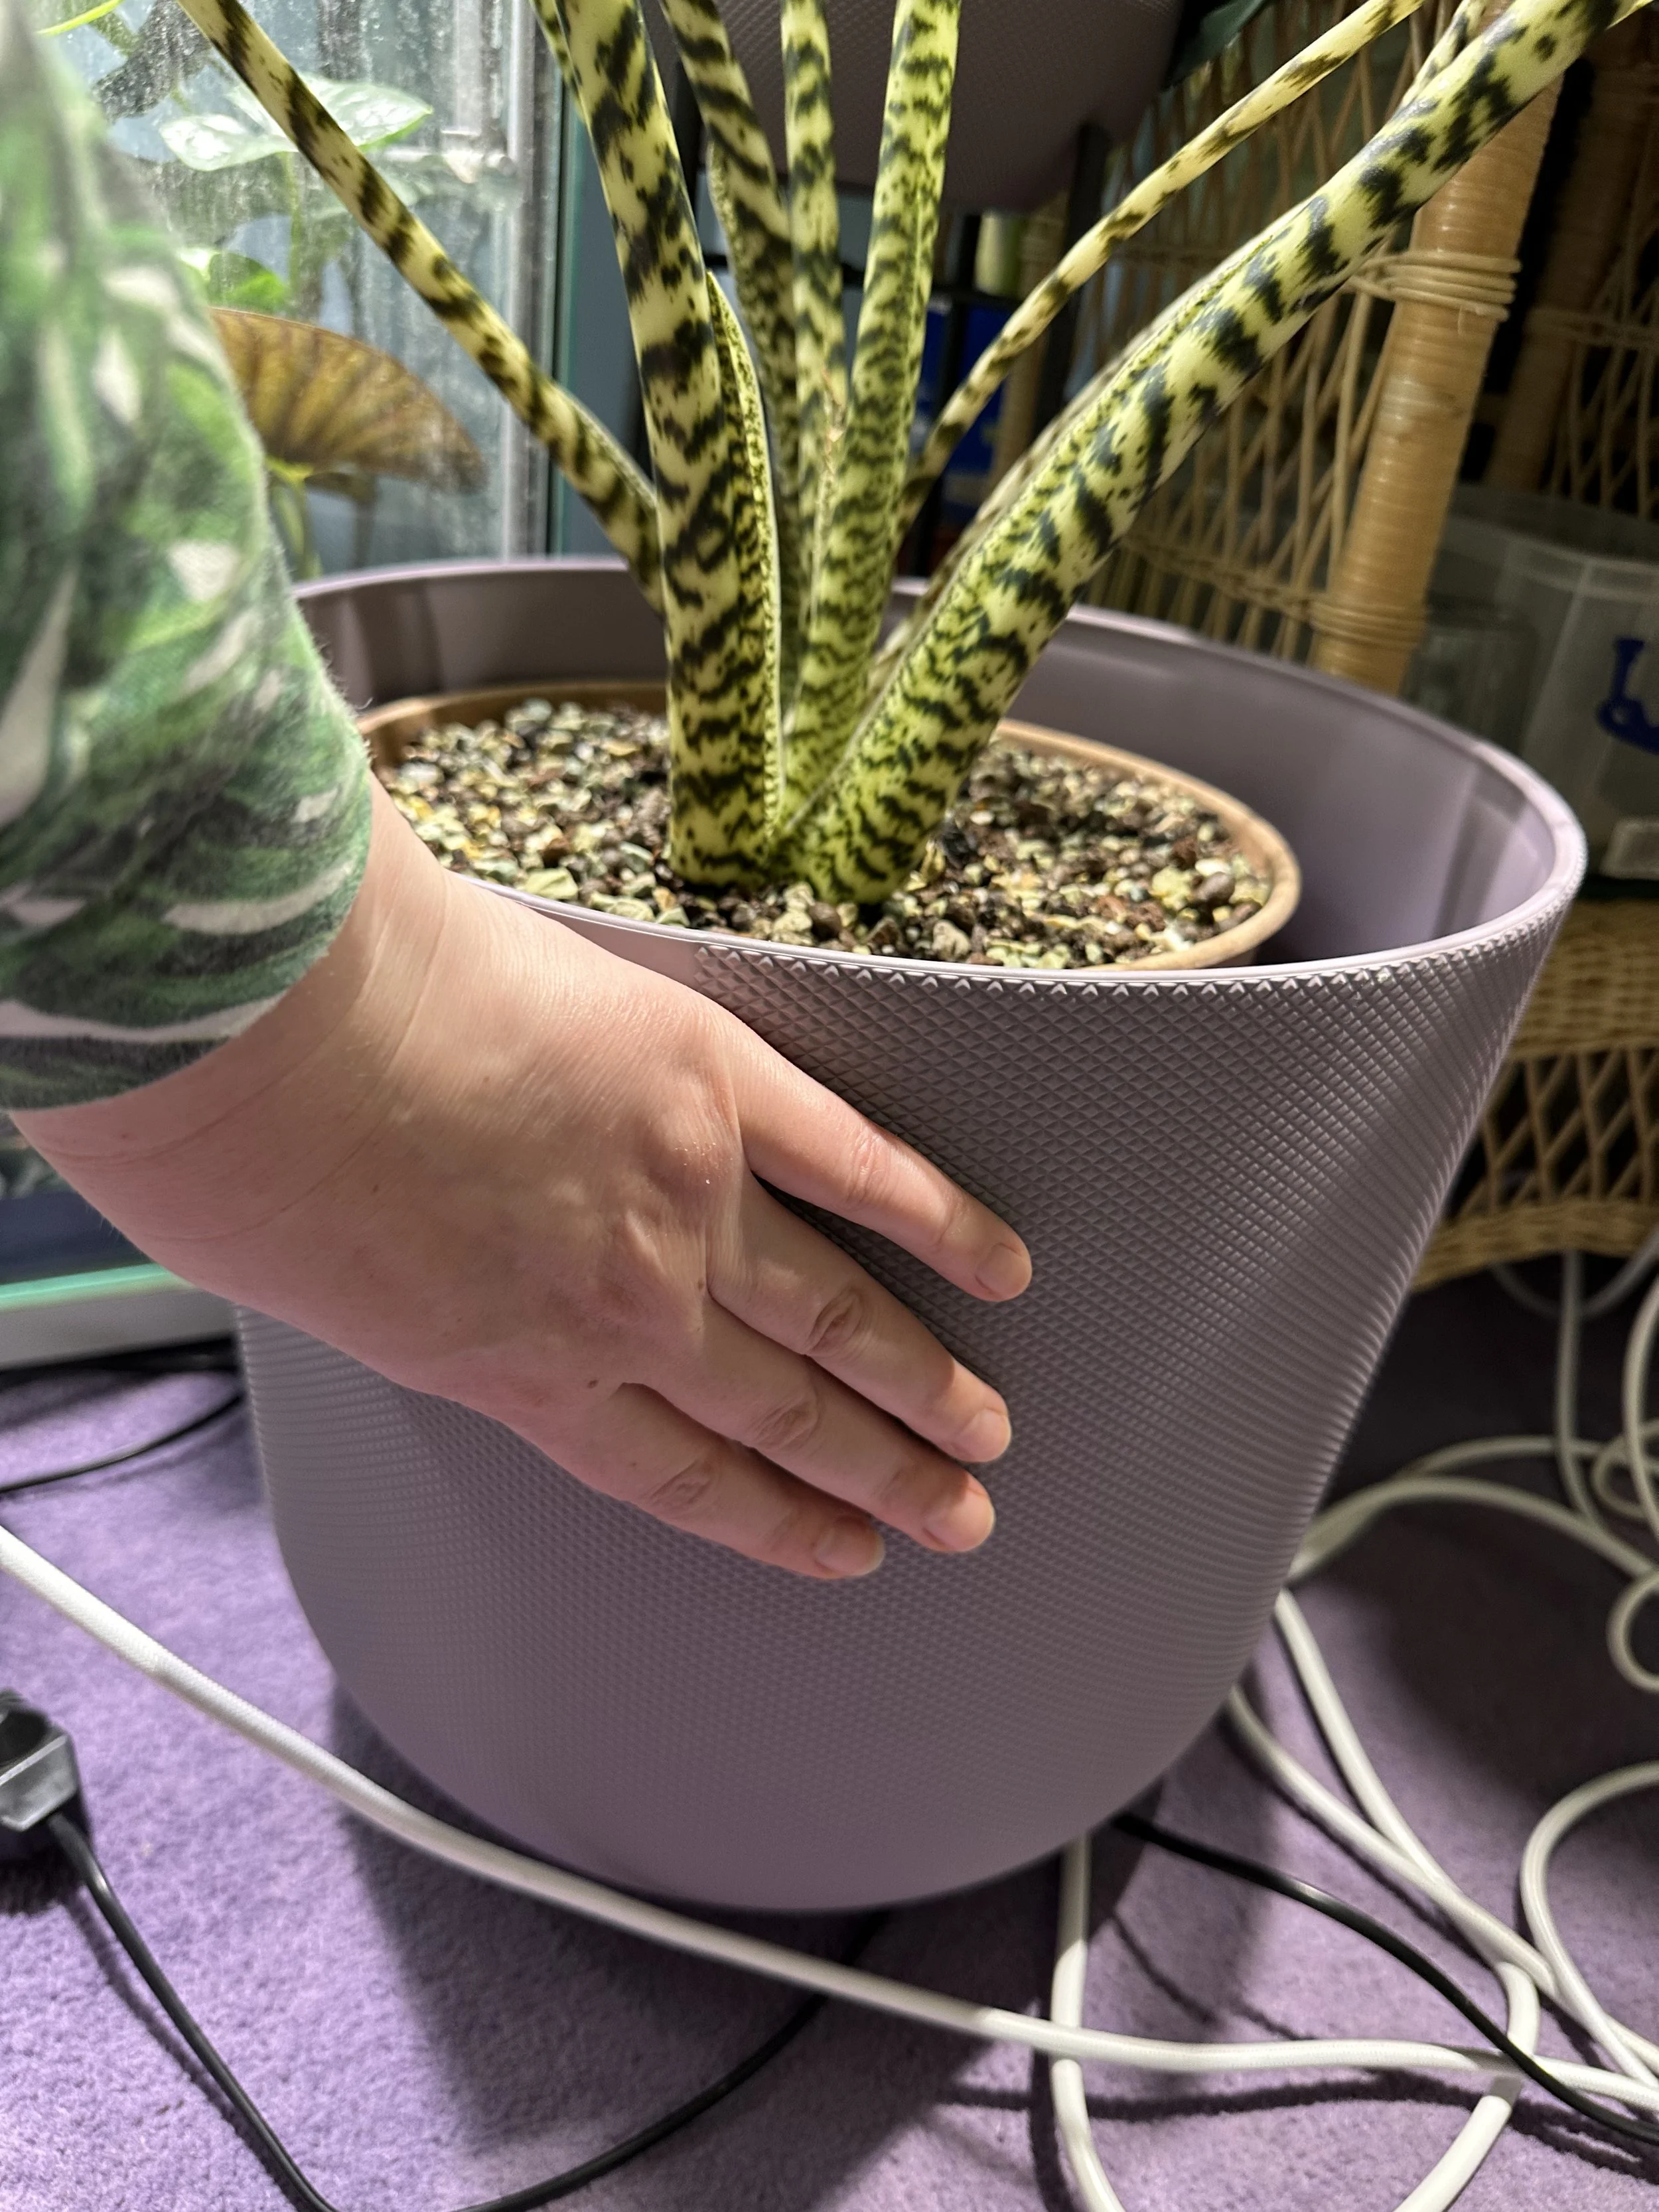
As I continued growing my Zebrina in semi-hydro, I started adding new Zebrina plants into the same pot to help fill it out. With each addition, I noticed it took less and less time for them to bounce back from the transition—they were clearly adapting well to the setup. After a couple of months of strong growth, the plant had outgrown its pot once again, and I had to move it into a slightly bigger one.

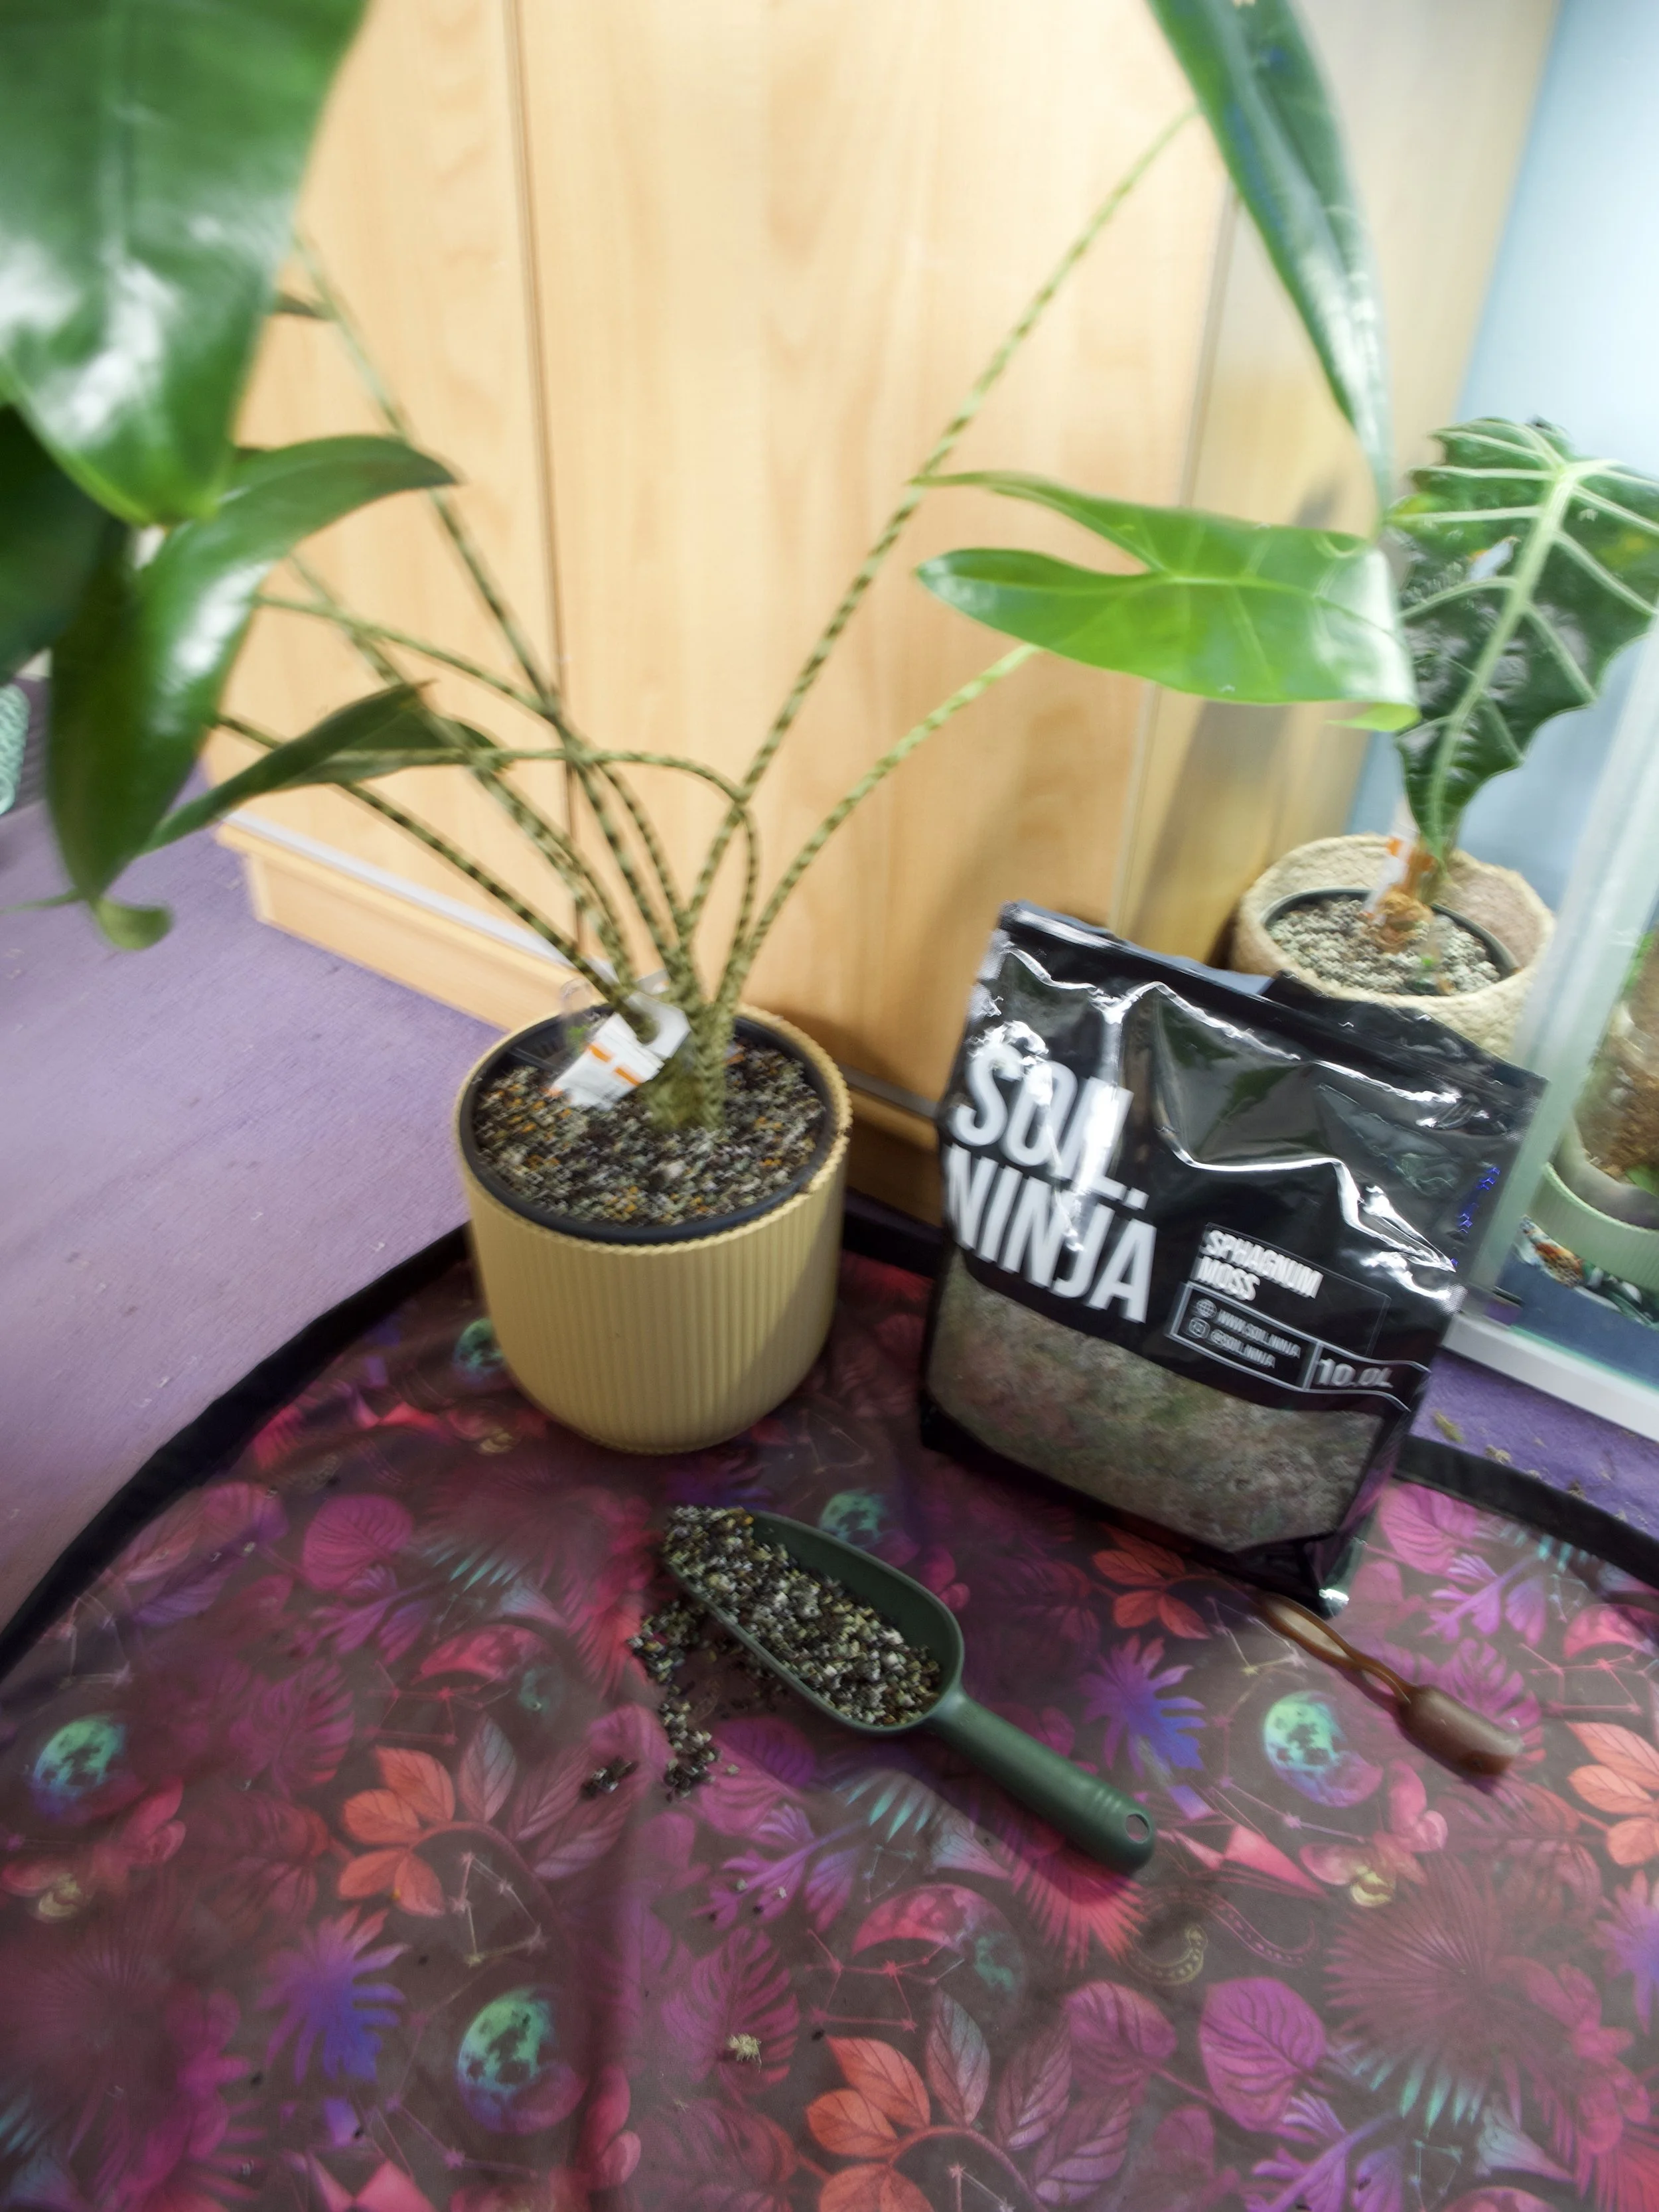


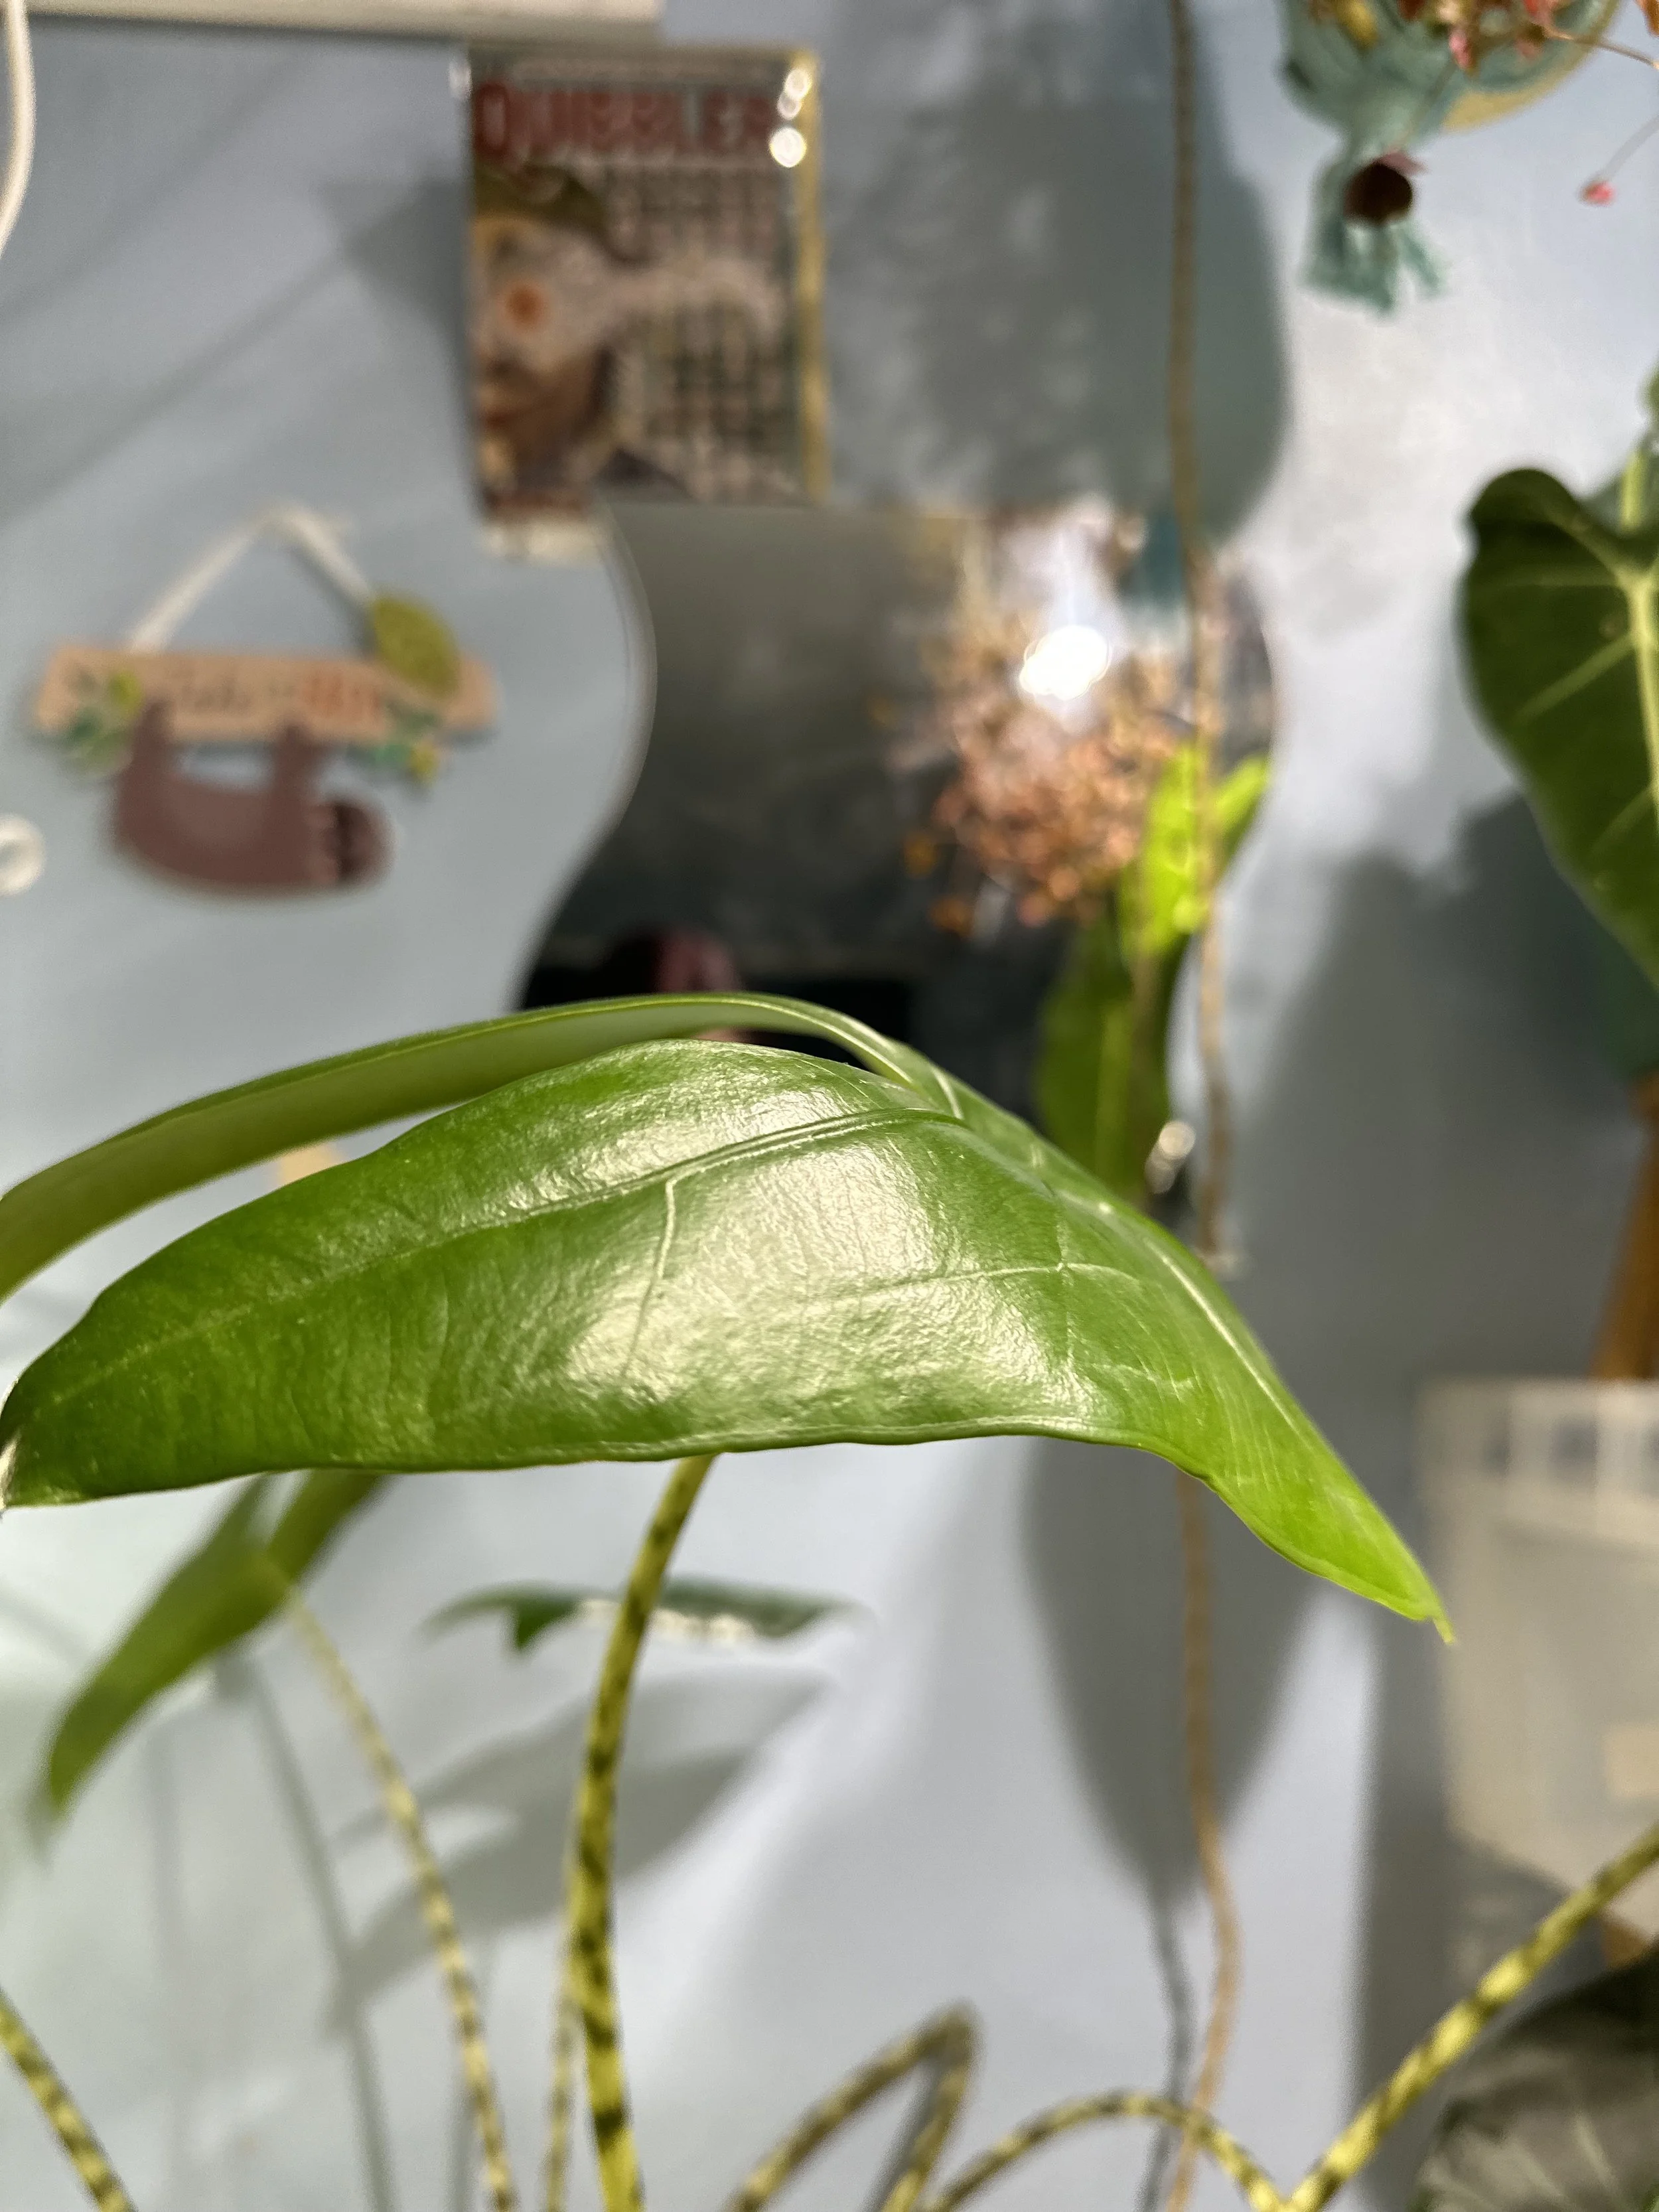
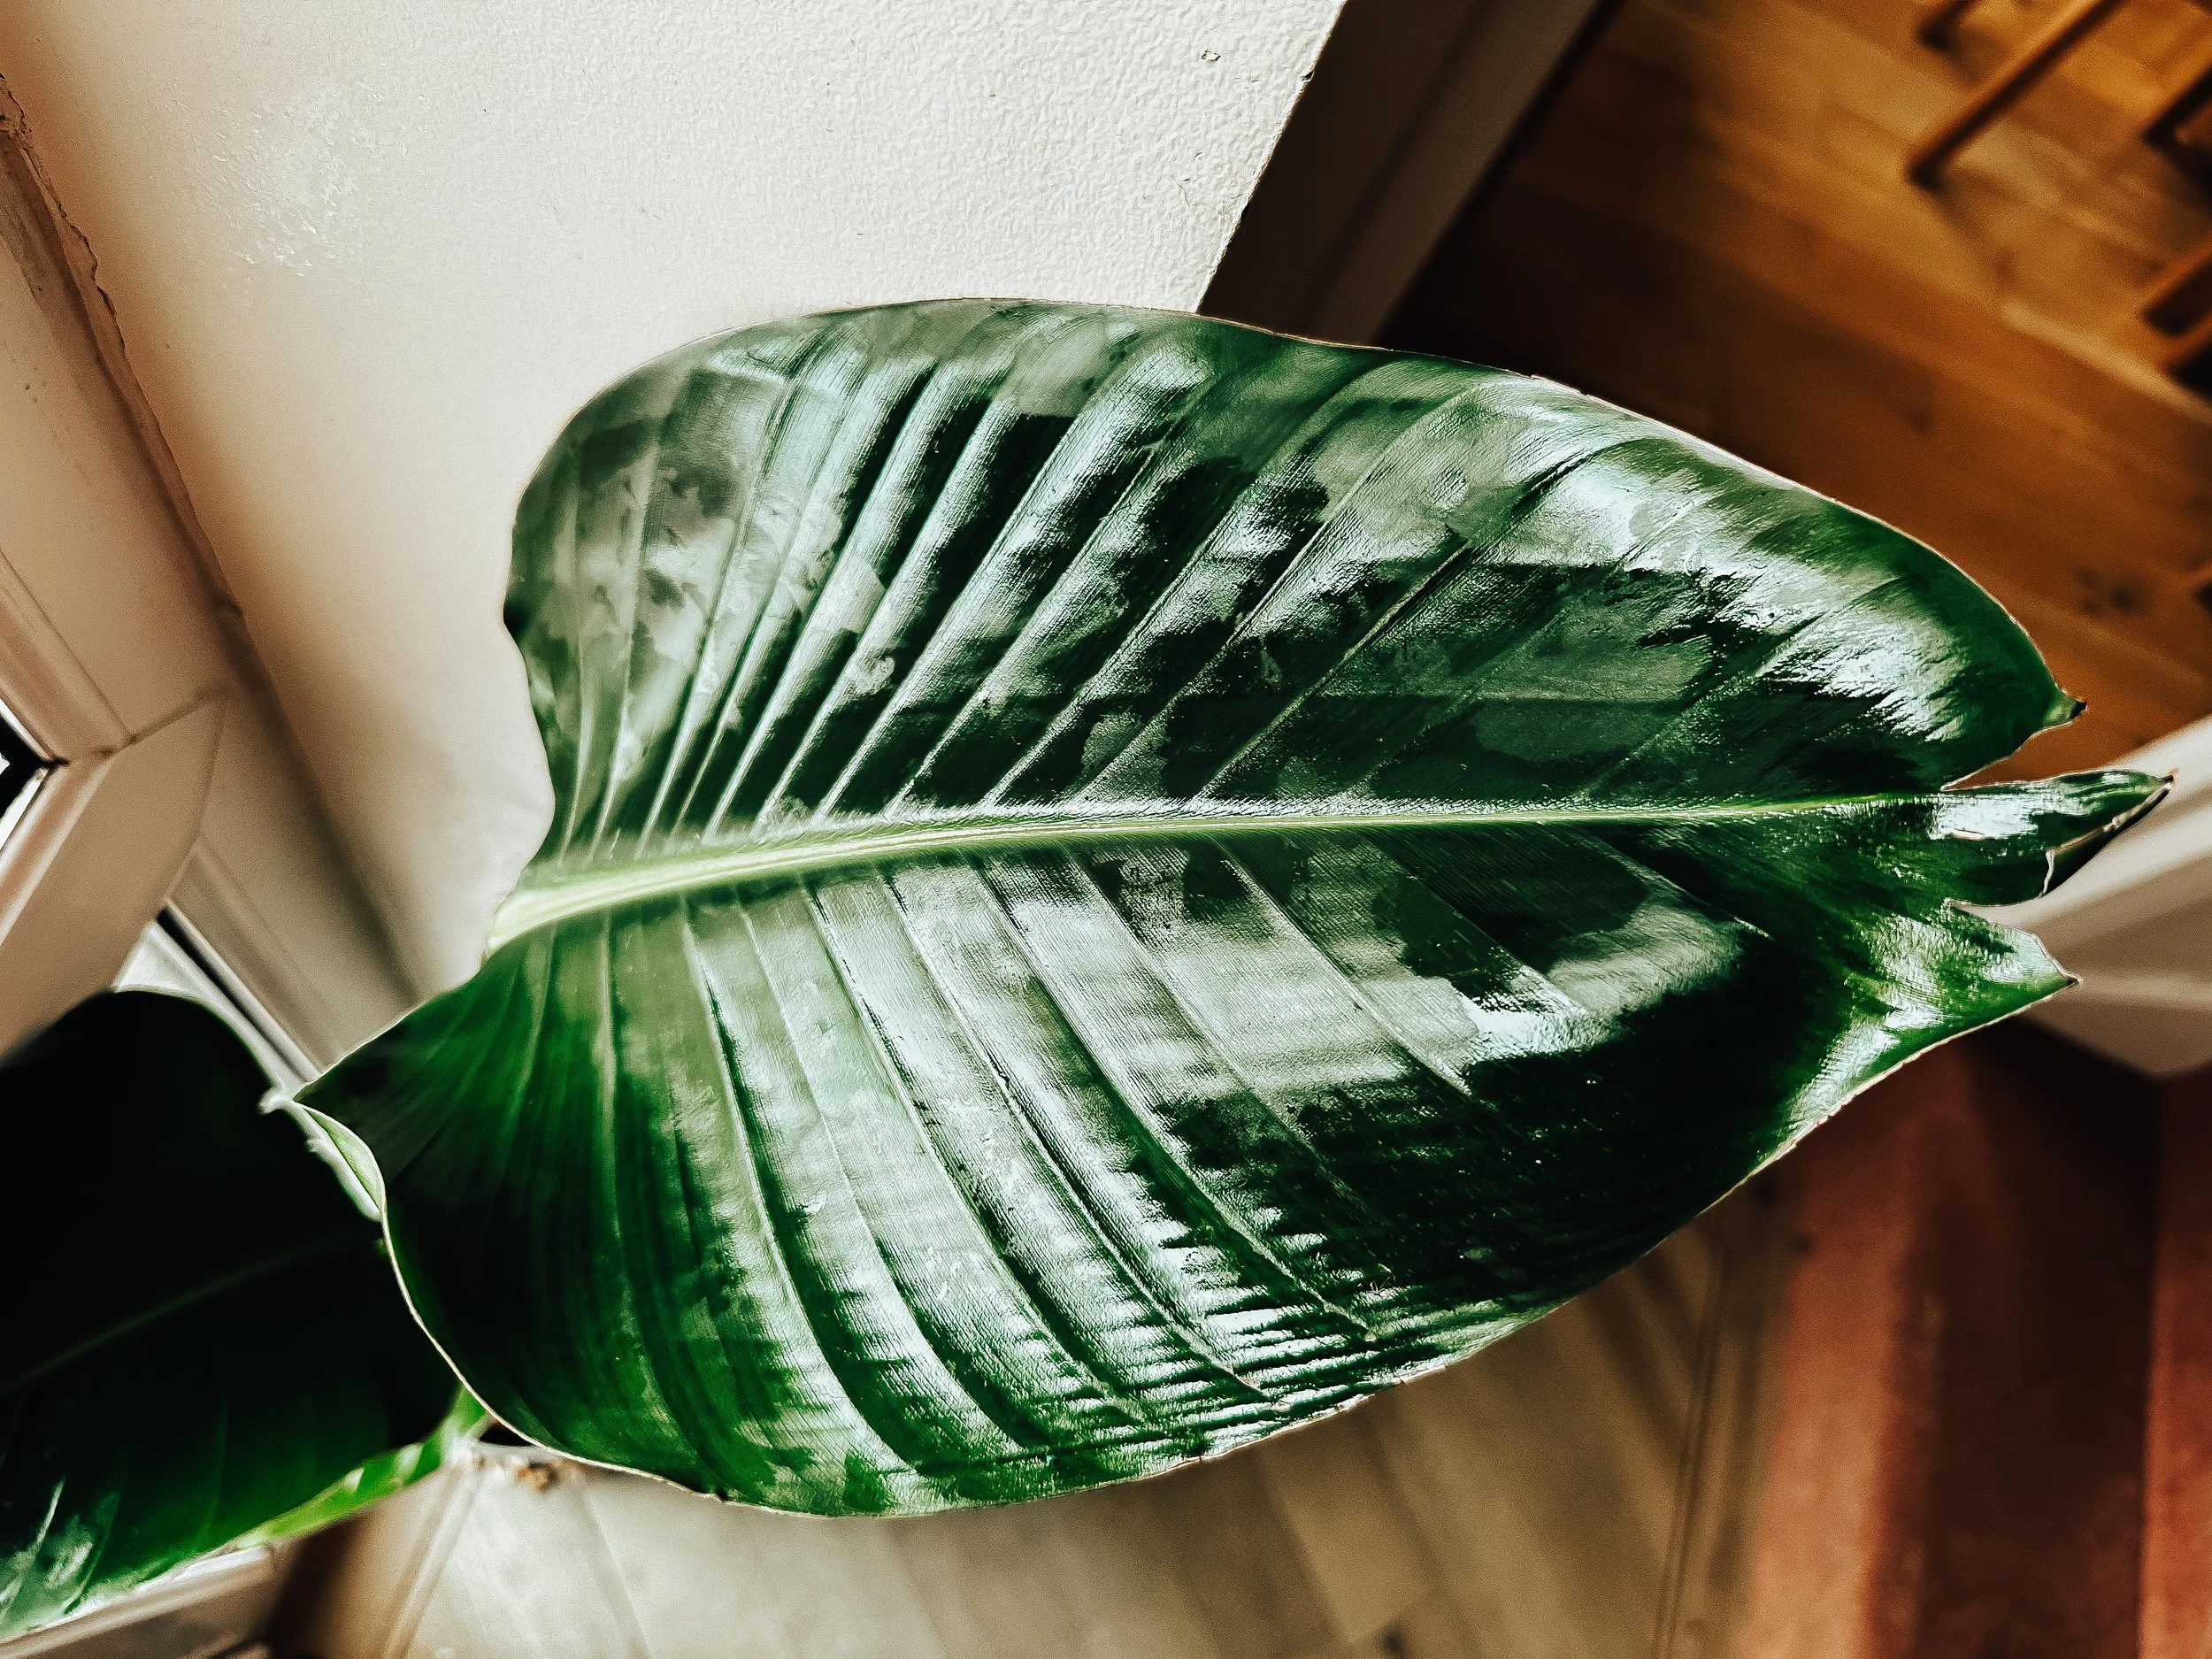
The first image above shows my Alocasia Zebrina back in March 2022, when it was still potted in soil. The next three images track its journey after I switched to semi-hydro—starting in February 2023, then again with upgrades in May and December 2023. Within that relatively short time, I had to repot several times because it was thriving so much in semi-hydro!
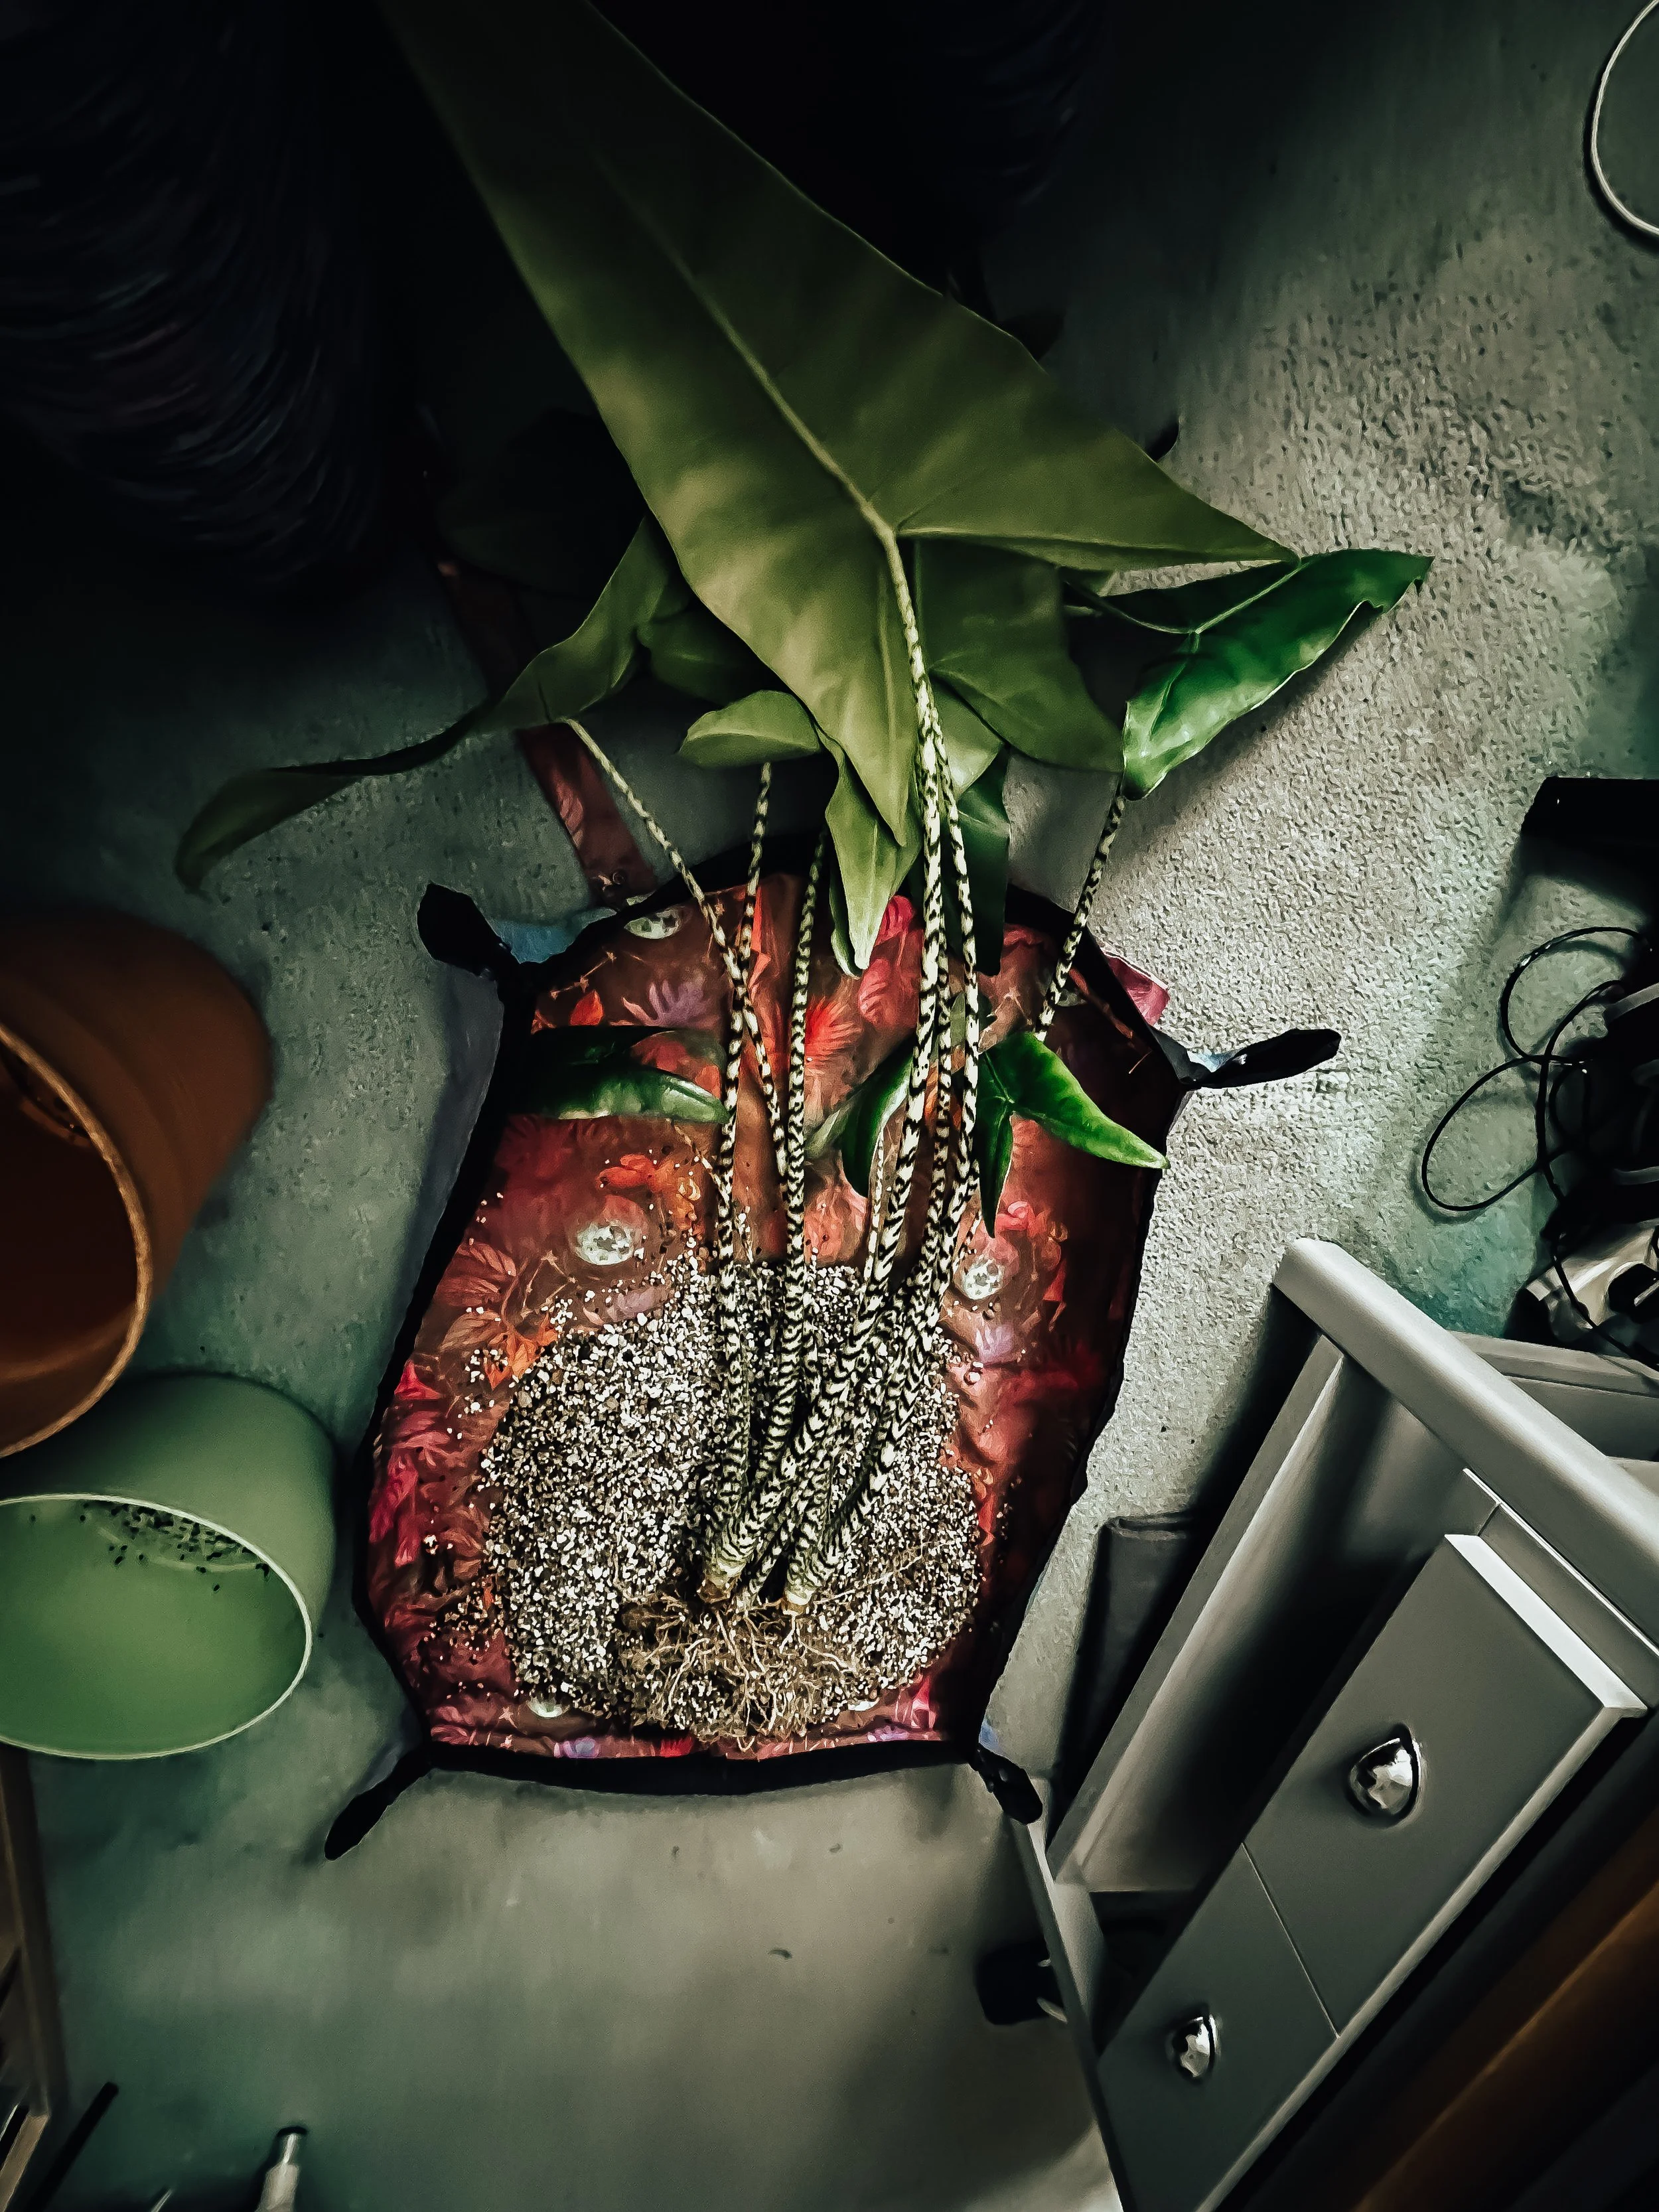
One thing I noticed was that the roots had been sitting in water for quite a while. About a month ago, I repotted again, but because I’d left it so long, the roots had become tangled and were more difficult to remove—unfortunately, that meant losing quite a few. I decided not to size up this time, as the new pot was already taller than the previous one.
(Side note: I really wish it were easier to find clear plastic pots larger than 21cm!)
As you can see, she’s grown a lot, and I’m now trying to grow a new plant from one of her massive corms.


In the end, this journey with Alocasia and semi-hydro has taught me a lot about patience, observation, and letting the plant take the lead. Every Alocasia seems to have its own rhythm, and sometimes the best thing we can do is give it space, trust the process, and learn as we go.
If you’ve tried semi-hydro with Alocasia (or you're thinking about it), I’d love to hear how it’s going for you! What worked? What didn’t? Let’s keep learning from each other—because plant care is so much more fun when we share the journey. 🌿💧 If you're experimenting with semi-hydro or just learning your plant's rhythm, don’t be discouraged by setbacks—they're often just part of the learning curve. With each repot and each leaf, we get a little better at understanding what our plants need. 🌱

Potting Up 101: Give Your Plants a Glow-Up


Root Awakening: Quirky Tips for Spring Repotting Succes
It’s time to look at the activity in our house plant jungle exploring the things that you need to consider. As our plants start to become more active and the humidity might change in your tropical jungle and the amount of sunlight increases, it gets warmer, the days grow longer they’re lots to consider in making the most out of this season for a fuller and bushier jungle!


Repotting Your Houseplants: A Quirky Guide to Giving Your Green Babies a Glow-Up
Ah, repotting you House Plants !!!
do you love it ? or do you hate it?
Let’s dive into the why and when of repotting your plants — because trust me, they won’t send you a polite memo when they’re feeling cramped!
In the wild, whether it’s a lush tropical jungle or a scorching desert, plants have adapted to their environments over time. Some thrived, while others, sadly, didn’t make the cut. But your houseplants? They’re stuck in the same pot, with the same soil, and eventually, that once-nutrient-rich mix turns into a lifeless clump of dirt. Plus, things get crowded as roots grow and start throwing elbows for space.
Another thing to keep in mind: many plants come from the nursery in a pretty basic soil mix. It’s great for getting them started as seedlings or cuttings, but now that they’re in your home, their environment has changed. The water, nutrients, and overall vibe might not be quite right for them anymore. Think of repotting as giving your plants a fresh start — new digs, new nutrients, and more room to stretch their roots.
Time to Repot Alarm bells.
Each plant is different in the way it lets people know it needs to be repotted I’m gonna share the Red Flags you might want to look out for in some of these plants.
🪨 Rock Hard Pot: If the pot feels firm and there’s little give when you squeeze it… or the pot looks like its bulging out, shaped strange these are signs that the roots are compacted.

🍜 Noodles showing: Roots for Days either they appear on the top of the soil or through the drainage holes in your pot.
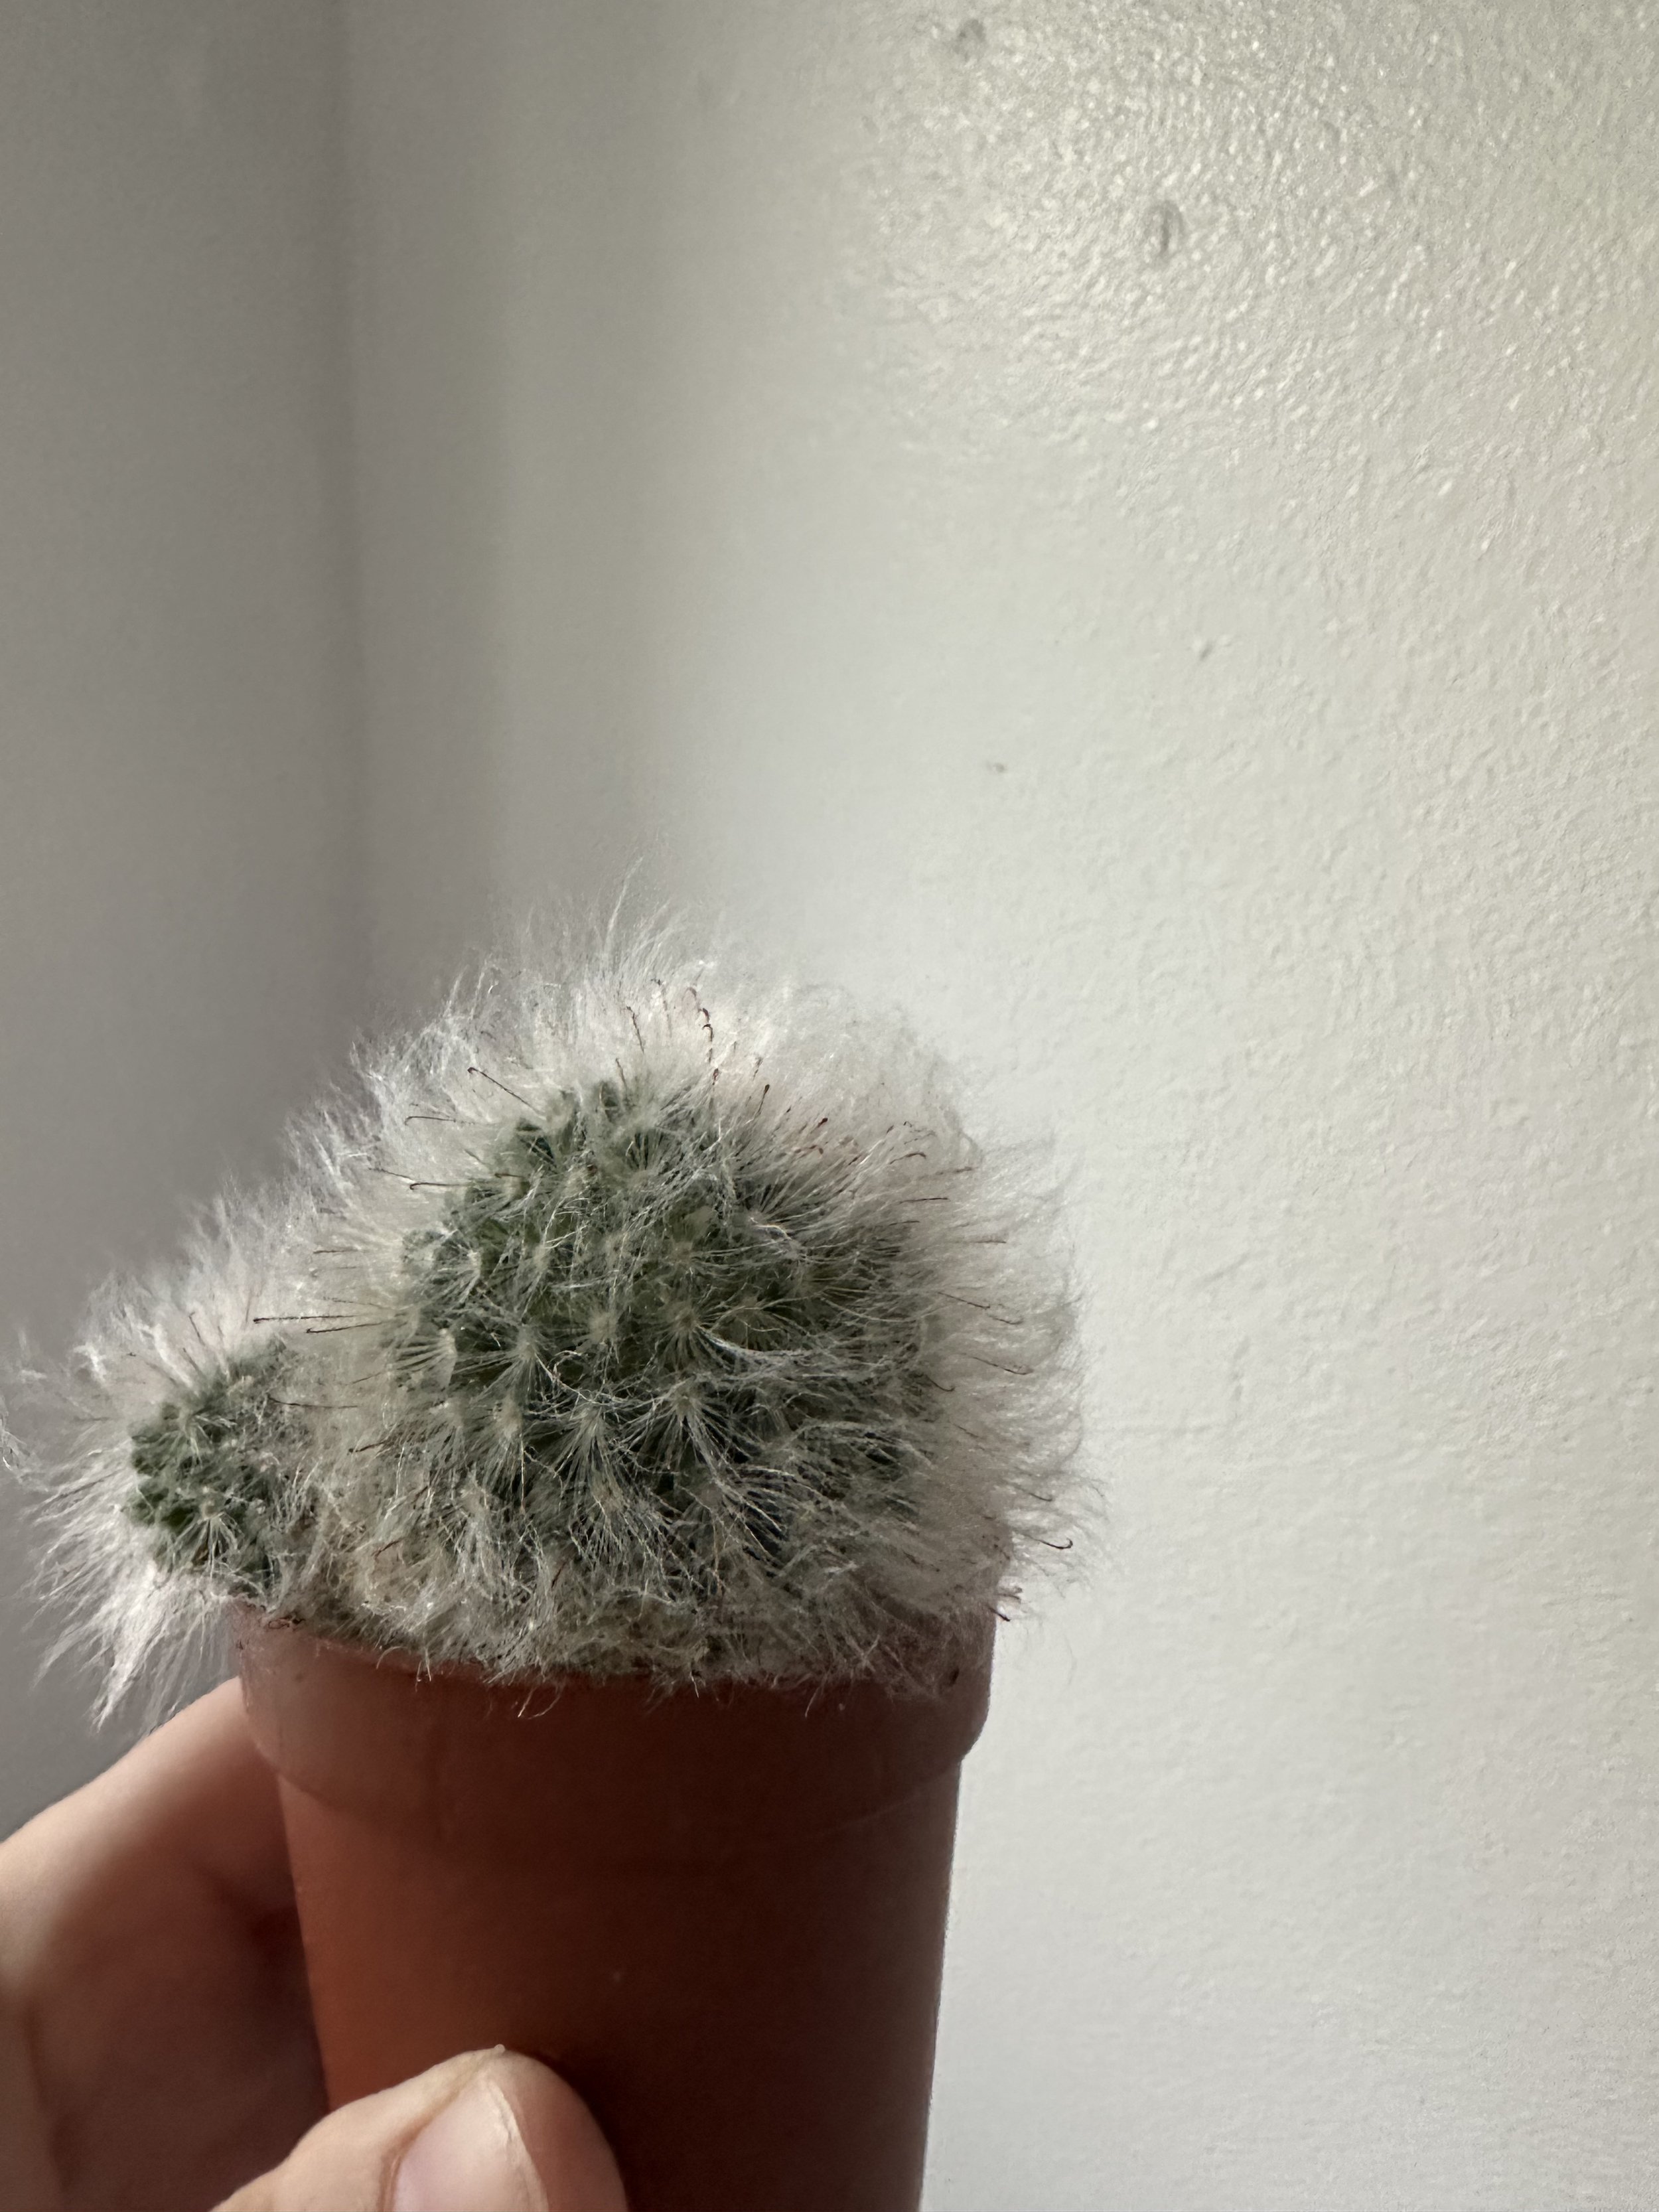
🌵 Parched and Hard Pack soil: this is poplar with Cacti and Succulents the soil might be nothing but roots or Dusty in texture and they often slide around the pot or full out easily.
🫠 Stuck in a puddle: Water either stays on top of the soil or slips straight through like this is often a sign that the roots have taken over !
🏋️♀️Top-Heavy: Your plant is tipping over or feels wobbly, meaning it’s outgrown its current home.
🐢 Grow has slowed: Its growing season and not new growth is really happening it maybe because it might need a little extra wiggle room.
Now that you know why plants need repotting and have spotted some of the red flags 🚩, let’s dive into what repotting actually does for your plant! 🌱
Repotting gives your plant a fresh start by refreshing the soil, adding nutrients and goodies that help grow stronger roots — and in turn, healthier foliage and maybe even some blooms! 🌼 Plus, it creates more space for roots to spread out, making your plant feel less cramped and ready to thrive.
That said, repotting can be a bit stressful for plants (we’ve all been there after a big move, right?). You might notice a little slump afterward, but repotting during the growing season and giving your plant a good drink and feed a couple of days beforehand can make the transition smoother. With a little TLC, your plant will bounce back in no time! 🌿


🌿 Repotting Tips
Refreshing roots, upgrading digs, and giving your leafy loves room to thrive — repotting can be a joyful little ritual. So grab your gloves, pop on your favorite playlist, and let’s dive into some fabulously fun tips to make the process a breeze.
1. Potting Mat Magic
Let’s start with a game-changer: the potting mat. If you haven’t added one to your plant care toolkit yet, what are you waiting for? I personally recommend the ones from me — Jungle Floor Creative, of course.
Curious about other creative ways to make or use a potting mat to keep the mess contained? Follow the link in this blog: [Potting Mat] to discover why they’re an absolute must-have for plant lovers.
2. Create a Little List
I find having a checklist helps so much — and there’s something deeply satisfying about ticking off each plant after you’ve repotted it. Take your time with each one. It’s a gentle process for your plants, and a gentle one for you, too.
Repotting can be a lovely sensory experience, especially if you slow down and stay present with it. Free Check list download below.
3. Choose the Right Pot — Size Matters!
Think of choosing a new pot like buying shoes.
Too small? Cramped roots.
Too big? You risk soggy soil and unhappy roots.
The sweet spot? A pot that’s about 1–2 inches wider in diameter than the current one. And always go for pots with drainage holes — it encourages airflow to the roots and helps prevent rot.
Personally, I love using transparent or semi-transparent Aroid pots — and highly recommend the ones from Bethan Designs!


4. Soil Refresh
Your plant deserves the good stuff — don’t just grab any old dirt. Tailor the soil to your plant baby’s needs. Research their natural habitat or browse the Soil Ninja Plant Index for a head start.
💡 Tip: Think airflow! Roots need oxygen. A chunky, well-draining mix is great for aroids — and you can tweak it from there.
5. Root Inspection Time
It might feel like plant surgery, but it's weirdly satisfying.
Gently remove the plant, shake off loose soil, and examine those roots. Trim off any dead or mushy bits, and untangle gently (think: haircare routine).
✨ Note: I only remove all the soil if I’m transitioning to semi-hydro. Be gentle!
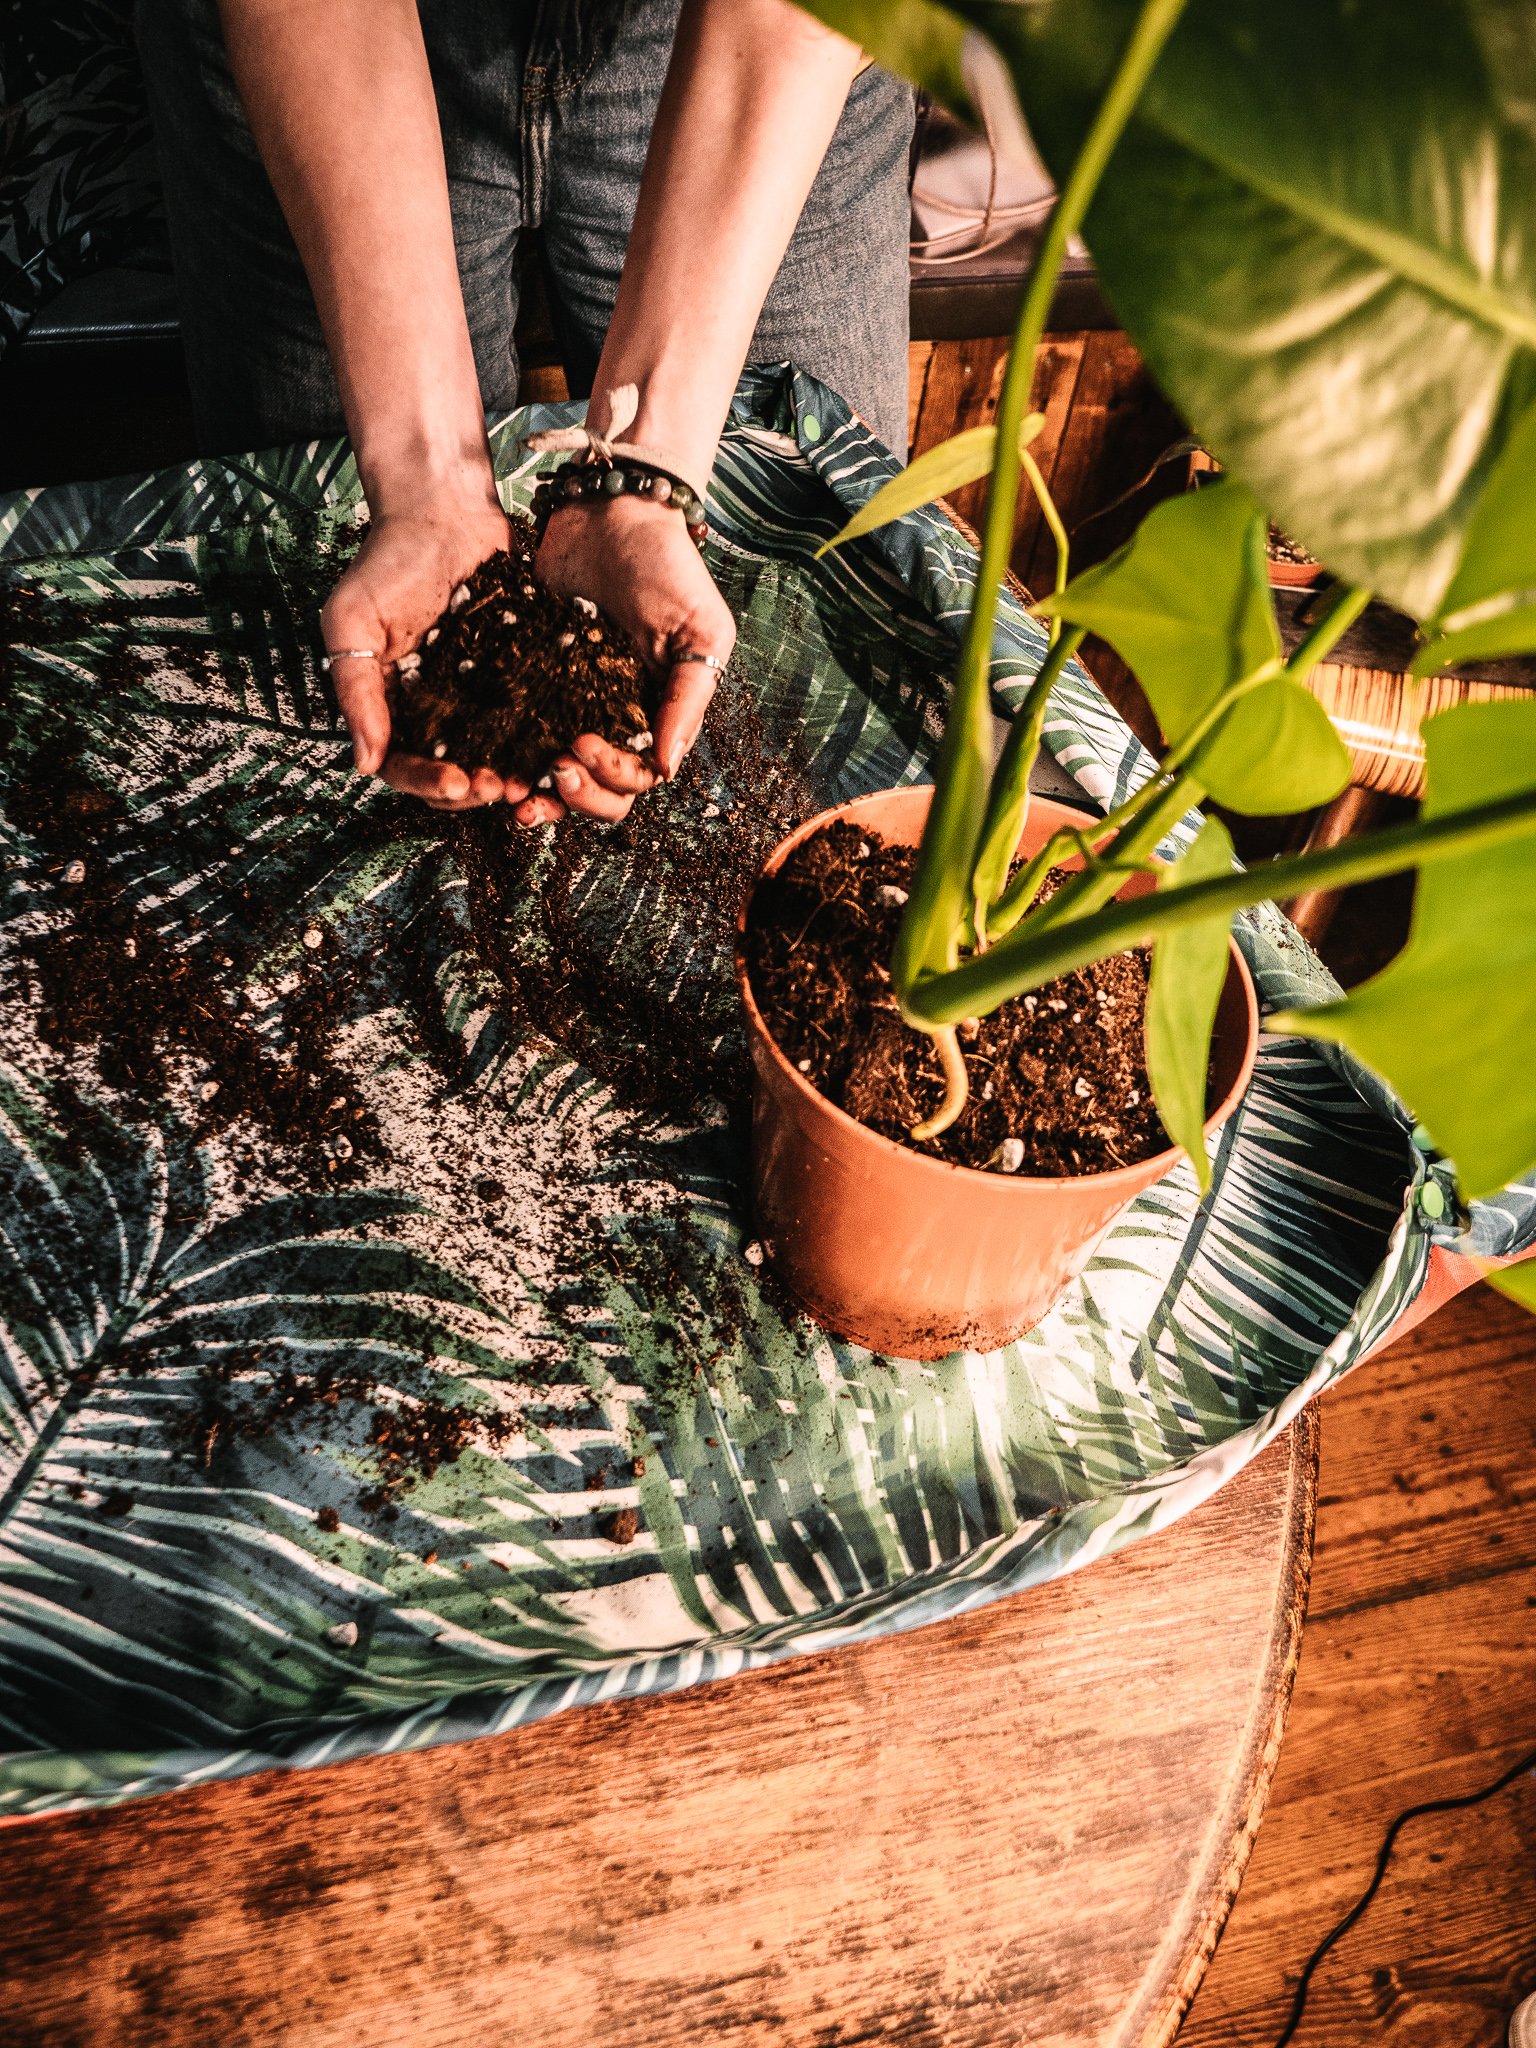
6. Get the Scoop
Don’t fancy digging in with your hands? Use a scoop!
Our free-standing soil scoop makes it easy to get soil where it needs to go — around your plant, not all over your workspace.
7. The Repotting Ritual
Place a layer of fresh soil in the new pot.
Nestle your plant in like it’s bedtime, then backfill with soil. Press down lightly, but keep it airy — think of it as a cozy duvet, not a tight blanket.
8. Gather Your Tools
Bringing everything to your potting mat before you start? Total game changer. Less mess, more flow. Here’s your checklist:
Soil Scoop
Potting Mat
Comfy cushion or seat
Watering can
Water bottle (for you!)
Fresh Soil
New Pot
Stick or chopstick for soil mixing
Soft plant cloth
Water spray or pest-prevention product
Your enthusiasm! 🎉
9. Water & Whisper Sweet Nothings
Once repotted, give your plant a nice drink to help the soil settle.
Now’s the moment for compliments:
“You’re glowing, darling. Thriving!”
They may not understand, but the energy? Immaculate.
10. Clean-Up is a Breeze
Your potting mat earns its keep here! Just fold up the corners, funnel the soil back into your bag, and you're done. No mess, no stress.
Final Thoughts
Repotting isn't just maintenance — it's self-care for your plants and a little therapy for you. So light a candle, put on your fave playlist, and let this ritual become part of your plant parent journey.
Happy potting! 💚

make a list
These are some of my recommendations and tips as a houseplant lover living in the UK. I’m not an expert, but I’ve been growing plants since I was 13 in 2003 — and my passion for houseplants really took off in 2019 when I started expanding my collection and knowledge.
As I always say, everyone has their own unique experience and growing environment. Feel free to take what works for you from this blog and leave what doesn’t — after all, no two plant journeys are the same!
Plant cloth for my plants.
This blog takes you through the benefits and reasons why it’s important to clean the leaves of your plants. This blog also talks about how to clean your plants leaves and what to use.

Why Give Your Houseplants a Leaf Spa Day?
Real Houseplants don’t just sit around looking pretty—they’re hard at work filtering the air, creating food for themselves, boosting your mood, and bringing a little of the jungle vibes into your home. Let’s be real: they can’t do their best work if their leaves are covered in dust, grime, and who-knows-what. Think of it like this: would you want to breathe through a dusty air? Probably not! So, let’s talk about why giving your plant babies a good spa day is a total game-changer.
Nothing beats a good session Cleaning your plant Leaves !

The Leafy Benefits of a Good Spa Session.
🌿 Supercharges Photosynthesis
Think of dust and oils on your plant’s leaves like sunglasses they never asked for. Blocked light = sluggish growth and dull leaves. A quick wipe down lets them soak up the sun and thrive!
🐜 Evicts Unwanted Pests
Dusty leaves = the perfect hideout for pesky freeloaders like spider mites and mealybugs. Cleaning the whole plant regularly can help to prevent against unwanted guests on your plants.
✨ Keeps Your Plants Insta-Ready
Shiny, dust-free leaves make your plant babies look chef’s kiss gorgeous. A clean plant isn’t just healthy—it’s a total showstopper in your home jungle!
💦 Helps with Moisture Magic
Some plants drink in moisture through their leaves. A dust-free surface means they can absorb humidity like a pro, keeping them lush and happy.
So, grab that plant cloth and give your leafy friends the spa day they deserve! 🌱💚
The Best Way to Clean Your Plant’s Leaves


Not all cleaning methods are created equal! Using the wrong materials can damage delicate leaves or leave behind residues that attract more dust. Make sure you test things before you spray onto your plants and know that you need to use a cloth that is soft things like toliet paper or kitchen towels can add dust so making sure that the leaf is either sprayed first or that the cloth is damp with fresh water first. Try to Use rain water, filter water or distilled water when cleaning as in some areas of the uk the water can have to much limescale in it.
Why Choose the Jungle Floor Plant Cloth?
Our soft, reusable plant cloths are specifically designed to gently clean leaves without causing damage. Here’s why they’re a must-have for plant lovers:
Soft & Gentle – Perfect for delicate foliage
Highly Absorbent – Lifts dust, grime, and excess moisture with ease.
Reusable & Sustainable – Made from recycled Textiles Wash at 30 and reuse
Designed for Plant Lovers – Created with plants in mind, making leaf care effortless and effective.
How to Use the Jungle Floor Plant Cloth


Dampen the cloth with water or a mild leaf-cleaning solution.
Gently wipe each leaf, supporting the underside with your hand to avoid breakage, Make sure this also includes the stems and leaf undersides.
For textured or fuzzy leaves, use a dry cloth or soft brush to remove dust without damaging the surface.
Repeat regularly, ideally once a week or whenever you notice dust buildup.
Keep Your Plants Thriving
Leaf cleaning is an easy yet impactful way to enhance the health and beauty of your houseplants. By incorporating it into your plant care routine with the Jungle Floor Plant Cloth, you’ll ensure your plants can grow strong, stay pest-free, and look their best year-round!
Ready to give your plants the care they deserve? Try the Jungle Floor Plant Cloth today and see the difference for yourself!

Benefits of Seaweed
This blog covers the Benefits of Seaweed with a main focus on what it is and how it benefits your plant collection.
Why did the seaweed go to the party?
Because it wanted to kelp everyone have a good time! 🌊😂

Seaweed is collected from being washed up on the beach.
I’ve recently been experimenting with seaweed fertiliser for my plants—because why not? It’s always fun to try new things and dig into the research to figure out what works (or doesn’t) for the little ecosystems we create for our plants. So, I decided it was time to do some investigating into seaweed as a fertiliser for my houseplants.
In my research, I discovered some pretty cool things about what seaweed can offer. I’ve heard of people using it in their gardens for tomatoes, roses, and loads of other plants. Turns out, seaweed can be used in a variety of ways: as a soil conditioner, a fertiliser, a compost booster, or even turned into a liquid fertiliser spray. How neat is that? 🌱 So, let’s dive into some of the ways seaweed can help with growing houseplants.
Seaweed
Seaweed is technically a plant—but it’s not your typical garden variety. “Seaweed” is the catch-all name for countless species of marine plants and algae that thrive in oceans, rivers, lakes, and other watery hangouts. It’s a major MVP in aquatic ecosystems, providing homes for marine life and a food source for many animals.
Seaweed comes in all shapes and sizes. Take kelp, for example—it’s like the skyscraper of the sea, creating underwater jungles that stretch from the seafloor to the surface. These kelp forests offer shelter, hiding spots for prey, and nourishment for tons of creatures.
There are about 650 types of seaweed (who knew?!), including Bladderwrack, Knotted Wrack, Sugar Kelp, Dabberlocks, Serrated Wrack, Spiral Wrack, Channelled Wrack, and Thongweed. These varieties, all native to the UK, have a clever trick up their sleeves: they float to soak up the sunlight they need for photosynthesis. Pretty impressive, right? 🌊


Photo credit: Mike Guiry, Keith Hiscock, Lucy Robinson, Juliet Brodie, Meet the Seaweed types, 21st January 2024
What Makes Seaweed Important to Growing House Plants.
Did you know seaweed is like nature’s multi-tool? You can collect it from the beach and put it to good use instead of letting it go to waste! Packed with goodies like minerals, vitamins, antioxidants, iron, and zinc, seaweed has been a superstar for humans and plants for centuries—since Roman times, no less! 🏛️
When it comes to plants, seaweed is basically their personal health coach. It’s loaded with nutrients like nitrogen, potassium, magnesium, and trace elements that can boost disease resistance and improve overall health. So, next time you see some seaweed, think of it as a gift from the ocean to your garden! 🌱✨
The Magical Benefits of Seaweed for Plants
Seaweed isn’t just the ocean’s version of confetti—it’s also a powerhouse for your plants! 🌊 Whether you mix it into compost or add it straight to your soil, seaweed breaks down beautifully and releases all its natural goodness. It’s like a spa day for your plants, and who doesn’t love that? 🌱✨
Here’s why seaweed deserves the spotlight in your plant care routine:
Soil Supercharger: Got tired soil? Seaweed to the rescue! It’s packed with nutrients like calcium, magnesium, and iodine, giving your soil the TLC it needs to help plants thrive.
Green Machine Booster: With goodies like chlorophyll, iron, zinc, and manganese, seaweed helps your plants produce even more chlorophyll (basically their energy drink). More chlorophyll means more sunlight absorbed, more carbon dioxide turned into energy, and overall happier plants. 🍃
Fruits & Leaves Galore: Thanks to nitrogen, phosphorus, and potassium, seaweed helps your plants grow lush leaves and bountiful fruits. Think of it as a plant productivity coach. 💪🌸
Natural Pest Bouncer: Seaweed has a salty attitude, a funky smell, and a texture that pests like spider mites and aphids just can’t vibe with. Its compounds act like an eco-friendly “No Entry” sign for unwanted guests. 🌿 (Bonus: It’s safe for your plants and the environment!)
For more cool pest-repelling facts, check out Aqua Culture.
Pro Tip for Buying Seaweed Fertilisers
If you’re ready to hop on the seaweed train (choo choo 🚂), make sure the seaweed is responsibly sourced. I can’t recommend Aqua Culture enough—they’ve got top-notch products, and you can snag a discount with the code JUNGLE15. Your plants and your wallet will thank you! 🌟
I hope this little blog brought some seaweed magic to your day and gave you ideas for pampering your jungle. Whether you’re growing tomatoes, roses, or just trying to keep your leafy green buddies happy, seaweed is a game-changer.
Happy growing, plant fam! 🌿💚
Citations and recourses:
https://www.mcsuk.org/what-you-can-do/citizen-science/big-seaweed-search/meet-the-seaweeds/